VR Project Migration
Upgrading your VR project in SDK Browser using the Upgrade option is not enough to build it — additional manual operations are required.
Essentially, you'll need to create a new 2.18 VR project and copy the required files to your project that has been upgraded to 2.18 from a n earlier version. Before copying files from a template project, you need to delete identical and unnecessary files from your project (otherwise, new files won't be added properly).
Now let's go step by step.
Migrating a VR Project#
- Create a new 2.18 VR project using the VR Template. If your project initially was based on the VR Sample demo project, create a new VR project using the 2.18 VR Sample demo as well.
- Export vr_template/VR.node from the empty project as a package.
-
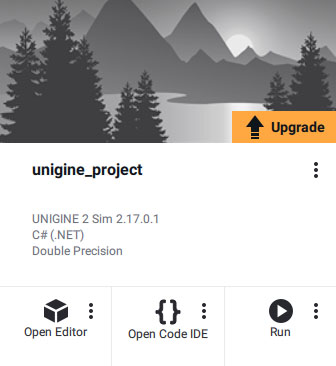
In SDK Browser, click Upgrade for your project to upgrade assets in your project to 2.18.
- Open your project in Editor and close the world.
-
You can try to import the package you exported from the empty 2.18 template project at Step 1. You'll see the assets highlighted red (they actually duplicate the ones that exist in your project) — delete duplicate *.prop assets from your project, then cancel importing the package.
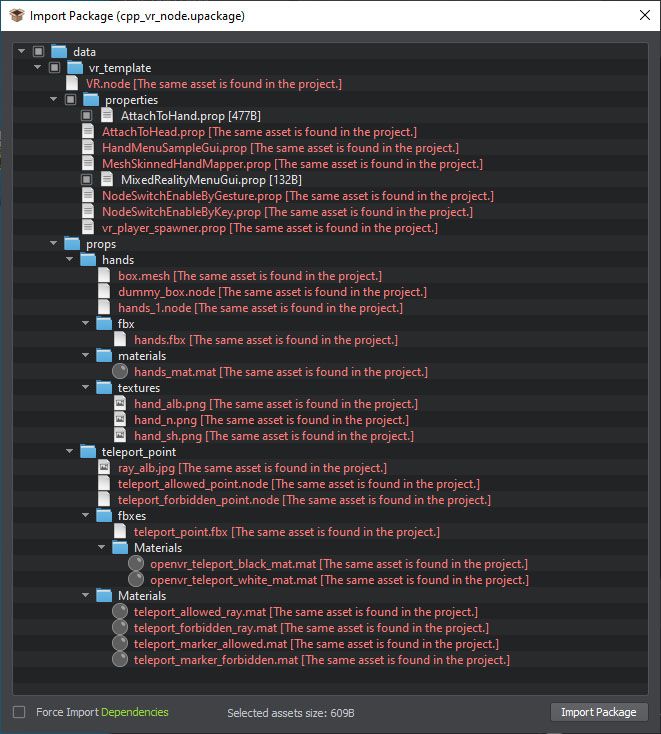
Namely, delete the following folders and files:
-
vr_template/
- VR.node
-
vr_template/properties/
- AttachToHead.prop
- HandMenuSampleGui.prop
- MeshSkinnedHandMapper.prop
- NodeSwitchEnableByGesture.prop
- NodeSwitchEnableByKey.prop
- vr_player_spawner.prop
NoticeIf you modified any of these and other files to be updated, make a backup to modify the updated files later. -
- Import the package you exported from the empty 2.18 template project at Step 1.
-
Replace the source/Framework folder by the same folder from the new template project.
If your project initially has been created based on the VR Sample demo project, you'll also need to replace the source/Demo folder content.
- Open the project in IDE and add new files such as AttachToHand and MIxedRealitySampleGui to the solution.
- Then build the project and fix it by processing the error messages. Update the code (written by you) that interacts with the template components that have been changed.
Launching App in VR Mode#
Launching in IDE#
Running a VR project from the IDE requires adding command-line arguments. For example, in Visual Studio you can do this way:
-
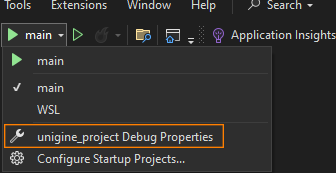
Open the project Debug Properties:
-
In Command line arguments, add -vr_app openvr at the end of the line:
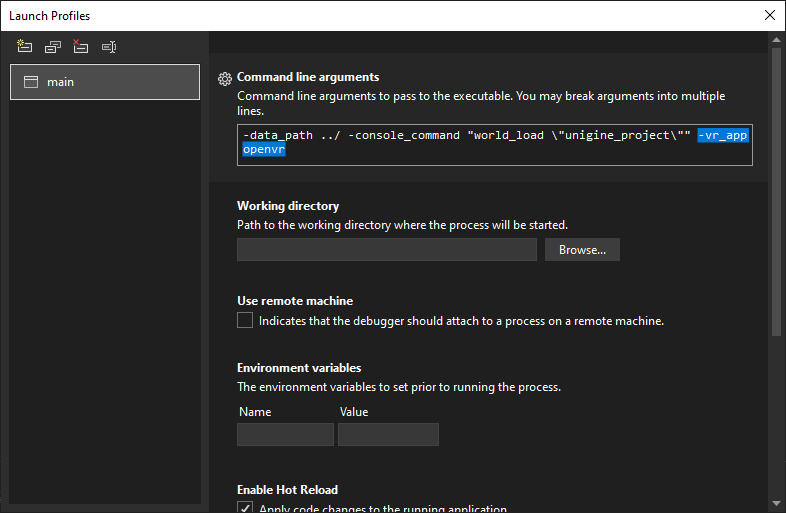
-extern_plugin UnigineOpenVR).
The information on this page is valid for UNIGINE 2.20 SDK.