This page has been translated automatically.
视频教程
界面
要领
高级
实用建议
基础
专业(SIM)
UnigineEditor
界面概述
资源工作流程
Version Control
设置和首选项
项目开发
调整节点参数
Setting Up Materials
设置属性
照明
Sandworm
使用编辑器工具执行特定任务
如何擴展編輯器功能
嵌入式节点类型
Nodes
Objects
Effects
Decals
光源
Geodetics
World Nodes
Sound Objects
Pathfinding Objects
Players
编程
基本原理
搭建开发环境
使用范例
C++
C#
UnigineScript
统一的Unigine着色器语言 UUSL (Unified UNIGINE Shader Language)
Plugins
File Formats
材质和着色器
Rebuilding the Engine Tools
GUI
双精度坐标
应用程序接口
Animations-Related Classes
Containers
Common Functionality
Controls-Related Classes
Engine-Related Classes
Filesystem Functionality
GUI-Related Classes
Math Functionality
Node-Related Classes
Objects-Related Classes
Networking Functionality
Pathfinding-Related Classes
Physics-Related Classes
Plugins-Related Classes
IG Plugin
CIGIConnector Plugin
Rendering-Related Classes
VR-Related Classes
创建内容
内容优化
材质
Material Nodes Library
Miscellaneous
Input
Math
Matrix
Textures
Art Samples
Tutorials

Animation

The set of Animation samples illustrates how to manage animations:

Bones Constraints sample demonstrates the use of bone rotation constraints and illustrates how they affect the operation of inverse kinematics. The pole vector for the IK chain is disabled, and only rotations are used as constraints.
SDK Path: <SDK_INSTALLATION>demos\cpp_samples_2.19\source\animation_bones_constraints

Bones IK sample demonstrates how to control bones using inverse kinematics. The pole vector is used as a constraint that defines the plane of joint bending.
SDK Path: <SDK_INSTALLATION>demos\cpp_samples_2.19\source\animation_bones_ik

Bones LookAt sample demonstrates the use of LookAt chains for aiming at a target. The chain contains the spine and head bones. By setting different weights for each bone you can adjust the targeting effect. The constraint is represented by a pole vector that defines a plane for the upward direction of each bone.
SDK Path: <SDK_INSTALLATION>demos\cpp_samples_2.19\source\animation_bones_look_at

Bones Masks sample demonstrates how to use bone masks. Both models in the sample use the same animation. For the child model's limbs and head, only rotations of the animation are applied, while the position and scale are taken from the child's model T-pose. For all other bones of the child's model, all transformations stored in the animation (position, rotation and scale) are applied.
SDK Path: <SDK_INSTALLATION>demos\cpp_samples_2.19\source\animation_bones_masks

Bones Retargeting sample demonstrates how the same animation can be used on skeletons with different proportions. The sample contains two pairs of models: one pair represents the use of animation without retargeting, and the other shows how the animation is retargeted from one model to another.
SDK Path: <SDK_INSTALLATION>demos\cpp_samples_2.19\source\animation_bones_retargeting

Bones Root Motion sample demonstrates how the object itself can be moved along with the animation.
SDK Path: <SDK_INSTALLATION>demos\cpp_samples_2.19\source\animation_bones_root_motion

Bones Sandbox sample provides the interface that allows visualizing and experiencing how to configure all available settings for IK chains, LookAt chains, and bone rotation constraints.
SDK Path: <SDK_INSTALLATION>demos\cpp_samples_2.19\source\animation_bones_sandbox

Bones Simple Foot Placement sample demonstrates a naive option for placing feet on a surface using IK chains.
SDK Path: <SDK_INSTALLATION>demos\cpp_samples_2.19\source\animation_bones_simple_foot_placement

Bones State Machine sample demonstrates how to make Walk, Turn, and Run animated state machines based on ObjectMeshSkinned.
SDK Path: <SDK_INSTALLATION>demos\cpp_samples_2.19\source\animation_bones_state_machine

Accessing Demo Source Code#

You can study and modify the source code of this demo to create your own projects. To access the source code do the following:
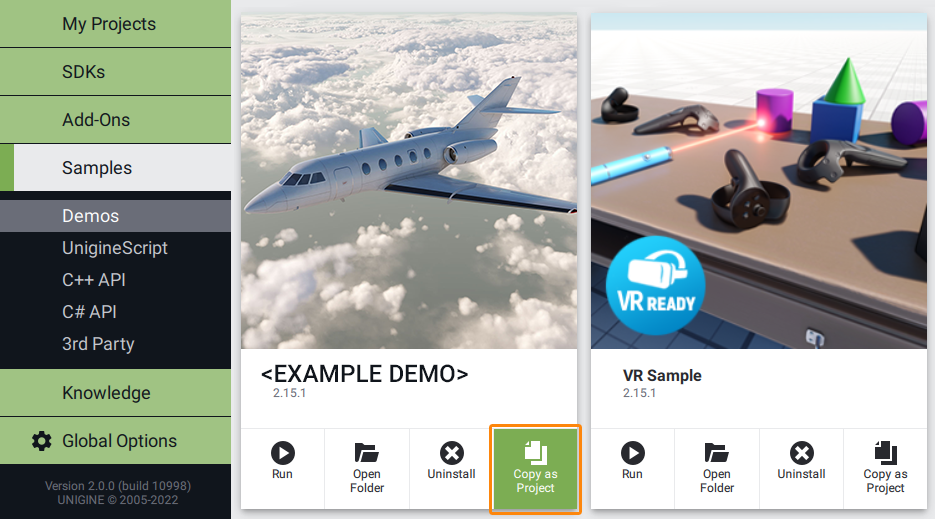
  1. Find the Animation demo in the Demos section and click Install (if you haven't installed it yet).
  2. After successful installation the demo will appear in the Installed section, and you can click Copy as Project to create a project based on this demo.
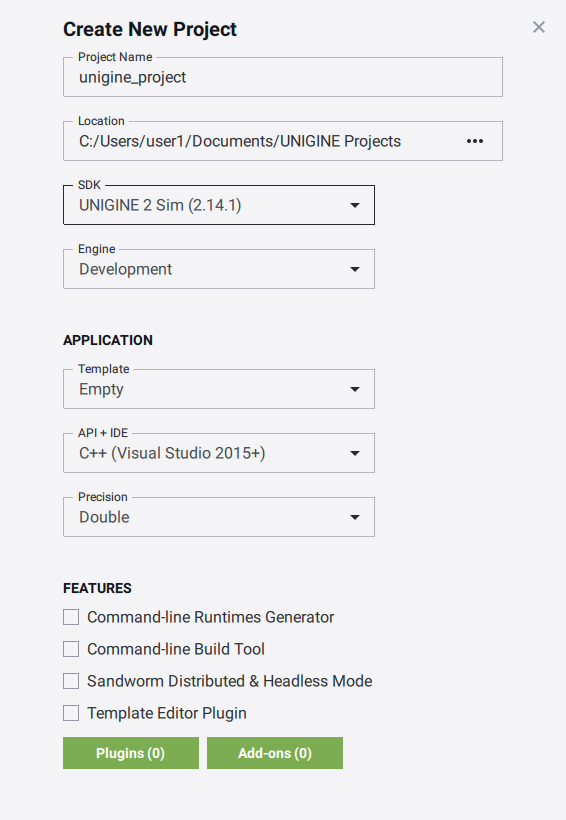
  3. In the Create New Project window, that opens, enter the name for your new project in the corresponding field and click Create New Project.
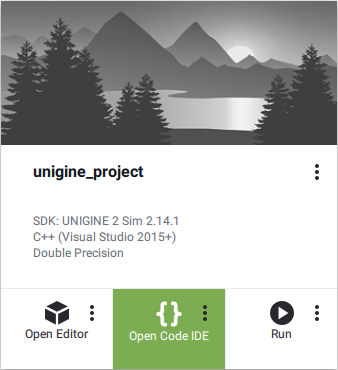
  4. Now you can click Open Code IDE to check and modify source code in your default IDE, or click Open Editor to open the project in the UnigineEditor.
Last update: 2024-09-16
Build: ()