Light Projected
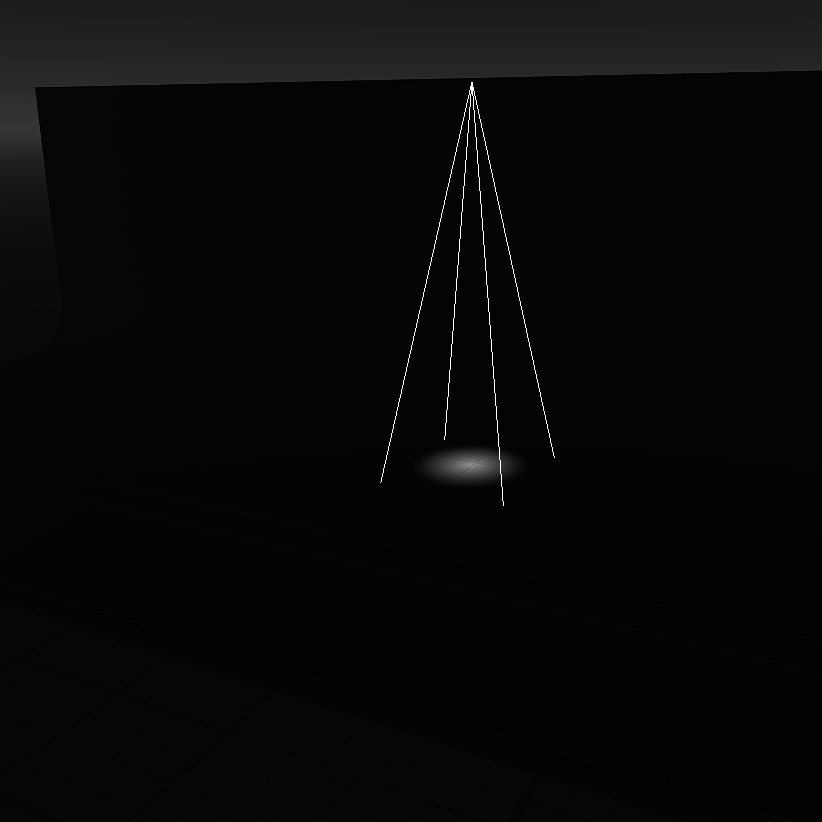
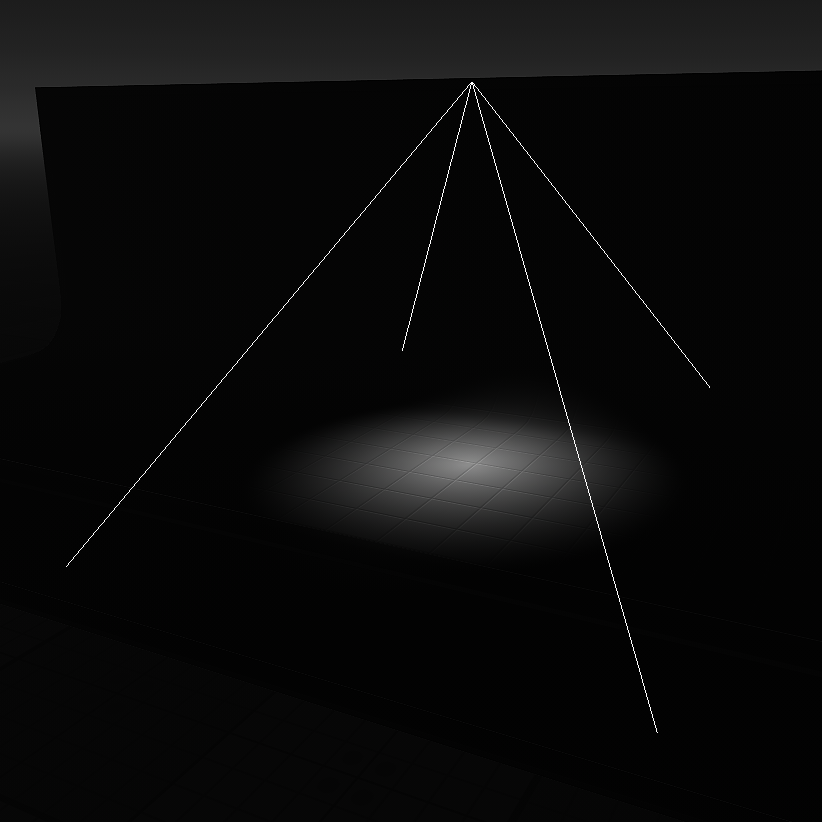
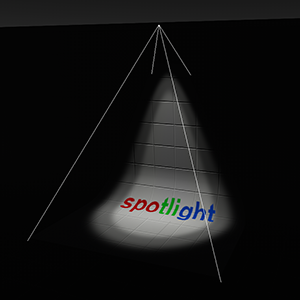
 Light Projected is a light source that casts light from a single point forming a focused beam aimed in a specific direction. This type of light is visualized in a form of a pyramid. Due to its form, it is versatile and can be conveniently used to simulate the numerous light emitting sources: for example, car headlights, flash light, or street lamps.Light Projected是一个光源,该光源从单个点投射光线,从而形成聚焦在特定方向的聚焦光束。这种类型的光以金字塔的形式可视化。由于其形式,它是通用的,可以方便地用于模拟多种发光源:例如汽车前灯,闪光灯或路灯。
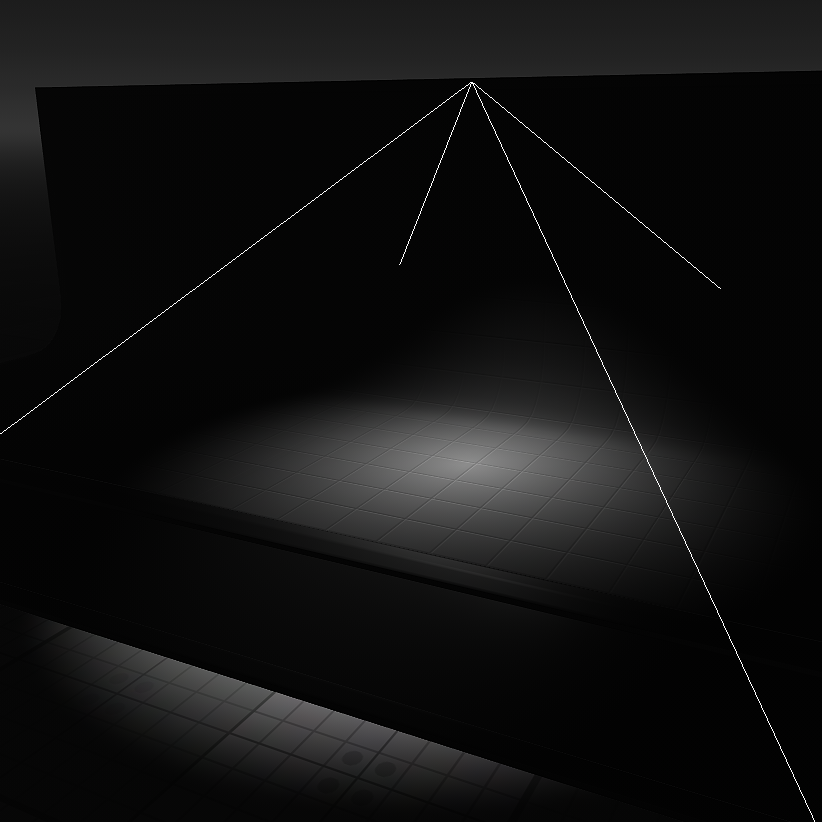
Light Projected can produce shadows of accurate perspective projection. They require only a single rendering pass and are performance-cheap if compared to World Light and Omni Light.Light Projected可以产生精确透视投影的阴影。与World Light和Omni Light相比,它们仅需要一次渲染通道,并且性能低廉。
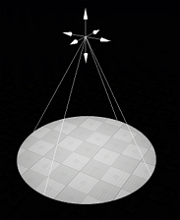
As the Light Projected can have different shapes, it can be used to create area lights.由于Light Projected可以有不同的形状,可用于创建区域照明。
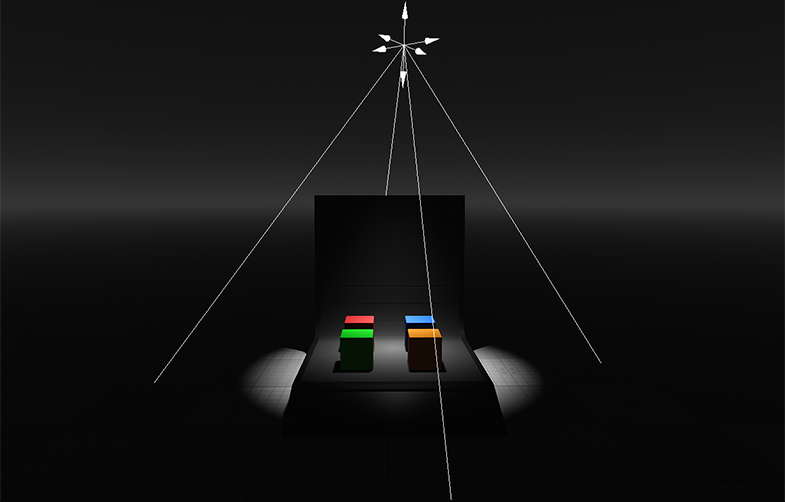
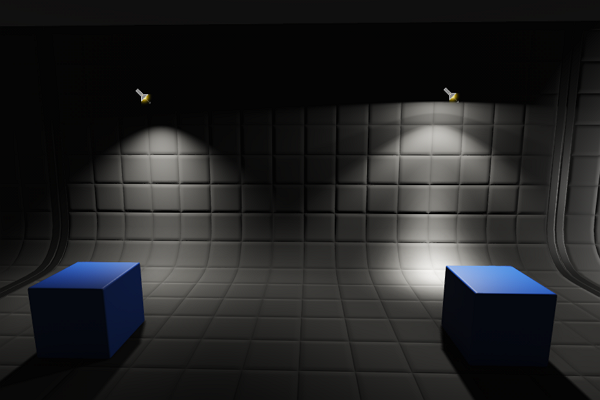
Example scene that uses Light Projected使用Light Projected的示例场景See Also也可以看看#
- The LightProj class to manage Light Projected via API通过API管理Light Projected的LightProj类
- The part of the Lighting video tutorial dedicated to working with Light Projected照明视频教程的一部分专门用于使用Light Projected
Adding Projected Light添加投射光#
To add Light Projected, do the following:要添加Light Projected,请执行以下操作:
-
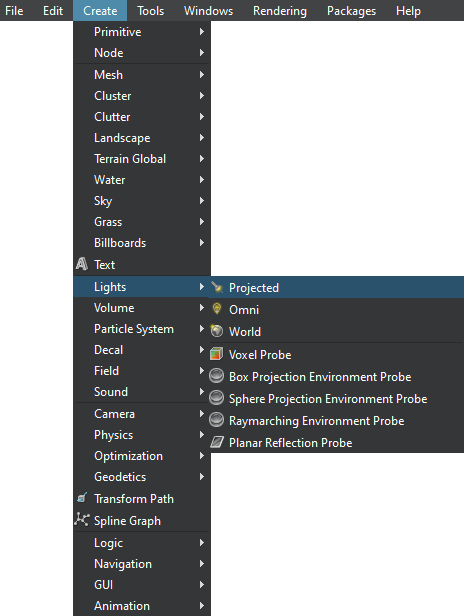
On the Menu bar, click Create -> Light -> Projected在菜单栏上,单击Create -> Light -> Projected
-
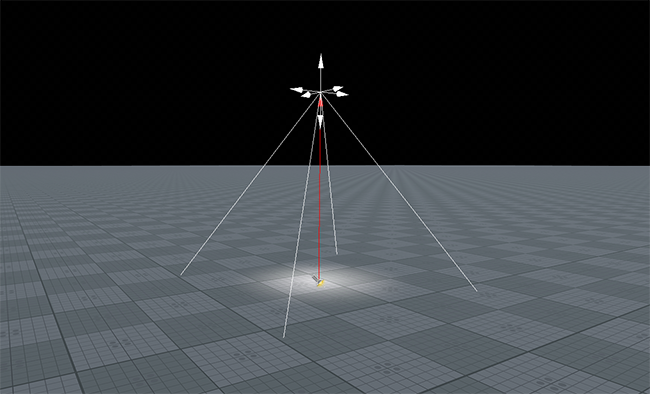
Place the light somewhere in the world.将灯光放置在世界上的某个地方。
Setting Projected Light Parameters设置投影光参数#
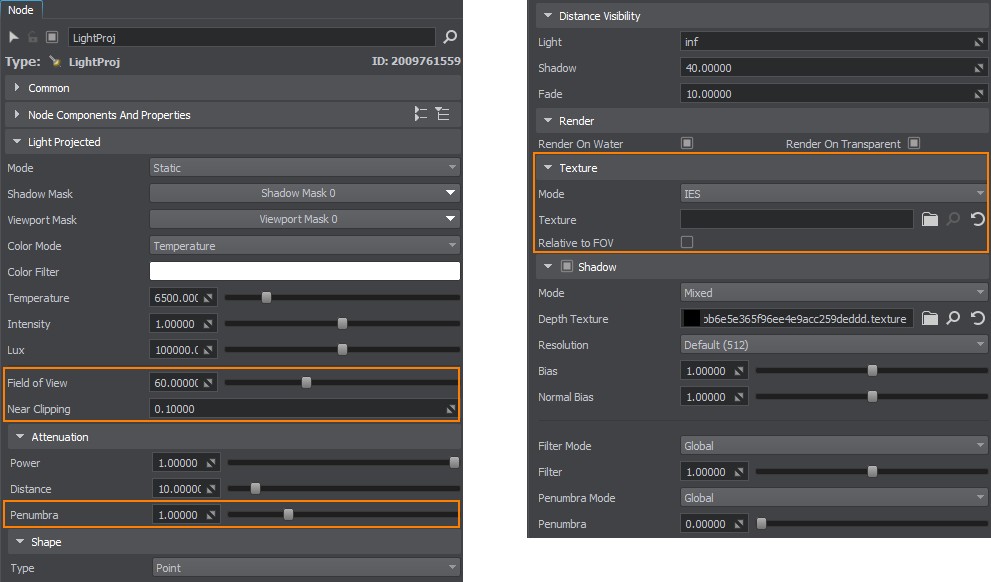
Parameters of Light Projected can be adjusted in the Node tab of the Parameters window. It contains both the common parameters and the parameters specific for Light Projected source. The specific ones are described below.可以在Parameters窗口的Node选项卡中调整Light Projected的参数。它既包含常用参数以及特定于Light Projected源的参数。具体描述如下。
Light Settings灯光设置#
| Field of view |
|
||||||
|---|---|---|---|---|---|---|---|
| Mode |
|
||||||
| Texture | A simple or IES texture projected by Light Projected.由Light Projected投射的简单或IES纹理。 |
||||||
| Relative to FOV |
|


Attenuation Settings衰减设定#
本页面上的信息适用于 UNIGINE 2.20 SDK.