Stereo Rendering
Unigine supports "easy on the eye" stereo 3D rendering out-of-the box for all supported video cards. Unigine-powered 3D stereoscopic visualization provides the truly immersive experience even at the large field of view or across three monitors. It is a completely native solution for both DirectX and OpenGL APIs and does not require installing any special drivers. Depending on the set stereo mode, the only hardware requirements are the equipment necessary for stereoscopic viewing (for example, active shutter glasses, passive polarized or anaglyph ones) or a dedicated output device.
Stereo Modes#
There are several modes of stereo rendering available for Unigine-powered application. To enable them, no special steps or modifications are required. Just use a ready-compiled plugin library, set the desired start-up option and you application is stereo-ready!
Stereo libraries are located in the lib/ folder of the UNIGINE SDK.
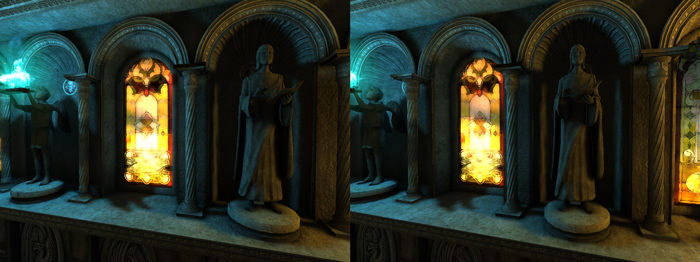
Separate Images#
This mode serves to output two separate images for each of the eye. It can be used with any VR/AR output devices that support separate images output, e.g. for 3D video glasses or helmets (HMD). See further details on rendering below.
To launch Separate images stereo mode, load the AppSeparate plugin.
Quad Buffered Stereo#
This mode uses the best of the native hardware support of 3D stereo in NVIDIA Quadro video cards which are capable of quad buffering. Unigine utilizes it to gain a good performance. However, other NVIDIA cards also support this mode and show no lower level of performance.
To enable the Quad Buffered Stereo mode, follow the instructions.
Oculus Rift#
This mode is used to support the Oculus Rift head-mounted display (the HD mode is also available).
To launch Oculus Rift mode, load the AppOculus plugin.
Anaglyph Mode#
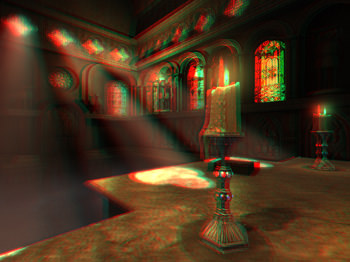
Anaglyph stereo is viewed with red-cyan anaglyph glasses. See further details on rendering below.
To launch Anaglyph stereo mode:
- Specify the STEREO_ANAGLYPH definition on the start-up (together with other required CLI arguments).
- Run the 64-bit application (or its debugging version).
main_x64 -extern_define STEREO_ANAGLYPH
Interlaced Lines#
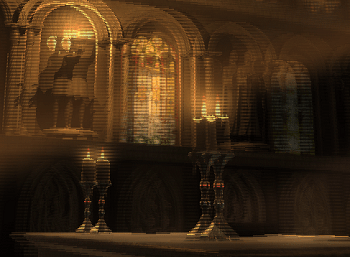
Interlaced stereo mode is used with interlaced stereo monitors and polarized 3D glasses. See further details on rendering below.
To launch the interlaced lines stereo mode:
- Specify the STEREO_INTERLACED definition on the start-up (together with other required CLI arguments).
- Run the 64-bit application (or its debugging version).
main_x64 -extern_define STEREO_INTERLACED
Split Stereo#
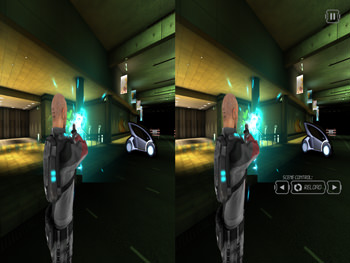
Horizontal and Vertical stereo modes are supported for glass-free MasterImage 3D displays. The same mode (a horizontal or a vertical one) is selected in the graphics chip driver settings. See further details on rendering below.
To launch Horizontal stereo mode:
- Specify the STEREO_HORIZONTAL definition on the start-up (together with other required CLI arguments).
- Run the 64-bit application (or its debugging version).
main_x64 -extern_define STEREO_HORIZONTAL
To launch Vertical stereo mode:
- Specify the STEREO_VERTICAL definition on the start-up (together with other required CLI arguments).
- Run the 64-bit application (or its debugging version).
main_x64 -extern_define STEREO_VERTICAL
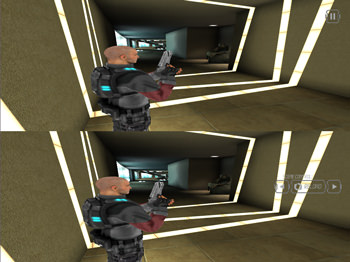
Stereo Rendering Model#
The stereo rendering model uses asymmetric frustum parallel axis projection (called off-axis) to create optimal stereo pairs without vertical parallax (vertical shift towards the corners).
It means, two cameras with parallel lines of sight are created, one for each eye. They are separated horizontally relative to the central position (this distance is called the eye separation distance and can be adjusted to avoid eyestrain from stereoscopic viewing). Both cameras use asymmetric frustum, when the far plane is parallel to the near plane, yet they are not symmetrical about the view axis. It enables to correctly align projection planes of two cameras to the zero parallax plane (i.e. the screen). Asymmetric frustum parallel axis projection produces no distortions in the corners making the stereoscopic image completely comfortable to the eye.
When rendered, objects that get in front of the camera's focal distance (that is, its projection plane) are perceived as popping out of the screen; objects that are behind it appear to be behind the screen and convey the impression of scene depth.
Unigine Stereo Rendering Pipeline#
Unigine engine calculates the images for both eyes using the appropriate postprocess shader. Which shader is applied depends on the chosen stereo mode.
- Anaglyph mode uses the post_stereo_anaglyph postprocess material and only one render target. Two images are filtered by red and blue channels, superimposed and output onto the screen to be viewed through colored glasses.
- Separate images mode uses the post_stereo_separate postprocess material. It creates two render targets and outputs left and right eye images that are offset relative to each other onto the two separate monitors.
- Oculus Rift mode uses the post_stereo_separate postprocess material. Images for the left and right eyes are output onto the corresponding half of the screen and lenses of the Oculus Rift display distort them to make the eyes perceive this images the same way as in the real world.
- In case of Quad Buffer mode, the post_stereo_separate postprocess material is used.
- Interlaced lines mode uses the post_stereo_interlaced postprocess material. This mode is based on the interlaced coding. For example, the image for the left eye can be displayed on the odd rows of pixels with one polarization and the image for the right eye - on the even rows with other polarization.
- Horizontal and Vertical stereo modes use only one render target. After that, the graphics chip driver handles it as two images aligned horizontally or vertically (depending on the set mode) and stretches them onto the screen to create a stereo effect. If the horizontal stereo mode is used, the post_stereo_horizontal postprocess material is applied. In case of the vertical stereo mode, the post_stereo_vertical postprocess material is used.
If stereo rendering is disabled (for example, when 3D Vision application is switched to the windowed mode), post_stereo_replicate material is used and the postprocess shader creates a simple mono image (the same for all viewports, if there are many). This material allows to switch to normal rendering and avoid the black screen when the engine is not rendering stereo pairs.
Stereo rendering is optimized to be performance friendly while not compromising the visual quality. For example, shadow maps are only rendered once and used for both eyes; geometry culling is also performed only once. Most of the rendering passes are still doubled, that is why it might make sense to turn off unnecessary passes or set a global shader quality to lower level to minimize the performance drop.
Viewing Settings#
Settings that allow adjusting stereo for comfortable viewing are found on the additional Stereo tab in the main menu. They are available for all stereo modes.
| Distance | Distance to the screen. This is a distance in world space to the zero parallax plane, i.e. to the point where two views line up.
Notice
The higher the value, the further from the viewer the rendered scene is and the lesser stereo effect is. |
|---|---|
| Radius | Half of the eye separation distance. The eye separation distance is the distance of interaxial separation between the cameras used to create stereo pairs.
Notice
The higher the value, the stronger stereo effect is. |
| Offset | An offset after perspective projection. |
Customizing Stereo#
Stereo rendering can be controlled via the following code:
- Stereo script stereo.h (located in data/core/scripts/system folder). By default it is included in the system script unigine.cpp. You can modify the stereo.h script in order to change the default camera configuration.
- If you choose not to include the stereo script into the system one, you can set the appropriate stereo mode definition and control stereo parameters directly via engine.render.setStereoRadius() and engine.render.setStereoDistance() functions.
In this case, you need to implement your own camera configuration in the render() function of the system script:
Source code (UnigineScript)
int render() {

	#ifdef STEREO_MODE
		// implementation of a custom camera configuration
	#endif

	return 1;
}
Hidden Area#
Some pixels are not visible in VR. You can optimize rendering performance by skipping them. The following culling modes are available for such pixels:
- OpenVR-based culling mode - culling is performed using meshes returned by OpenVR. Take note, that culling result depends on HMD used.
- Custom culling mode - culling is performed using an oval or circular mesh determined by custom adjustable parameters.
You can specify a custom mesh representing such hidden area, adjust its transformation and assign it to a viewport.
To set the value via the console, use the render_stereo_hidden_area console command.