Copying Assets From Other Projects
Assets used in one UNIGINE project, both simple and composite (e.g. a material requiring a texture, or a node that requires several materials linked to plenty of textures), can be easily copied to another project using Asset Packages.
Asset Package is a collection of files and data for UNIGINE projects stored in a single *.upackage file. Asset Package compresses data while preserving the original directory structure. Asset Packages can be used to conveniently transfer content between your projects or exchange data with other users, be it a single model or a scene with a set of objects driven by logic implemented via C# components.
To copy your assets from one project to another:
- Open your source project in UnigineEditor and export all necessary assets as a package file.
- Open your target project that requires those assets in UnigineEditor and import your package.
See Also
Video tutorial How To Transfer Assets to Another Project
Creating a Package#
To copy your project contents into a Package file:
- Select the assets that you want to add to the Package in the Asset Browser. You can even select the folder containing the whole project, and then deselect the data you don't require.
- Right-click on selected asset(s) or folder(s) and choose Export As Package option in the context menu.

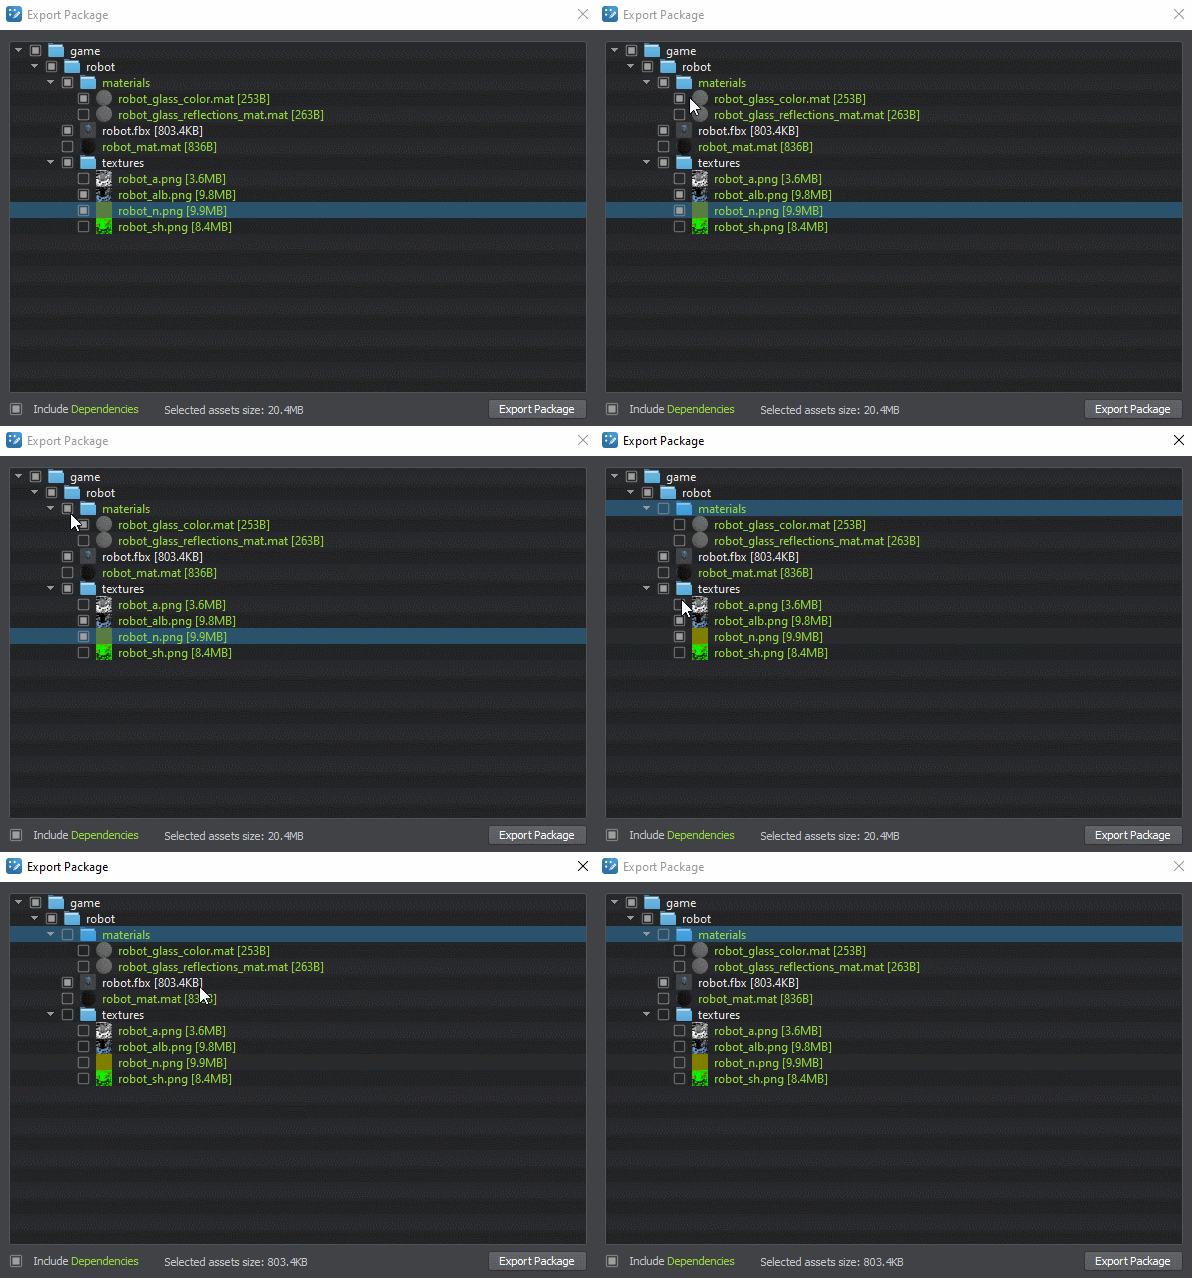
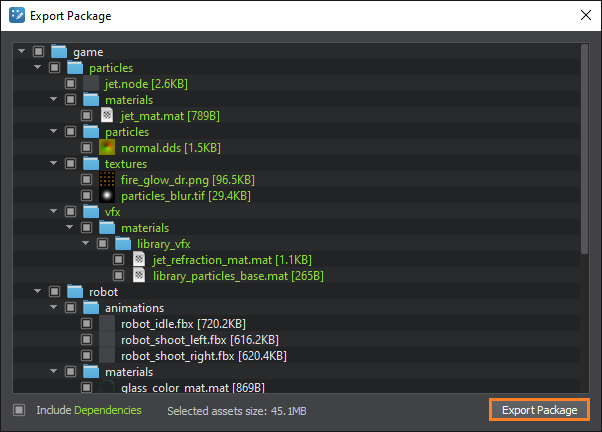
- Now you can select assets to be exported in the Create Package window using a checkbox for each asset.
 Notice
- Keep in mind that any single file that you want to include must be less than 2 GB. The Package size is not limited.
- Core files cannot be included.
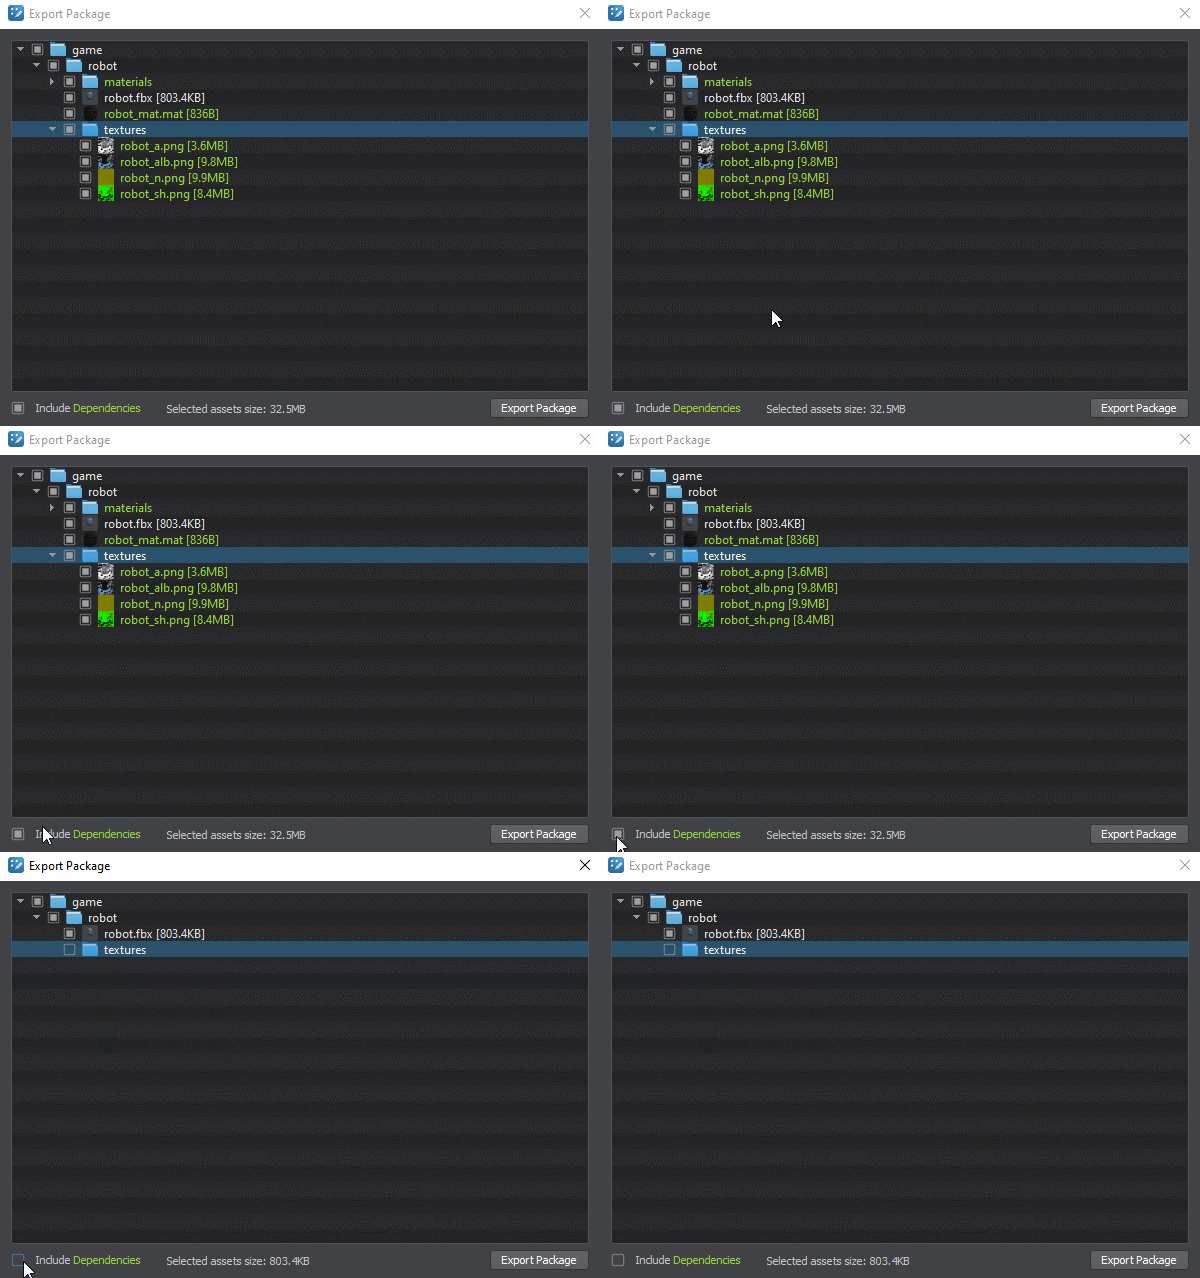
- You can automatically add all dependent assets to the package (a texture used by a material, materials assigned to an object, etc.) via the Include Dependencies checkbox (dependent assets are marked green in the list).
- After selecting assets click Export Package to pack them into a new *.upackage file.
 NoticeAt least one asset must be selected to activate the Create Package button.
 - In the dialog window that opens, define the name and path to your package and click Save.
As soon as your Asset Package is successfully created, the location of your *.upackage file will be shown in your file manager.
Importing a Package#
To import contents of an existing package to your project you need to:
- Drag it from the File Explorer directly into the Asset Browser or click the Import button and select the *.upackage file. If you have already added the *.upackage file to your targed project, double-click on it.
NoticeThe following window will open:Do not use a file manager of your OS to copy a package to your project's folder, as in this case the package will be displayed in the Asset Browser, but its contents won't be extracted.
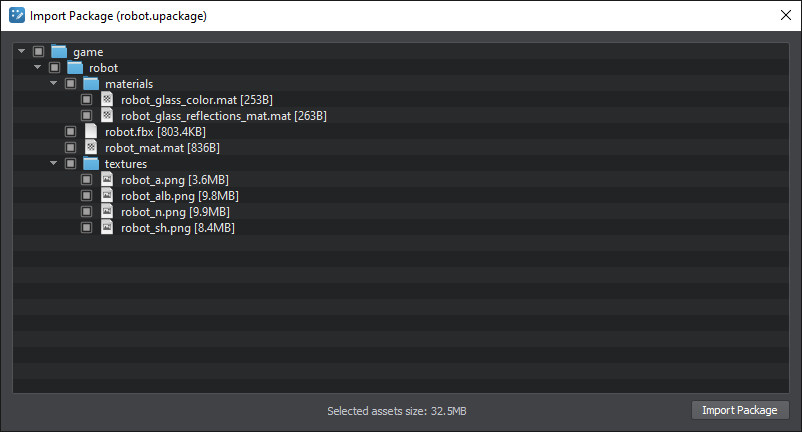
- Check the assets that are going to be imported. Assets in the package can be colored white, red, and yellow:

- White-colored assets can be imported without any changes.
- Yellow-colored assets are imported with a postfix to resolve the name collision.
- Red-colored assets cannot be imported due to one of the following reasons:
- The same asset is found in the project.
- Asset with the same Source Runtime GUID is found in the project.
- Asset with the same Runtime GUID is found in the project.
- The specified target mount point is read-only.
- After selecting all assets required for import, click the Import Package button.
- Wait for the extraction process. Extraction time depends on the size of the assets selected for the import.
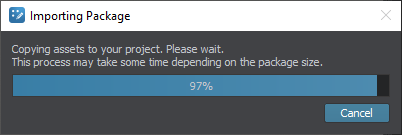
Upon successful package import, a new folder with the corresponding contents will be available in the Asset Browser and the following message will be displayed:
