Navigation Mesh
The Navigation Mesh is a navigation area which is arranged above the surface of an arbitrary mesh. In fact, the Navigation Mesh is an area of the specified height above the mesh polygons, which is available for pathfinding.
In contrast to navigation sectors, the Navigation Mesh enables the following:
- Only 2D routes can be calculated within the Navigation Mesh.
Pathfinding can be performed within 1 Navigation Mesh only. Pathfinding within the following areas is not supported:
- Within several intersecting Navigation Meshes
- Within the intersecting Navigation Mesh and sector
See also#
- The NavigationMesh class to manage navigation meshes via API
- The article on Creating Routes to learn how to create routes inside the navigation mesh
- A set of samples located in the <UnigineSDK>/data/samples/paths folder:
- mesh_00
- route_03
- route_04
Creating Navigation Mesh#
Before adding a Navigation Mesh, you should prepare a mesh, on which this Navigation Mesh will be based. Such mesh is created separately and should meet the following requirements:
- Any polygon of the mesh must not share its edge with more than 2 other polygons; otherwise, an error will occur.
- Mesh polygons should be as wide as possible (ideally, they should be equilateral). Too narrow and high polygons may reduce accuracy of path calculation.
- The mesh should be optimized: it should not contain a large number of polygons.
When a mesh is prepared, you can add the Navigation Mesh to the scene via UnigineEditor:
- Run UnigineEditor.
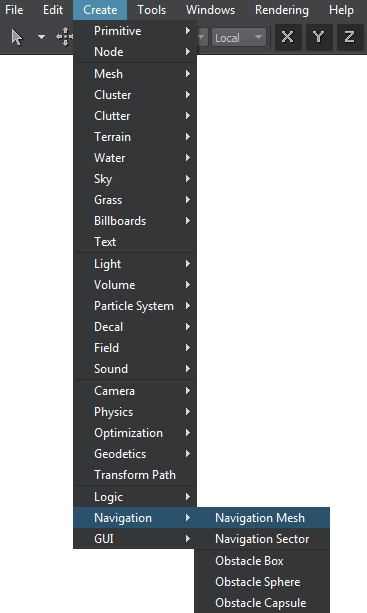
On the Menu bar, click Create -> Navigation -> Navigation Mesh.
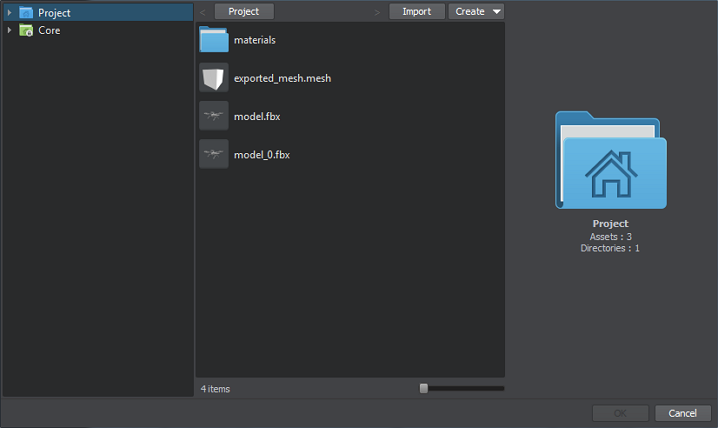
In the file dialog window that opens, choose the required mesh to be used as a base for the new navigation area and click OK.
- Click somewhere in the world to place the Navigation Mesh. A new Navigation Mesh is added to UnigineEditor and you can edit it via the Parameters window.
Example#
If you have a scene with different objects and need to calculate a 2D route among them, add the Navigation Mesh to this scene as follows:
Create a flat mesh with holes in places where the objects are positioned.
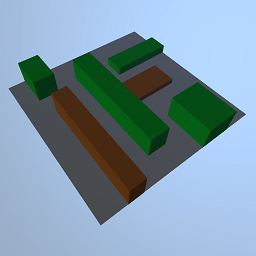
 The sceneThe mesh created for the Navigation Mesh
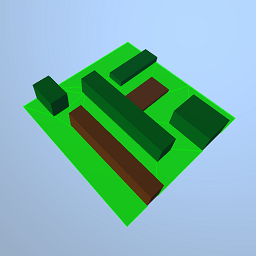
Specify this mesh as a base for a Navigation Mesh within which the route is calculated, and add the Navigation Mesh to the world. It will be highlighted in green:
A Navigation Mesh based on the flat meshPlace the Navigation Mesh above the scene.
The Navigation Mesh positioned above the scene
Editing Navigation Mesh#
In the Node tab of the Parameters window, you can adjust the following parameters of the Navigation Mesh:
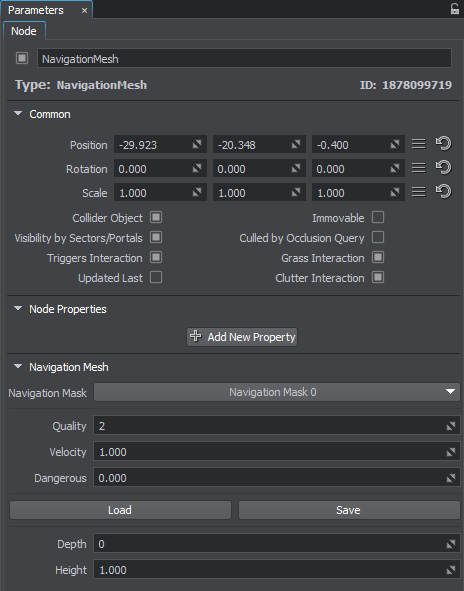
Loading a New Mesh#
To load a new mesh on which the navigation area is based:
- On the Navigation tab, press
 .
. - In the file dialog window that opens, choose the required mesh and press OK.
Saving the Current Mesh#
To save the current mesh on which the navigation area is based:
- On the Navigation tab, press
 .
. - In the file dialog window that opens, specify a name for the mesh and press OK.
