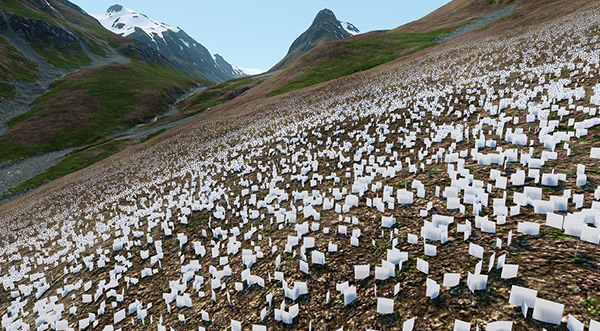
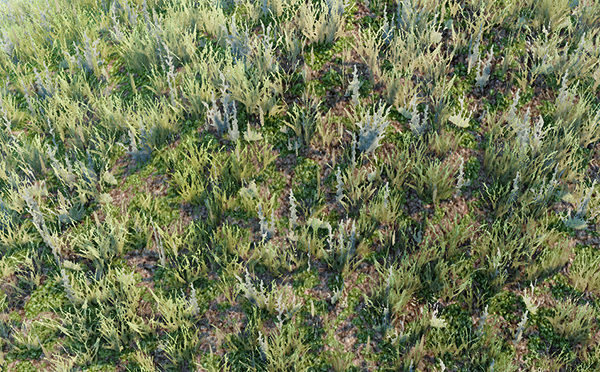
Добавление травы в сцену
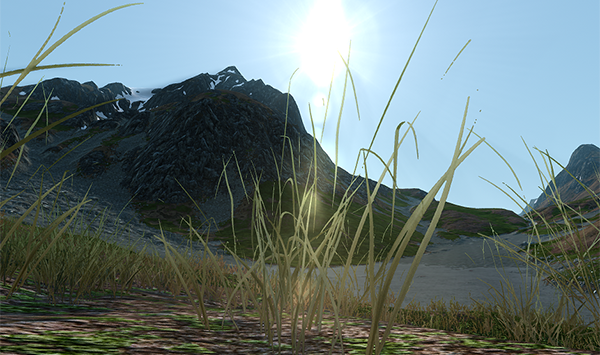
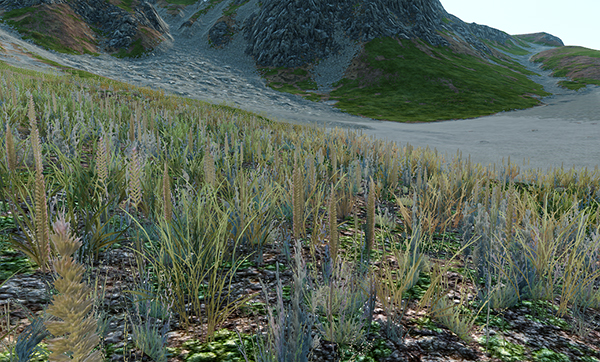
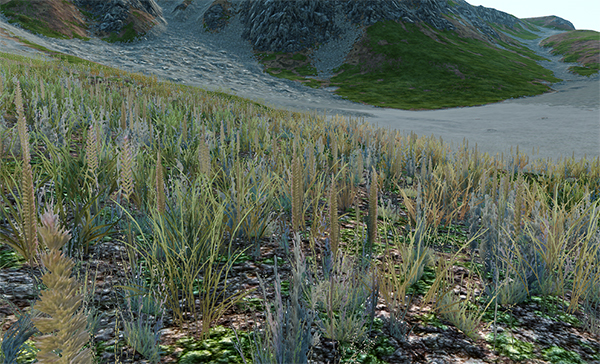
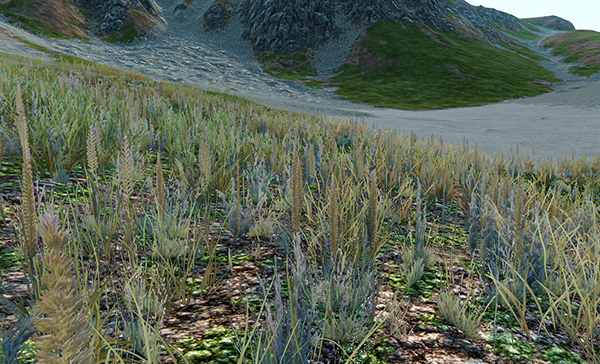
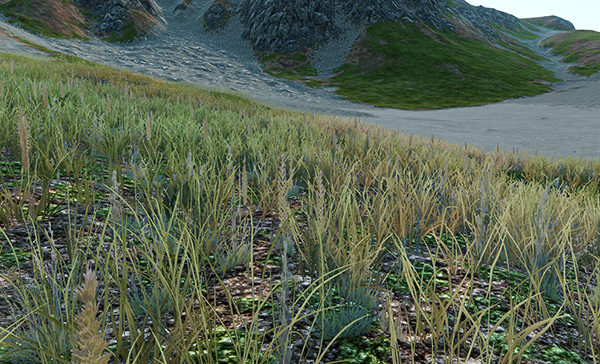
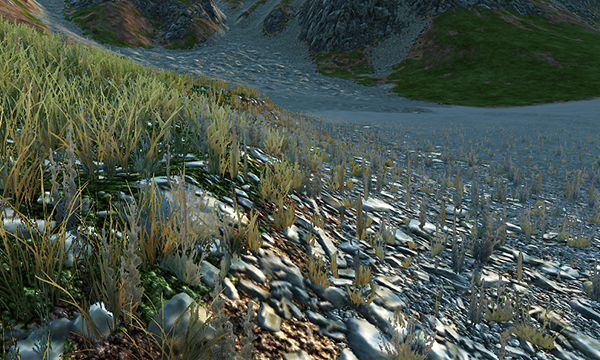
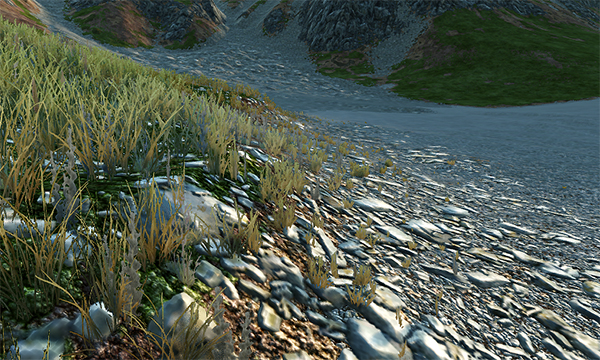
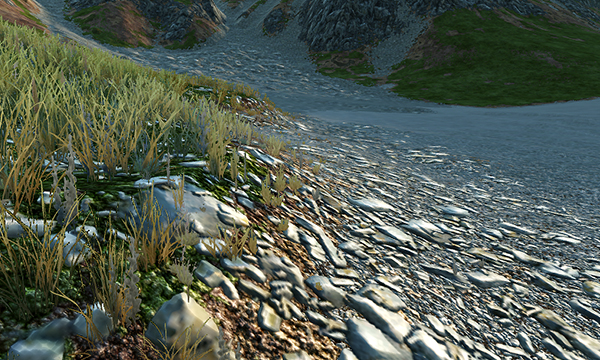
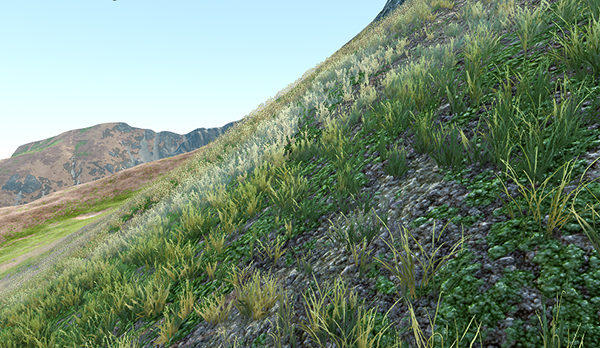
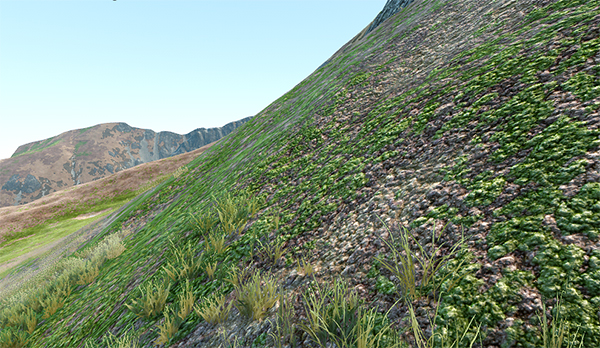
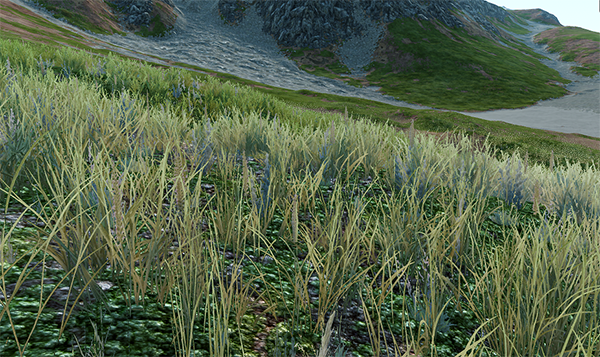
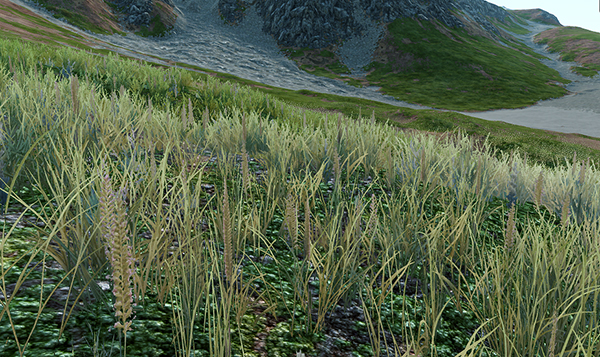
The article provides the tips and tricks how to create animated grass, swaying and moving as if with the wind. Your grass will also realistically vary in color across the field, so that it does not look unnatural like a freshly-painted lawn. Moreover, you will keep the frame rate high when rendering all these polygons. No matter how big your grass field should be (it can cover the whole terrain), grass appears only around the camera. And here is a first tip: grass looks better upon a hilly terrain. As for planes, low and non-dense grass would be a reasonable choice.В статье приведены советы и рекомендации по созданию анимированной травы, колышущейся и движущейся, как будто от ветра. Ваша трава также будет реалистично отличаться по цвету по всему полю, чтобы она не выглядела неестественно, как свежевыкрашенный газон. Более того, вы будете поддерживать высокую частоту кадров при рендеринге всех этих полигонов. Независимо от того, насколько большим должно быть ваше травяное поле (оно может покрывать всю местность), трава появляется только вокруг камеры. И вот первый совет: трава лучше смотрится на холмистой местности. Что касается плоскостей, то разумным выбором была бы низкая и не густая трава.
Required TexturesНеобходимые текстуры#
The textures that are required to set up grass (within this tutorial) are the following:Текстуры, необходимые для настройки grass (в рамках этого руководства), следующие:
-
Diffuse textures. Within this tutorial, we will use 2 diffuse textures: one for regular grass and one for grass of various types. The first texture has 1 x 4 slots and the second texture — 4 x 4 slots. As we are going to use the image mask for specifying the grass density distribution, the diffuse texture can contain less than 4 columns. Диффузные текстуры. В этом уроке мы будем использовать 2 диффузные текстуры: одну для обычной травы и одну для травы различных типов. Первая текстура имеет слоты 1 x 4, а вторая текстура — слоты 4 x 4. Поскольку мы собираемся использовать маску изображения для задания распределения плотности травы, диффузная текстура может содержать менее 4 столбцов.
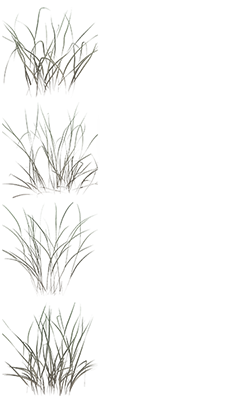
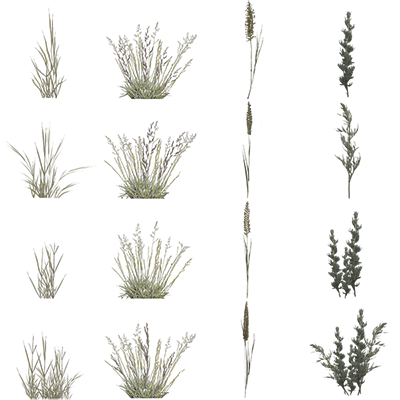 Diffuse Texture for Regular GrassДиффузная текстура для обычной травыDiffuse Texture for Grass of Various TypesДиффузная текстура для травы различных типов
 -
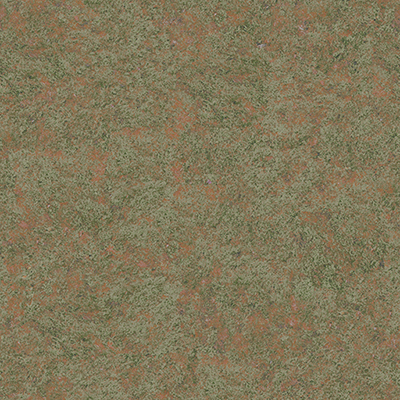
Spatial noise texture (RGB). It will cover the whole terrain and allows you to color grass differently in all locations. Текстура пространственного шума (RGB). Он будет охватывать всю местность и позволит вам по-разному окрашивать траву во всех местах.
ПримечаниеThe texture does not have the same size as the terrain, but should meet the following requirements:Текстура не имеет того же размера, что и рельеф, но должна соответствовать следующим требованиям:
- Dimensions of the texture should be equal to some power of two (for example, 1024 × 1024, 2048 × 2048 and so on).Размеры текстуры должны быть равны некоторой степени двойки (например, 1024 × 1024, 2048 × 2048 и так далее).
- Dimensions of the texture should be proportional to the terrain size. For example, if you have the 4096 × 4096 terrain, the texture should not be 256 × 512.Размеры текстуры должны быть пропорциональны размеру местности. Например, если у вас есть рельеф 4096 × 4096, текстура не должна быть 256 × 512.
- Dimensions of the texture should be chosen so that to get the result of appropriate quality after mapping pixels to the terrain. For example, if you have the 4096 × 4096 terrain and the 1024 × 1024 texture, 1 pixel of this texture will be mapped to cover 4 units of the terrain. If such quality is enough, you can use this texture. Otherwise, you should create a new one of an appropriate size.Размеры текстуры должны быть выбраны таким образом, чтобы получить результат соответствующего качества после сопоставления пикселей с рельефом местности. Например, если у вас есть рельеф 4096 × 4096 и текстура 1024 × 1024, 1 пиксель этой текстуры будет отображен так, чтобы покрыть 4 единицы рельефа. Если такого качества достаточно, вы можете использовать эту текстуру. В противном случае вам следует создать новый файл соответствующего размера.
Within this tutorial, for the 4097 × 4097 terrain, 2048 × 2048 texture will be used (1 pixel will be mapped to cover 2 units). В этом руководстве для рельефа 4097 × 4097 будет использоваться текстура 2048 × 2048 (1 пиксель будет нанесен на карту, чтобы покрыть 2 единицы).
-
Image mask that determines spreading of grass across the terrain. Each channel of the mask (R, G, B and A) controls if the grass from the 1st, 2nd, 3rd and 4th columns (respectively) is rendered or not. The grass will grow only across areas with a channel color value. Маска изображения, определяющая распределение травы по местности. Каждый канал маски (R, G, B и A) определяет, отображается ли трава из 1-го, 2-го, 3-го и 4-го столбцов (соответственно) или нет. Трава будет расти только на участках со значением цвета канала.
Within this tutorial, we will use 2 image masks taken from the Art Samples demo:В этом уроке мы будем использовать 2 маски изображений, взятые из демо-версии Art Samples:
- R8 texture for the regular grass, as its diffuse texture contains only 1 vertical column. The regular grass will be rendered where the red color is.текстура R8 для обычной травы, так как ее диффузная текстура содержит только вертикальный столбец 1. Обычная трава будет отображаться там, где находится красный цвет.
- RGBA8 texture for the grass of various types, as its diffuse texture contains 4 columns. The grass of various types will be rendered where the white color is. текстура RGBA8 для травы различных типов, так как ее диффузная текстура содержит столбцы 4. Трава различных типов будет отображаться там, где есть белый цвет.
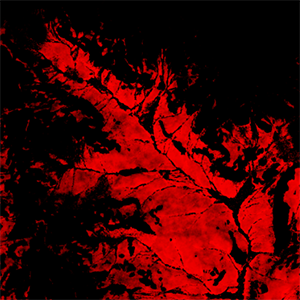
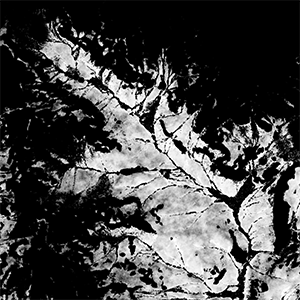 Image Mask for Regular GrassМаска изображения для обычной травыImage Mask for Grass of Various TypesМаска изображения для травы различных типов
 -
Translucent texture that stores information on grass material translucency. It is represented by the R8 texture atlas, and the number of rows and columns is determined by the number of grass chunks in the diffuse texture. Within this tutorial, we will use the translucent texture for the regular grass, so it will contain 4 vertical slots. This texture can be used instead of tweaking the Translucent parameter of the material: the texture specifies areas of the grass blades that permit light to pass through, and the parameter allows scaling of such translucence effect. Полупрозрачная текстура, которая хранит информацию о прозрачности травяного материала. Он представлен атласом текстур R8, а количество строк и столбцов определяется количеством фрагментов травы в диффузной текстуре. В этом уроке мы будем использовать полупрозрачную текстуру для обычной травы, поэтому она будет содержать вертикальные прорези 4. Эту текстуру можно использовать вместо настройки параметра Translucent материала: текстура определяет области травинок, через которые проходит свет, и параметр позволяет масштабировать такой эффект прозрачности.

Step 1. Prepare WorldШаг 1. Подготовьте сцену#
Before adding and setting up grass, you should prepare the world. If you have a set up world with the terrain, the sun and the atmosphere, you can use it. If you don't have one, you can slightly modify the vegetation/forest.world in the Art Samples demo (can be added via UNIGINE SDK Browser): delete all child nodes of the Landscape node in the World Hierarchy.Перед добавлением и установкой травы вы должны подготовить почву. Если у вас есть настроенный мир с ландшафтом, солнцем и атмосферой, вы можете его использовать. Если у вас его нет, вы можете немного изменить vegetation/forest.world в демо-версии Art Samples (можно добавить через UNIGINE SDK Browser): удалите все дочерние ноды Landscape в World Hierarchy.
Within this tutorial the modified forest.world will be used.В этом руководстве будет использоваться измененный forest.world.
Step 2. Add GrassШаг 2. Добавьте траву#
Within this tutorial, we are going to add 2 types of grass: the regular grass and the grass of various types.В этом уроке мы собираемся добавить 2 типа травы: обычную траву и траву различных типов.
In the Menu bar, choose Create -> Grass -> Base and drop the grass somewhere in the world.В строке меню выберите Create -> Grass -> Base и поместите траву где-нибудь в мире.

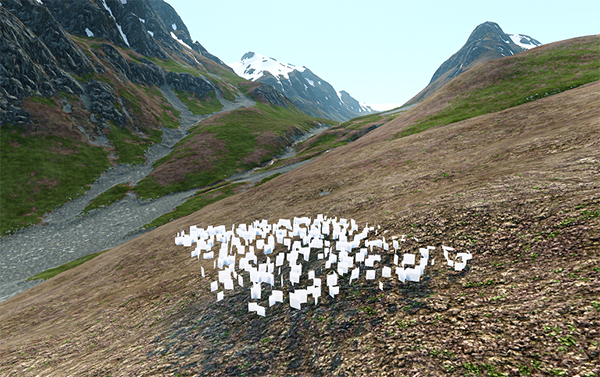 Grass object added to worldОбъект травы добавлен в мир
-
In the World Hierarchy window, clone the added Grass object. Rename the objects as follows:В окне World Hierarchy клонируйте добавленный объект Grass. Переименуйте объекты следующим образом:
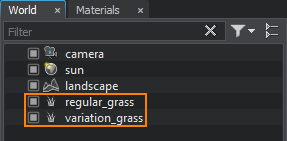
-
Select the added Grass objects in the World Hierarchy window. In the Node tab of the Parameters window, go to the Surfaces section and define the area of visibility for the future grass field. All grass blades cannot be rendered at once, especially, if the field is huge. Instead, they are going to be rendered in a small area around the camera.Выберите добавленные объекты Grass в окне World Hierarchy. На вкладке Node окна Parameters перейдите в раздел Surfaces и определите область видимости для будущего травяного поля. Все травинки не могут быть отображены сразу, особенно, если поле огромное. Вместо этого они будут отображаться в небольшой области вокруг камеры.
- Set the Maximum Visible distance to 4 units. Within this distance from the camera all grass blades are visible.Установите расстояние Maximum Visible равным единицам измерения 4. На этом расстоянии от камеры видны все травинки.
- Set the Maximum Fade distance to 90 units. Over this distance the grass will gradually fade out according to the alpha channel value of its diffuse texture.Установите расстояние Maximum Fade равным единицам измерения 90. На этом расстоянии трава будет постепенно исчезать в соответствии со значением альфа-канала ее диффузной текстуры.
As a result, you will see that the grass polygons appear and fade out within the set distance (94 units).В результате вы увидите, что многоугольники травы появляются и исчезают в пределах заданного расстояния (94 единицы).

-
In the Grass section of the Node tab, set the real size of the grass field: select both grass objects and set Size X (along the X axis) and Size Y (along the Y axis) to repeat the size of the 4097 × 4097 terrain.В разделе Grass вкладки Node установите реальный размер поля травы: выберите оба объекта травы и установите Size X (вдоль оси X) и Size Y (вдоль оси Y), чтобы повторить размер ландшафта 4097 × 4097.

-
Add the grass objects as child nodes to the terrain, so the grass can grow upon the terrain repeating its relief: select the grass nodes and drag them to the terrain node with the left mouse button pressed.Добавьте объекты травы в качестве дочерних нод к Landscape, чтобы трава могла расти на местности, повторяя ее рельеф: выберите ноды травы и перетащите на в ноду Landscape с зажатой левой кнопкой мыши.
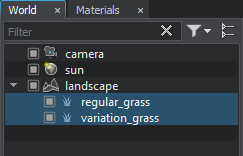
-
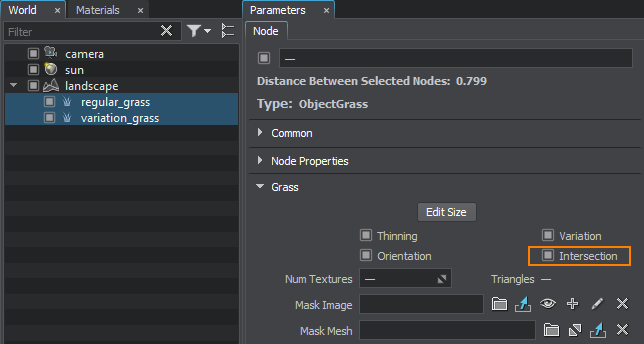
Enable the Intersection option to allow intersection with a parent node.Включите параметр Intersection, чтобы разрешить пересечение с родительской нодой.
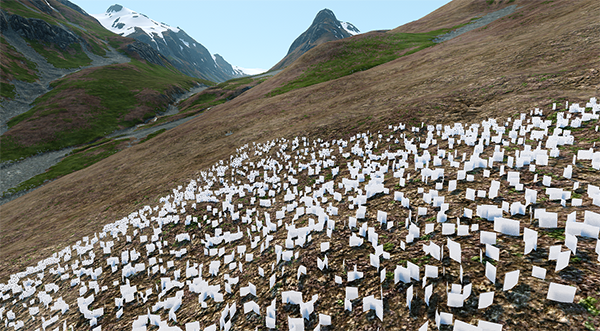
Now the grass grows upon the terrain (repeats its relief), but the field is still not positioned properly:Теперь трава растет на местности (повторяет ее рельеф), но поле по-прежнему расположено неправильно:
In the Node tab of the Parameters window, reset the position of the grass objects to 0 relative to its parent in the Common section.На вкладке Node окна Parameters сбросьте положение объектов grass на 0 относительно их родительского элемента в разделе Common.
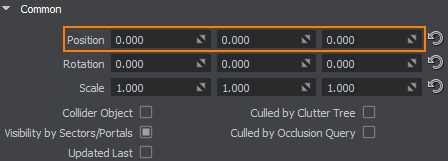
Position of the grass object becomes synchronized with the terrain:Положение объекта травы синхронизируется с рельефом местности:
-
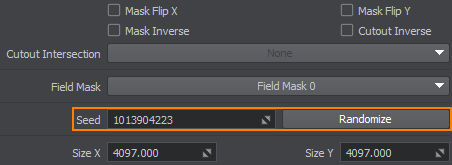
Currently, coordinates of the grass quads of both objects are coincide. To avoid grass quads flickering, position grass quads of the grass_regular object differently: click Randomize (Node tab -> Grass section) to generate a random seed.В настоящее время координаты травяных квадратов обоих объектов совпадают. Чтобы избежать мерцания квадратиков травы, расположите квадратики травы объекта grass_regular по-другому: щелкните Randomize (вкладка Node → раздел Grass), чтобы сгенерировать случайное начальное значение.
Step 3. Set Up Grass MaterialШаг 3. Настройте материал травы#
Now you should create materials for the grass objects before tweaking their spread any further.Теперь вы должны создать материалы для объектов grass, прежде чем изменять их распространение дальше.
- In the World Hierarchy window, select the regular_grass and variation_grass nodes and go to the Node tab of the Parameters window.В окне World Hierarchy выберите ноды regular_grass и variation_grass и перейдите на вкладку Node окна Parameters.
-
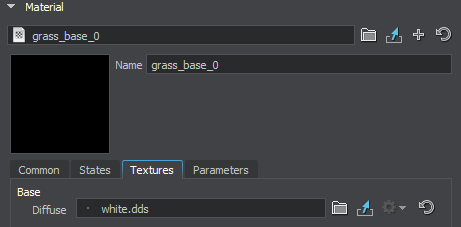
Go to the Material section of the Node tab: currently, the base grass_base material is assigned to the grass nodes. Click Inherit or
 to create a new child material. The new material will be automatically assigned to both grass nodes.Перейдите в раздел Material на вкладке Node: в настоящее время нодам травы назначен базовый материал grass_base. Нажмите Create Child или
  , чтобы создать новый дочерний материал. Новый материал будет автоматически назначен обеим нодам Grass.
-
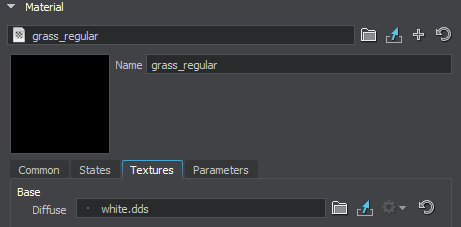
Rename the new material grass_regular in the Name field.Переименуйте новый материал grass_regular в поле Name.
-
In the World Hierarchy window, select the variation_grass node and go to the Node tab of the Parameters window. In the Material section, click
 to inherit a new material.В окне World Hierarchy выберите ноду variation_grass и перейдите на вкладку Node окна Parameters. В разделе Material щелкните
  , чтобы наследовать новый материал.ПримечаниеIn this case, a new material will inherit all settings of the grass_regular material (e.g. slope, stem noise and so on). Anyway, you still can inherit a material for the 2nd grass object from the base grass_base material and set specific settings for it.В этом случае новый материал унаследует все настройки материала grass_regular (например, наклон, шум стержня и так далее). В любом случае, вы все равно можете наследовать материал для 2-го объекта grass из базового материала grass_base и установить для него определенные настройки.
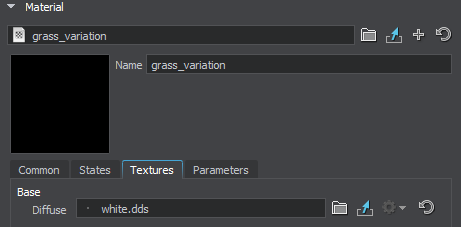
The material will be assigned automatically to the selected variation_grass node. Rename the new material grass_variation in the Name field.Материал будет автоматически назначен выбранной ноде variation_grass. Переименуйте новый материал grass_variation в поле Name.
-
Adjust the materials of the grass objects: for each material, go to the Textures tab and drag the diffuse texture to the corresponding field.Настройте материалы объектов grass: для каждого материала перейдите на вкладку Textures и перетащите диффузную текстуру в соответствующее поле.
ПримечаниеYou may want to manually edit the alpha channel of the mipmaps, because on automatically generated mipmaps thin blades may disappear incorrectly or unpleasantly.Возможно, вам захочется вручную отредактировать альфа-канал mip-карт, потому что на автоматически сгенерированных mip-картах тонкие полосы могут исчезать неправильно или неприятно.
 Diffuse Texture for regular_grassДиффузная текстура для regular_grassDiffuse Texture for variation_grassДиффузная текстура для variation_grass
 -
Go to the Grass section of the Node tab. For both Grass objects, set the proper number of horizontal rows in the diffuse textures in the Num Textures field. For example, we have 4 rows for both grass objects, so the Num Textures must be set to 4.Перейдите в раздел Grass на вкладке Node. Для обоих объектов Grass задайте нужное количество горизонтальных строк в диффузных текстурах в поле Num Textures. Например, у нас есть строки 4 для обоих объектов grass, поэтому для Num Textures должно быть установлено значение 4.
ПримечаниеAs you can see, the regular_grass node isn't rendered properly because there is no image mask. The diffuse texture of the regular grass contains only 1 column, so the 1-channelled image mask (R8) should be set.Как вы можете видеть, нода regular_grass не отображается должным образом, потому что нет image mask. Диффузная текстура обычной травы содержит только столбец 1, поэтому следует установить 1-канальную маску изображения (R8). Drag the correct R8 image mask from the Asset Browser to the corresponding field in the Grass section of the Node tab to fix rendering of the regular_grass node. We will set up all related parameters later.Перетащите правильную маску изображения R8 из Asset Browser в соответствующее поле в разделе Grass вкладки Node, чтобы исправить рендеринг ноды regular_grass. Мы настроим все соответствующие параметры позже.
-
Go to the States tab of the Material section (Node tab, Parameters window). Check the Noise option for the grass_regular material. It will allow you to color the blades of the regular grass differently across the whole field. The Noise option will also be set for the grass_variation material.Перейдите на вкладку States раздела Material (вкладка Node, окно Parameters). Установите флажок Noise для материала grass_regular. Это позволит вам по-разному окрашивать травинки обычной травы по всему полю. Параметр Noise также будет установлен для материала grass_variation.
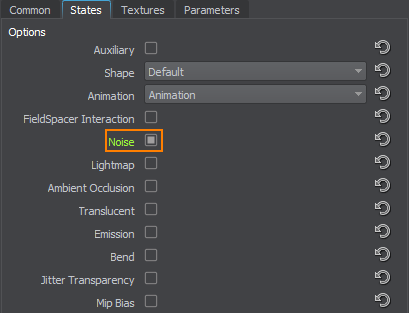
- For the grass_variation material, go to the States tab of the Material section and uncheck the Noise option. It will allow the grass of various types to differ from the regular grass.Для материала grass_variation перейдите на вкладку States раздела Material и снимите флажок с параметра Noise. Это позволит траве различных типов отличаться от обычной травы.
-
For the grass_regular material, go to the Textures tab and drag the spatial noise texture from the Asset Browser to the Noise field.Для материала grass_regular перейдите на вкладку Textures и перетащите текстуру пространственного шума из обозревателя ресурсов в поле Noise.

-
Go to the Parameters tab of the grass_regular material. To the right of the Noise Transform field, click
 to edit the values (or modify the expression right in this field).Перейдите на вкладку Parameters материала grass_regular. Справа от поля Noise Transform щелкните
  , чтобы отредактировать значения (или изменить выражение прямо в этом поле).
-
Set the scale of texture coordinates by X and Y axes to 1: in this case, the spatial noise texture will cover the entire terrain.Установите масштаб координат текстуры по осям X и Y равным 1: в этом случае текстура пространственного шума будет покрывать всю местность.
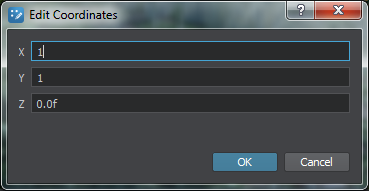
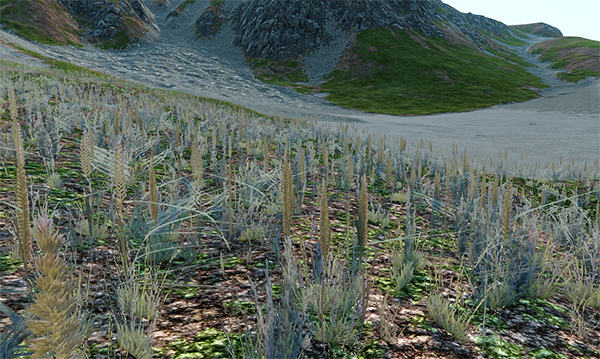
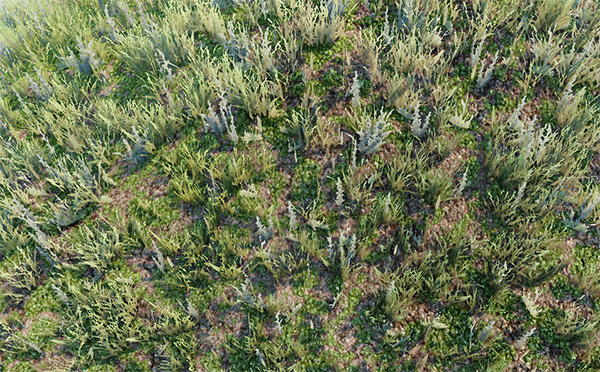
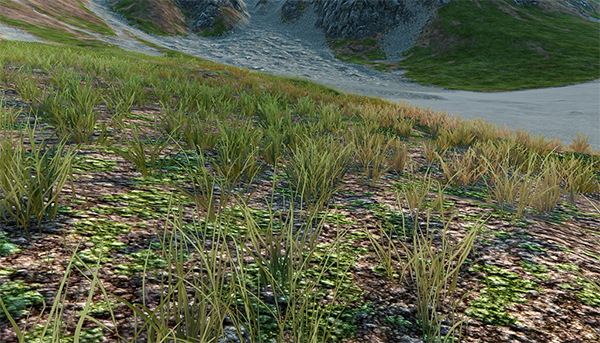
You can see patches of light green and yellow grass:Вы можете увидеть участки светло-зеленой и желтой травы:
-
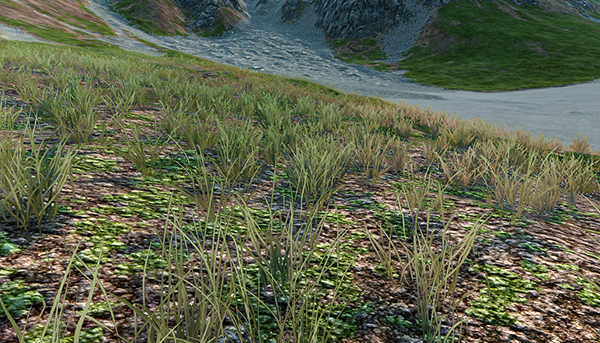
The colors are too vivid to match the terrain colors. Drop the Scale to 0.38 to dim the noise color.Цвета слишком яркие, чтобы соответствовать цветам местности. Уменьшите значение Scale до 0.38, чтобы уменьшить цвет шума.

-
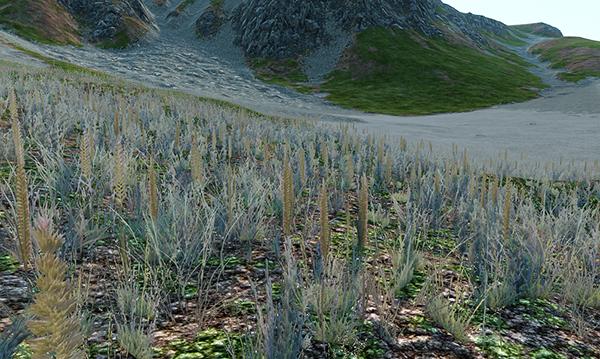
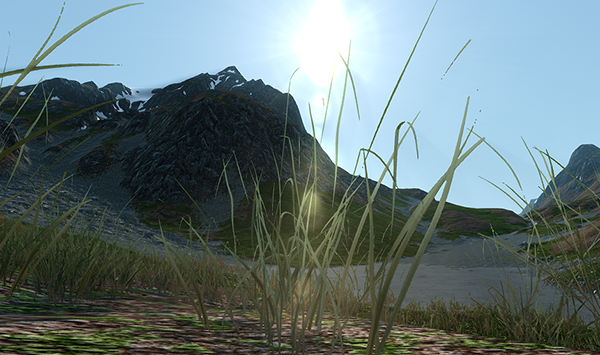
The blades are quite thin, so make them a little bit more transparent to light when it shines from behind: increase the Translucent parameter up to 0.7 for the grass_regular material. For the grass_variation material it will be applied automatically.Травинки довольно тонкие, поэтому сделайте их немного более прозрачными для света, когда он светит сзади: увеличьте параметр Translucent до 0.7 для материала grass_regular. Для материала grass_variation он будет применен автоматически.
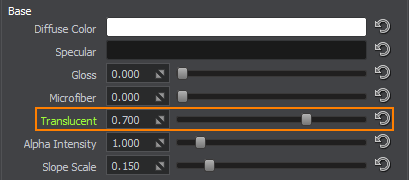
The grass will become more transparent and lighter:Трава станет более прозрачной и светлой:
-
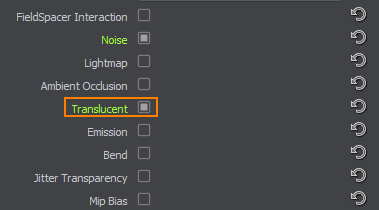
Go to the States tab and enable the Translucent option for the regular grass. This will activate the Translucent Map in the Textures tab that allows specifying translucent areas of the grass blades.Перейдите на вкладку States и включите опцию Translucent для обычной травы. Это активирует параметр Translucent Map на вкладке Textures, который позволяет указать полупрозрачные области травинок.
-
In the Textures tab, drag the translucent texture from the Asset Browser to the Translucent Map field.На вкладке Textures перетащите текстуру полупрозрачности из Asset Browser в поле Translucent Map.
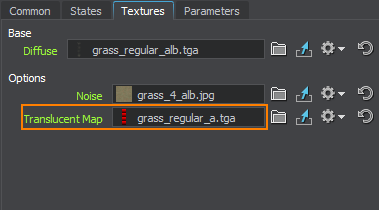
According to the texture, the translucence effect applied to the grass blades will be gradient.В зависимости от текстуры эффект прозрачности, применяемый к травинкам, будет градиентным.
- Disable the Translucent option for the grass_variation material.Отключите параметр Translucent для материала grass_variation.
-
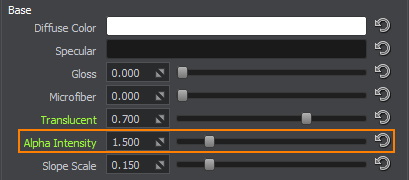
Increase the Alpha Intensity to 1.5 to scale the Alpha channel of the diffuse texture of the regular grass. In the result, the grass field will look denser.Увеличьте значение Alpha Intensity до 1.5, чтобы масштабировать альфа-канал диффузной текстуры обычной травы. В результате травяное поле будет выглядеть более плотным.
-
For now, transparency and diffuse coloring values are the same for the grass_regular and grass_variation materials. Change these settings for the grass_variation: set the Translucent parameter to 0.5 and the Alpha Intensity to 0.8.На данный момент значения прозрачности и диффузной окраски одинаковы для материалов grass_regular и grass_variation. Измените эти настройки для grass_variation: установите для параметра Translucent значение 0.5, а для параметра Alpha Intensity значение 0.8.
Step 4. Set Up Grass Density and SpreadШаг 4. Настройте плотность и распределение травы#
-
First, set up the density of the grass. For the regular grass, go to the Grass section of the Node tab and drop the Step to 17. It will make the cells which are used to render the grass field smaller, however, this value is not so large to hit the performance when the cell is created.Во-первых, установите плотность травы. Для обычной травы перейдите в раздел Grass на вкладке Node и измените значение Step на 17. Это уменьшит ячейки, которые используются для рендеринга поля травы, однако это значение не настолько велико, чтобы повлиять на производительность при создании ячейки.
The Subdivision should be set to 1 to avoid additional subdivision of the grass cells: higher values of this parameter are usually used when the grass is used as a low-poly distant LOD of a forest created by using World Clutter or Mesh Clutter.Для параметра Subdivision следует установить значение 1, чтобы избежать дополнительного разделения ячеек травы: более высокие значения этого параметра обычно используются, когда трава используется в качестве низкополигонального удаленного LOD леса, созданного с помощью World Clutter или Mesh Clutter.
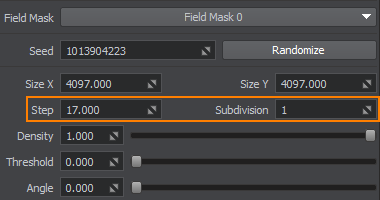
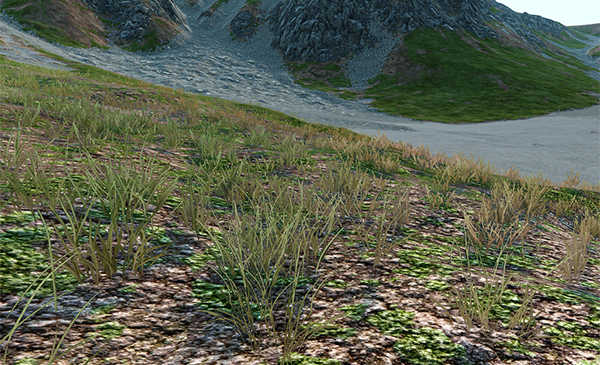
The grass is regenerated. The density also changed, because it is defined for one cell. As we made the cell smaller, the grass turned out to be slightly more dense.Трава регенерируется. Плотность также изменилась, поскольку она определена для одной ячейки. Поскольку мы сделали клетку меньше, трава получилась немного более густой.
-
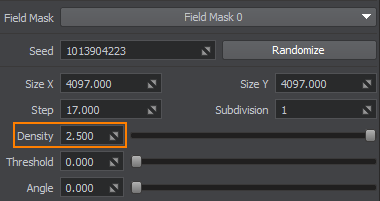
Increase the Density of the regular grass in a cell to 2.5 to add more grass blades on the field. For the various grass, set this value to 0.5.Увеличьте Density обычной травы в ячейке до 2.5, чтобы добавить больше травинок на поле. Для различных трав установите это значение равным 0.5.
-
Now tweak the spread of the grass. For the regular grass, we have already set the image mask. Now you should set it for the grass of various types: drag the RGBA8 image mask to the Mask Image field in the Grass section of the Node tab.Теперь подправьте распределение травы. Для обычной травы мы уже установили маску изображения. Теперь вы должны установить его для травы различных типов: перетащите RGBA8 image mask в поле Mask Image в разделе Grass вкладки Node.
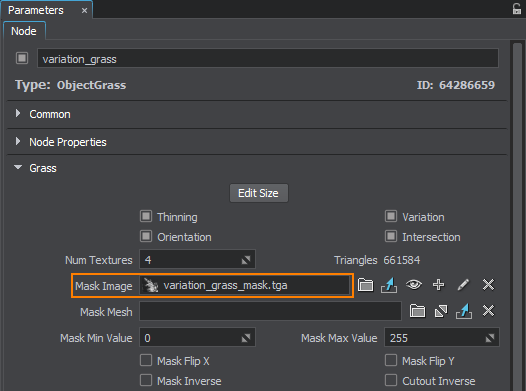
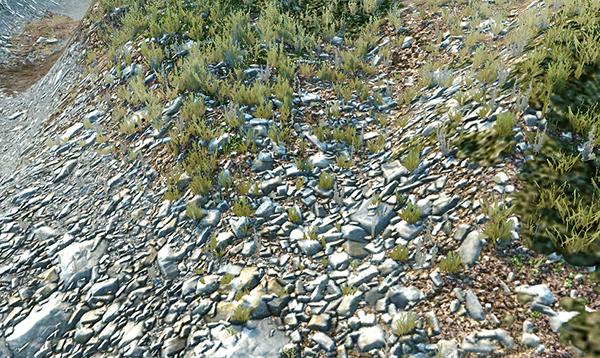
The grass no longer grows on mountains peaks and stony areas:Трава больше не растет на горных вершинах и каменистых участках:
ПримечаниеTo paint the image mask directly in the scene, use Mask Editor.Чтобы нарисовать маску изображения непосредственно в сцене, используйте Mask Editor. -
Set the Threshold to 0.3 to increase the mask intensity.Установите значение Threshold на 0.3, чтобы увеличить интенсивность маски.
ПримечаниеPerform this step for both grass objects.Выполните этот шаг для обоих объектов grass.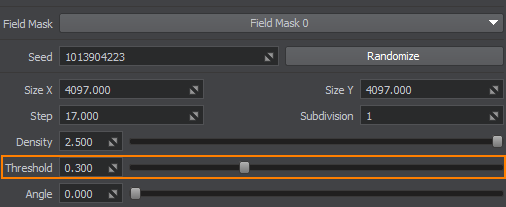
This will decrease the area that the grass covers:Это уменьшит площадь, которую покрывает трава:
-
Usually the grass does not grow on the steep hillsides. Increase the Angle to 0.85 to make steep areas grassless.Обычно трава не растет на крутых склонах холмов. Увеличьте значение Angle до 0.85, чтобы сделать крутые участки без травы.
ПримечаниеPerform this step for both grass objects.Выполните этот шаг для обоих объектов grass.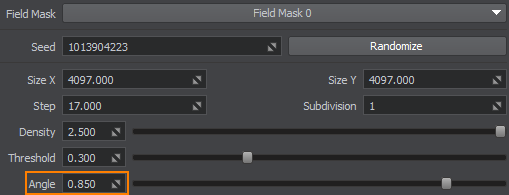
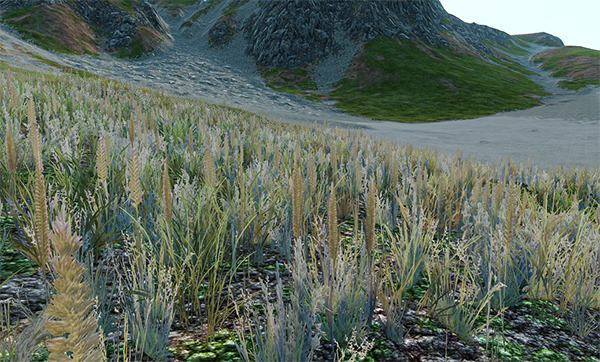
Now the spread of the grass is more realistic:Теперь распределение травы стало более реалистичным:
-
Currently, all types of the grass of various types (in other words, slots of the diffuse texture of the grass_variation node) are spread uniformly across the grass field. However, in nature, one type of grass can predominate over the others or grow in small groups. To achieve this, change the Probability parameter so that one type of the grass will predominate over the other types according to the diffuse texture.В настоящее время все типы травы различных типов (другими словами, слоты диффузной текстуры ноды grass_variation) равномерно распределены по травяному полю. Однако в природе один вид травы может преобладать над другими или расти небольшими группами. Чтобы добиться этого, измените параметр Probability так, чтобы один тип травы преобладал над другими типами в соответствии с диффузной текстурой.

For example, you can set the probability factor to 4 for the 3rd column of the diffuse texture: Например, вы можете установить коэффициент вероятности равным 4 для 3-го столбца диффузной текстуры:
Step 5. Set Up Grass Shape and OrientationШаг 5. Настройте форму и ориентацию травы#
-
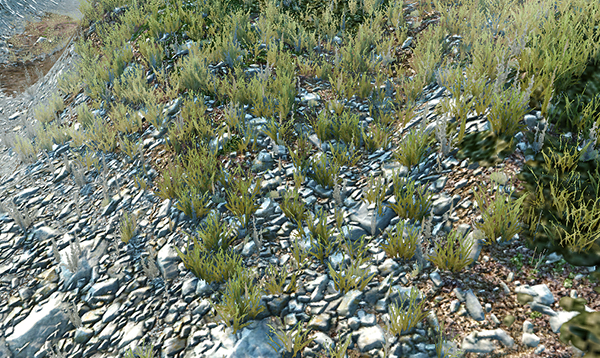
When changing from bare areas to grassy ones, our grass starts to grow as small and thinned out. But on the stones, it does not look too good. Increase the Min Height up to 1.2. In areas with low density (according to the mask) the grass will be higher. You can set different height values for each of four columns in the diffuse texture, or leave it the same for all.При переходе с голых участков на травянистые наша трава начинает расти такой же мелкой и поредевшей. Но на камнях это смотрится не слишком хорошо. Увеличьте значение Min Height до 1.2. В районах с низкой плотностью (согласно маске) трава будет выше. Вы можете установить разные значения высоты для каждого из четырех столбцов в диффузной текстуре или оставить их одинаковыми для всех.
ПримечаниеPerform this step for both grass objects. For the regular grass, setting the value for the first column is enough.Выполните этот шаг для обоих объектов grass. Для обычной травы достаточно установить значение для первого столбца.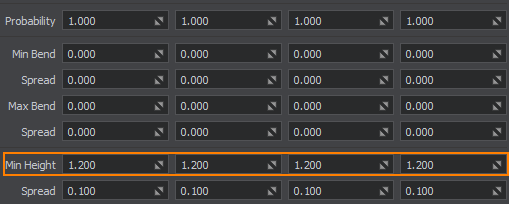
-
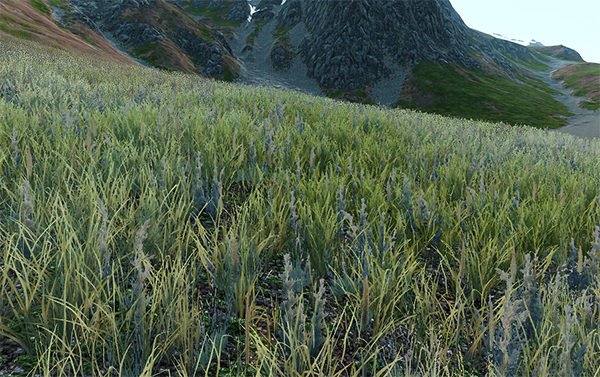
Increase the Max Height of the grass blades to 1.7 units. In areas with high density (according to the mask) the grass becomes higher. We'll use the same height for all four columns in the diffuse texture as well.Увеличьте Max Height травинок до 1.7 единиц. В районах с высокой плотностью (согласно маске) трава становится выше. Мы также будем использовать одинаковую высоту для всех четырех столбцов в диффузной текстуре.
ПримечаниеPerform this step for both grass objects. For the regular grass, setting the value for the first column is enough.Выполните этот шаг для обоих объектов grass. Для обычной травы достаточно установить значение для первого столбца.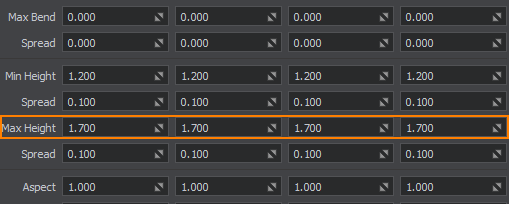
-
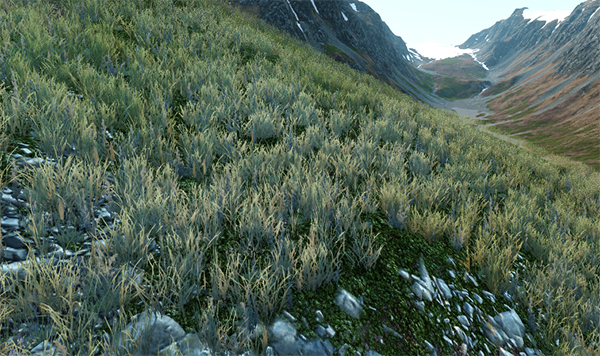
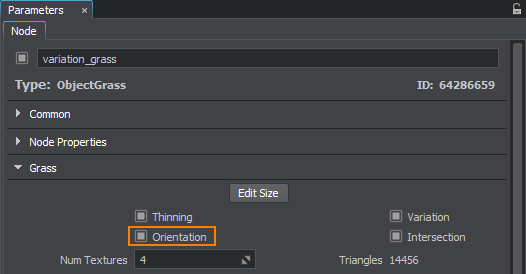
Unlike trees, the grass is usually grows perpendicular to the terrain. Check the Orientation in the Grass tab of the Parameters window to orient the grass objects along the normal of the terrain. Perform it for both regular and variation grass.В отличие от деревьев, трава обычно растет перпендикулярно рельефу местности. Установите флажок Orientation на вкладке Grass окна Parameters, чтобы сориентировать объекты травы по нормали к местности. Выполняйте его как для обычной, так и для вариационной травы.
-
From above the grass seems too flat. In the Material section of the Node tab (the Parameters window), go to the Parameters tab and increase the Slope to 0.5 to make it more billboard-like.Сверху трава кажется слишком плоской. В разделе Material вкладки Node (окно Parameters) перейдите на вкладку Parameters и увеличьте значение Slope до 0.5, чтобы сделать его более похожим на рекламный щит.
ПримечаниеThe slope will be the same for both the grass_regular and grass_variation materials.Наклон будет одинаковым как для материалов grass_regular, так и для материалов grass_variation.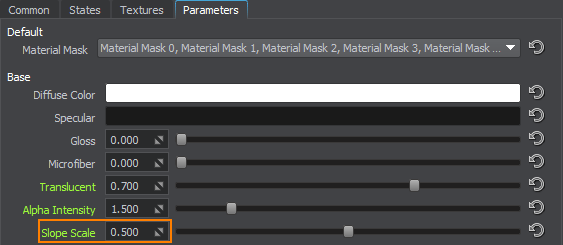
-
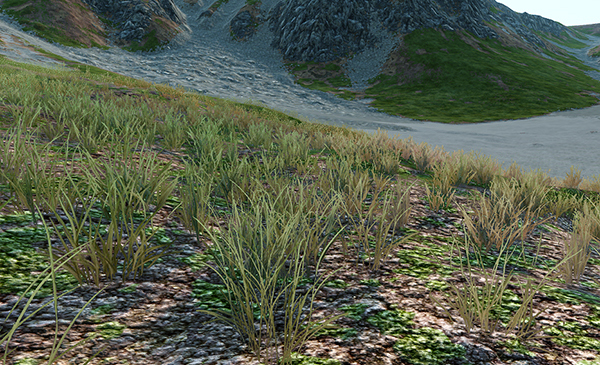
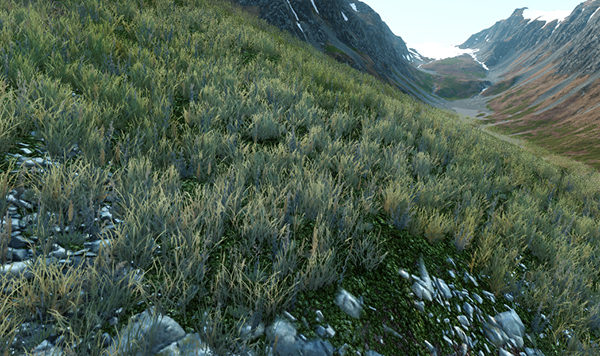
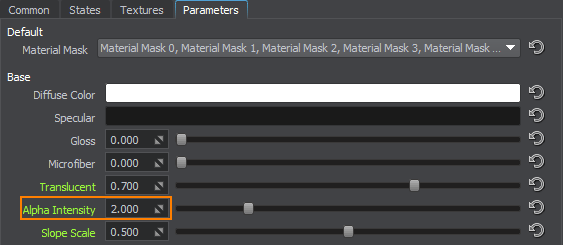
Grass blades are too thin and sometimes appear in dashed lines. Increase the Alpha Intencity up to 2 to make the blades look thicker and the grass denser.Травинки слишком тонкие и иногда выглядят пунктирными линиями. Увеличьте значение Alpha Intencity до 2, чтобы травинки выглядели толще, а трава плотнее.
Step 6. Set Up Grass AnimationШаг 6. Настройте анимации травы#
In nature, grass isn't static. So, it is necessary to set up grass animation. It can be set via animation settings of the grass material, so that all grass polygons are animated uniformly. Or you can animate some specific area of the grass field by using animation fields.В природе трава не статична. Итак, необходимо настроить анимацию травы. Его можно настроить с помощью настройки анимации материала grass, чтобы все полигоны grass были анимированы равномерно. Или вы можете анимировать какую-то определенную область поля травы, используя анимационные поля.
Within this tutorial, only the first method will be used. The example on using grass with animation fields can be found here.В этом руководстве будет использоваться только первый метод. Пример использования grass с анимированными полями можно найти здесь.
-
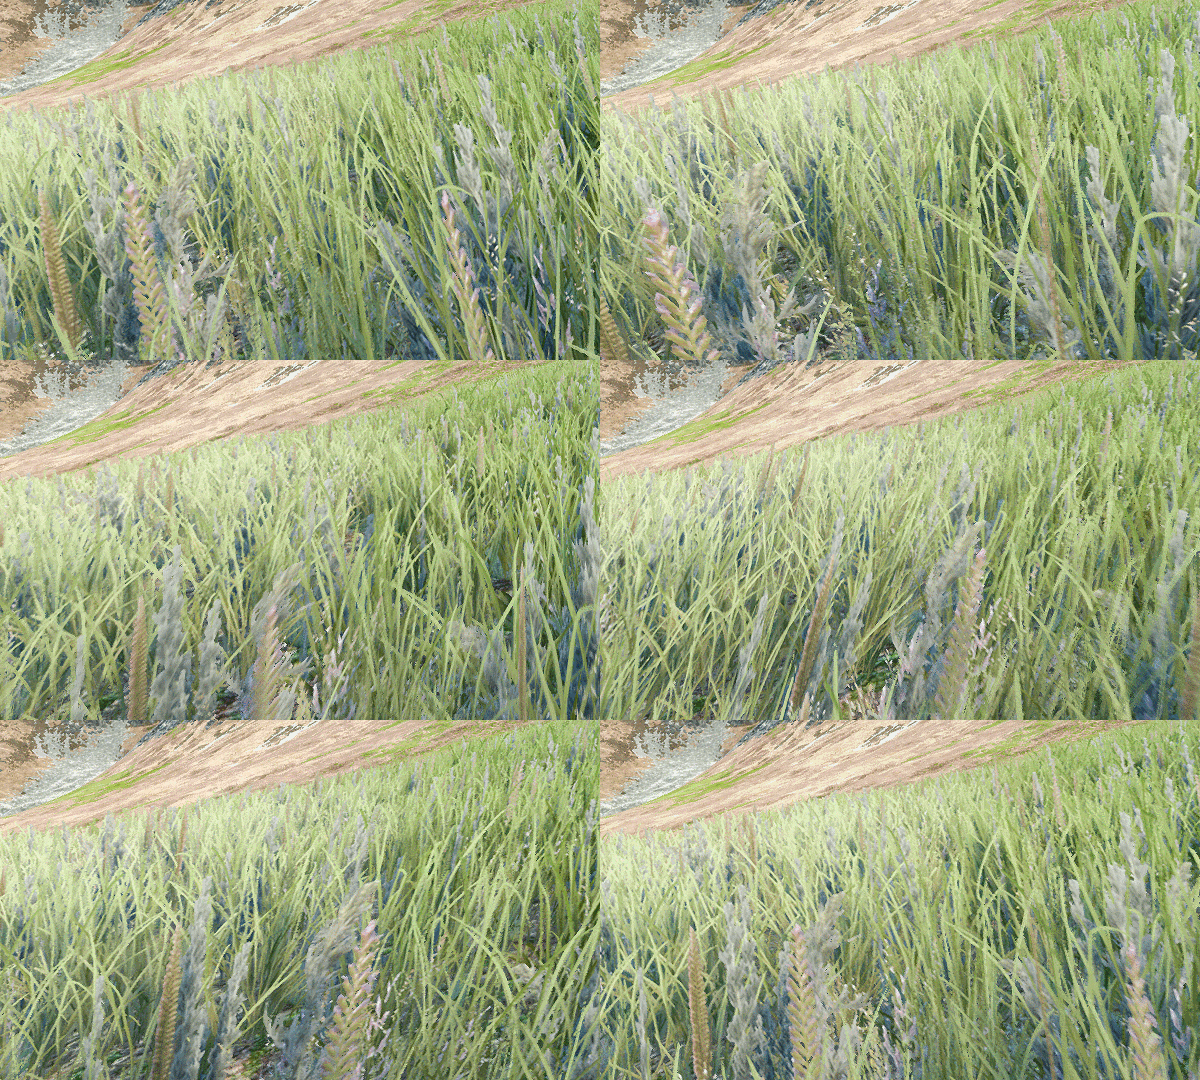
In the Parameters tab of the Material section (the Node tab, Parameters window), set the Stem noise to 0 to make all the grass blades move uniformly. It will help to learn how to adjust the animation.На вкладке Parameters раздела Material (вкладка Node, окно Parameters) установите значение Stem noise равным 0, чтобы все травинки двигались равномерно. Это поможет узнать, как настроить анимацию.

-
Decrease the Stem offset to 0.1 to make the grass sway and stretch horizontally to a lesser degree.Уменьшите значение Stem offset до 0.1, чтобы трава меньше раскачивалась и растягивалась по горизонтали.

-
Decrease the Stem radius to 0.1 so that the grass does not bend down to the ground.Уменьшите значение Stem radius до 0.1, чтобы трава не пригибалась к земле.

-
Increase the Stem scale to 2 to make the grass move two times faster.Увеличьте значение Stem scale до 2, чтобы трава двигалась в два раза быстрее.

-
Increase the Stem noise to 2 to make the blades movement more random.Увеличьте значение Stem noise до 2, чтобы сделать движение лопастей более случайным.

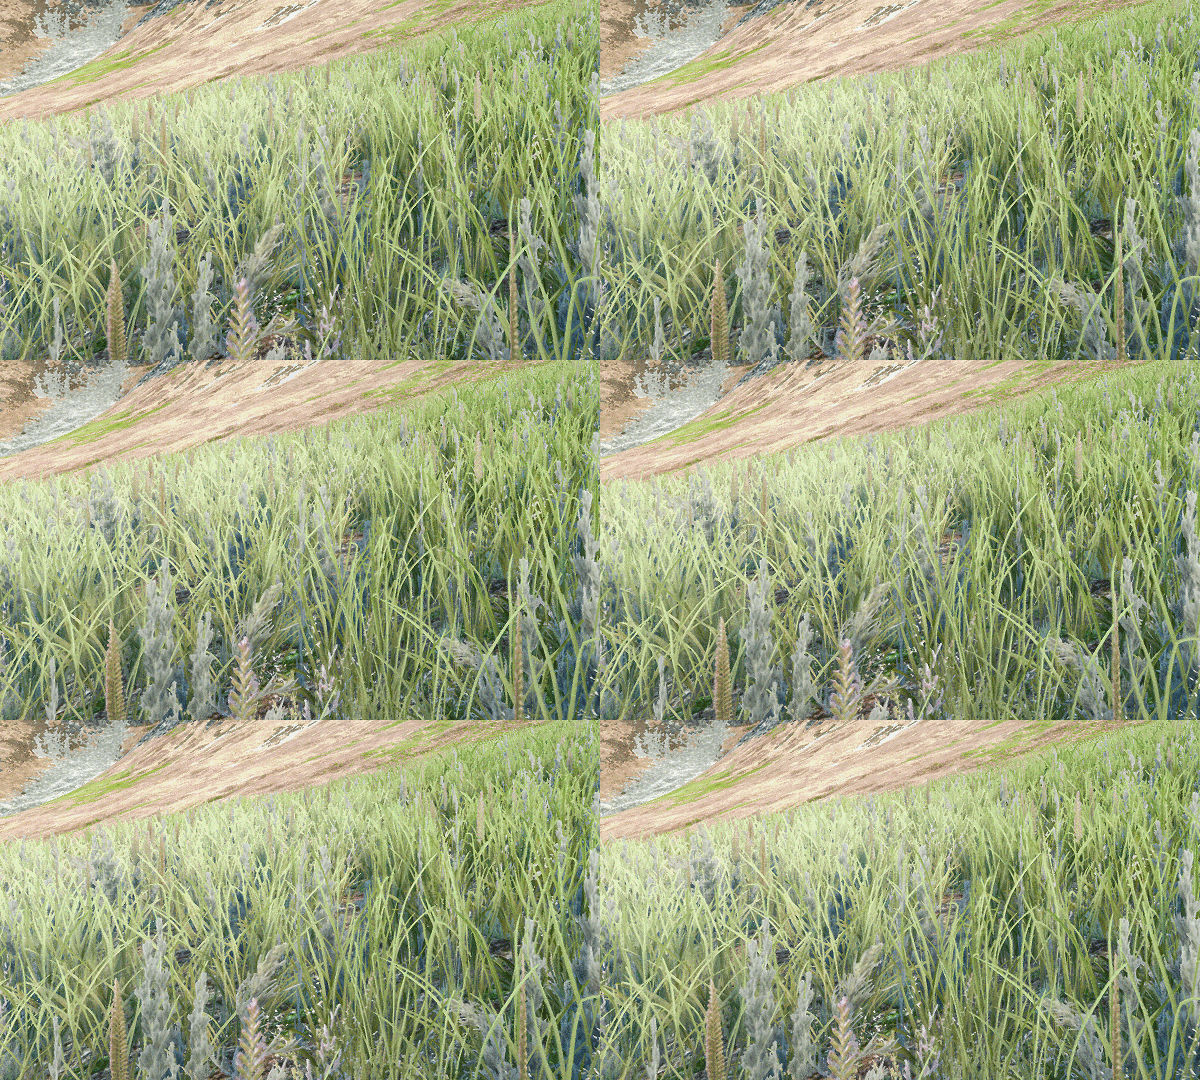
Grass OptimizationОптимизация травы#
Grass optimization means reducing the number of grass polygons rendered each frame and the number of DIP calls. To optimize the grass that we added and set up above, we have already set the Step value to 17: the Size of the grass field is divided by this value exactly, with no remainder by division. This allows avoiding visual artifacts and unexpected visual effects. Also such value stays within the recommended optimal range.Оптимизация Grass означает уменьшение количества полигонов grass, отображаемых в каждом кадре, и количества вызовов DIP. Чтобы оптимизировать траву, которую мы добавили и настроили выше, мы уже установили значение Step равным 17: Size поля травы делится точно на это значение, без остатка при делении. Это позволяет избежать визуальных артефактов и неожиданных визуальных эффектов. Также такое значение остается в пределах рекомендуемого оптимального диапазона.
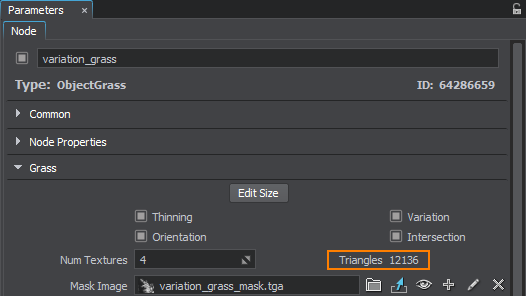
The Thinning option is set for the grass objects by default: it allows reducing the number of grass polygons rendered across the grass Fade distance.По умолчанию для объектов grass установлена опция Thinning: она позволяет уменьшить количество полигонов grass, отображаемых на расстоянии grass Fade.
After changing the settings mentioned above, you can compare the previous and the current number of grass triangles: simply check the Triangles counter.После изменения настроек, упомянутых выше, вы можете сравнить предыдущее и текущее количество треугольников травы: просто проверьте счетчик Triangles.
Информация, представленная на данной странице, актуальна для версии UNIGINE 2.19 SDK.

