Adding Roads
You should upgrade to
Roads are generated by tiling a decal created from a primary static mesh along the vector data available.
Preparing a Primary Object#
First, we create a Mesh Static object that will be used as a building block for the generation.
-
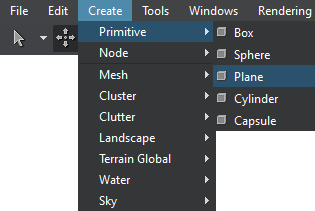
Create a plane: click Create —> Primitive —> Plane on the Menu bar.
-
Specify the mesh parameters. For our road, we set the following:
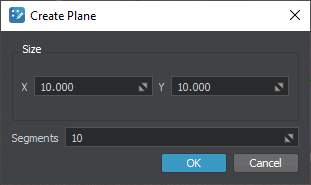 NoticeWe recommend using more than a single segment to make road curves smoother.
 -
Assign the sw_georeferenced/nodes/road/materials/road.mat material to the plane.
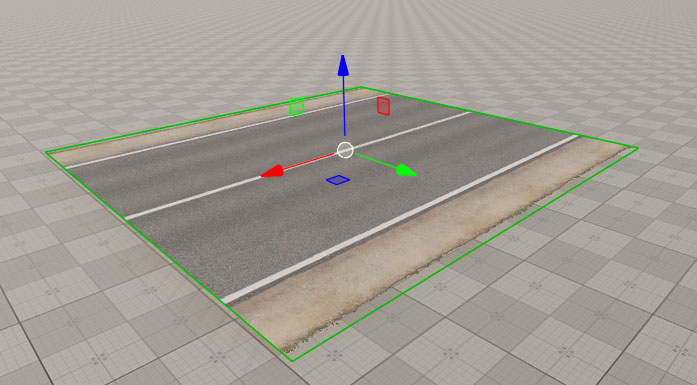
The road is generated by tiling the primary mesh along one of the axes X, Y, or Z (forward axis), so make sure that your mesh is oriented correctly — in this case, the forward axis is X (red arrow).
-
Export the plane to a *.node file.
Now that the primary node for roads (the *.node asset) is ready for use, you can disable it or delete from the scene.
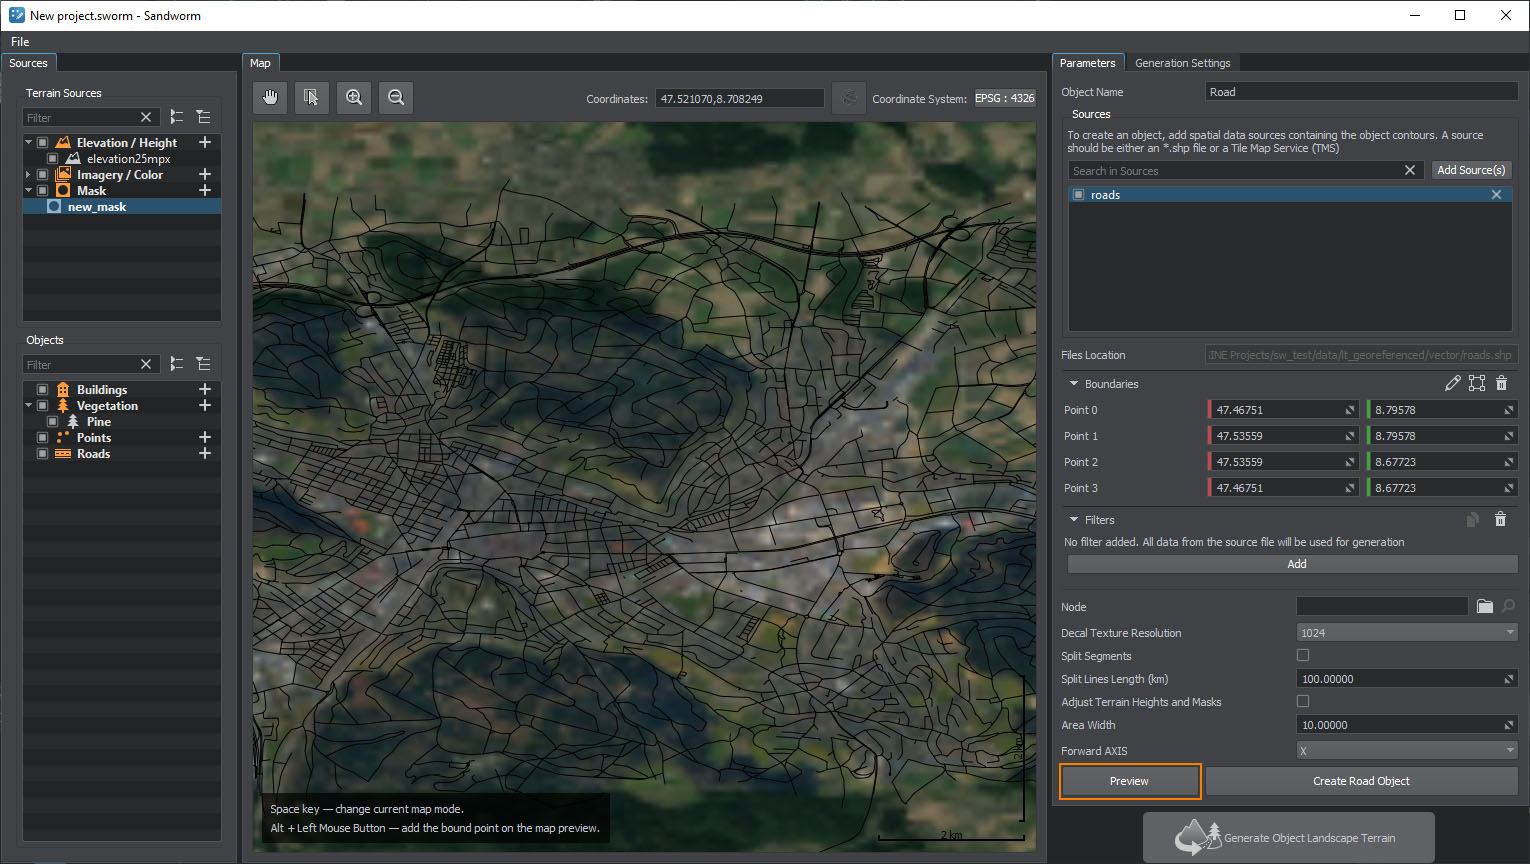
Setting the Road Object#
-
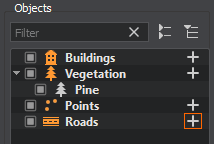
Create the object: in the Objects panel, click + for Roads.
-
In the Parameters tab, add a source: click the Add Source(s) button, select Assets and set the path to the sw_georeferenced/vector/roads.shp file.
As the source is added, we can click the Preview button below to see the road data preview on the map. This step is optional, you can create the layer without generating the preview.
-
Add a filter to pick specific data from the source and set the following filter data.

You can either use the drop-downs to select the values or click the
 button to open the Attributes Table and select the values there.
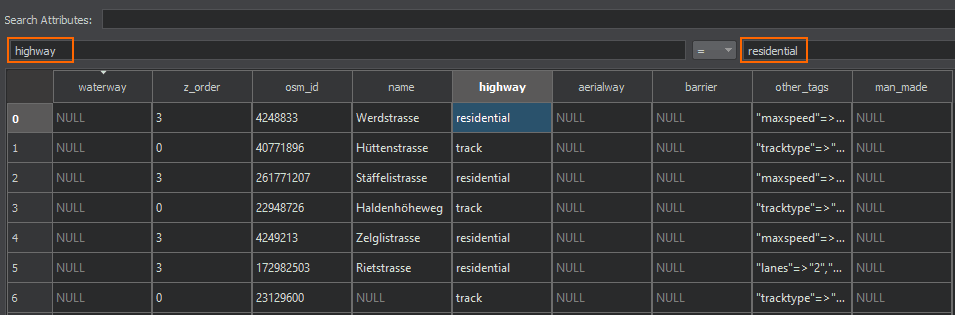 NoticeThis step is optional. You can add no filters at all — in this case all roads available in the data source will be generated.
 -
Set the prepared primary object as Node and keep other settings as they are.
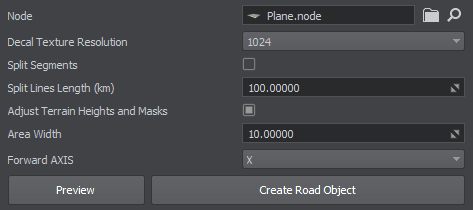
- Click the Create Road Object button.
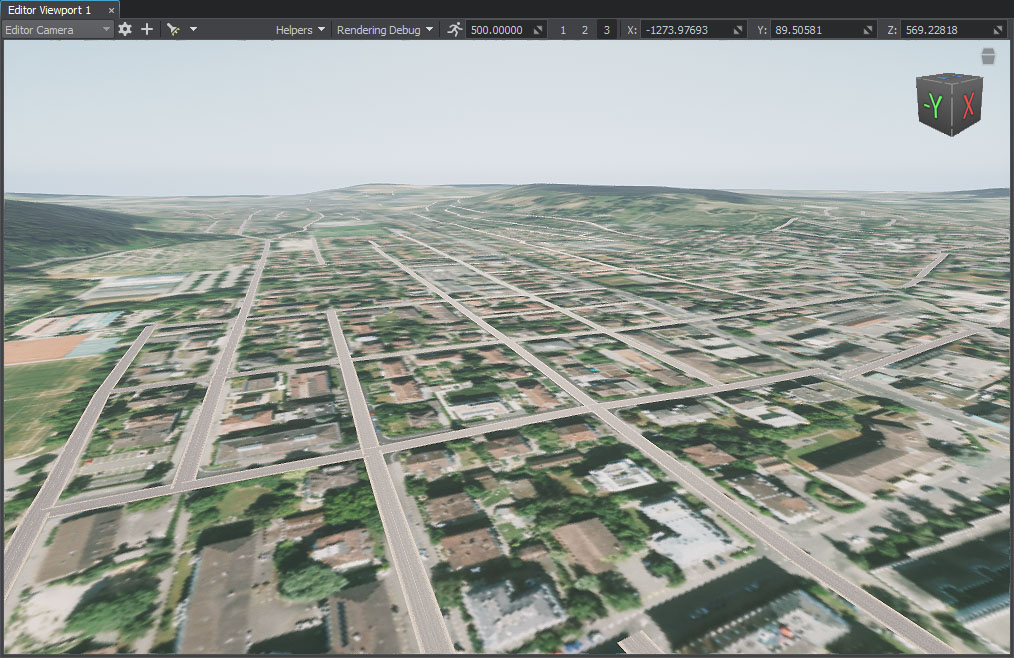
Generated Roads#
What Else#
- Read more about the road parameters.
- Read more about the filter settings.