Sandworm Interface
This chapter gives an overview of the Sandworm tool interface.
Opening the Sandworm Tool#
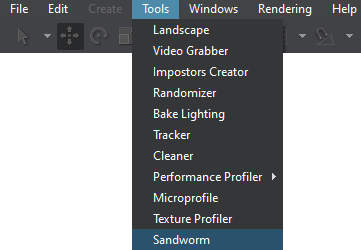
To open Sandworm, select Tools -> Sandworm in the main menu.
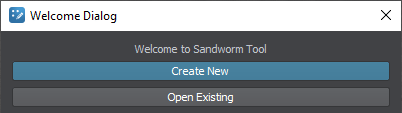
The following window will open:
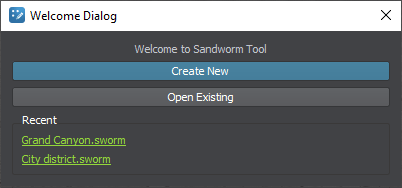
If you have already worked with Sandworm and created projects, you'll also see a list of links to your recent projects for quick access:
By clicking the Create New button, the Project Configuration window opens:
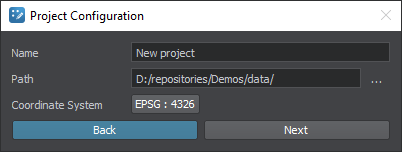
| Name | Sandworm project name |
|---|---|
| Path | Path to store the project |
| Coordinate System | Coordinate system used for the preview |
The coordinate system you choose here is set for the convenience of preview display. For data export, you should specify only a projected coordinate system because the generated terrain is exported to Object Landscape Terrain or Object Terrain Global, which is a flat (i.e., not geospherical) area.
Sandworm Interface#
The Sandworm tool interface has five panels: Sources, Objects, Map, Parameters, and Generation Settings.
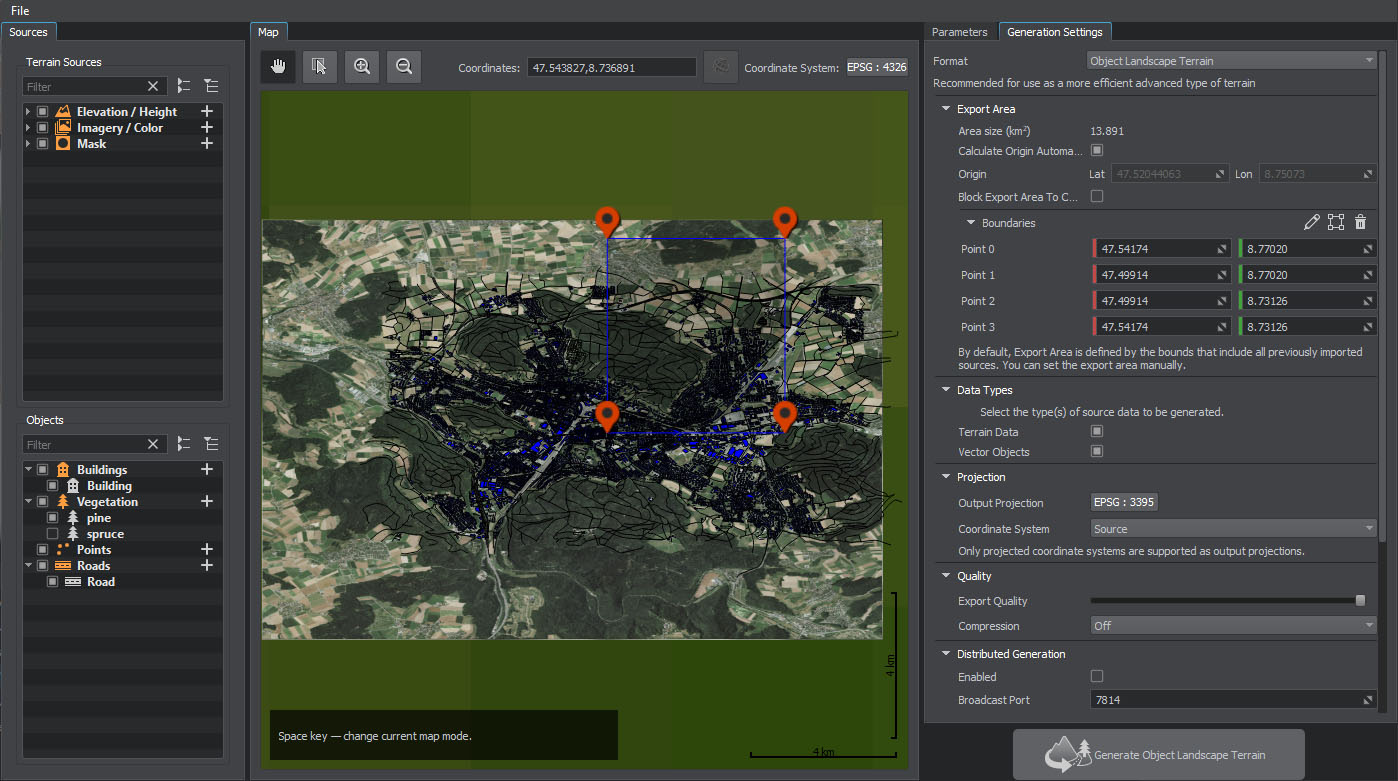
Sources#
In the Sources panel, you specify the Elevation (height) and Imagery (albedo) sources for the terrain generation and the Mask data sources for details an vegetation generation, as well as objects that are placed on the terrain using the source data.
To add a new data source or object, click the + sign for the corresponding source type:
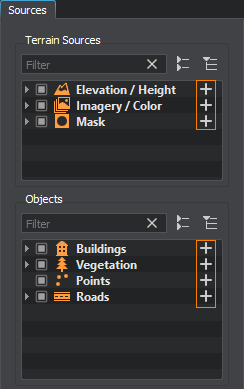
You can add multiple data sources. Thus, you can improve your data structure and manage all group members at once (enable/disable, add tags, modify parameters, etc.)
The checkbox on the left of the source allows disabling a source, thus excluding it from the generation process.

Right-clicking on an item opens the context menu:
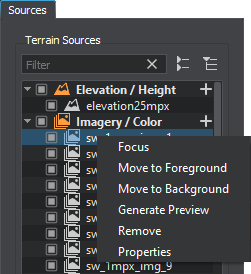
| Focus | Focuses the view in the Map panel on the selected source/object. |
|---|---|
| Move to Foreground | Moves the selected source/object (or several items of one type) to the foreground in the Map panel. |
| Move to Background | Moves the selected source/object (or several items of one type) to the background in the Map panel. |
| Generate Preview | Generates the preview of the selected source. It is designed to generate the preview that has previously been canceled. |
| Remove | Removes the selected source/object (or several items of one type). You can also delete a selected source/object by using the Delete button. |
| Properties | Displays the properties of the source file for the selected source, such as file name, the coordinate system the source file uses, the source file density in meters per pixel, and geographic bounds of the source file. |
To rename a source/object, double-click its name. Renaming for objects is also available on the Parameters tab.
Map#
The Map panel visualizes the available information. Here you can navigate and preview the added inputs. The following controls are available:

 |
Panning mode. Allows only panning in the Map panel without selecting any source. Panning is also possible when holding the SPACE button or the mouse wheel button and dragging the preview. |
|---|---|
 |
Selection mode. Allows panning and selecting the foreground sources in the Map panel. |
 |
Zoom-in button. The map can also be zoomed in by scrolling the mouse wheel up. |
 |
Zoom-out button. The map can also be zoomed out by scrolling the mouse wheel down. |
| Coordinates | Current coordinates of the mouse cursor. |
 |
Display coordinates as WGS 84 latitude and longitude. If coordinates are already displayed as latitude and longitude (not in meters), this button is inactive. |
| Coordinate System | The coordinate system selected for the Map panel. It can be changed by clicking this button. |
The source data might be heavy, and it can take time to generate a preview. In this case, you can cancel the preview generation using the following button available in the bottom right corner of the Map panel during the generation process:
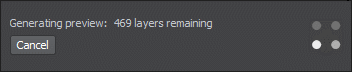
If you later require this preview to be generated, use the Generate Preview option in the context menu of the Sources panel.
Parameters#
The Parameters panel contains parameters of the selected source or object.
Boundaries#
For the imported sources (elevation, imagery, masks, and vectors), you can set the area to be used for the terrain generation by adjusting the boundaries:
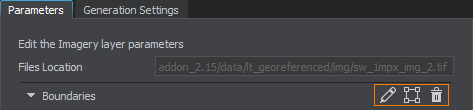
 |
Modifying boundaries: click and drag the point on the preview map or change its coordinates on the Parameters panel. Adding points: hold ALT and click the left mouse button in the Map window. Deleting points and boundaries: right-click on a single point in the Map window and click Remove in the context menu. You can also select a point in the Map window and press Delete on the keyboard. |
|---|---|
 |
Enclosing the area visible in the Map window in the boundaries. The data will be uploaded for the area within these boundaries. You can move the points defining the boundaries to adjust the area as necessary. |
 |
Removing the boundaries for the selected source. If the boundaries are not set (or deleted), all data available in the source and within the Export Area will be uploaded. |
By using this toolset, you can define which data should be taken from every source without uploading any unnecessary or corrupted data.
Generation Settings#
The Generation Settings panel contains the settings that define the details of the terrain generation process: the format of terrain, its size and form, type of projection, paths for storage and output, and the distributed generation settings.
If any parameters required for the generation have not been set, they are highlighted red in the bottom and clickable. Clicking on a highlighted word scrolls to the corresponding generation setting for adjustment.