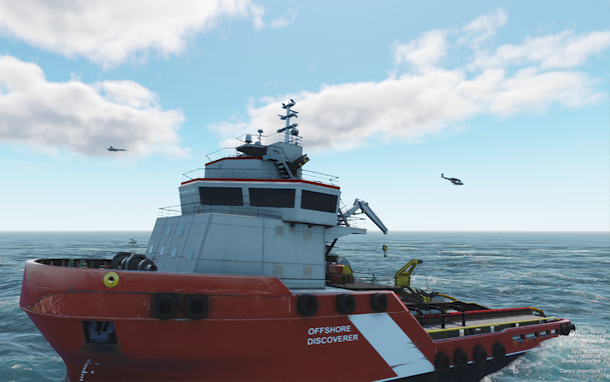
Syncker Demo
Syncker demo showcases the capabilities of the UNIGINE Syncker plugin. This plugin provides robust and reliable frame synchronization for real-time content rendering in a multi-node network cluster, fully customizable via API.
Features#
- Automatic synchronization of global water (ObjectWaterGlobal), cloud layers (ObjectCloudLayer), world light sources (LightWorld), and particle systems (ObjectParticles).
- Synchronization of dynamic objects moving along the trajectories set by splines (vessel, boats, aircrafts).
- Behavior of static nodes (buoys), that have their position determined by the ObjectWaterGlobal. These nodes are not synchronized, but their positions are adjusted indirectly via global water (ObjectWaterGlobal) synchronization.
- Synchronization of child nodes in the NodeReference hierarchy (helicopter rotors).
- Creation of objects and enabling physical interactions for them.
- Setting individual logic and controls for each slave.
- Setting cameras on slaves to target different objects.
- Changing a slave's logic.
- Various addressing modes: Unicast, Multicast, Broadcast.
- Animating objects based on the current time if their position can be pre-defined to optimize network data transfer.
- Making Syncker a network library.
Running the Demo#
As you run the demo, you'll see the Syncker Configurator window.
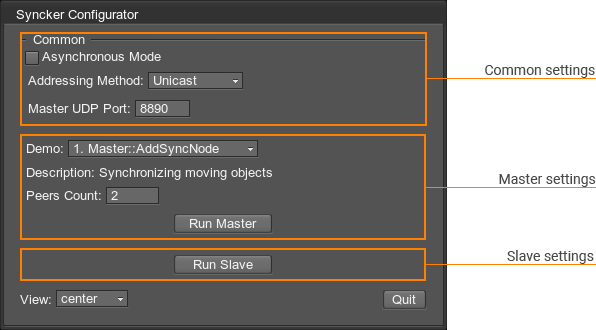
| Addressing method | Selection of the addressing mode. |
|---|---|
| Master UDP Port | UDP port to be used for message exchange between the Master and Slaves. |
| Demo | A scene demonstrating a certain aspect of the Syncker Plugin. As soon as you select a scene from the dropdown list, its brief description is displayed below. |
| Peers Count | The number of instances you are going to run. For example, if you plan to run a Master and two Slaves, enter 3 in this field and run two more instances of this demo scene as Slaves. |
| Allow adding new slaves after the session has started | Enabling this option allows connecting slave PCs that are run after the Master instance has started. Otherwise, only the slaves that have been running prior to starting the Master would be connected. |
| Run Master | Run the current instance as Master. |
| Allow reconnecting slaves after the session has finished (currently doesn't work with extra slaves) | Enabling this option allows reconnecting slave PCs after a disconnection. |
| Run Slave | Run the current instance as Slave. |
| View | Define the position of the image rendered by the current instance in the overall panorama. |
| Swap Mode |
Set the buffer swapping method to be used by Syncker:
|
When the required number of instances has been run, the scene opens and the information about the demo is displayed in the Master instance.
SDK Path: <SDK_INSTALLATION>demos\syncker_2.19.1
Accessing Demo Source Code#
You can study and modify the source code of this demo to create your own projects. To access the source code do the following:
- Find the Syncker Demo demo in the Demos section and click Install (if you haven't installed it yet).
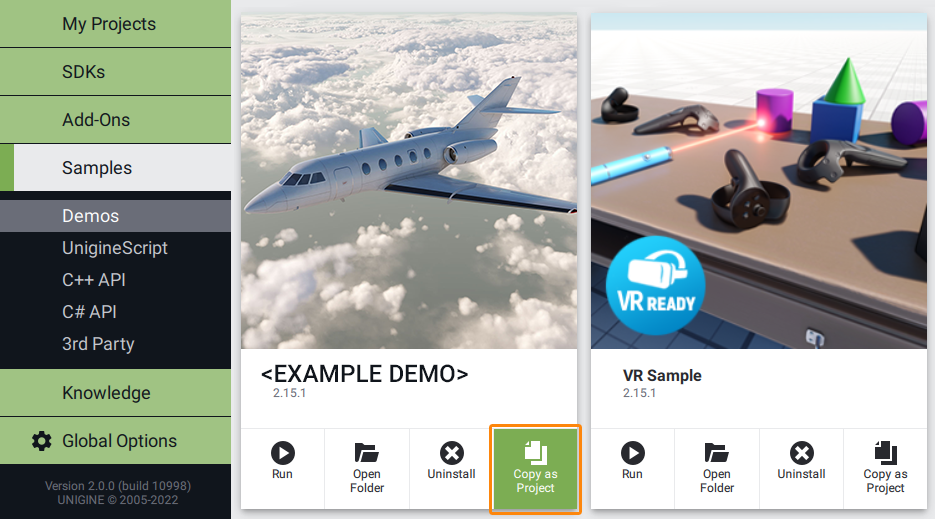
- After successful installation the demo will appear in the Installed section, and you can click Copy as Project to create a project based on this demo.
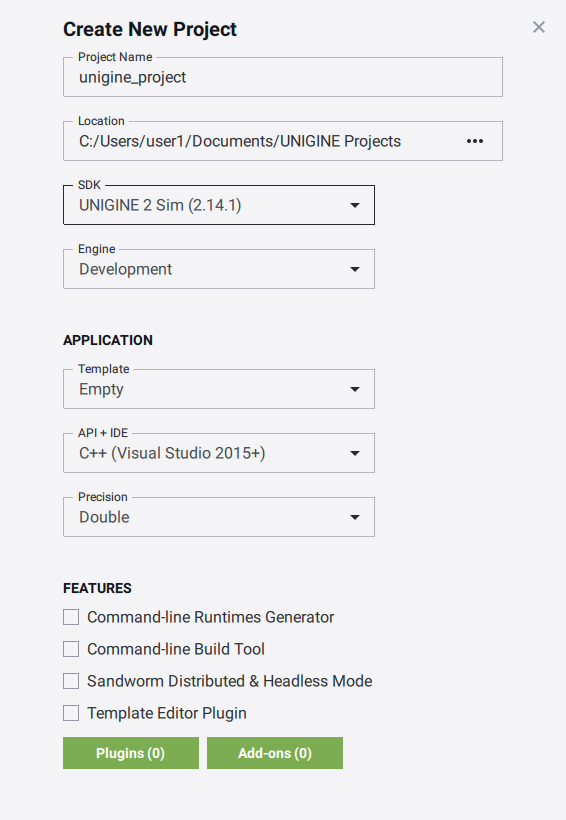
- In the Create New Project window, that opens, enter the name for your new project in the corresponding field and click Create New Project.
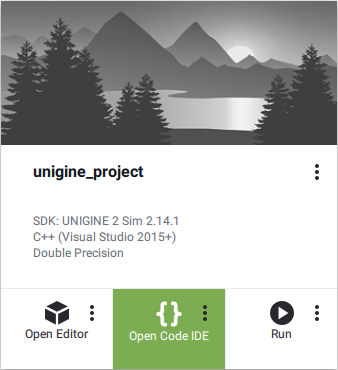
- Now you can click Open Code IDE to check and modify source code in your default IDE, or click Open Editor to open the project in the UnigineEditor.
The information on this page is valid for UNIGINE 2.19.1 SDK.
Last update:
2024-12-13
Help improve this article
Was this article helpful?
(or select a word/phrase and press Ctrl+Enter)
