Environment
The environment system simulates Scattering by interpolating specific pre-computed Look-UP Textures (LUTs) to achieve physically correct atmosphere rendering and decent ambient lighting.
The Environment Settings are available in the Render Settings (choose Window -> Settings in the main menu, then, in the Settings window, go to Runtime -> World -> Render -> Environment).
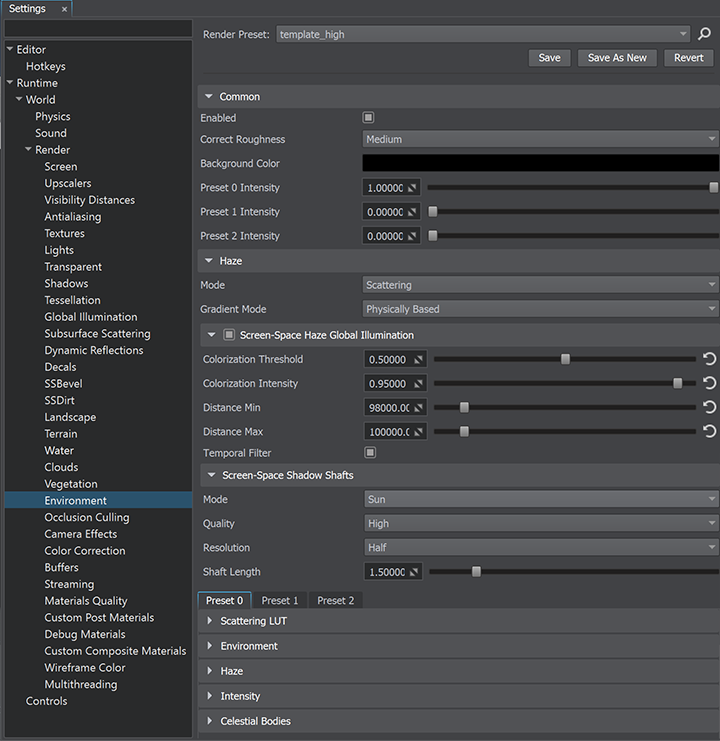
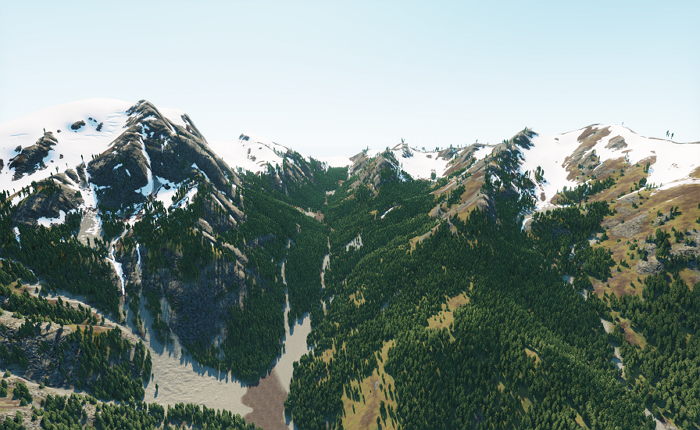
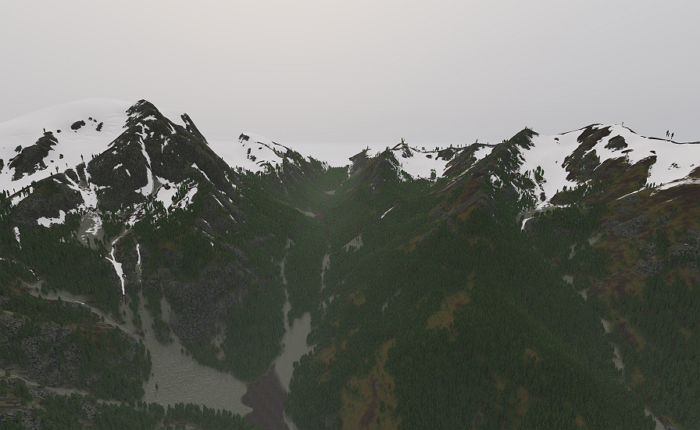
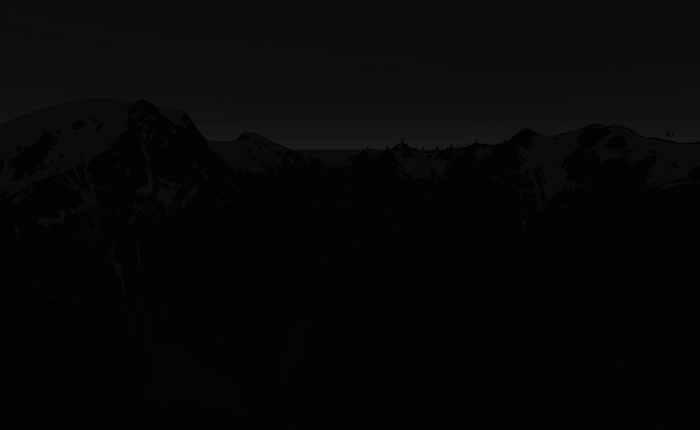
Three Environment Presets enable you to interpolate between most of the parameters. Presets work as layers: Preset 1 overlays Preset 0, Preset 2 overlays Presets 1 and 0. By configuring the presets, it is possible to create a smooth transition between different weather conditions by tweaking the Intensity scroll bars.
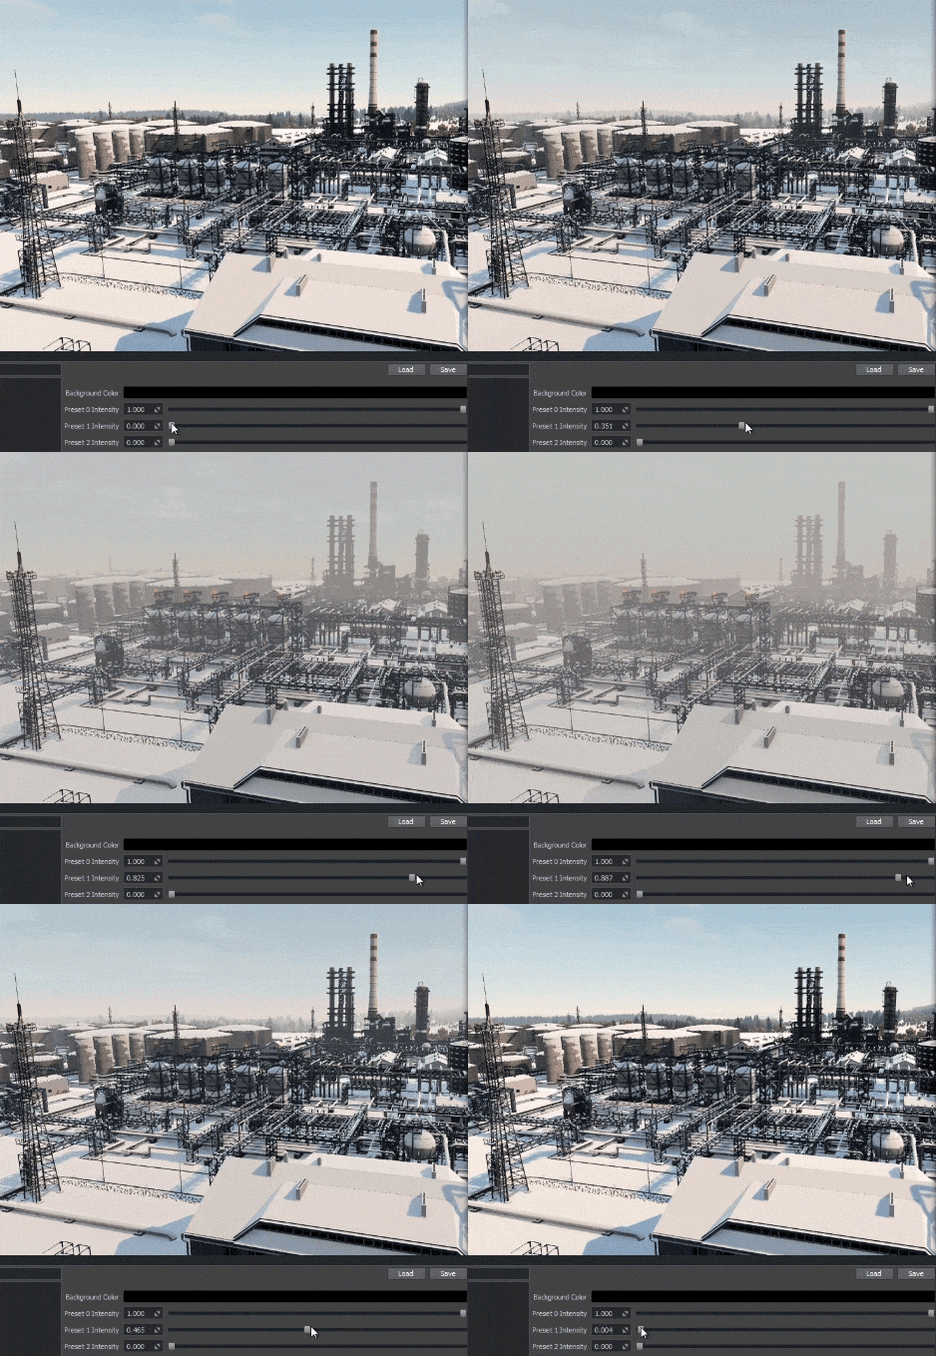
Out of the box, the Environment Presets have the following configurations based on physical light scattering models:
- Preset 0 — sunny daylight with clear sky.
- Preset 1 — cloudy sky (slight or moderate overcast).
- Preset 2 — night/custom additional preset.
Environment lighting consists of the following components:
- Ambient Lighting;
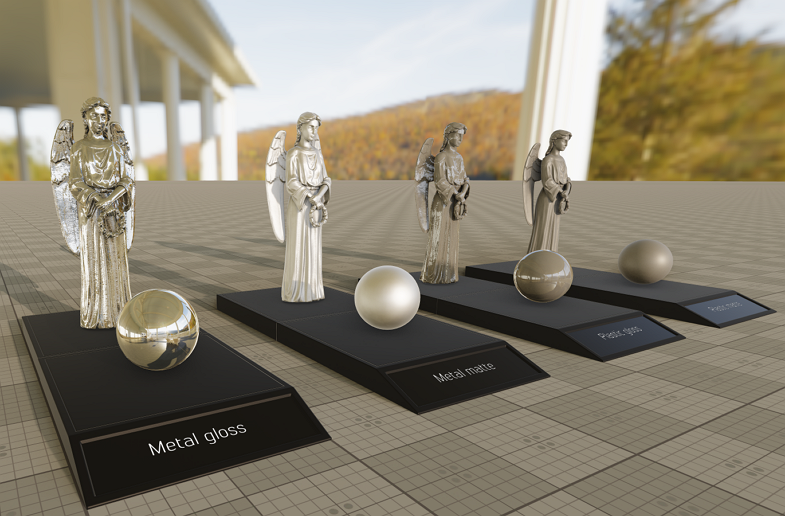
- Environment Reflections;
- Sky.
You can control the intensity of each component by using the Intensity Settings of each preset:
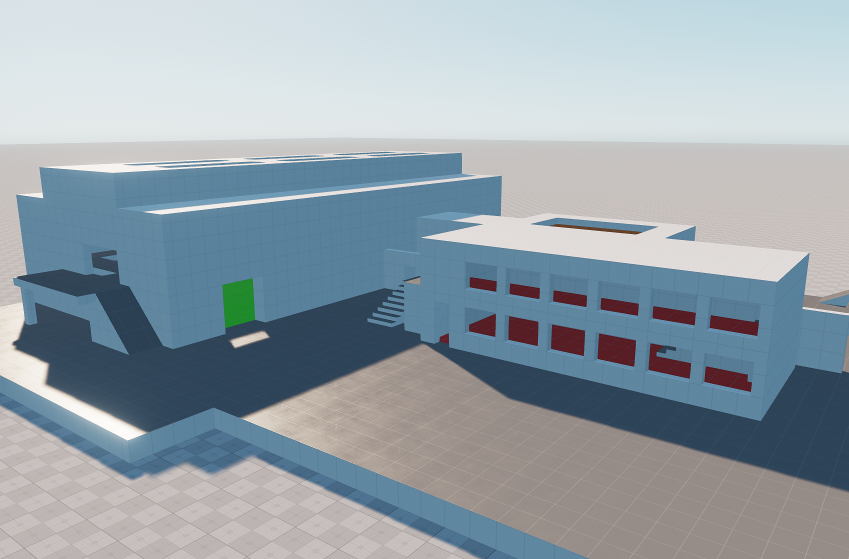
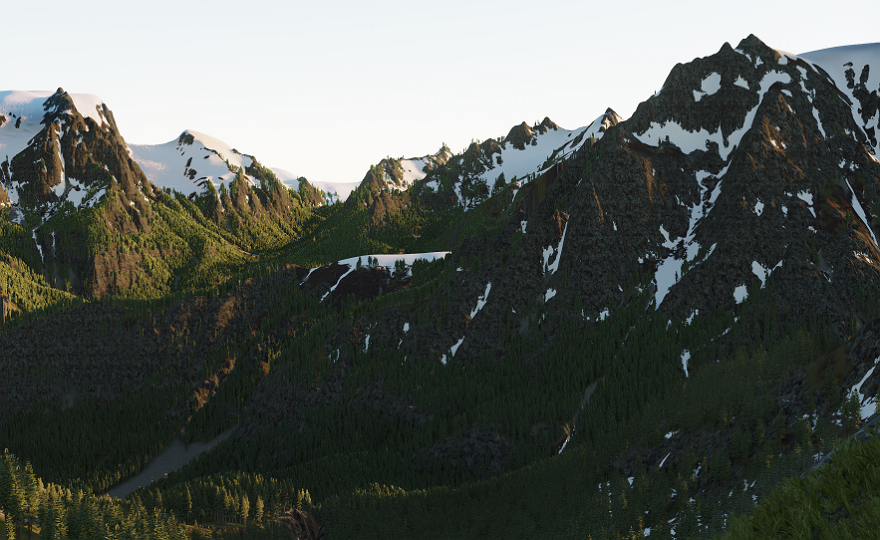
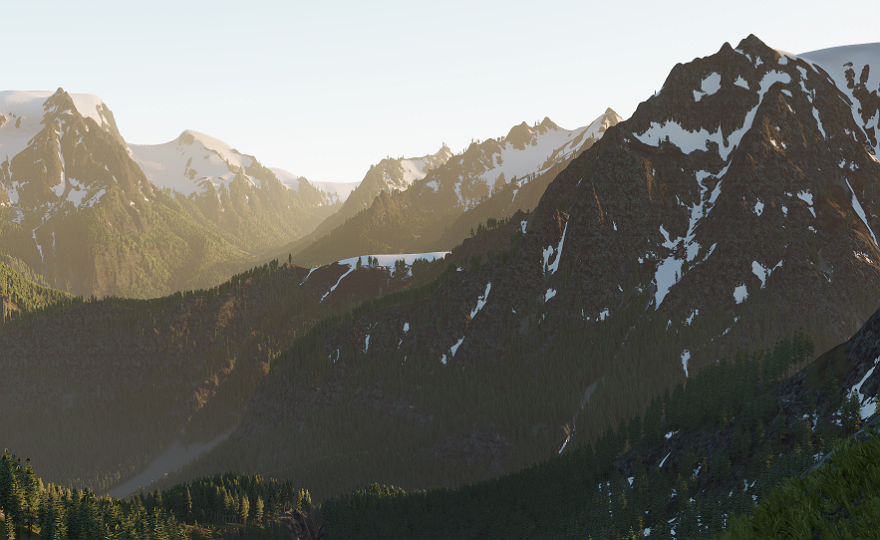
- Note how Ambient lighting affects the color of shadowed areas, making them more saturated by the sky (e.g., more bluish in the default Preset 0). Refer to the Global Illumination section if you need to simulate realistic light propagation in a virtual environment.
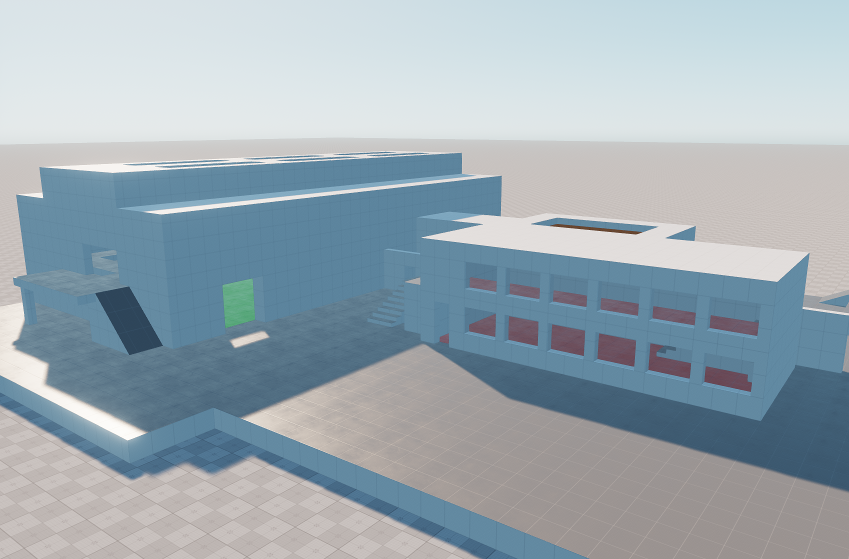
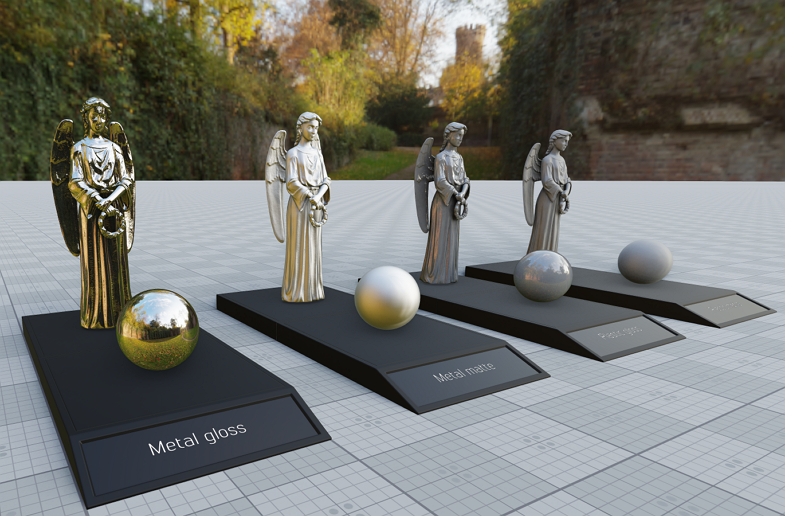
- If you need to change reflections locally, for example, indoors, use an Environment Probe with a unique cube map or consider other types of reflections.
Scattering#
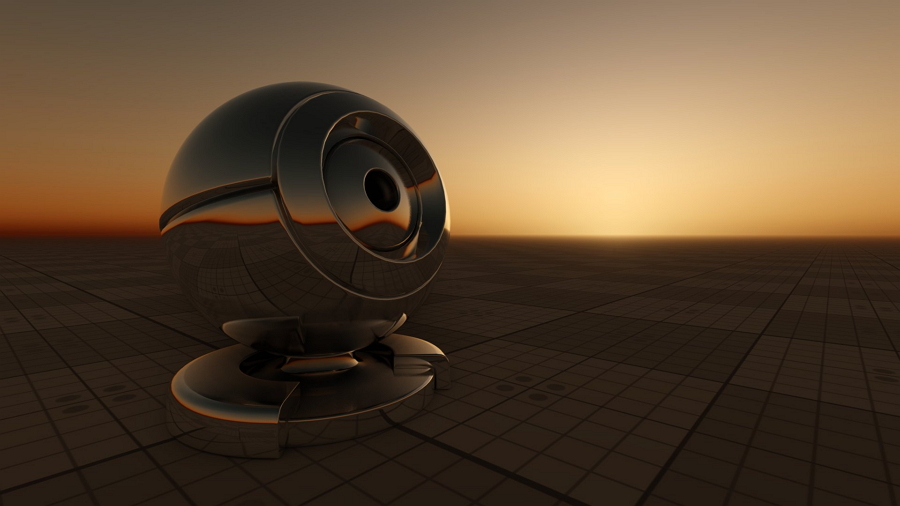
The atmosphere rendering is based on interpolation between several LUTs (Look-Up Textures) describing different sky states during the day.

- The Base LUT texture defines the base color of the sky, clouds, and haze, given the current position of the light source.
- The Mie LUT texture defines the Mie light (the color of the light around the Sun and the Moon).
- The Light Color texture defines the coloring of clouds and objects in the world by World Light depending on the time of day.
The scattering simulation is affected by the current enabled World Light Source that automatically generates the dynamic environment cube map providing lighting and reflections for all objects in the scene.
The Scattering option of the World Light provides the following lighting types:
- None — render the atmosphere as if there were no global lights: there will be no sky color gradient in any direction.
- Sun — render the atmosphere in accordance with the sun's lighting.
- Moon — render the atmosphere in accordance with the moon's lighting.
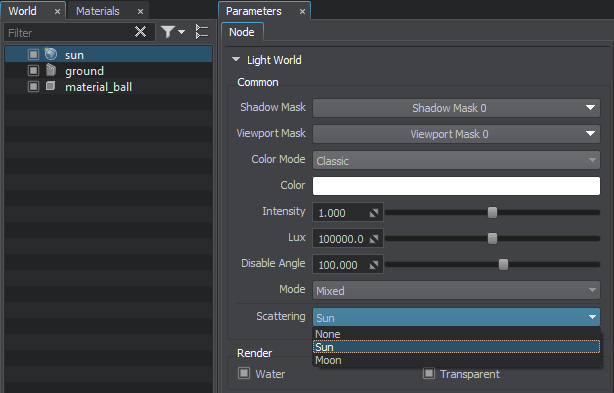
The Disable Angle setting for the World Light defines a critical angle above the horizon, where the light source is still enabled. Thus, an appropriate day-night cycle is easy to implement: you can create two World Lights representing the Sun and the Moon, which will replace each other with global time.
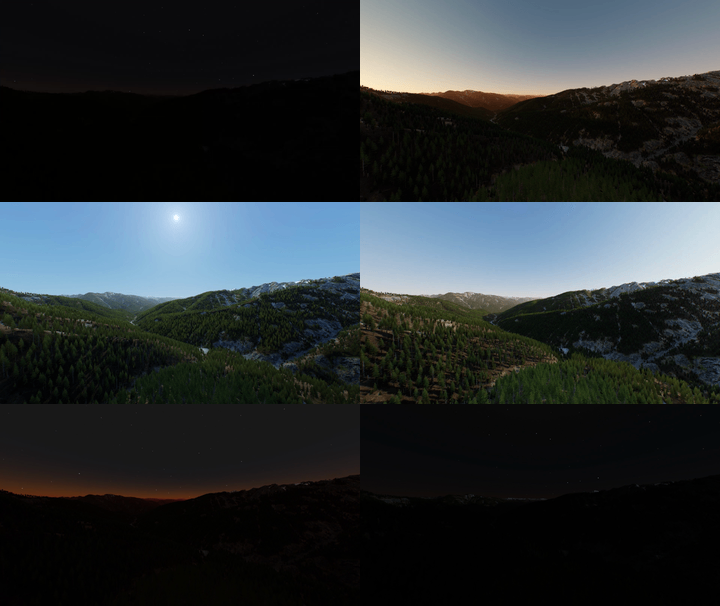
Image-Based Lighting#
Ambient lighting and reflections can also be defined by a cube map set as the Environment Texture. You can download suitable images from such websites as polyhaven.com. We recommend using an HDR or uncompressed EXR image for better shading results. Note that lossy compression types B44, B44A, PIX24, which the EXR format may use, are not supported.
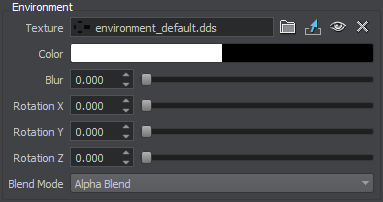
The Blend Mode parameter is accountable for the blending mode of the Environment texture and the color of Scattering LUTs.
Additionally, a Sky Object is used to recreate the atmosphere in the scene. It can represent a hemisphere or a sphere with a cube map assigned, tiled with clouds texture to produce plausible and inexpensive dynamic clouds.
Haze#
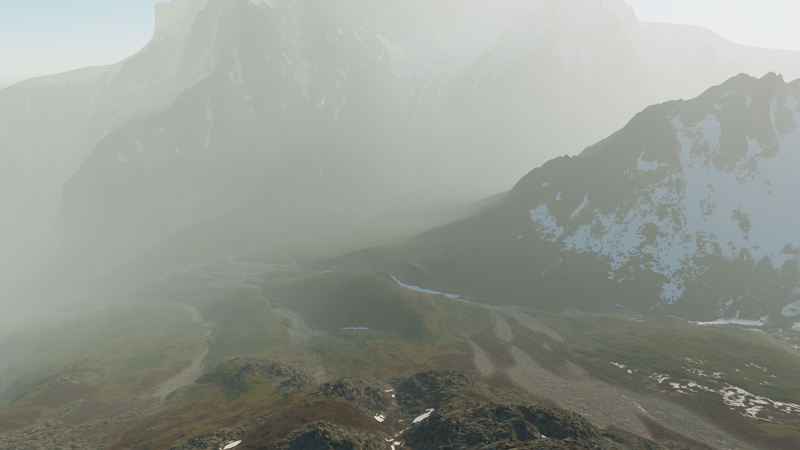
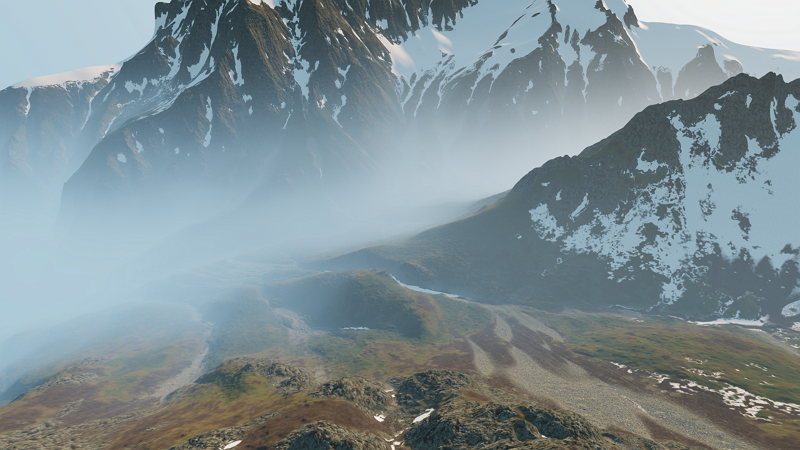
The Haze settings stand for atmospheric haze rendering used to add fog effects and define the scene's atmosphere: from an aerial perspective at large distances to height-modulated mist or dense fog nearby.
You can choose to render haze based on either a specified solid color or Scattering LUTs. The latter option is recommended as it provides accurate haze color corresponding to the Environment lighting.
By choosing the Gradient Mode, you can make the haze look more realistic for a specific distance range. The following modes are available:
- Short Distance Range makes the haze look more realistic for a short distance range (for example, near-surface haze).
- Long Distance Range makes the haze look more realistic for a long distance range (for example, haze in mountains).
- Physically Based haze rendering mode offers height-dependent density control and the best result for realistic outdoor environments.
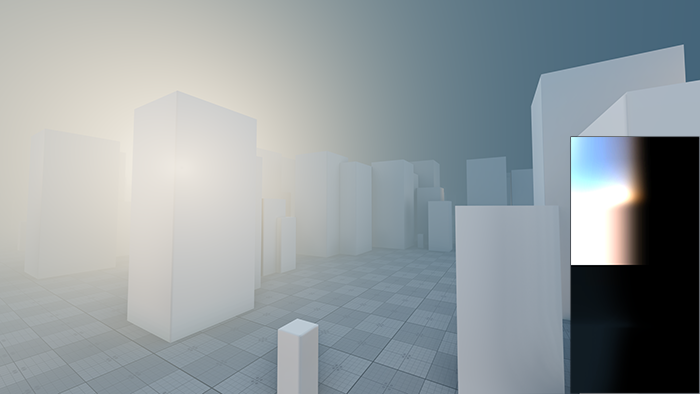
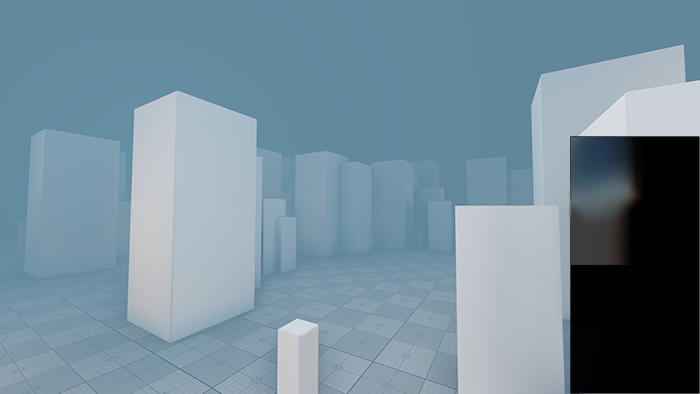
The Haze feature samples the colors of the Scattering LUTs; however, the configuration of the default presets is not always suitable for dense fog simulation. If fog covers geometry at a distance and the sun has a relatively low angle to the horizon, there might be Mie sunlight visible in front of geometry. To avoid this and get visually pleasing results, prepare a dimmer Mie LUT texture to make Mie light indistinguishable from the Base sky color:
An example of a custom Mie LUT texture.
See Also#
- Controlling Environment Presets by using the RenderEnvironmentPreset class.
- The Environment content sample.
- Video Tutorial: How To Customize Environment Lighting.
The information on this page is valid for UNIGINE 2.19.1 SDK.
