Layer
A ![]() layer is a zero-sized node that has no visual representation and enables to save all its child nodes into a separate .node file.
Layer nodes should be used as containers for editing the other nodes in the world: you can split the world into several logical parts and save each of them in a .node file.
It will enable to facilitate collaborative work on one project by eliminating conflicts arising from simultaneous editing of this world by several people.
layer is a zero-sized node that has no visual representation and enables to save all its child nodes into a separate .node file.
Layer nodes should be used as containers for editing the other nodes in the world: you can split the world into several logical parts and save each of them in a .node file.
It will enable to facilitate collaborative work on one project by eliminating conflicts arising from simultaneous editing of this world by several people.
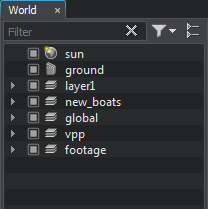
The contents of a layer depend on the hierarchy structure: to become part of a layer, a node should be assigned to it as a child. In the World Nodes Hierarchy window, a layer node is displayed as a usual node that can be transformed, cloned and so on.
Layer nodes are especially convenient when using the VCS, because by merging the project modifications there will be no need to match the conflicted files.
Unlike a Node Reference, a layer node can contain more than 1 node of the same level in the hierarchy.
See also#
- The NodeLayer class to edit layers via API
Adding a Layer Node#
To add a new layer via UnigineEditor do the following:
- Run UnigineEditor.
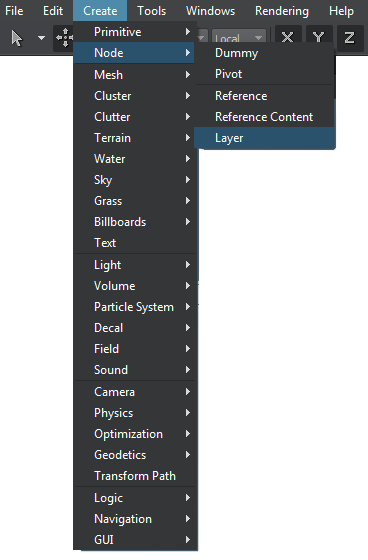
- On the Menu bar, click Create -> Node -> Layer.
- In the Save Node file dialog window that opens, specify a name for the .node file into which child nodes of the layer will be saved.
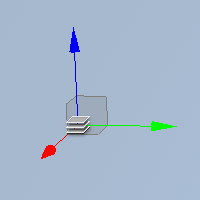
- Place the layer node in the world.
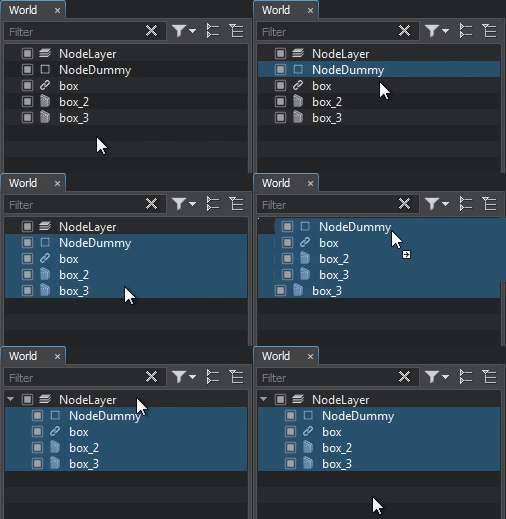
- Add child nodes to the layer node: select the required nodes and drag the nodes inside the layer node:
Editing a Layer Node#
Changes made in the child nodes of the layer node are saved on the disk when:
- Clicking Save in the Node tab of the Parameters window.
- Saving the world via File -> Save World or by pressing Ctrl+S.
In both cases only the .node file will be updated.
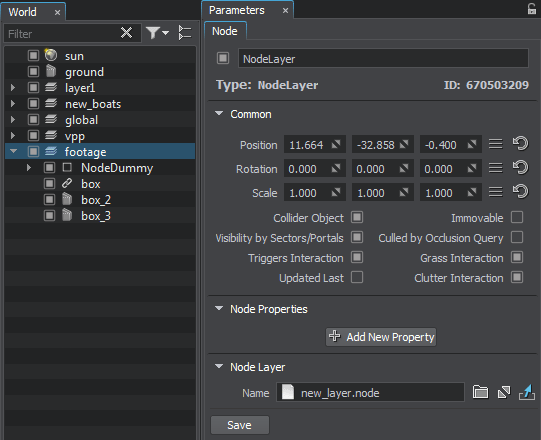
The .node file contains all child nodes of the layer node. All changes made in child nodes of the layer node do not affect the source .world file.
The information on this page is valid for UNIGINE 2.19.1 SDK.