CPP SIM Samples
This demo contains a set of samples addressing the specific needs.
Rope#
This set of samples demonstrates how to create ropes using an arbitrary set of points and joints between them. This approach can be used to create any kind of rope or even a net consisting of a number of ropes, a wire, or a primitive cloth.
You can use the sample ropes as a basis for your specific task by configuring their parameters as required.
Indices for segments are generated randomly to avoid a linear accumulation of error in joints.
Crane#
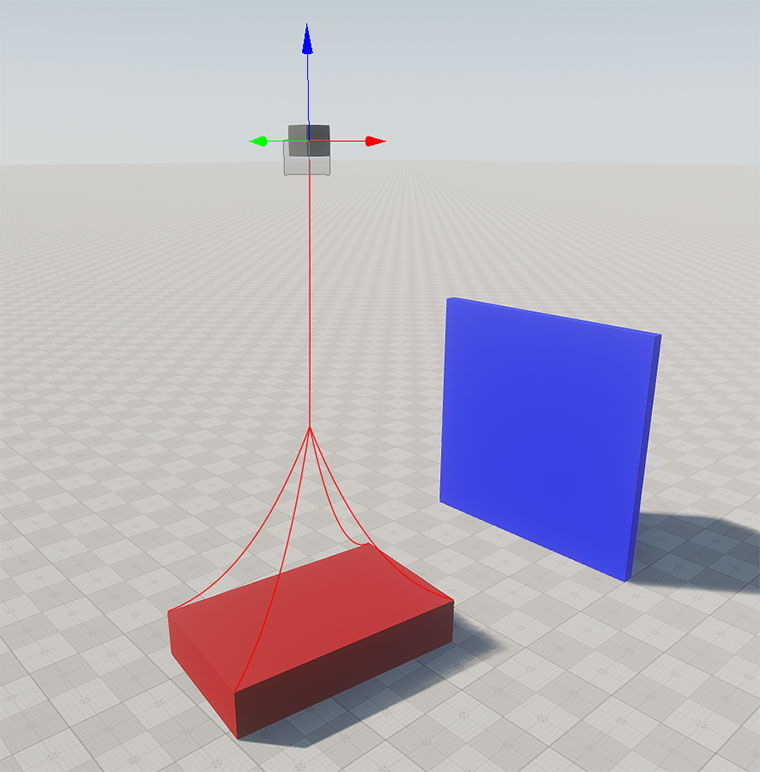
The Crane sample demonstrates how to imitate a crane with sling ropes transferring an object. The scene contains the manipulator with the ropes connected to it. Ropes are also connected to the load, which has BodyRigid assigned. The connection points are set via AttachPoint.
You can move the load around the scene by dragging the manipulator with the mouse, and make it interact with the wall also available in the scene.
Physics is simulated at 120 fps with 10 iterations to adjust the distance between points.
The physics update for the load is adjusted by impulses to ensure proper interaction with the environment.
SDK Path: <SDK_INSTALLATION>demos\cpp_sim_samples_demo_2.19.1\source\rope_sample
Wires#
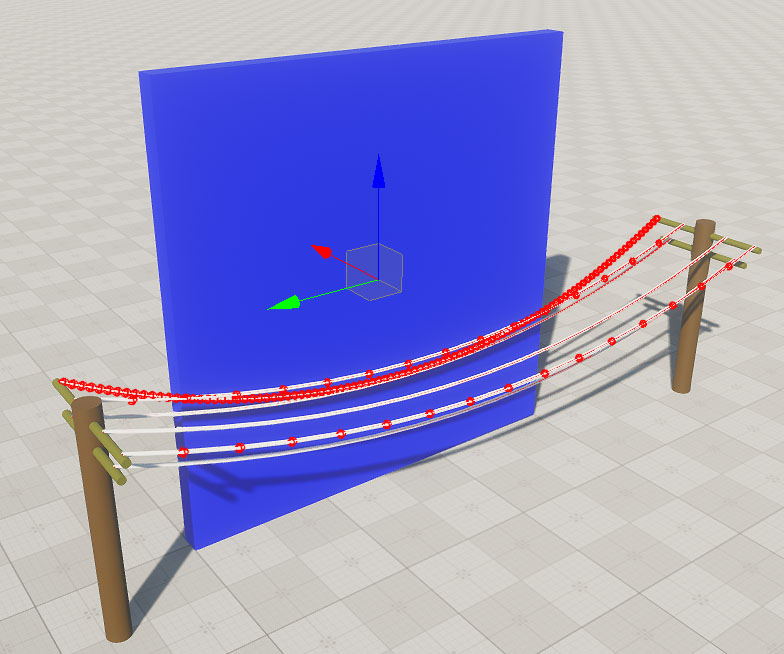
The Wires sample illustrates how to create wires using the RopeSystem component. You can change the wire diameter value and generate a wire mesh based on a new value. The plane available in the scene can be moved to make the wires swing.
Simulating wires doesn't require a big number of physics iterations and fps, as they don't move across the scene, only swing. However, if wires in your scene are used mostly for decorative reasons and do not require any physical response, consider using a static mesh to save performance.
SDK Path: <SDK_INSTALLATION>demos\cpp_sim_samples_demo_2.19.1\source\rope_sample
SpiderVision#
The SpiderVision set of samples demonstrates the possibilities of configuring the multi-monitor SpiderVision setup parameters via code.
The SpiderVision plugin provides the setup (opens on F10) as well as the possibility to configure parameters using API. The available set of samples contains the scene and a multi-monitor setup allowing you to quickly explore the plugin features.
The scenes also contain a vehicle that uses the High-Level Car Physics System. The vehicle controls are described in the Vehicle sample, please check it for more details.
Three Monitors sample demonstrates a three-monitor configuration with the possibility to configure distance and angle between the neighboring monitors via the application UI.
The sample shows how to use the API to control the parameters via code. The same parameters are accessible via the SpiderVision setup window (F10).
SDK Path: <SDK_INSTALLATION>demos\cpp_sim_samples_demo_2.19.1\source\spider_vision_sample
Two Monitors sample demonstrates a two-monitor configuration with the possibility to configure distance and angle between the neighboring monitors via the application UI.
The sample shows how to use the API to control the parameters via code. The same parameters are accessible via the SpiderVision setup window (F10).
SDK Path: <SDK_INSTALLATION>demos\cpp_sim_samples_demo_2.19.1\source\spider_vision_sample
Visual Effects sample visualizes the tools used for the image fine-tuning, such as warping, blending, color correction, and masking.
The sample shows how to use the API to control the parameters via code. The same parameters are accessible via the Projection Setup of the SpiderVision setup window (F10).
SDK Path: <SDK_INSTALLATION>demos\cpp_sim_samples_demo_2.19.1\source\spider_vision_sample
Wall shows how to create a Wall configuration and provides an access to the settings that affect the image rendering, making the line between monitors invisible. Toggling on and off the settings available gives a more clear understanding of how various rendering settings affect the whole image.
SDK Path: <SDK_INSTALLATION>demos\cpp_sim_samples_demo_2.19.1\source\spider_vision_sample
Window Custom Player demonstrates how to make a specific player render to a selected viewport using the SpiderVisionCameraAttach component.
SDK Path: <SDK_INSTALLATION>demos\cpp_sim_samples_demo_2.19.1\source\spider_vision_sample
SSL Socket#
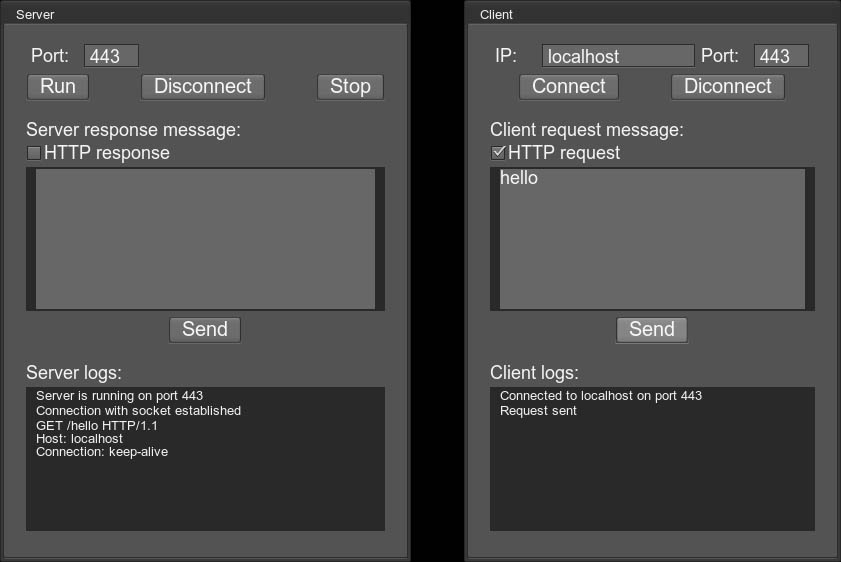
SSL Socket sample illustrates the implementation of message exchange with a server through an SSL connection.
It contains two windows: one representing the server, and the other one — the client.
To exchange messages, you need to run the server first (click the Run button in the Server window), then connect the client (use the Connect button in the Client window). Then you can type messages in the message areas and click Send.
SDK Path: <SDK_INSTALLATION>demos\cpp_sim_samples_demo_2.19.1\source\ssl_socket_sample
Vehicle#
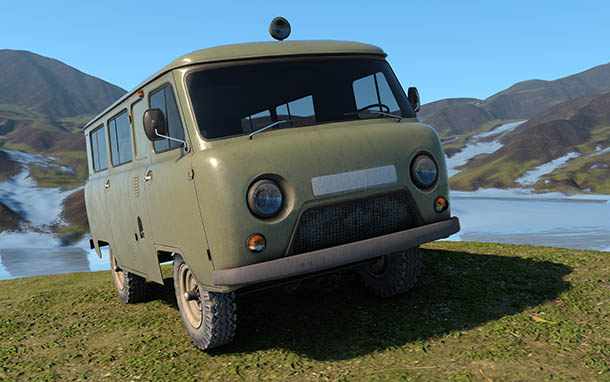
Vehicle sample showcases a new High-Level Car Physics System. To learn more on using the system to create your own wheeled vehicle simulation please refer to this article.
Features:
- Setting engine's power and resistance curves, as well as idle speed (RPM).
- Gearbox simulation (manual and automatic) enabling you to adjust throttle and speed values for shifting gears along with transition time, as well as to set the number of gears and configure gear ratios.
- Mathematical wheel model for more realistic steering, enabling simulation of forces affecting the rotating wheel, along with an ability to adjust suspension travel distance, spring, and damping values.
- Easy setup of steering and driving axes along with capability to turn the differential lock on and off.
- Switching between different views (driver's view, external camera, etc.).
- Simulation of various surface conditions (such as dry, wet, snow-covered, or icy road, mud, and so on).
- A set of debug windows displaying information on all vehicle parameters in real time.
Fine-Tuning the Wheel Joystick:
If you use a wheel device, you might need to readjust the demo settings to control the vehicle properly.
- Run the demo and press F3 to visualize the axes.
- Check the controls status — which axis each control corresponds to.
- If the controls mismatch, open the demo project in UnigineEditor to reconfigure them. Find the joystick_input node, it has the car_joystick_input property assigned. Adjust the Joystick Axis parameter where required.
SDK Path: <SDK_INSTALLATION>demos\cpp_sim_samples_demo_2.19.1\source\vehicle_sample
Accessing Demo Source Code#
You can study and modify the source code of this demo to create your own projects. To access the source code do the following:
- Find the CPP SIM Samples demo in the Demos section and click Install (if you haven't installed it yet).
- After successful installation the demo will appear in the Installed section, and you can click Copy as Project to create a project based on this demo.
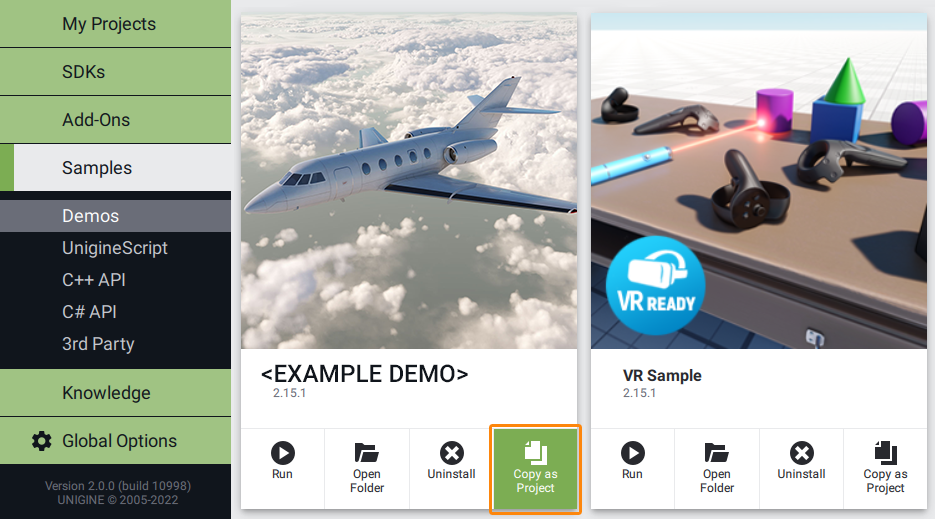
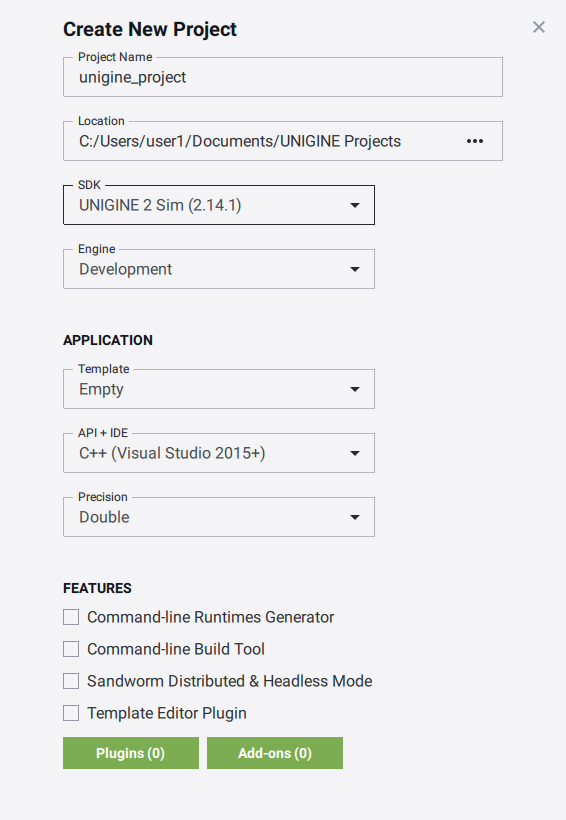
- In the Create New Project window, that opens, enter the name for your new project in the corresponding field and click Create New Project.
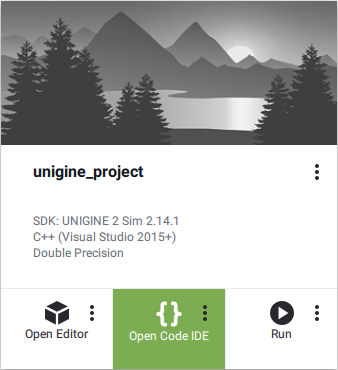
- Now you can click Open Code IDE to check and modify source code in your default IDE, or click Open Editor to open the project in the UnigineEditor.
The information on this page is valid for UNIGINE 2.19.1 SDK.