Brush-Based Placement of Meshes
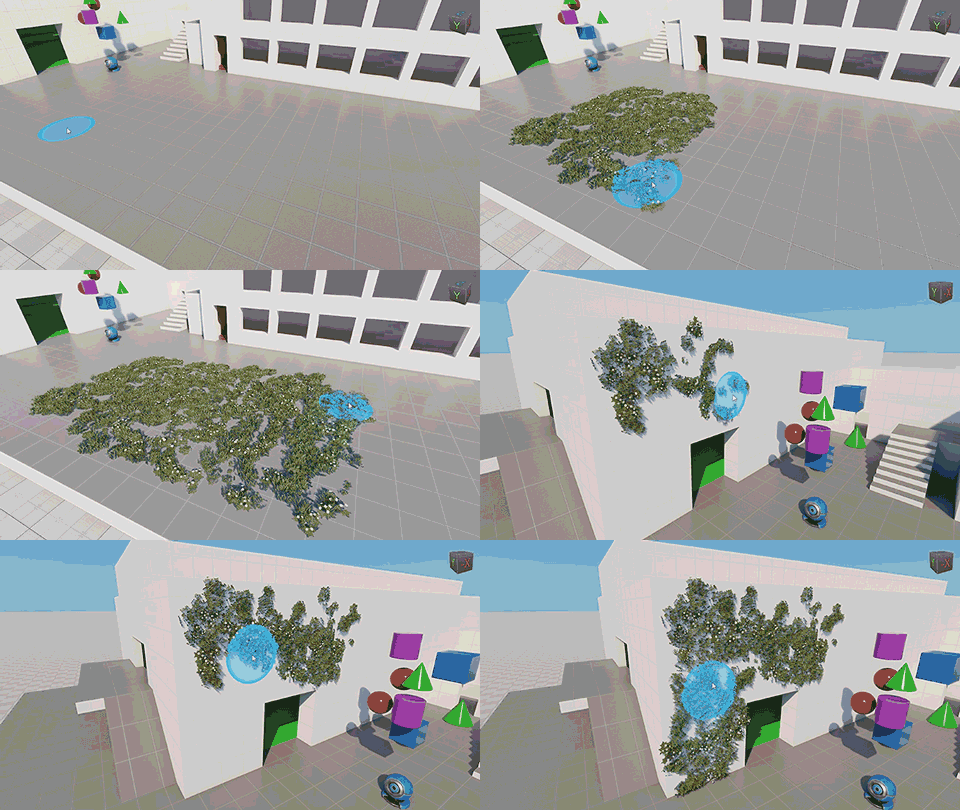
Cluster Editor is a convenient tool for brush-based placement of meshes baked into Mesh Clusters directly in the scene. It allows editing the existing Mesh Clusters and creating new ones.

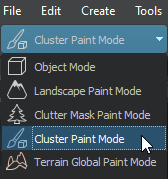
Cluster Editor is available when the Cluster Paint Mode is selected on the toolbar.

Switching to Cluster Paint Mode opens the Active Tool window:

In the Objects section, there is a list of all Mesh Cluster objects available in the world. Similarly to the World Hierarchy window, you can organize the nodes:
- Select one or several nodes.
- Toggle the nodes on and off.
- Filter nodes by name.
- Rename a node by double-clicking on it.
- Toggle the
 Spawn When Drawing flag.
To edit the required Mesh Clusters (one or many), select them either in the Objects section or in the World Hierarchy window and specify the Objects settings.
For convenience, the Create New Cluster button, a shortcut to manual creation of Mesh Clusters, is available right in the Active Tool window.
See Also#
- Article on Mesh Cluster
- Using Cluster Editor for Vegetation
Editing Mesh Clusters with Cluster Editor#
As soon as you have at least one Mesh Cluster with the Spawn When Drawing flag enabled, brush painting is available in the Editor Viewport. Select the required tool and start editing the cluster directly in the scene:

Available tools:
 Replace Density — replace meshes within the Brush Radius with new ones spawned in accordance with the current density values.
 Single Object — place a single mesh at the desired point.
 Erase — remove meshes.
Brush Settings#
| Radius | Size of the brush. The size change is non-linear - the standard increment changes depending on the current brush value:
|
|---|---|
| Density Multiplier | Global multiplier for density. The value can be increased above 1. |
| Filter | Allows specifying the type of object on which you can paint. You can select multiple values, but some of them cannot be combined (see details below). The following values are available:
In addition, there are 2 filters that can only be used in combination with one or more object type filters listed above:
Notice
The filters aren't applied for the Erase tool. |
Controls#
- To draw with a brush, click LMB and drag the mouse.
- To change the brush radius, use the mouse wheel.
- To switch to the Replace Density tool, press B.
- To switch to the Erase tool, press E.
Objects Settings#
The following settings are saved for each Mesh Cluster in the scene:
Video Tutorial#
Watch the video below to learn the basics of mesh placement with the Cluster Brush Editor.
The information on this page is valid for UNIGINE 2.19.1 SDK.
 Randomize button to generate a new Seed.
 gear icon to choose the scale mode: