Complex Solutions
SDK Path: <SDK_INSTALLATION>
SDK Path: <SDK_INSTALLATION>
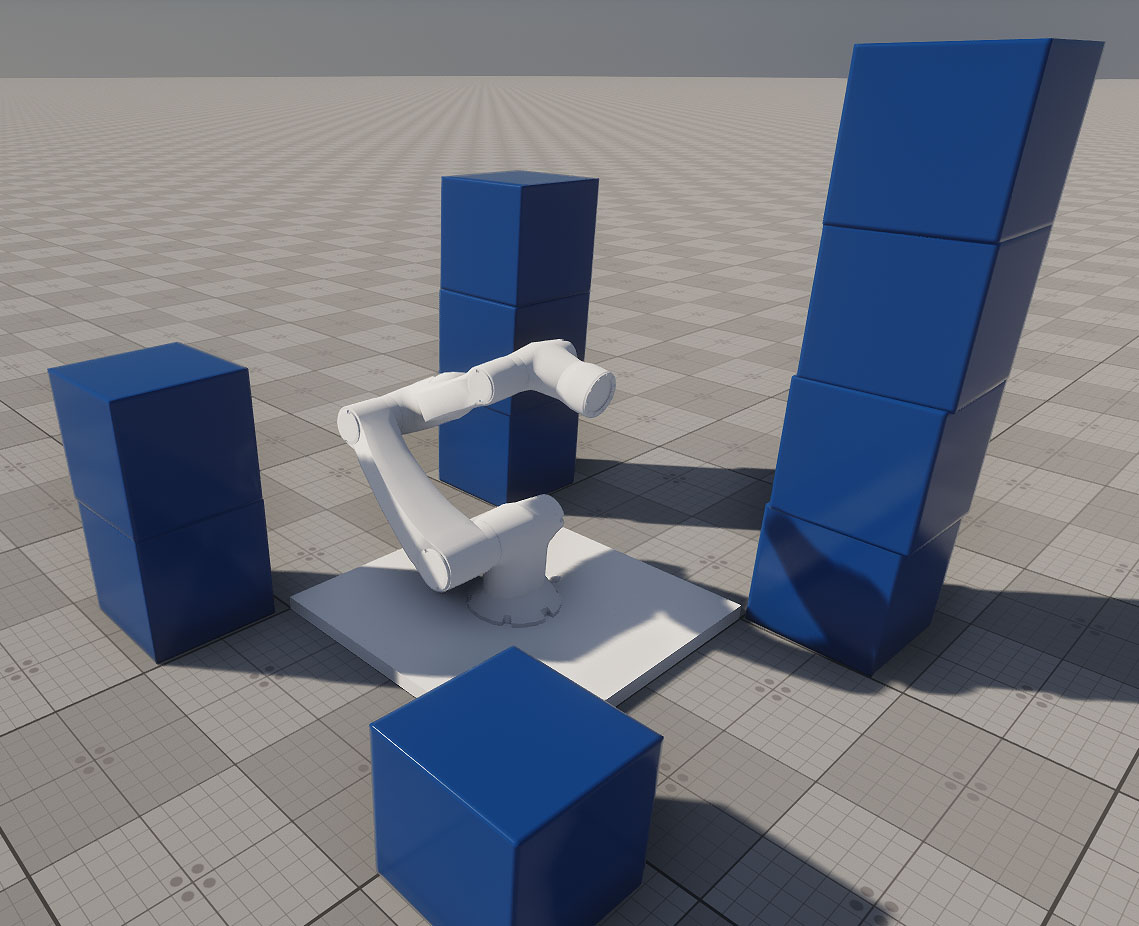
This sample demonstrates how to build a physics-based robotic arm with a kinematic chain composed of six links: one fixed and five movable. Each movable link is connected via a hinge joint (JointHinge) and driven by a motor that responds to keyboard inputs.
The arm's end effector is a magnetic gripper capable of grabbing, holding, and releasing dynamic objects in its environment. The gripper and each joint can be controlled independently via key bindings, which are configurable and demonstrated in the Controls section.
This setup provides a flexible starting point for creating custom robotic arms with any required number of degrees of freedom (DoF). You can replace manual input with a control system (e.g., inverse kinematics, AI, joystick, or ROS integration) to adapt the robot arm to your specific use case.
Use Cases:
- Simulation & prototyping of industrial robotic manipulators.
- Educational environments to teach principles of robotics, joint control, or physics-based animation.
- AI training for robotic arms using reinforcement learning or motion planning.
- Human-machine interfaces: test robotic interaction with dynamic environments.
- Virtual reality robotics simulations or operator training.
SDK Path: <SDK_INSTALLATION>source/complex/robot_arm
Accessing Demo Source Code#
You can study and modify the source code of this demo to create your own projects. To access the source code do the following:
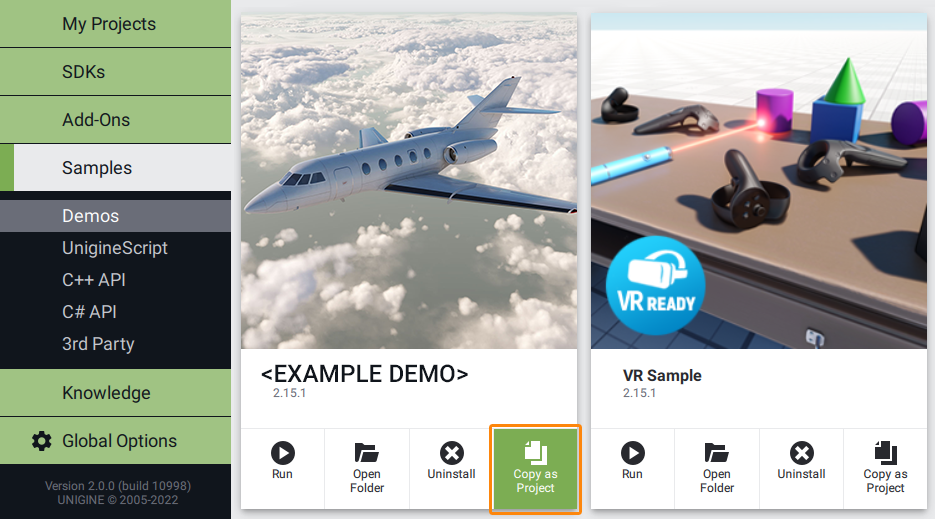
- Find the C++ Samples demo in the Demos section and click Install (if you haven't installed it yet).
- After successful installation the demo will appear in the Installed section, and you can click Copy as Project to create a project based on this demo.
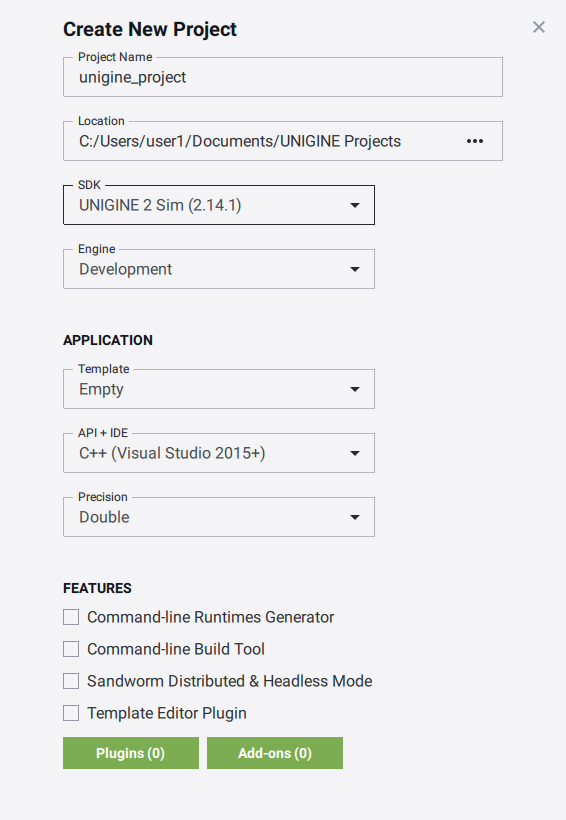
- In the Create New Project window, that opens, enter the name for your new project in the corresponding field and click Create New Project.
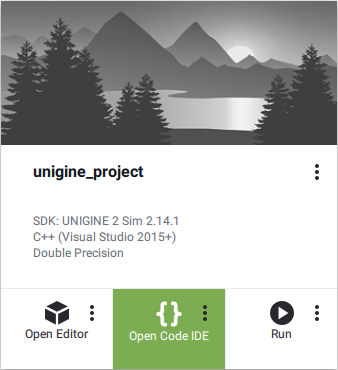
- Now you can click Open Code IDE to check and modify source code in your default IDE, or click Open Editor to open the project in the UnigineEditor.
The information on this page is valid for UNIGINE 2.20 SDK.