World Cluster
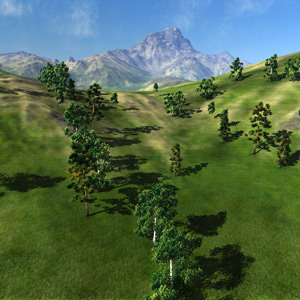
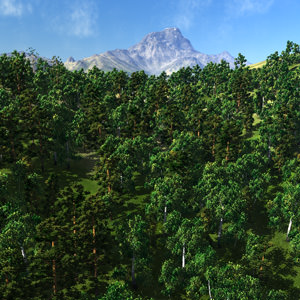
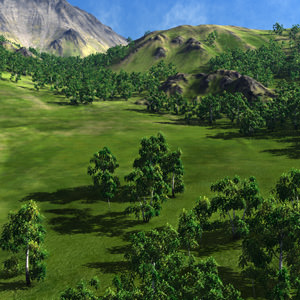
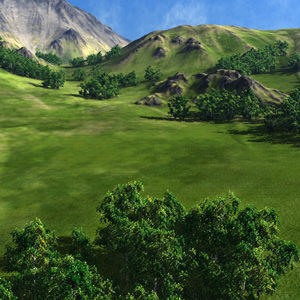
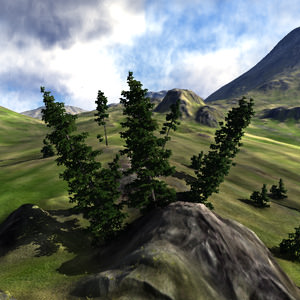
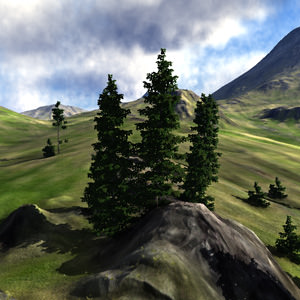
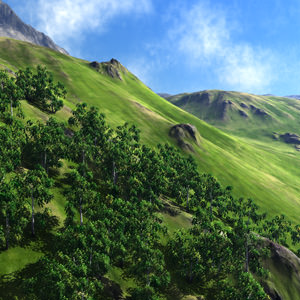
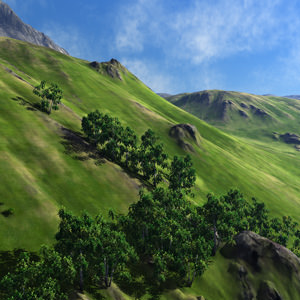
World Cluster is a convenient and performance-friendly method to manage a great number of objects (node references) that are placed in the scene. Whether it is five objects or fifty thousand, World Cluster bakes them and stores in the memory only those objects that are inside a specified range.
It is also a handy tool to automatically scatter randomly sized objects across a definite area. Unlike a World Clutter, a World Cluster objects can be moved and rotated after they were randomly scattered. It means though that as a result Cluster is less memory-efficient, because it stores coordinates transformations for each of the node.
There are 3 ways to create a world cluster:
- Manually by using the Create option.
- By scanning the world for node references using the Collector.
- By generating the cluster with randomly scattered and scaled node references baked into it.
See also#
- The WorldCluster class to manage world clusters via API
Creating a World Cluster#
To bake the required node references into the world cluster, do the following:
- Add a World Cluster node: on the Menu Bar, choose Create -> Cluster -> Node.
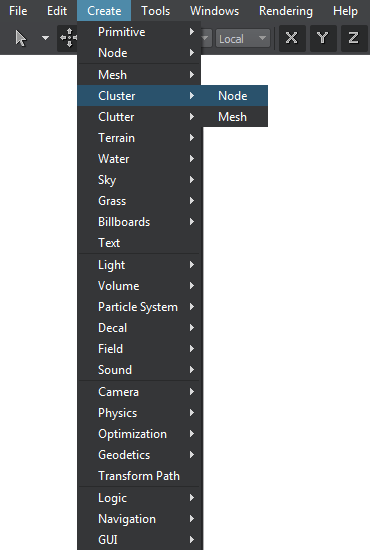
- Manually position all node references in the scene.
- Add the node references as child nodes to the world cluster: drag them with the left mouse button pressed under the world cluster node in the World Hierarchy.
- Bake the nodes into the world cluster: in the Node tab of the Parameters window, click Create.
The world cluster will automatically load into the memory the nodes that are currently visible in the view frustum and unload all invisible ones.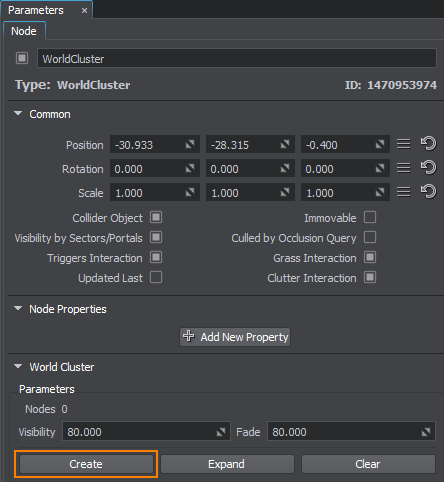 NoticeOnly enabled node references are baked into the world cluster. Disabled nodes are left as simple child nodes.
To add new nodes to an already created world cluster, make them children and click the Create button once again to re-bake the cluster.
Collecting a World Cluster#
You can also bake all node references already existing in the world, into the world cluster:
- Add a World Cluster node: on the Menu Bar, choose Create -> Cluster -> Node.

- Manually position all node references in the world.
- In the Node tab of the Parameters window, press Update in the References section (the last section on the tab). The list of all node reference present in the world will be shown. Moreover, for each node reference, the number of instances will be displayed.

- In the list of node references, select those ones that should be baked into the world cluster and press. Collect. The selected nodes will become children of the world cluster (can be checked in the World Hierarchy).

- Press Create to bake the nodes into the world cluster.

Expanding a World Cluster#
If it is necessary to reposition or edit cluster nodes, use the Expand option to unbake the nodes.
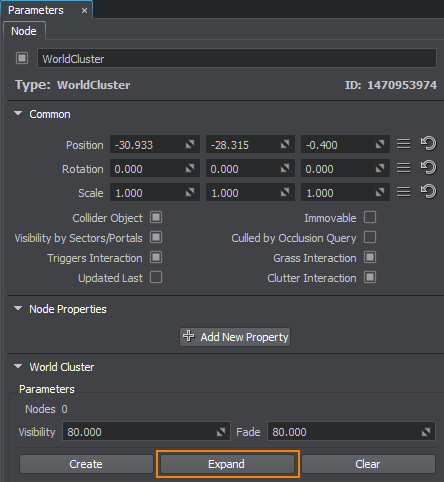
Unbaked nodes are displayed in the World Hierarchy as children of the world cluster and can be transformed or otherwise edited. Do not forget to re-bake them again with the Create option.
If the same node reference as were baked into the world cluster is edited outside of it (as a stand-alone node), the saved changes will be applied to reference nodes of the world cluster only after reloading the world. To see the changes take effect, expand the world cluster and edit one of its child node references.
Clearing a World Cluster#
To remove all node references that were baked into the world cluster, use the Clear option.
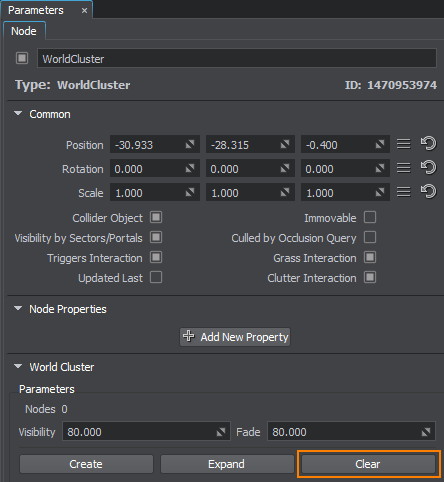
World Cluster Parameters#
| Nodes | Displays the number of node references baked into the world cluster. |
|---|---|
| Visibility | Visibility distance for node references baked into the world cluster. Up to this distance all node references of the world cluster are rendered.
|
| Fade | Fade distance for node references baked into the world cluster. Across this distance the number of rendered node references gradually decreases, as they disappear randomly one by one. The fade distance follows the visibility distance (Visible). Without the fade distance node references disappear abruptly, as a clearly seen line. Using fade distance allows the nodes disappearing one by one until the fade distance is reached. It makes the disappearing smooth and much less noticeable.
|
Randomizing Cluster Nodes#
The random generator helps to randomly scatter and scale node references baked into the world cluster. After they are automatically positioned, nodes that do not fit into a right place can be moved to a better position or deleted. If no manual editing is required, it is better to use World Clutter instead as it is more memory-efficient.
The random generator settings can be found in the Generator section of the Node tab.
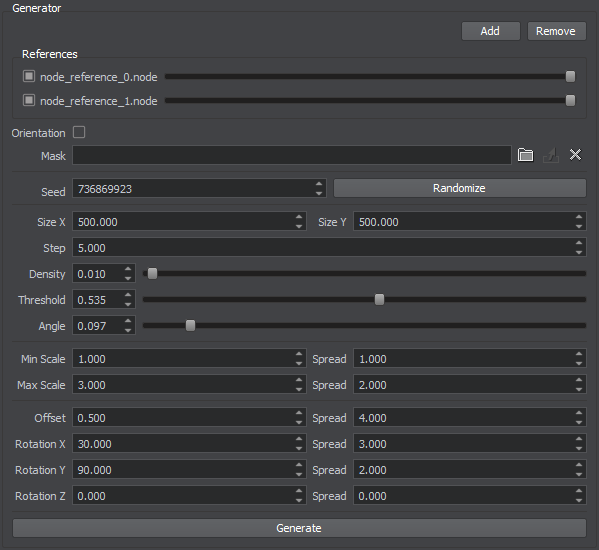
To generate randomly scattered and scaled node references and bake them into the world cluster, do the following:
- Click Add to add node references to the list of the nodes of the world cluster.
In the dialog window that opens, choose a .node file and click Ok. NoticeTo clear the list of node references, click Remove.Only selected node references from the list are baked into the world cluster.
 - Move the probability slider for each node reference to specify the probability of their appearance in the world cluster.
- Specify the mask for scattering areas (optional).
- Adjust generation parameters.
- Click Generate to scatter nodes across the specified area by a mask. Scattered nodes will be automatically baked into the current world cluster.
NoticeAll nodes that were previously baked into a World Cluster will be removed. To avoid this, expand the world cluster before using the random generator.
- Click Expand and move node references to place, rotate, or scale them as necessary.
- Use Create to re-bake nodes into the world cluster again.
Scattered Nodes#
Node references that are scattered throughout a definite area appear in the list. For each of them the probability of appearance is controlled.

| Add | Add a reference node to the list of world cluster nodes that are to be randomly scattered. |
|---|---|
| Remove | Delete all node references from the list. |
| Probability slider | The higher the probability, the more often the node reference can be seen compared to other world cluster nodes. Let's say, we create a mixed forest with birches and pines. If the probability slider for pines is near to 0, the forest consists mostly of birches and only several pines are seen among them. Changing the probability does not influence the number of rendered nodes, it only specifies the proportion between several nodes.
|
Scattering Area#
The random generator scatters nodes across a 2D grid with a pre-defined step. Cluster nodes are randomly placed (in a new pattern each time generation is performed, because a random seed value is used) depending on the density and the probability of appearance.

|
Size X
Size Y |
The size of the scattering area along X and Y axis. Within this area nodes will be scattered with the specified density.
|
||
|---|---|---|---|
| Step |
Cell size in units. The number of cells in the world cluster is defined in the following way: size of the cluster (both along X and Y) is divided by the step.
|
||
| Density | Density specifies how many nodes there are per square unit. In case there are more than one node reference in the world cluster, probability will be taken into account, but will not change the resulting number of the rendered objects.
|
||
| Mask | Areas across which the nodes are randomly scattered and areas where there will be no nodes from the list. For example, on the terrain, the mask allows scattering stones across the rocky areas, while leaving the grassy ones free of rocks.
|
||
| Threshold | To control the strength of masking, a mask threshold is used. It checks the density in the masked area, and if the threshold value is higher than the color value of the mask, nodes are scattered across it. If the density isn't high enough, is not enough, the places are left bare.
|
||
| Seed | The seed value for pseudo random number generator allows creating different patterns of automatic positioning. The seed can be set manually or the Editor provides a random value for a seed (the Randomize button). |
Randomizing Nodes#
To randomize the appearance of scattered nodes, two types of values are used:
- Mean value (i.e.Scale, Offset, Rotation) defines the average value. This is the basic value that will be randomly higher or lower.
- Spread value defines the range for possible variation of the parameter. The higher the value, the more diverse the final result will be.
Spread value is optional: if set to 0, it will not influence the simulation process and only the mean value will be used for all nodes.
After these values are specified, each parameter is calculated according to the following formula:

| Min and Max Scale |
The scale mean value of scattered nodes depends on the minimum and maximum scale mean values and the mask values: the mask values are used to linearly interpolate between the minimum and maximum scale values.
|
|---|---|
| Offset | Height offset parameter controls whether all nodes are positioned at one height or some are found higher or lower. For example, by using the offset, stones can be dug deep into the ground so that only a small top is visible, or placed higher and look bigger.
|
| Rotation X
Rotation Y Rotation Z |
These parameters allow randomly orienting the scattered nodes.
|
Orienting along the Relief#
Unless nodes in the world cluster list are scattered over a completely flat and non-tilted surface, they can be automatically positioned to precisely repeat ups and downs of the relief without any effort. For that, an underlying surface should be made a parent of the world cluster node.
A parent for intersection can be a terrain or a mesh object. The mesh should be terrain-like, i.e. it should have only one surface vertically, along the Z axis.
| Orientation | This option allows setting a parent surface normal vector as the initial orientation for scattered nodes. It means that if the surface in some place is vertical, the "up" direction for nodes over will be actually pointing to the side.
|
||
|---|---|---|---|
| Angle | Just like in the case with grass, the scattering can take into account how steep the slope is.
|
