Settings and Preferences
The Settings window provides quick access to general editor and run-time settings, including hotkeys and controls, general physics, sound, render and video settings.
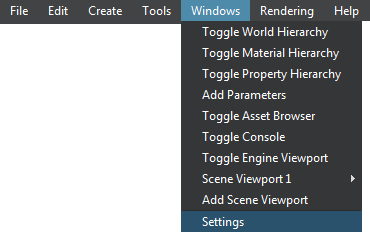
To open the window, choose Window -> Settings in the main menu:
The following window will open:

Saving and Loading Settings#
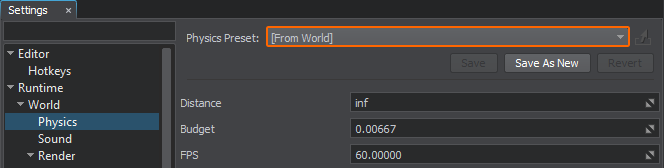
Via the Settings window, you can save and load presets for general physics, sound and render settings. The presets are stored in files with the corresponding extensions: *.physics, *.sound, *.render.
By using this capability, you can prepare settings presets with low, medium, high and ultra settings for different devices.
To save the preset to a file:
- Go to the section with the required setting (Physics, Sound, Render) and click Save (to save changes to the current preset file) or Save As New (to save settings to a new file) in the upper right corner of the window.
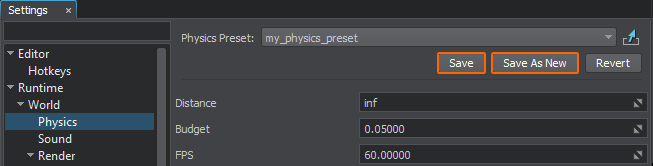
- In the file dialog window that opens, specify a folder and a name for the preset file and click OK.
The file with the corresponding extension will be created in the target folder and will be available in the Asset Browser immediately.
To load the preset from a file and apply it:
- Go to the section with the required setting (Physics, Sound, Render) and simply select the desired preset from the dropdown in the upper right corner of the window.
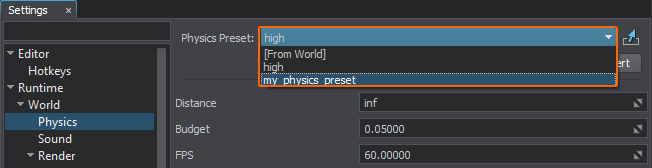
The settings from the corresponding file will be loaded and applied.
By default, a UNIGINE project provides settings for low, medium, high and ultra quality presets stored in the data/template_render_settings folder.
To revert your changes made to the preset simply click Revert after making them.
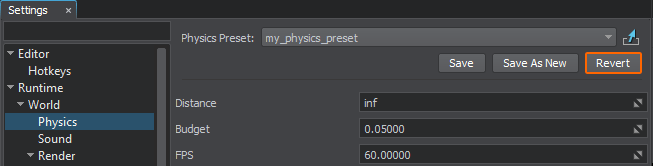
The previously saved settings will be loaded from the corresponding file and applied.
For your convenience there is also a [From World] option enabling you to use render, sound, and physics settings stored in a *.world file, that is currently loaded. If you change any settings when this option is selected, you can only save your changes to a new preset asset which will be automatically selected and applied.
You can also assign a saved preset to a world as follows: select the world in the Asset Browser and drag and drop the corresponding preset.

Articles in This Section
- Render Settings
- Screen
- Upscalers
- Visibility Distances
- Textures
- Lights
- Transparent
- Shadows
- Tessellation
- Global Illumination Settings
- Subsurface Scattering
- Dynamic Reflections
- Decals
- SSBevel
- SSDirt
- Landscape
- Terrain
- Water
- Clouds
- Vegetation
- Environment
- Occlusion Culling
- Camera Effects
- Color Correction
- Buffers
- Streaming
- Materials Quality
- Custom Post Materials
- Debug Materials
- Custom Composite Materials
- Wireframe Color
The information on this page is valid for UNIGINE 2.20 SDK.