Organizing Nodes
In Unigine, nodes are organized in a hierarchy that can be managed via the World Nodes window.
To open this window, choose Windows → World Hierarchy in the Menu.
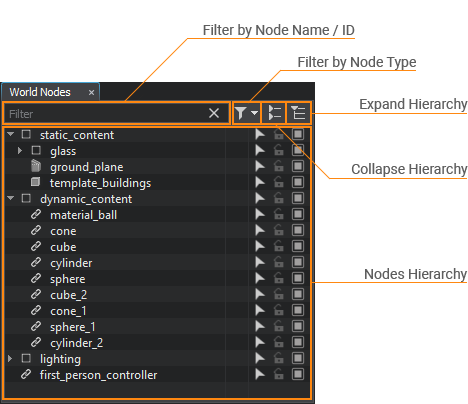
As you can see, this window allows filtering nodes by name and type, collapsing and expanding nodes hierarchy (i.e., showing only the parent nodes and hiding the child ones or showing all nodes added to the world), and changing nodes hierarchy - rearranging, reparenting, cloning, renaming, deleting, and grouping the nodes.
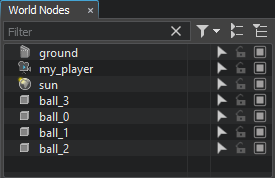
The World Nodes window contains all nodes existing in the current world. Some nodes can be instances of the asset files: meshes, sounds, terrains, instanced nodes, or nodes stored in the *.node files.
When you add a new node to the scene via the Menu Bar (the Create menu) or by dragging it from the Asset Browser, it is automatically added to the nodes hierarchy and displayed in the World Nodes window.
In front of the name of each node, there is a set of icons:
 — indicates that the node has a property assigned.
NoticeThe property is considered assigned even if it is empty (i.e., no property name is specified).
— indicates that the node has a property assigned.
NoticeThe property is considered assigned even if it is empty (i.e., no property name is specified). /
/  — toggles node selection on and off.
 /
/  — toggles node transformation on and off.
 /
/  — toggles the node is on or off.
To manage these icons, click Filter by node type and specify the icons you want to show or hide in the Show Columns section. Note that the state icon always stays visible.
![]()
Toggling Nodes#
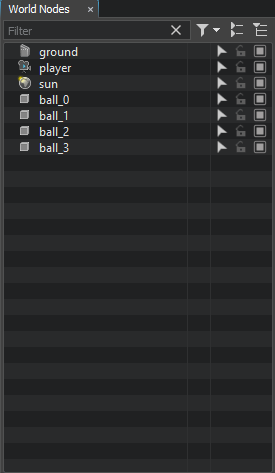
To toggle a node on and off, left-click the checkbox in front of it. If the flag is unchecked, the node will not be rendered.
You can also enable and disable a group of selected nodes:

A node can also be disabled and enabled in the Parameters window.
Renaming Nodes#
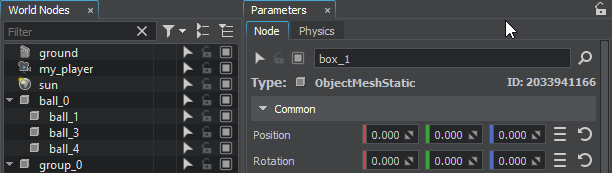
To rename a node, select it in the World Nodes and left-click it once again (slow double-clicking) to enter a new name.
You can also right-click a node, choose Rename in the drop-down list, and type a new name.
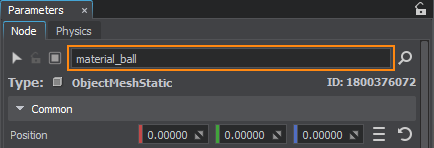
A node can also be renamed in the Parameters window:
Rearranging Nodes#
To move a node to a specific position in the hierarchy, drag it with the left mouse button pressed.
The position in the hierarchy, where the node will be placed, is highlighted with the white line:

Setting Up Nodes Inheritance#
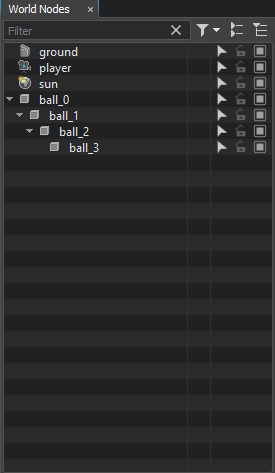
Nodes in the scene have hierarchical arrangement: each node (parent node) can have multiple children (child nodes). It allows you, for example, to change the transformation of several nodes only by transforming the parent node.
To collapse or expand the list of child nodes, click the arrow to the left of the parent node.
You can also collapse all child nodes in the World Nodes window by clicking  , or expand the list to see all nodes in the World Nodes by clicking
  .
.
By default, a new node added to the scene is positioned at the root level of the nodes hierarchy. You can set up its inheritance in one of the ways described below.
Making a Parent Node#
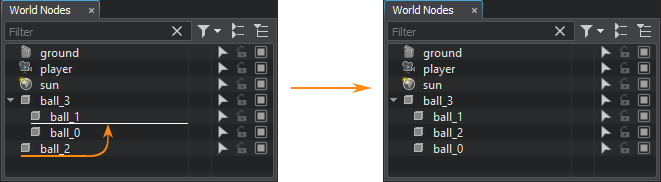
To make one node a parent for the other node (or several nodes), select both the parent and the desired child nodes, right-click the parent node, and choose Make Parent in the drop-down list:
By using this option, you can perform reparenting for the hierarchy tree branch: select the target branch, right-click the desired parent node and choose Make Parent in the drop-down list. It produces the following:
- The new-made parent is always placed at the root level of the hierarchy.
- The child nodes positioned at the different hierarchy levels are placed at the same level.
Making a Child Node#
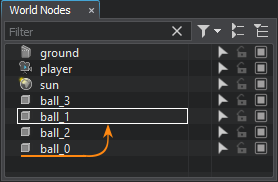
To add one node as a child to the other in the hierarchy, or reparent a node, drag it holding the left mouse button to the desired parent node.
The parent node to which the node will be added, is highlighted with the white frame:
You can also move a node to a specific position alongside the child nodes of the desired parent: the node will be added as a child to this parent node.
Unparenting a Node#
To detach a node from its parent, right-click it and choose Unparent in the drop-down list:
To reset inheritance of a child node (i.e., detach it from all parents and place at the root level of the hierarchy), simply drag it to the corresponding position in the hierarchy.
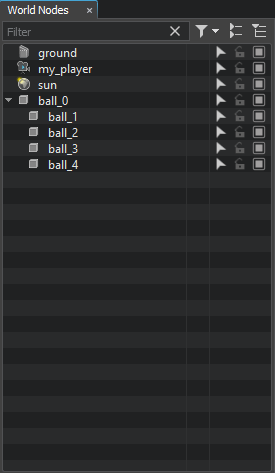
Cloning a Node#
To clone a node, right-click it and choose Clone in the drop-down list:
You can also select the node and press Ctrl+D to perform the same operation. The new node will be created at the same hierarchy level as the original one, and have the same transformation. If the original node has children, they will be cloned as well.
Another way to clone a node is to select it, press Shift and drag the node's arrow manipulator.
Copying a Node#
To copy a node, right-click it and choose Copy in the drop-down list:
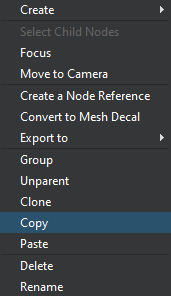
The node will be copied to the clipboard. To paste the copied node right-click anywhere in UNIGINE Editor and select Paste in the drop-down list.
You can also use the Ctrl+C and Ctrl+V hotkeys to perform the same operations.
The copied node can be pasted in any world within the same project.
Deleting a Node#
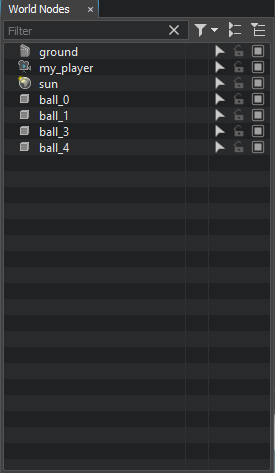
To delete a node from the hierarchy, right-click it and choose Delete in the drop-down list:
You can also select a node and press DELETE to perform the same operation.
Deleting a node doesn't lead to deleting the asset it is linked to (if any).
Filtering Nodes#
Filtering nodes simplifies their management in a large world.
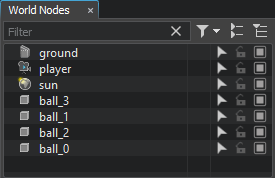
You can select which node types to display in the World Nodes window: click  and choose the required node types. Here, you can also specify how to view the filtered nodes - as a flat list (Flat List View) or according to their hierarchy (Hierarchy View).
You can temporarily show all objects by clicking Enable All. At that, the current filter settings will be preserved.
Nodes can be filtered by name or by ID. Type the node name or ID in the corresponding field.
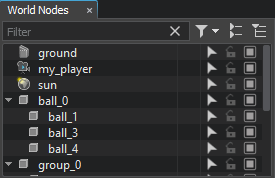
Grouping Nodes#
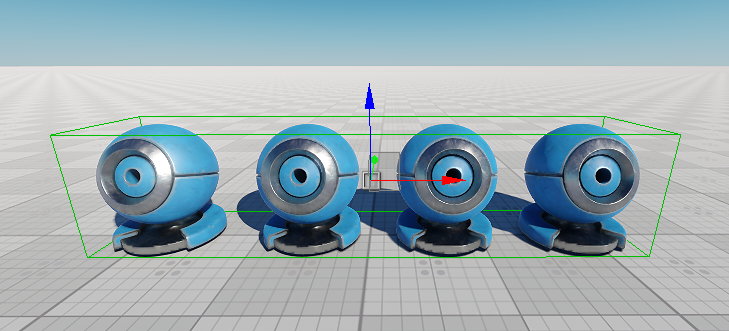
Grouping nodes allows managing several nodes simultaneously. The grouped nodes can be transformed as a single node relative to a pivot point
When grouping nodes, a new Dummy Node is created, and all selected nodes become its children. At that, the hierarchy of grouped nodes persists.
To group nodes, select them, right-click, and choose Group in the drop-down list or press Ctrl+G:
The grouped nodes can be selected and transformed as a single node:
The information on this page is valid for UNIGINE 2.20 SDK.