Interface Overview
UnigineEditor provides the core functionality for creation and editing of virtual worlds for UNIGINE-based applications. It allows you to easily view and modify virtual worlds by adding, transforming and editing the nodes.
The main window of the UnigineEditor is made up of tabbed windows which can be easily rearranged, grouped, detached and docked.
You can customize UI layout to fit your preferences or a specific type of work.
The default layout (shown below) gives you access to the most commonly used windows.

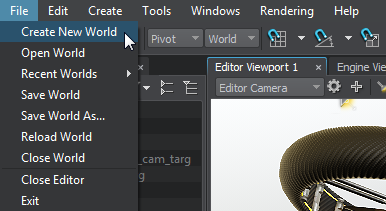
Menu Bar#
|
|
A Menu bar provides access to general panels and commands that are used when creating virtual worlds. It has a batch of options that allows you to:
|
Toolbar#

The Toolbar provides access to the most frequently used working features:
- placement tools available in the Object Mode;
- toggles that enable you to control animation, sound playback, and physics simulation;
- and the rightmost elements that enable you to access light baking and control shader compilation.
On the left side, there is the mode switching button. It switches between the following modes:
| Object Mode |
Enables basic tools for selection and positioning of objects on the scene (Shift+1 hotkey). |
|---|---|
| Texture Paint Mode |
Opens Texture Editor to edit and paint textures (Shift+2 hotkey). |
| Landscape Paint Mode |
Opens Brush Editor to edit Landscape Layer Map (Shift+3 hotkey). |
| Clutter Mask Paint Mode |
Opens Mask Editor for creating and editing mask images for Grass, Mesh Clutter or World Clutter (Shift+4 hotkey). |
| Cluster Paint Mode |
Opens Cluster Editor to edit Mesh Cluster objects (Shift+5 hotkey). |
| Terrain Global Paint Mode |
Opens Brush Editor to edit Terrain Global (Shift+6 hotkey). |
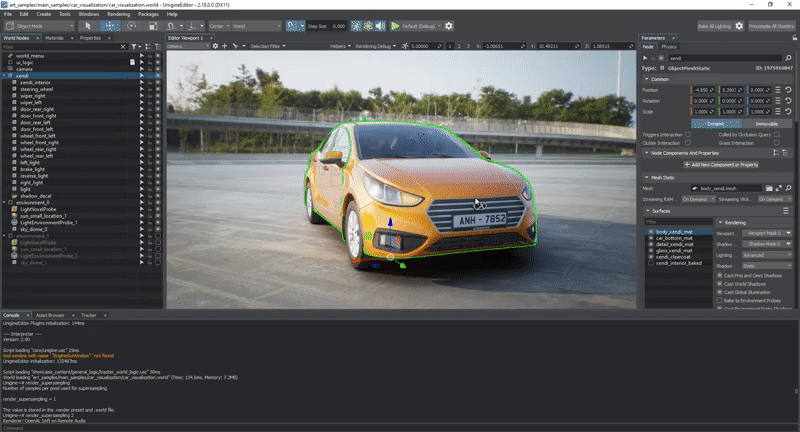
Viewports#
Editor viewport allows you to visually navigate and edit your virtual world. The number of Editor viewports that can be opened simultaneously is not limited. Parameters of each editor viewport can be adjusted separately. The window includes the following panels:
- Camera Panel that allows you to switch between cameras, add new cameras to the current world, open the Camera Settings window or lock the current camera
- Helpers Panel provides quick access to frequently used helpers (ViewCube, FPS Counter, etc.)
- Rendering Debug Panel that enables fast visual debugging by displaying the contents of rendering buffers
- Navigation Panel that lets you quickly change camera speed and position.
Engine viewport is designed for application debugging and profiling - it renders the image from the Engine Camera.
Fullscreen Viewport#
You can maximize your viewport in the Editor with a keyboard shortcut using F11. Pressing F11 the second time will return the viewport to its original size and place.
Main Windows#
Asset Browser#
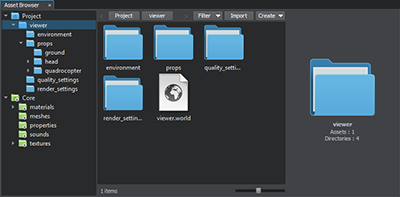 |
Asset Browser is a tool that is used to organize content in your project. The Assets System keeps all links and dependencies between the resources when you edit, rename or move them within the project. It allows you to:
|
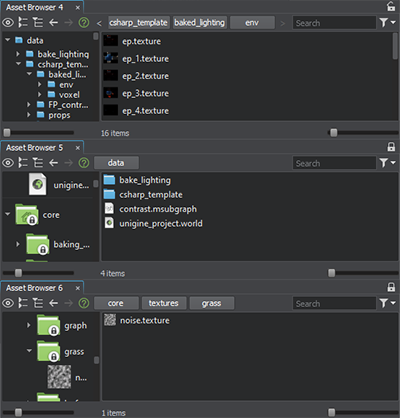 |
To facilitate managing assets, you can create multiple Asset Browser windows via the menu bar: Windows -> Add Asset Browser and stack them anywhere. Each of the created windows is also listed in the Windows menu and can be hidden or removed, if required. Click on the lock sign |
 in the upper right corner of each Asset Browser window to prevent automatic switching of the
 World Hierarchy#
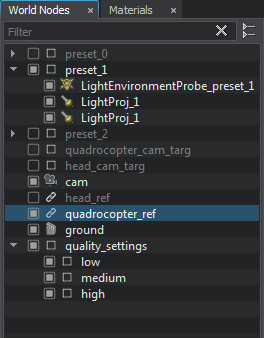 |
World Nodes window is a convenient tool for working with the hierarchy of nodes present in the scene. It allows you to:
|
Materials Hierarchy#
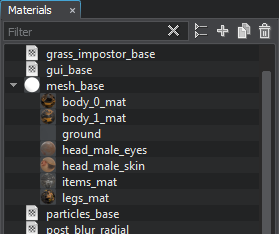 |
Materials window serves for organizing and modifying UNIGINE materials. It allows you to:
|
Learn more about materials hierarchy management.
Properties Hierarchy#
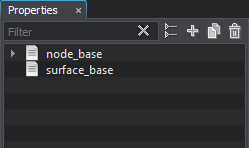 |
Properties window is used to modify and organize nodes properties (sets of custom options). It allows you to:
|
Parameters#
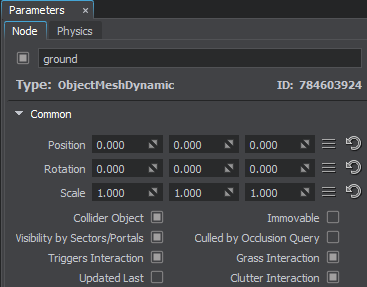 |
A multi-purpose Parameters window allows you to modify parameters of any element selected in the World Nodes, Materials, or Properties window, as well as in the Asset Browser. It offers the following features:
|
Search#
Search in UnigineEditor is available in the Propertes, Materials and World Nodes hierarchy tabs, as well as in the Parameters and Settings tabs, various drop-downs and context menus. The search is limited to items within the currently active tab or menu.

The search field in drop-down and context menus is displayed if the menu contains at least 5 items.
Video Tutorial: Interface Overview#
The information on this page is valid for UNIGINE 2.20 SDK.