Quick Start
This chapter describes how to quickly add the SpiderVision plugin to your project and make it work.
-
Add the plugin to your project in SDK Browser by clicking the Other Actions
 button on your project tab and then Configure -> Plugins -> SpiderVision:
-
Add the startup argument:
Shell commands-extern_plugin UnigineSpiderVision -
Run the project and open the configuration window by pressing the F10 key.
-
If you previously had a project that used multi-monitor display, i.e. you have a *.cfg file that you want to use, import it (File -> Import). See more details here.
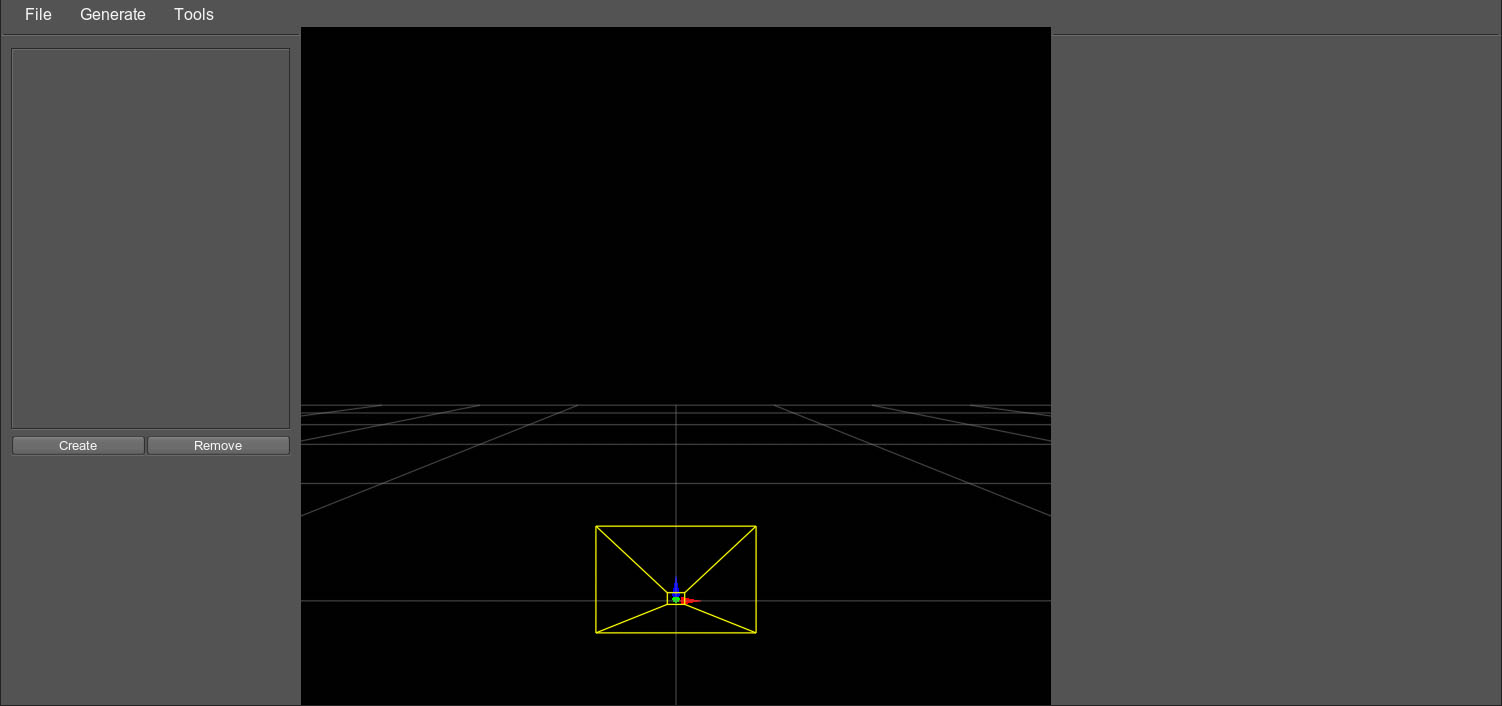
Otherwise, start creating a new configuration file: add a viewport (click Create on the left panel and select the viewport that has been added to the viewport area) and configure it by setting its type depending on how the image will be rendered — on the display or by a projector. Configure all other settings.
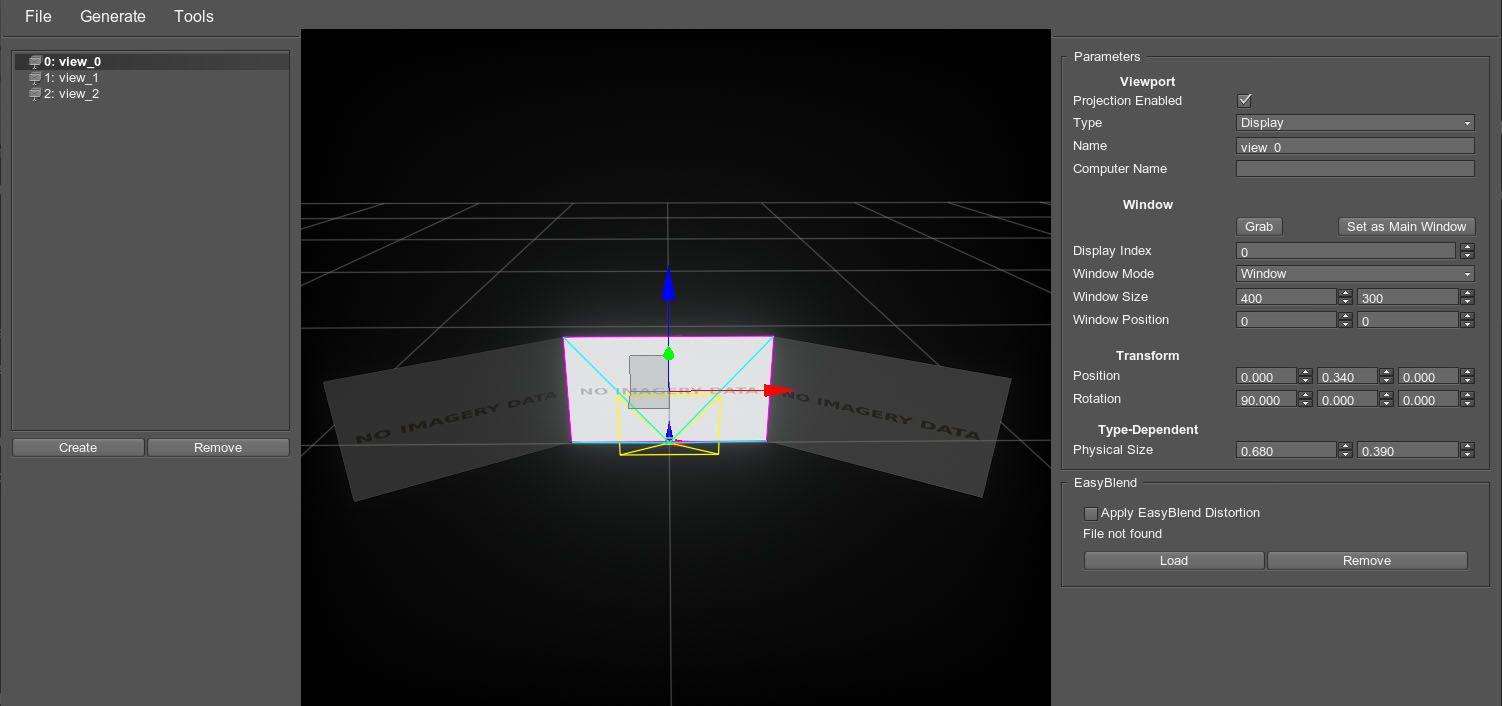
You can also quickly generate a wall of viewports (Generate -> Wall) and configure the viewport settings for them in a group or individually:
 NoticeTo initiate rendering of the configured viewports or apply any changes, save and load the configuration file.
 -
Fine-tune the rendered image using the projection setup window (Tools -> Projection Setup):

Settings in this window allow you to:
- Mirror, flip, or otherwise rotate projections. You can also move and rotate the projected image in the viewport setup window to achieve the requried result: for example, if the image is behind the view point it is mirrored horizontally and vertically.
- Control warping for each projection.
- Apply edge blending for each projection to fix overlit areas created by overlapping projections.
- Adjust color intensity for each projection.
Check this article on configuring projection for more details.
The information on this page is valid for UNIGINE 2.20 SDK.