Photon Integration Sample
General Information#
Photon is a networking engine and multiplayer platform that handles all communication on its own servers. In a typical multiplayer setup, you implement the core application (gameplay) logic within your UNIGINE project, while Photon manages the networking layer.
This third-party sample includes two Photon products:
- Photon Realtime. Manages real-time communication between multiple players over the network. Suitable for multiplayer shooters, racing games, and other latency-sensitive applications.
- Photon Chat. Enables users to exchange messages publicly or privately, functioning as an in-game chat system.
The sample includes the following functional elements:
- Authorization Window. A simplified login interface where users enter a nickname. This can be extended to include more advanced authentication (e.g., passwords).
- Lobby Window. A UI to create rooms and browse the list of available rooms to join.
- Gameplay World. The main interactive scene where objects can be manipulated in real time, alongside a chat window for message exchange.
Data Transfer via Network#
Photon does not natively support UNIGINE data types. To send such data over the network, it must be serialized before transmission and deserialized upon receipt.
The sample includes utility code demonstrating how to serialize and deserialize UNIGINE-specific types using Photon:
- Common types supported by Photon are listed here (click on Common-cpp - data types and utilities). A PDF version of this reference is also provided with the sample.
- More complex data types, such as transformation matrices, require explicit registration for custom serialization - this process is illustrated within the sample.
By studying this sample, you'll gain a foundation for building your own UNIGINE-based multiplayer applications using Photon's networking services. From there, you can explore and integrate additional Photon products as needed.
How to Run the Sample#
Prerequisites#
- UNIGINE SDK Browser (latest version)
- UNIGINE SDK Community or Engineering edition (Sim upgrade supported)
- Visual Studio 2022 (recommended)
- GitHub access to clone the repository.
Step-by-Step Guide#
Starting the Photon C++ sample requires you to perform the following steps:
- Clone or download the sample from the UNIGINE Git repository.
- Open SDK browser and make sure you have the latest version.
Add the sample project to SDK Browser:
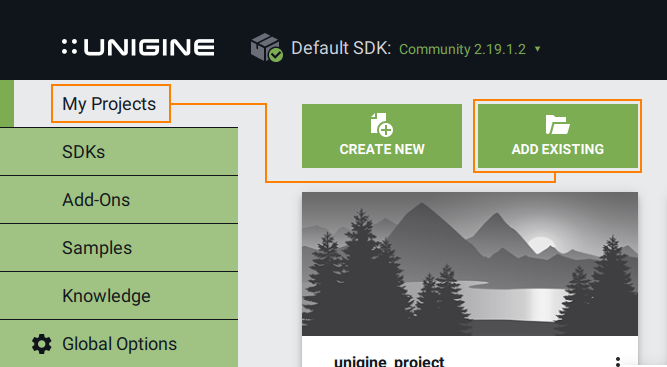
- Go to the My Projects tab.
Click Add Existing then select the *.project file located in the cloned sample folder corresponding to your setup (OS, SDK edition, and precision), and click Import Project.
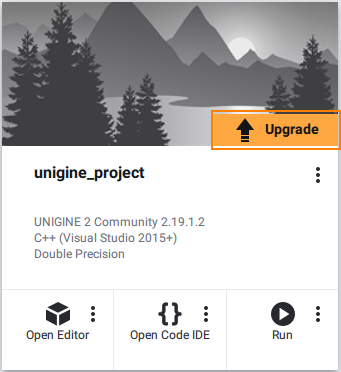
 NoticeIf you're using UNIGINE SDK Sim, select the Engineering *.project file when importing the sample. After import, you can upgrade the project to the Sim version directly in SDK Browser - just click Upgrade, choose the SDK Sim version, and adjust any additional settings you want to use in the configuration window that opens.
Repair the project.
After importing, you'll see a Repair warning - this is expected, as only essential files are stored in the Git repository. SDK Browser will restore the rest.
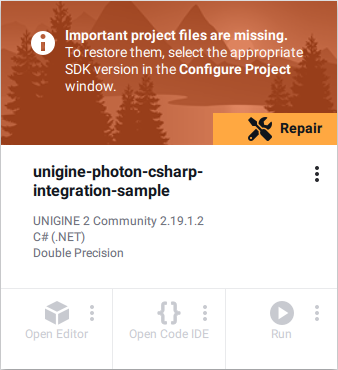
- Click Repair to let SDK Browser restore the required files.
- When the configuration window opens, click Configure Project.
- Download and set up the Photon Realtime SDK:
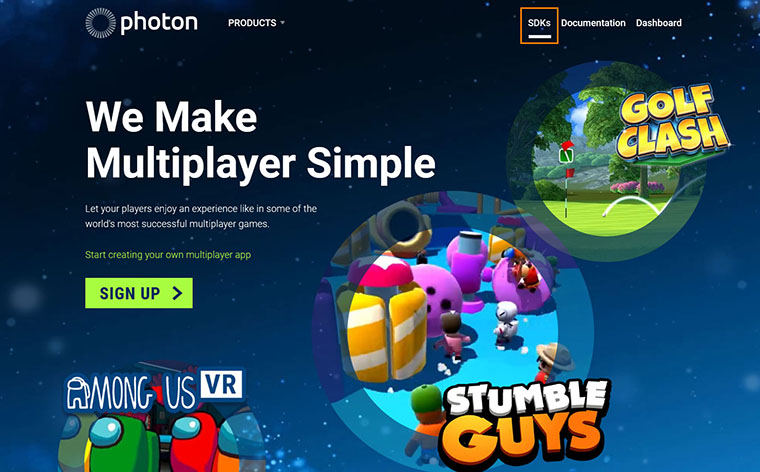
- Register at www.photonengine.com if you haven't done it before.
Download Photon Realtime C++ Windows SDK, version 5.0.13 Build 2.
Copy Photon SDK files to the sample project. From the downloaded SDK's /source folder, copy the following folders into source/PhotonSDK of your project:
 Notice
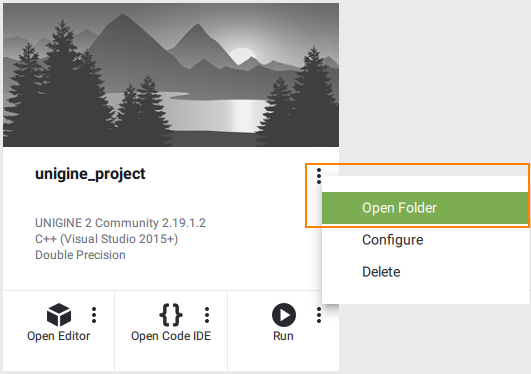
You can quickly access your project via SDK Browser by clicking the three dots next to your project's name and selecting Open Folder.
Create App IDs in Photon Dashboard:
Go to the Dashboard at www.photonengine.com (the tab in the top right corner) and click CREATE A NEW APP.
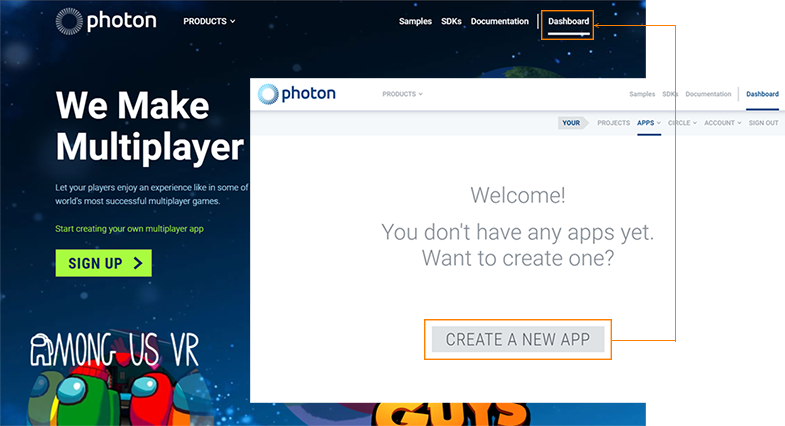
Create two applications for this sample: Realtime Photon SDK and Chat Photon SDK.
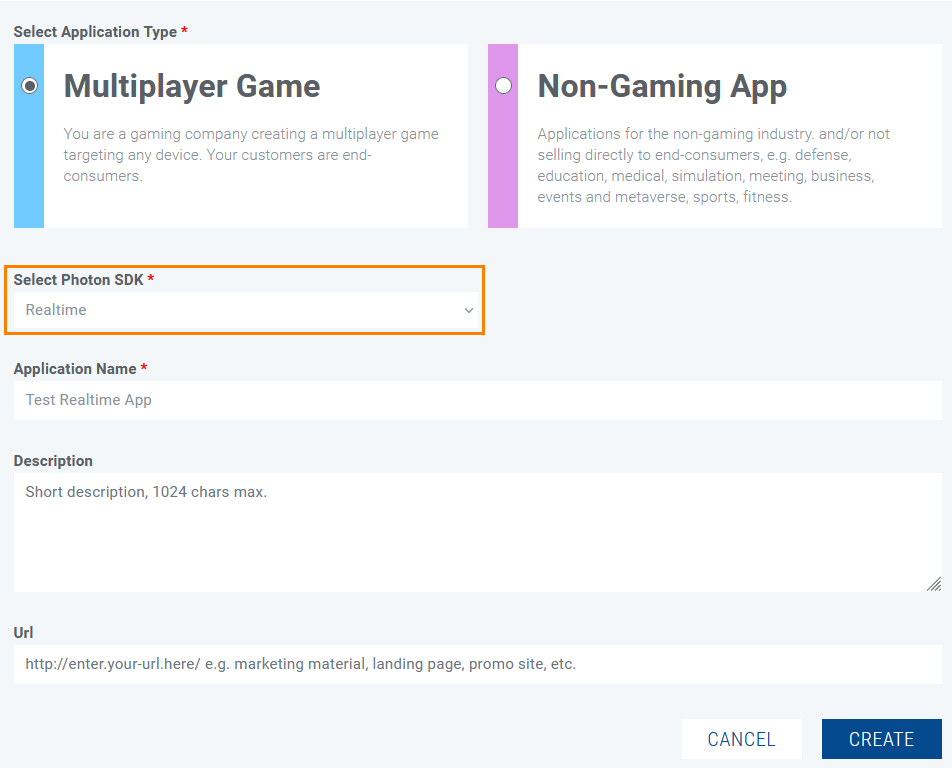 Creating a Realtime Photon App.
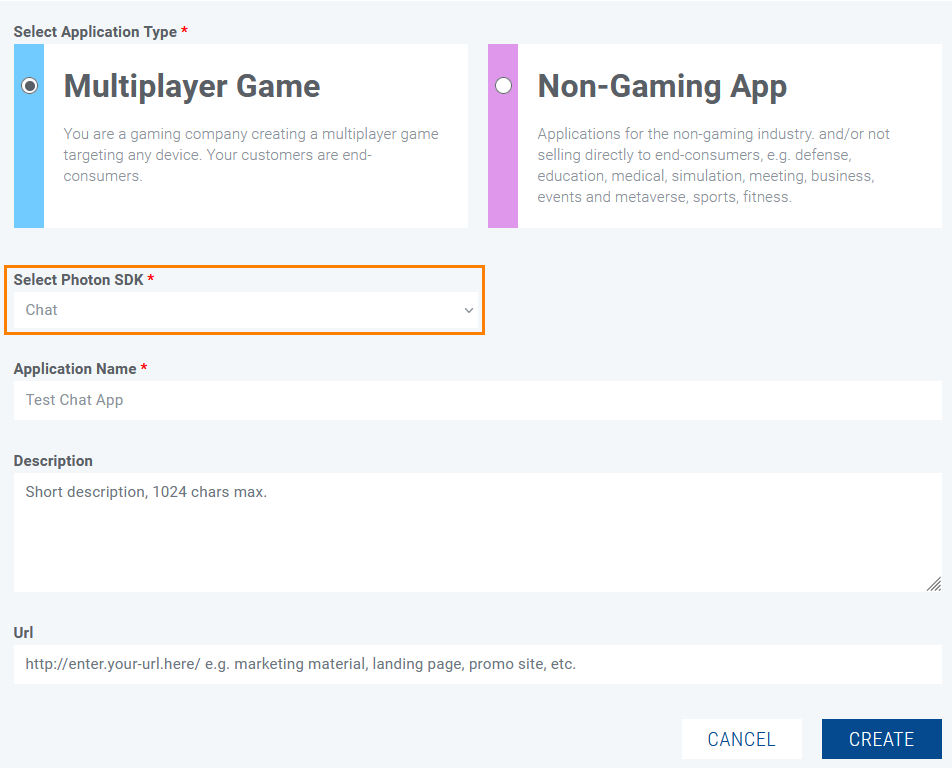 Creating a Chat Photon App.
Use the generated App IDs in your sample project. The same ID is used for every instance (i.e. other participants don't need to create their own apps).
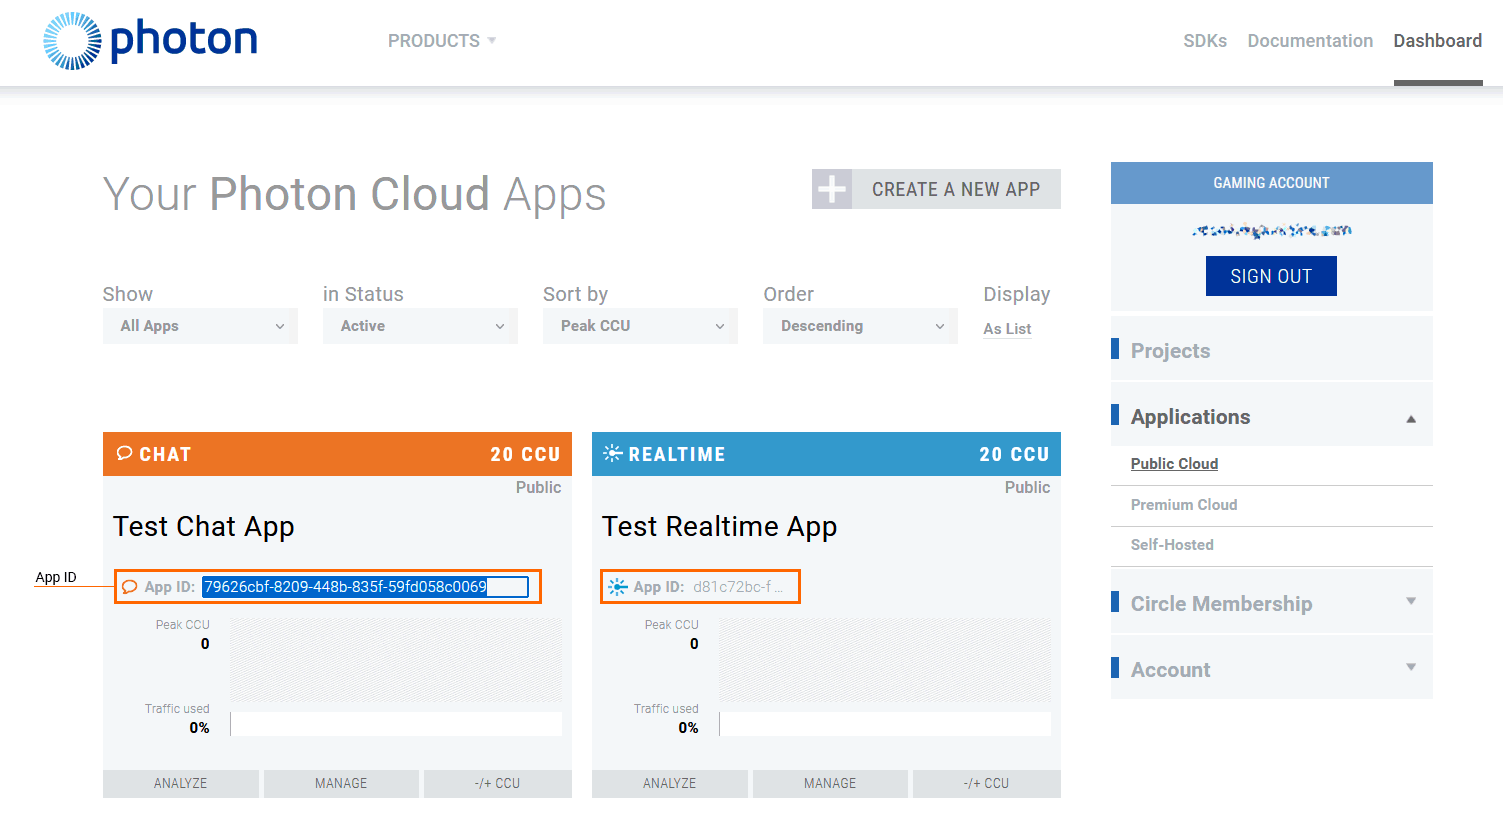
Add App IDs to the sample project. Open the file data/application_params.json in your project /data folder and paste the App IDs to the corresponding fields.
Source code{ "realtime_application_id": "______________", "realtime_application_version": "1.0", "chat_application_id": "_________________", "chat_application_version": "1.0" }Open the project in your IDE.
- Launch the recommended Visual Studio 2022 (other C++ IDE with CMake support can be used as well).
-
Load your project: Open Folder-> your _project/source - the root folder of CMakeLists.txt. If everything is set up correctly, the CMakeLists.txt file will be highlighted in bold in the Solution Explorer window, indicating that the project is ready to build.
WarningBy default, the project uses single precision (float). If you need double precision, open the CMakeLists.txt file and change the following line:
Source codetoset(UNIGINE_DOUBLE False CACHE BOOL "Double coords")Source codeset(UNIGINE_DOUBLE True CACHE BOOL "Double coords")Make sure this setting matches the .project file you selected (e.g., *_double for double precision builds).
- Build and Run the project.
If you're still having trouble running the application, revisit the steps above to ensure nothing was skipped. Check that the CMake variable UNIGINE_DOUBLE in CMakeLists.txt matches the current build type (double/float) and you're using the correct .project file for your installed SDK edition and platform (Windows/Linux). If you encounter CMake issues in Visual Studio, try rebuilding the project by right-clicking on it in the Visual Studio 2022, selecting Delete Cache and Reconfigure and then Build again.
How to Use the Sample#
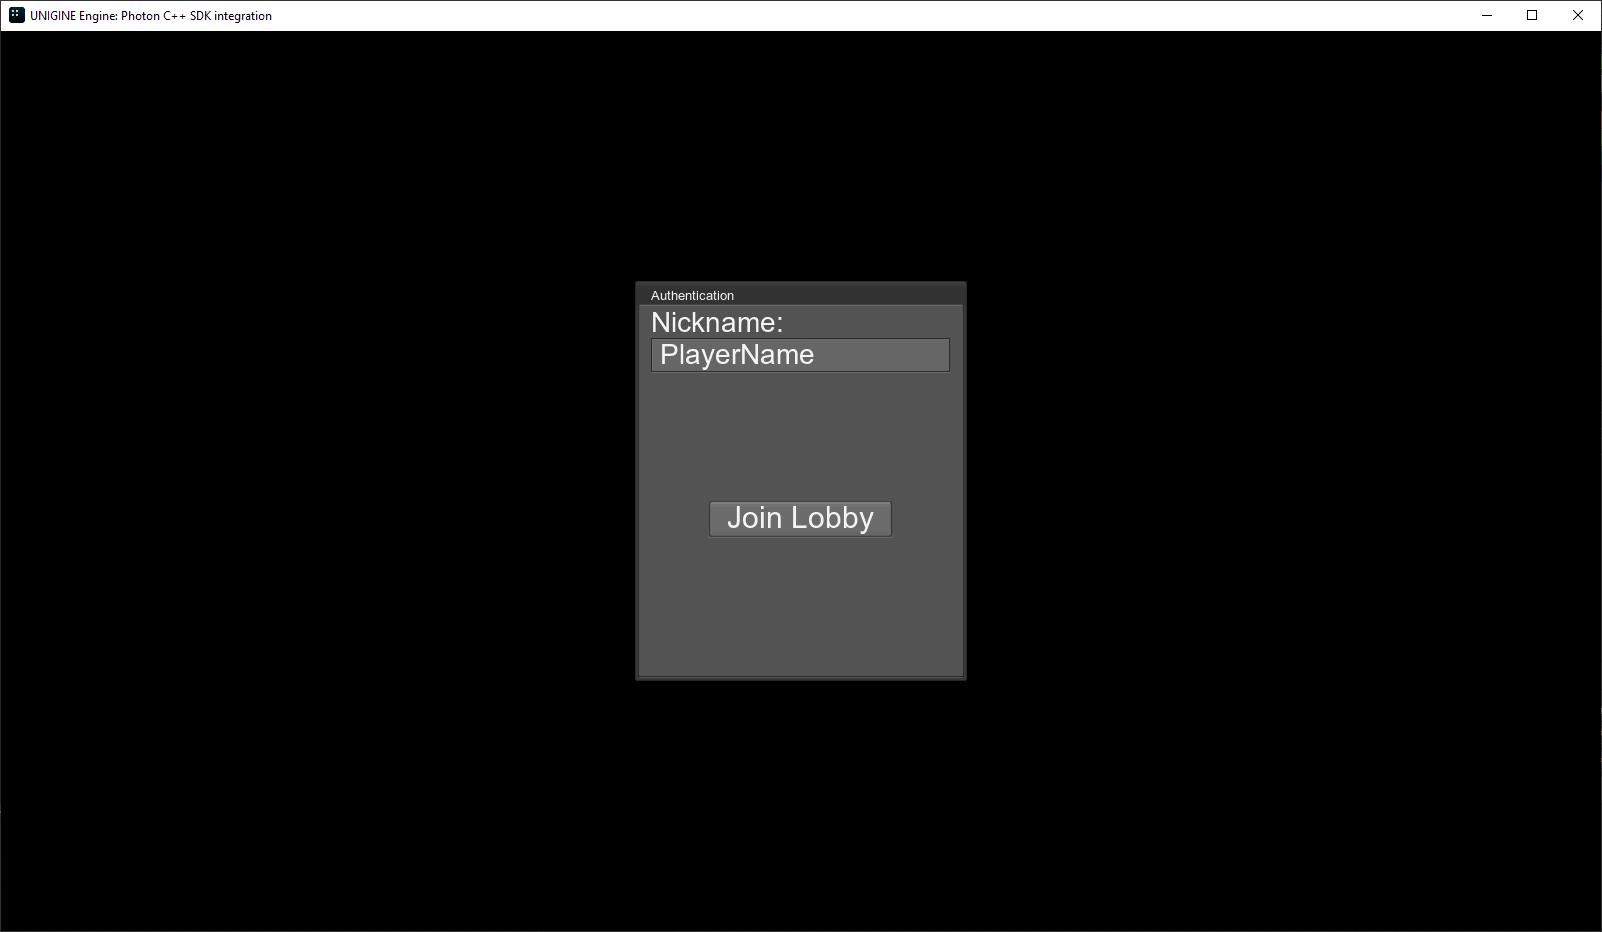
As you run the sample, you'll see a basic authorization form. Type in your nickname and click Join Lobby.
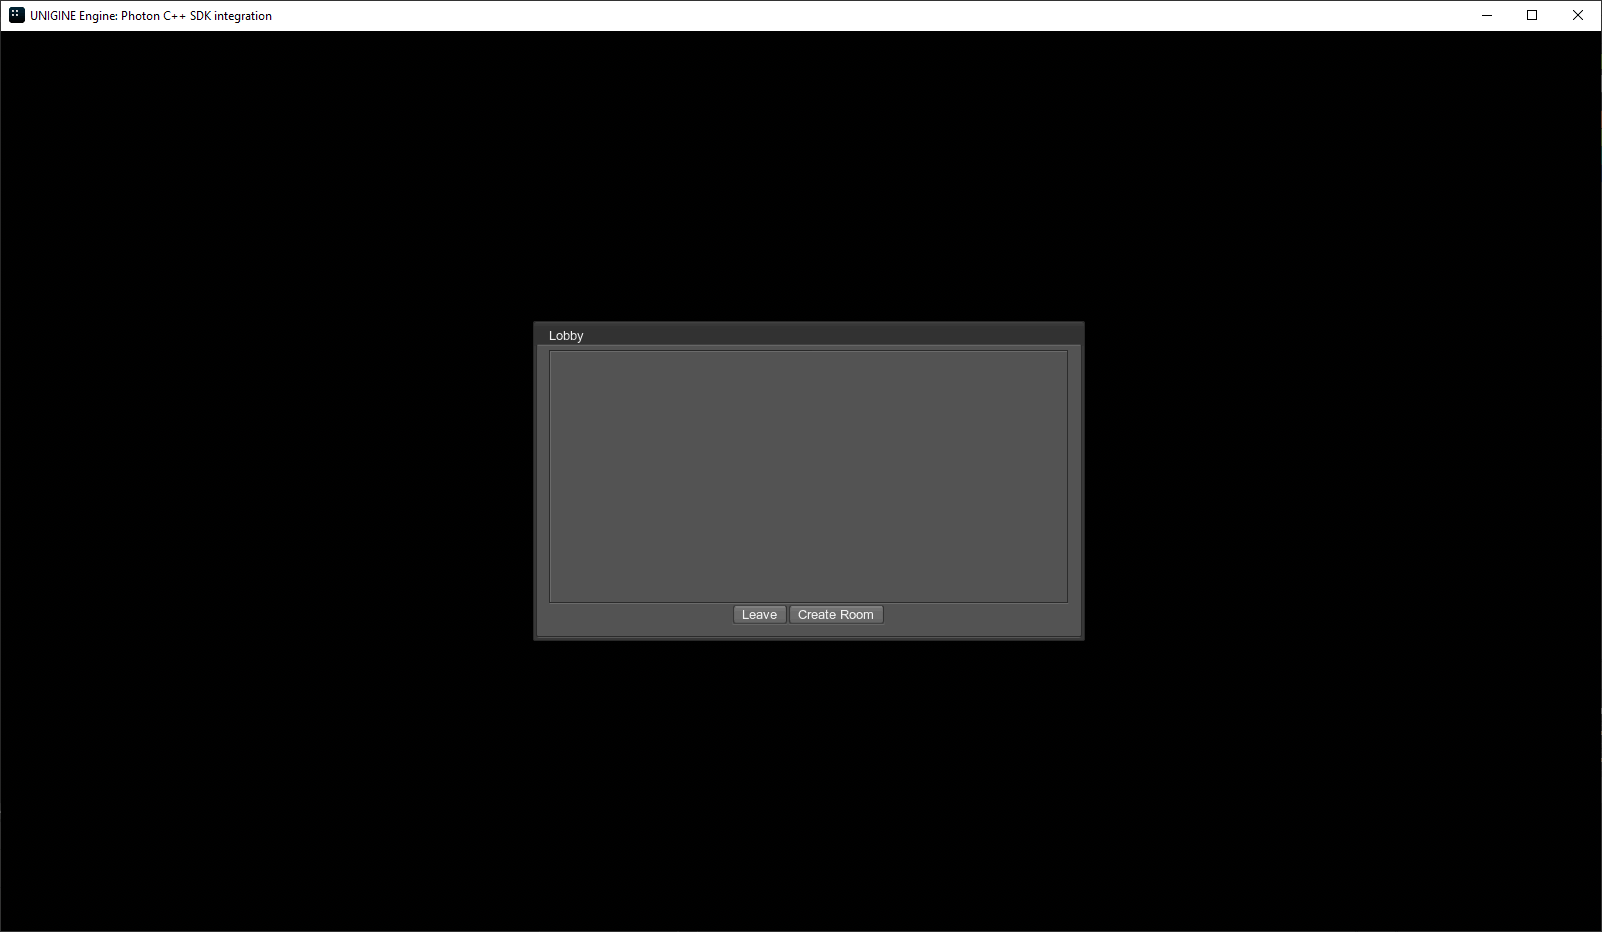
The Lobby window will be displayed next. If you are the first and there are no rooms in the list, click Create Room and the room will be created.
All users using the same Photon IDs in the data/application_params.json will see the room named after the nickname, if they join after this room has been created.
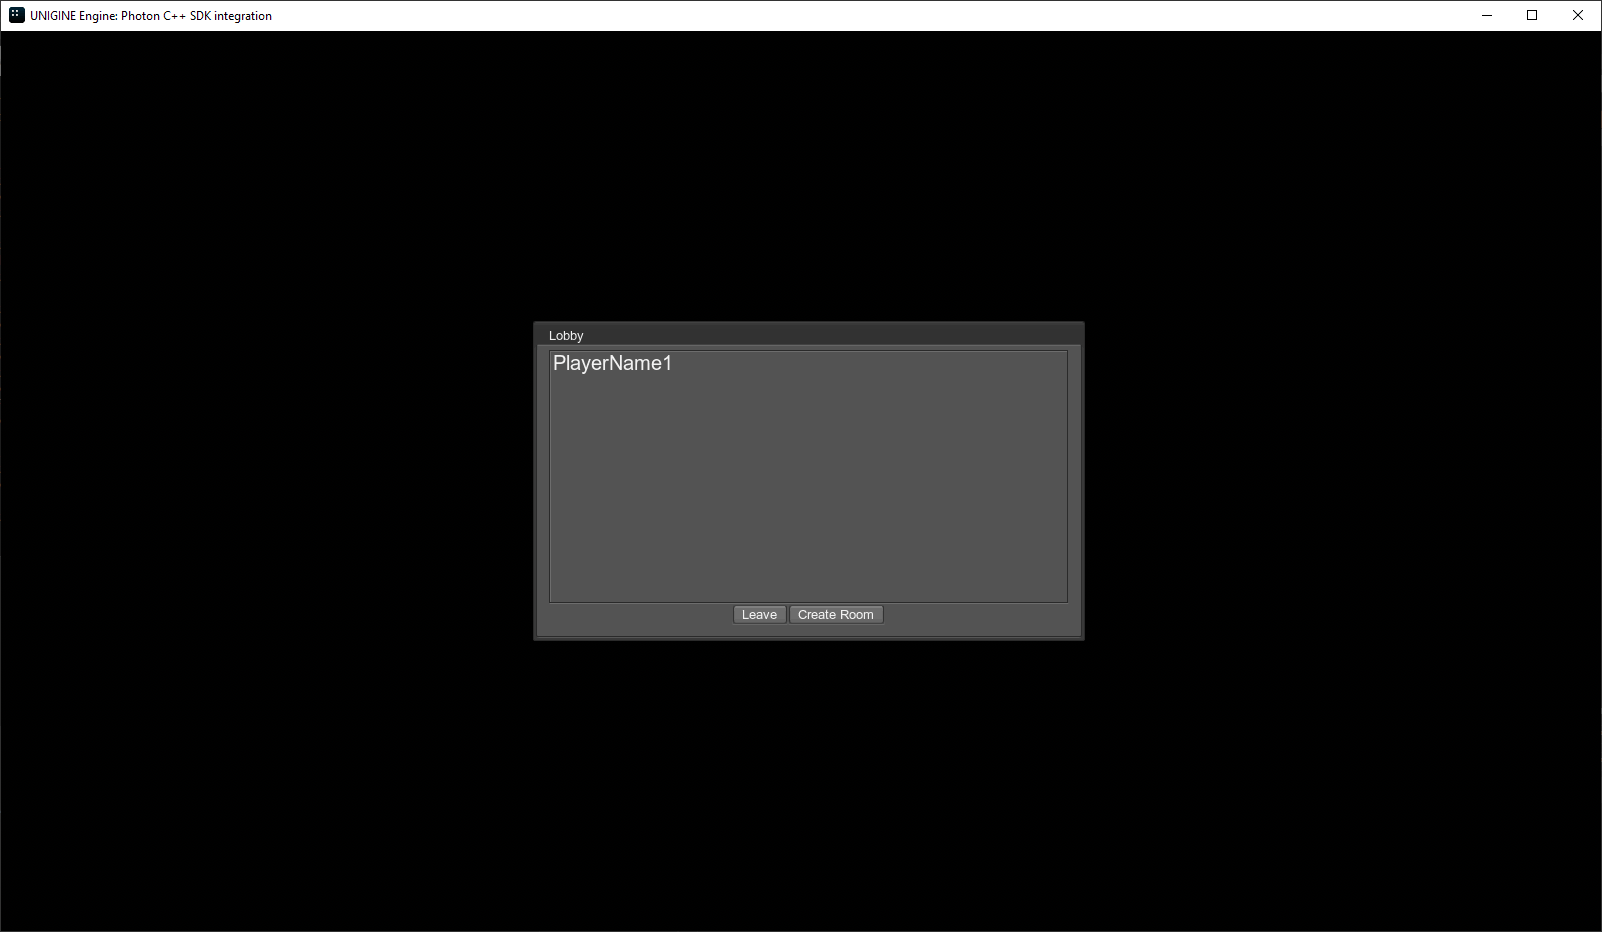
Double-click the room name to join this room.
As soon as the world opens, you can move your material ball around using WASD buttons, rotate it using QE, and shoot other players clicking the left mouse button.
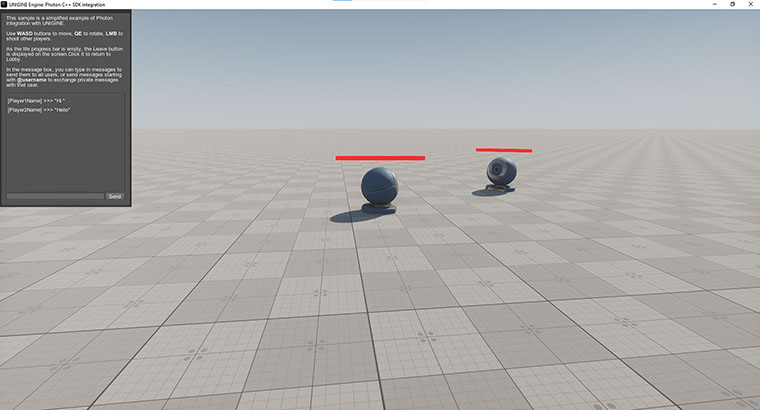
You can type in messages to send them to all users, or send messages starting with @username to exchange private messages with that user. (Of course, you should know the username for that, the application doesn't have any specific interface to let you know it.)
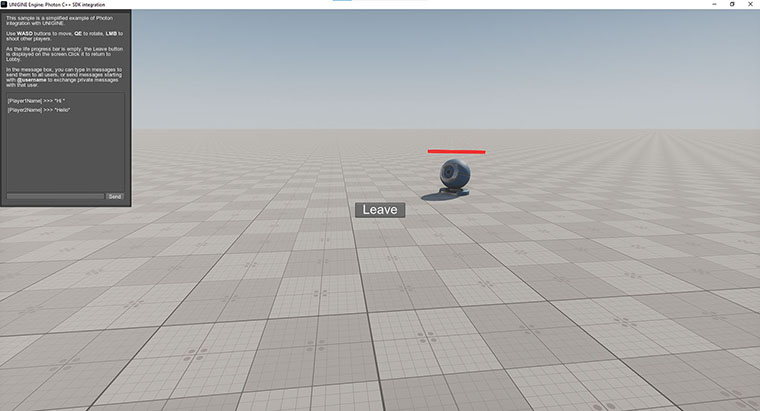
As the life progress bar is empty, the Leave button is displayed on the screen. Click it to return to Lobby.
The information on this page is valid for UNIGINE 2.20 SDK.