Cloud Layer
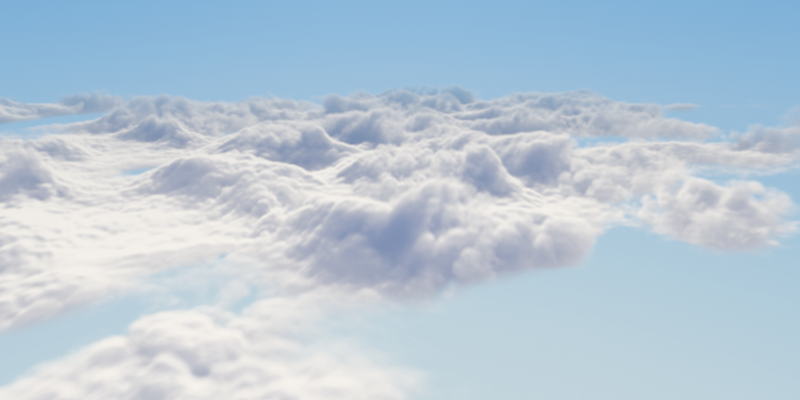
A Cloud Layer is an object representing a layer of realistic volumetric clouds with convincing dynamics.
Unigine clouds offer the following features:
- Simulation of multiple types of clouds: cirrus, stratus, cumulus, etc.
- Local clouds coverage simulation (with the FieldWeather object) with the ability to control movement of numerous groups of clouds without performance drops.
- Cloud dynamics simulation.
- Cloud density simulation based on a 3D noise model.
- Realistic shadows and lighting.
- Large number of configurable cloud layer parameters (height, density, lighting, shadows, wind, etc.).
- Visibility distance up to 400 km.
Several cloud layers can be used to provide realistic simulation.

See also#
- The clouds_base material to adjust clouds appearance
- Rendering Settings for clouds to adjust common parameters for all cloud layers on the scene
- The Field Weather object to specify areas with local weather
- The ObjectCloudLayer class to edit the Cloud Layer via API
Adding a Cloud Layer#
To add a cloud layer to the scene via UnigineEditor:
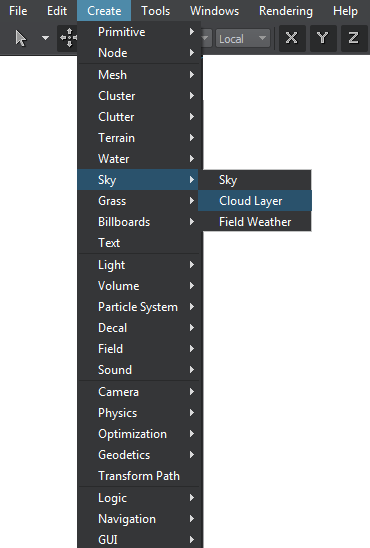
On the Menu bar, click Create -> Sky -> Cloud Layer:

Place the cloud layer object in the scene:

A layer of clouds will be added to the scene and you will be able to adjust it via the Parameters window.
Adjusting a Cloud Layer#
Cloud layers have a realistic look with the default settings, so you might not need to tweak them at all. However, when necessary, you can adjust a large number of parameters to achieve the desired look of your cloud layer.
There are two ways of you can adjust the look of your clouds:
- By using the corresponding Rendering Settings applied to all cloud layers in the scene.
- By using the parameters of clouds_base material providing an opportunity to tweak each layer separately.