Mesh Cluster
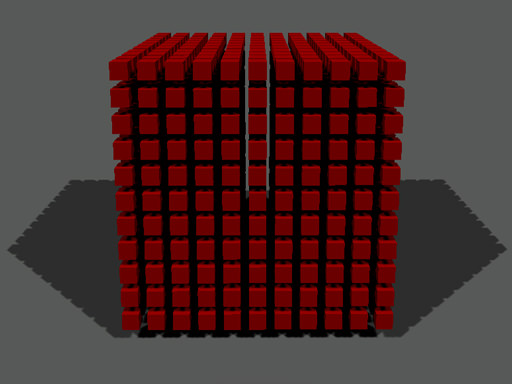
A cluster is an object that can contain a great number of identical meshes with the same material, which are managed as one object. Using clusters substantially speeds up rendering.

Mesh Cluster
Notice
Cluster can also have physical properties if a body is assigned to it.
See also
- An ObjectMeshCluster class to edit clusters via UnigineScript
- An Unigine::ObjectMeshCluster class to edit clusters via C++ API
- A set of samples located in the data/samples/objects/ directory:
Mesh for Mesh Cluster
Mesh Cluster can contain only identical meshes with the same material on each of their surfaces.
- Mesh specifies path to this mesh.
- On Surfaces tab a material for the mesh or its surfaces is specified.
Creating a Mesh Cluster
| Create | To use a Mesh Cluster for managing a number of meshes, simply do the following:
|
|---|---|
| Collect | Another way of creating Mesh Cluster with meshes is to use Collect option. It will search for specified meshes in the world and automatically bake them.
|
| Expand | If it is necessary to reposition or remove some of the meshes, use Expand option to un-bake Mesh Cluster. Meshes will appear in the list as children and can be transformed or otherwise edited. Do not forget to use rebake them again with Create option. |
| Clear | To remove all node references that were baked into a Mesh Cluster, use Clear option.
|
Mesh Cluster Parameters
| Visible distance | Up to the visible distance all node references are rendered that were baked into a Mesh Cluster and are found within this range.
|
|---|---|
| Fade Distance | Across the fade distance the number of rendered node references gradually decreases, as they disappear randomly one by one. The fade distance follows the Visible distance. Without the fade distance node references disappear abruptly, as a clearly seen line. Using fade distance allows the objects to disappear one by one until up to the fade distance only a few left. It makes the disappearing smooth and much less noticeable.
|
| Shadow | The distance to draw additional meshes outside the view frustum. This option allows to eliminate popping of shadows at the edges of the screen when the camera is turning.
|
Last update: 2017-07-03
Help improve this article
Was this article helpful?
(or select a word/phrase and press Ctrl+Enter)