Packing a Final Build for Publishing
Before your project can be distributed to users, it must be properly built. To build a C# Component System project, all components should be initialized and compiled successfully.

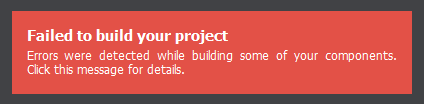
If you encounter the red error message in the UnigineEditor, indicating that some of your components were not built, check the Editor Console window for details. You may need to debug the source code to find errors.
Step 1. Build the Game#
Packing a final build ensures that all content and code, including all necessary libraries, is up to date, in the proper format, and placed to a proper location to run on the desired target platform.
- Switch to the UnigineEditor. To assemble the project, choose File->Create Build. The Create Build window will open.
- In the Create Build window, set the Build Type to Release.
-
Set the name to be QuickStart and specify the output folder in the Build Folder field. Make sure the Default World is set to your game world (level.world in our example).

The Delete Unused Assets option shall by default remove the materials used for our generated objects, as they're only used in our code (the Build tool doesn't know that). This is the case when you have to force-include them manually. You can do it by adding the following line to the list.
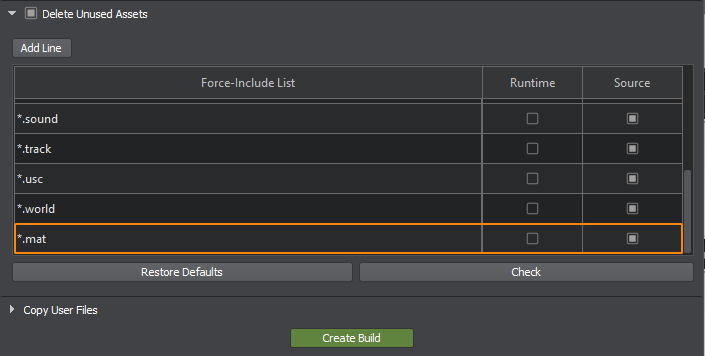
For more information on the Delete Unused Assets option see the related HowTo Video.
-
Click the green Create Build button at the bottom of the Create Build window. The assembling progress bar will appear indicating the status of the build process.

Step 2. Launch the Game#
- Upon completion of the build process, the output folder will be automatically opened. To play the game, launch QuickStart.exe.
-
In the Unigine launcher, specify the resolution and the window mode.
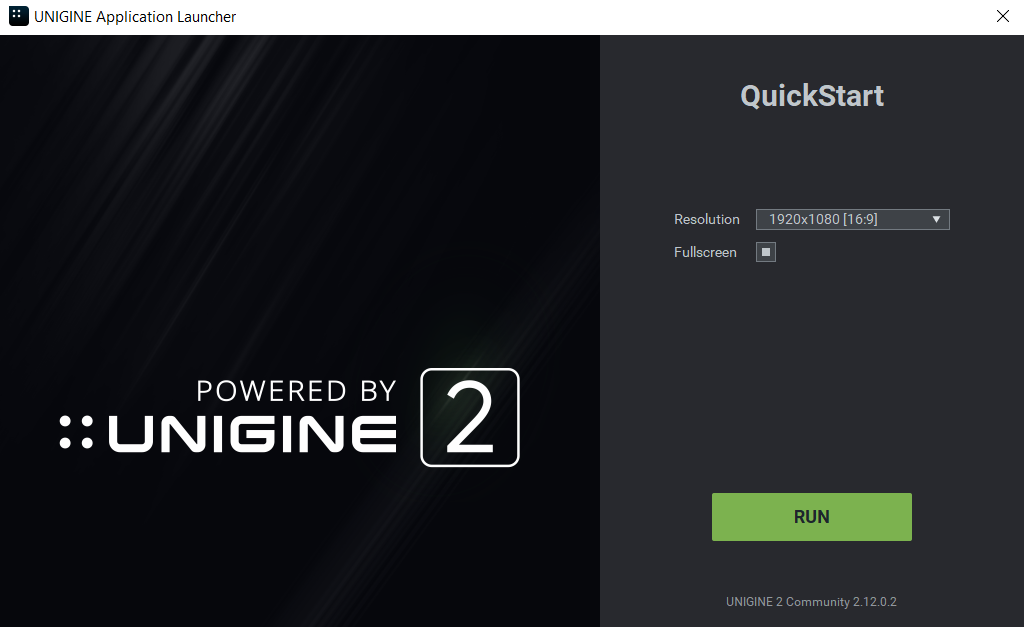
- Click Run to launch the standalone application and play the game.
Congratulations, you've made your first project! You may now expand upon it and implement more features.