Environment Probes
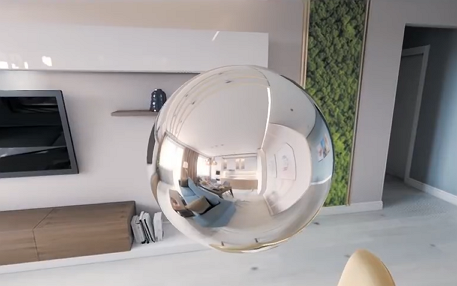
Environment Probe represents a reflection volume that stores a cubemap texture (pre-baked or dynamically changing each frame) to be rendered on reflective surfaces.
See Also#
- Light baking is available via code by using the BakeLighting Class.
- Video Tutorial: Global Illumination.
- Quick video guide: How To Bake Reflections to Environment Probes.
Cubemap Reflections#
The primary application of Environment Probes is providing cube-mapped reflections.
The Projection Shape defines the type of projection to be used by the Environment Probe:
- Box projection - the cubemap is projected onto a box shape defined by the Box Projection Size parameter of the probe.
- Spherical projection - the cubemap is projected onto a spherical shape.
Spherical Environment Probes can be subject to Parallax effect controlled by the corresponding parameter. With the value of 0 the reflection shall be projected onto an infinitesimally far sphere, the value of 1 corresponds to the actual probe's bounding sphere defined by the Attenuation Distance parameter taking into account the viewer's perspective.
The Baking Settings of the probe determine the type of reflections.
Static Reflections#
An Environment Probe with the Dynamic option disabled provides static reflections — the same cubemap is used until it is re-baked or replaced.
You can specify a custom cubemap texture for the probe or bake it from the environment by using the Bake Lighting tool. For this purpose, a set of preparations is needed:
- Select the Static Lighting Mode for surfaces that should be visible in baked reflections or enable the Bake to Environment Probe option for surfaces in Advanced Lighting Mode. Disable it for dynamic objects.
For selective group-based visibility of objects, adjust the Viewport Masks. A surface will be visible in reflections only if its Viewport Mask matches the Reflection Viewport Masks of the Environment Probe. - For light sources that should be reflected, select the Static mode. Dynamic lights will be ignored.
- Check Grab by Bake Lighting in the probe's Baking Settings. Adjust other settings, such as the desired cubemap resolution and the supersampling multiplier.
- Open the Bake Lighting window.
- Enable Bake Environment Probes.
NoticeEnable Automatic Rebake option to make cubemaps for static Environment Probes be automatically rebaked every time you make changes to their settings and transformation.
- Select the Number of Bounces, i.e. the reflection depth.
- Start baking process by clicking Bake All Lighting and wait for it to finish.
- Upon completion, the generated cubemap will be saved in the bake_lighting/env_probes folder and assigned to the Environment Probe.
Dynamic Reflections#
Dynamic reflections imply the cubemap of an Environment Probe is grabbed each frame. This mode may make a massive load on the processing unit, so accurate adjustment of the Baking Settings is recommended.
To make an Environment Probe cast dynamic reflections, perform the following:
- Check the Dynamic option for the probe.
- Adjust the desired Resolution of the cubemap, supersampling and other Baking Settings.
- Pay attention to the Faces Per Frame parameter defining the number of faces of the cubemap rendered each frame. Rendering six faces each frame may significantly affect the performance, so you can spread this number over several frames in a row.
- Enable the Dynamic Reflections option: Rendering -> Features -> Dynamic Reflections
Additional Features#
Ambient Lighting#
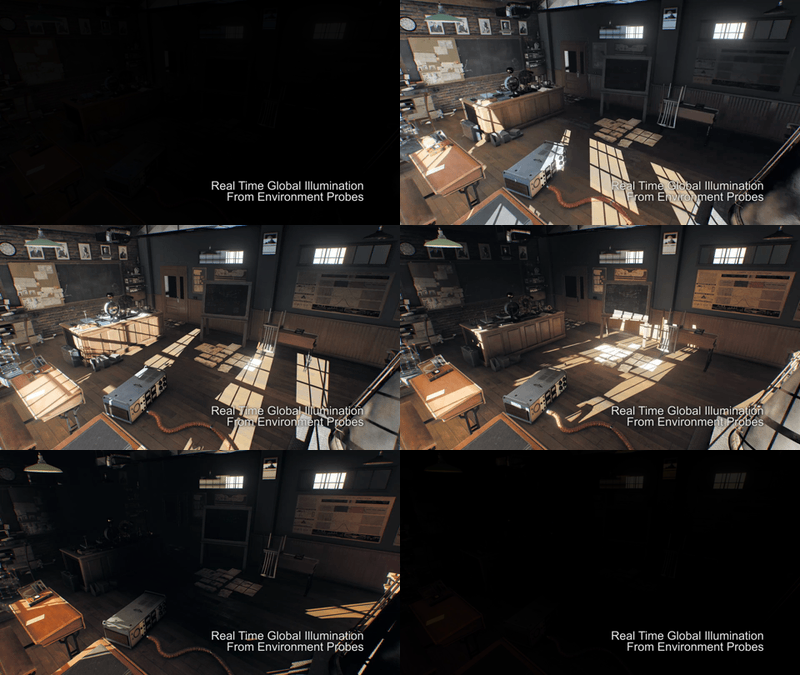
By default, Environment Probes are used for reflections only, as for lighting, it is recommended to simulate it using Voxel Probes and lightmaps. However, cube-mapped ambient lighting by environment probes is available as well.
You can benefit from this approach by enabling the Dynamic option for the Environment Probes to get simple real-time global illumination.
Additive Blending#
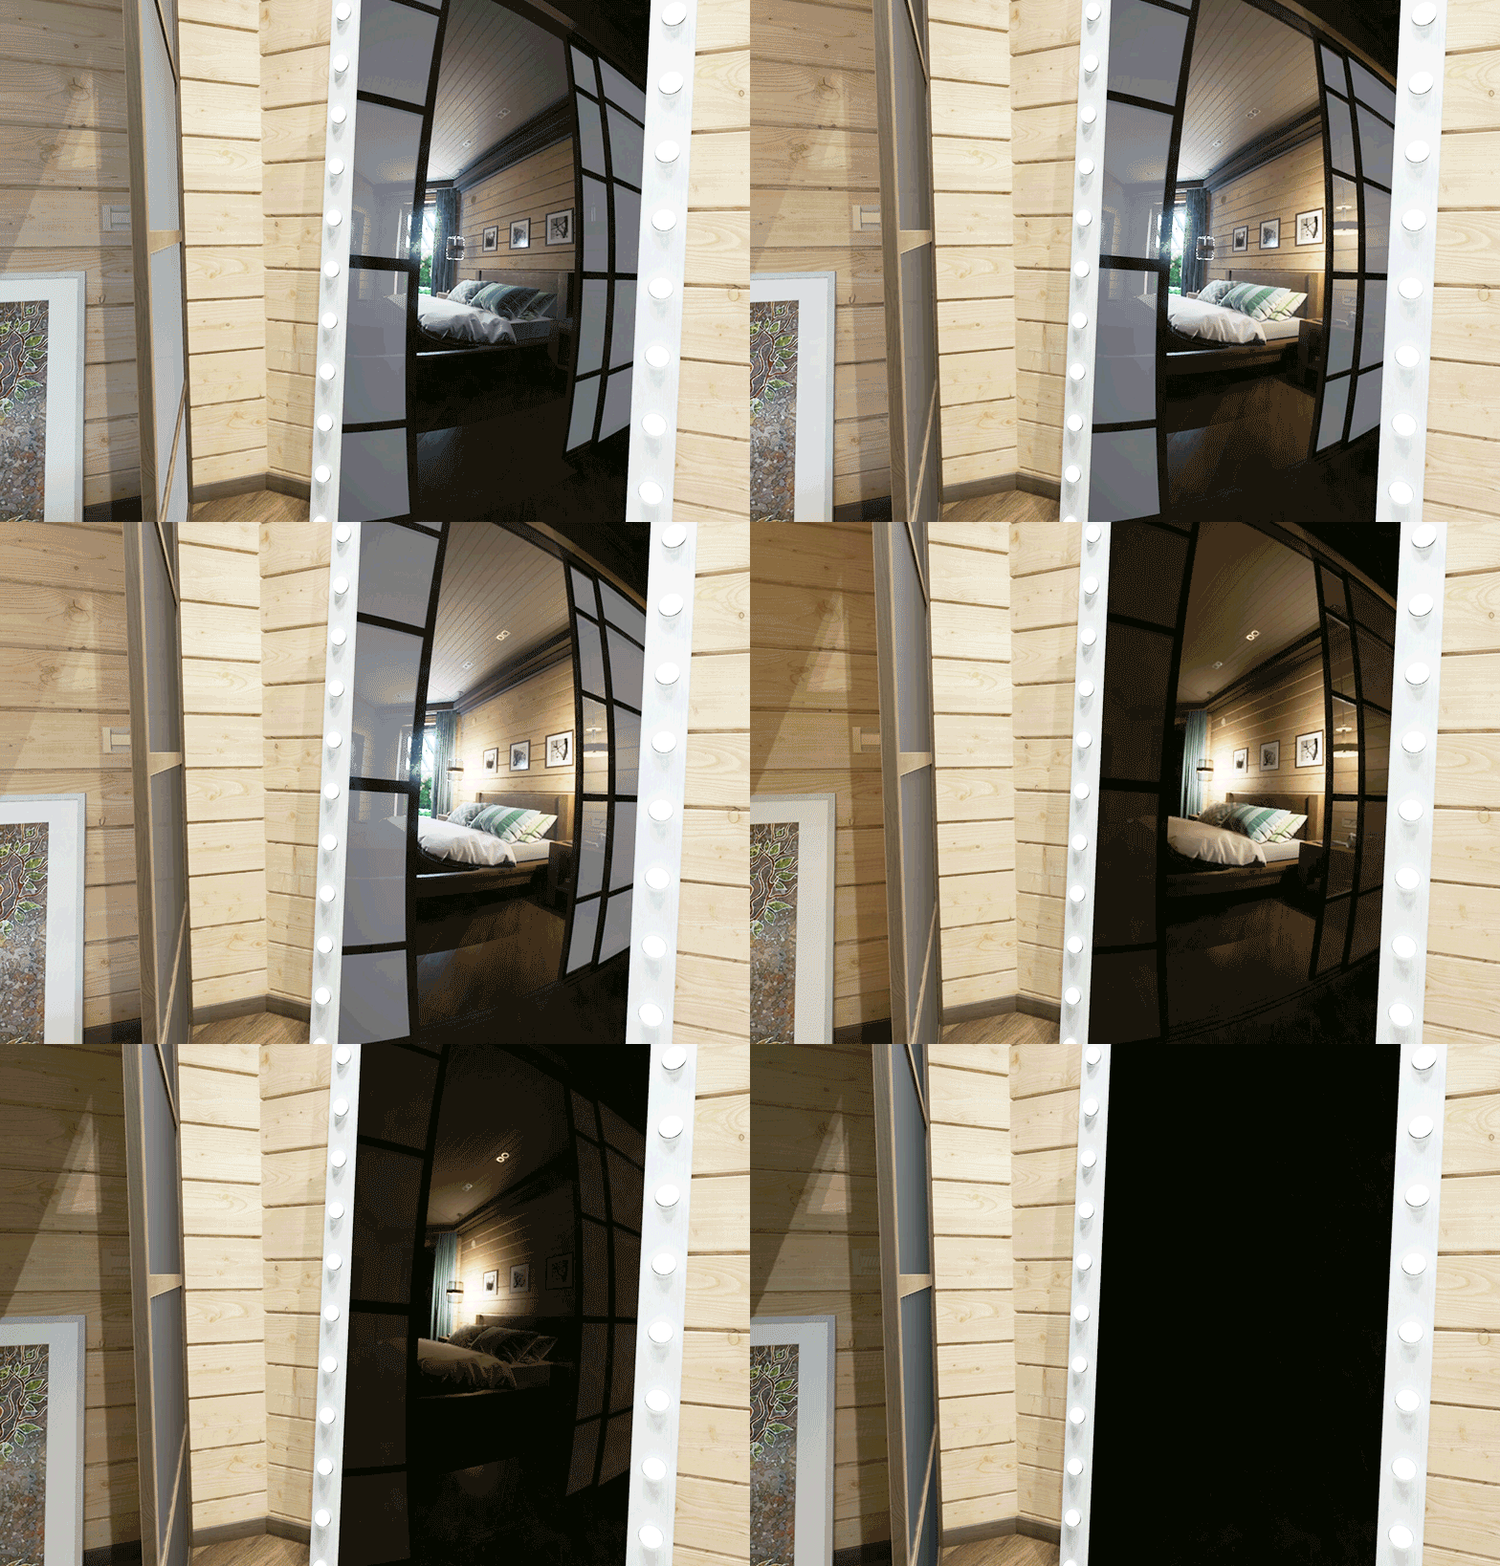
More flexibility in lighting control is available with the Additive Blending mode. You can use it to blend reflections of several Environment Probes together and control them separately.
Use Sun Color#
An Environment Probe is subject to multiplication by the sun light color if the Use Sun Color option is enabled for it.
Cutout By Shadow#
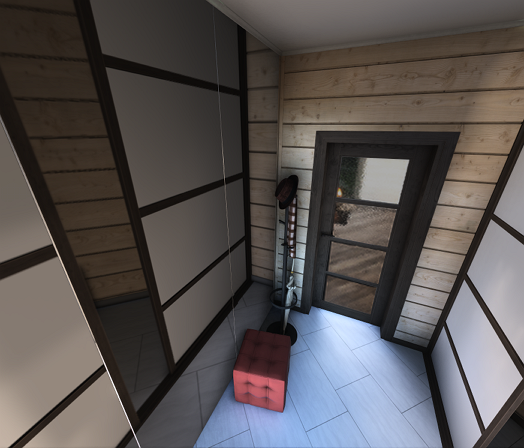
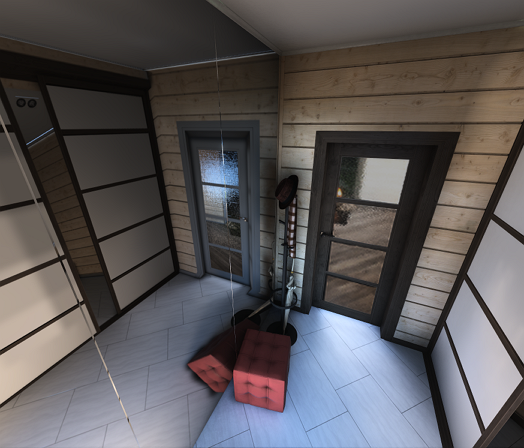
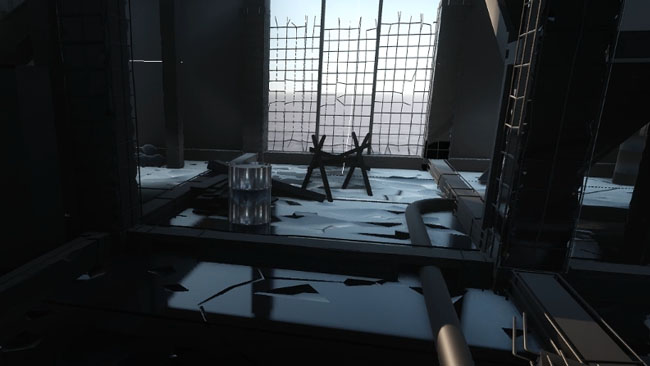
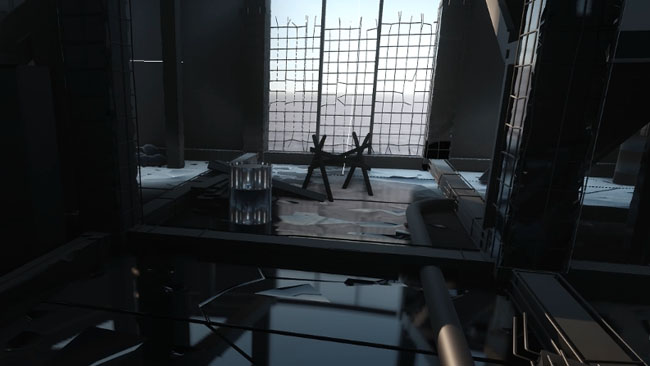
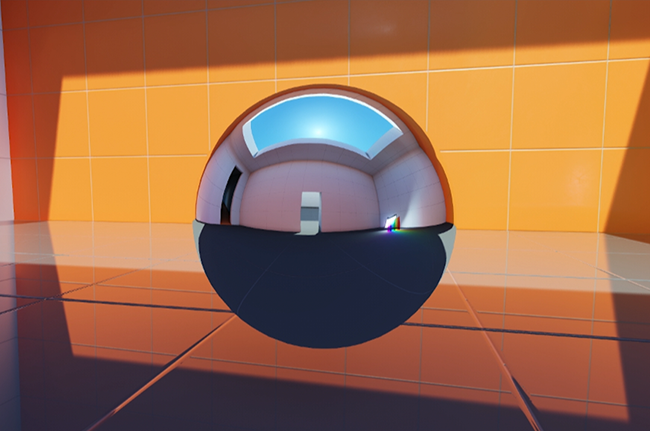
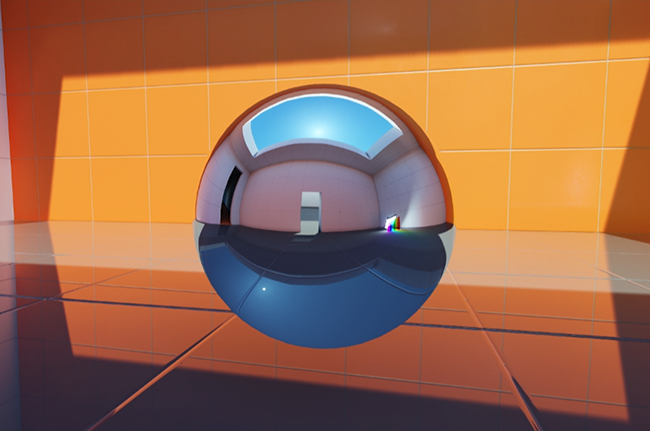
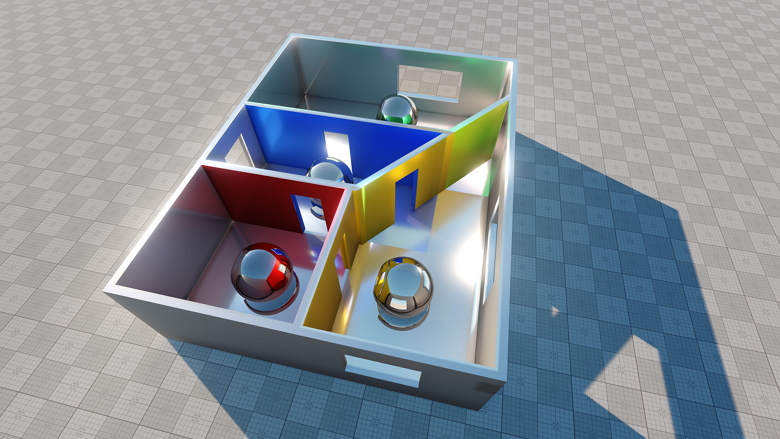
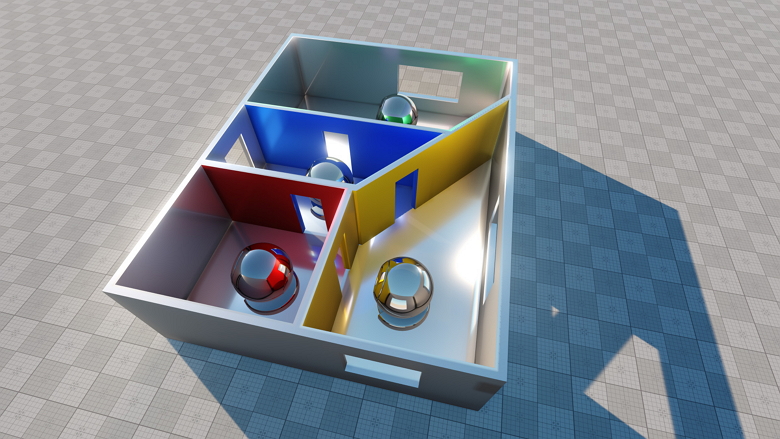
In certain cases reflections baked into environment probes might be clearly seen in areas where they actually shouldn't, resulting in various artefacts that ruin the total look of your scene. This can be especially noticeable when you place environment probes in irregular shaped (non-squared) rooms. By using the Cutout By Shadow feature you can enable clipping of reflections occluded by obstacles.
To use the feature, perform the following steps:
- Create meshes that will serve as obstacles for reflections propagation (doorways, windows, etc.).
- Enable the Cast Environment Probe Shadows flag for surfaces of obstacles.
- Enable the Cutout By Shadow flag for the Environment Probe.
- Bake the Environment Probe by using the Bake Lighting window. This will create a depth texture that will be assigned to the probe and define clipping of reflections.
- Disable or delete the obstacles.
