Generating Vegetation
Vegetation such as trees and grass can be generated via Sandworm tool on the basis of landcover data available. Such data is added as Mask, and vegetation is spread across the mask guided by the tags.
Let's review the process of generating vegetation in detail.
Notice
It is assumed that you have already added the data required for the terrain surface.
1. Preparing a Basic Object#
- Create a basic object that will be used as a building block for generation of vegetation (grass, trees, etc.). The following types of basic objects are supported:
- Grass object
- Mesh Clutter object
- World Clutter object (generated only if Object Terrain Global is selected as the output format)
- Specify parameters of the basic object in the Parameters window.
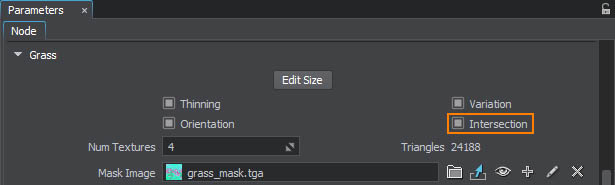
NoticeIntersections with the parent object must be enabled for all types of basic objects. The Intersection flag can be found on the tab of the Parameters window corresponding to the type of the object.
- Inherit a material, set all necessary textures and parameters and assign it to the basic object.
- Export your node to a .node file (e.g. grass.node) and then delete the node from the world.
2. Adding a Mask Data Source#
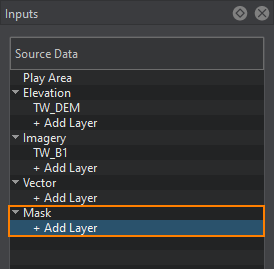
- In the Sandworm window, Inputs panel, Mask section, click + Add Layer.
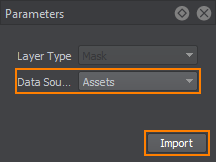
- In the Parameters panel, define the type of Data Source to be used: Assets or External Files and click Import.
- In the window that opens, select the landcover data source to be used as a mask. R8 and RGB8 mask textures are supported.
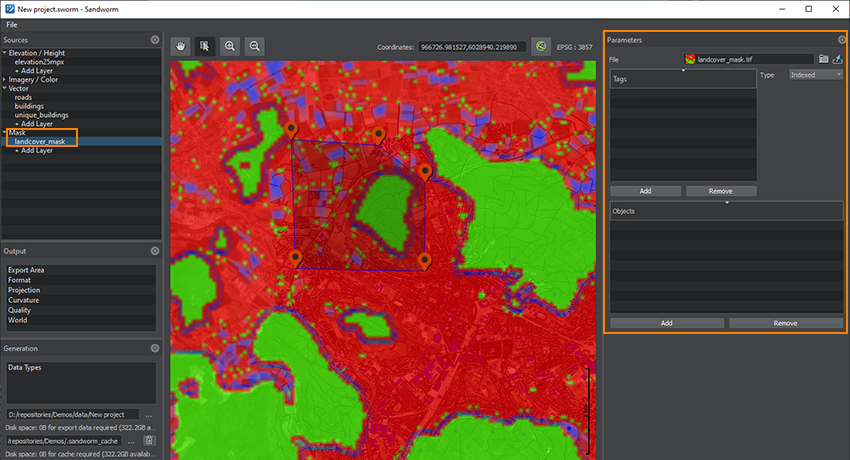
When the mask is added, its image is displayed atop all the layers in the Preview panel (the order of layers display may be changed), and the Mask layer parameters become available.
3. Specifying Tags and Vegetation Parameters#
- Add tags that will act as a filter selecting the areas from the data source for each type of landcover object you are going to generate. Click the Add button in the Tags window in the Parameters panel.
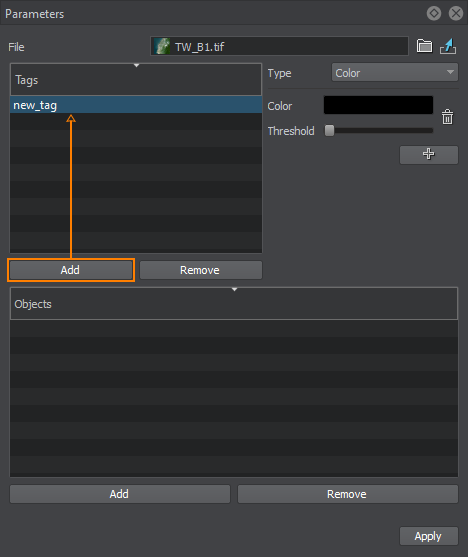
Double-click on the tag to specify a tag name. To remove a tag use Remove button. - For every tag, filters should be set to select certain data from the landcover data source. You can add as many filters as necessary. The following types of filters are available:
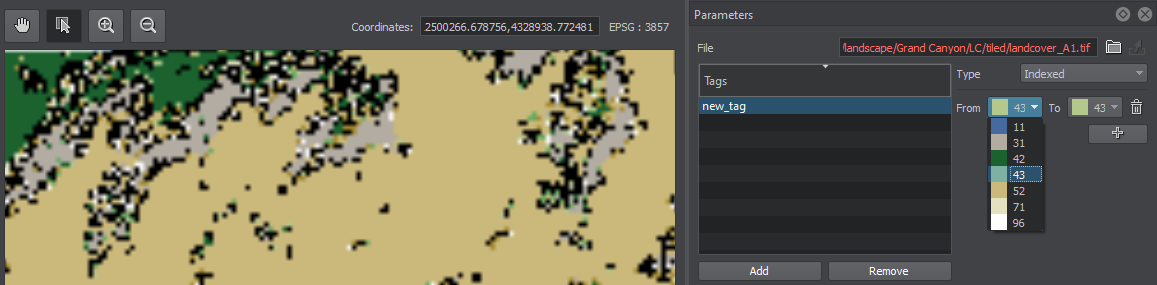
- Indexed — select a particular color index from the list of available ones in the source raster image. You can also specify the color range by indices (from color to color).
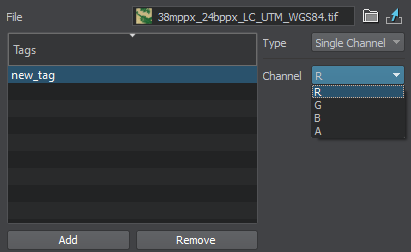
- Single Channel — select a channel of the source raster image.
- Color — set a particular color taken from the source raster image and adjust the threshold for it, thus defining the suitable color range.
Click the color to open the color settings: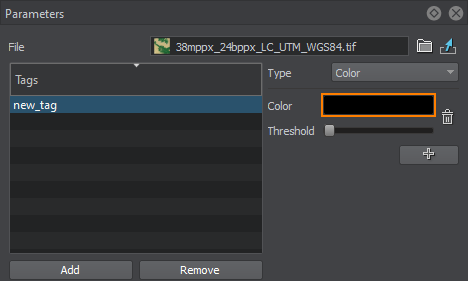
Select the color from available or click Pick Screen Color to select the color from the image in the Preview panel: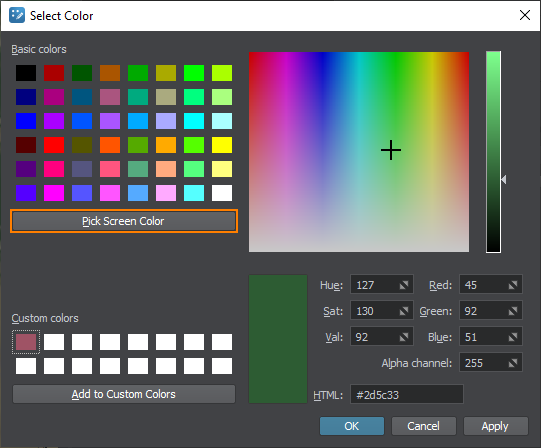
- Indexed — select a particular color index from the list of available ones in the source raster image. You can also specify the color range by indices (from color to color).
- Add an object to be used for generation by clicking the Add button in the Objects window. The dialog window will open:

- Set the following object parameters:
You can add as many objects as nesessary.Node The path to the basic mesh object's *.node file. Tag The tag for the selected landcover object from the list of created tags.
If you introduce any changes into created objects, click Apply to update them immediately.
4. Generating Vegetation#
Now you need to configure the output settings and generate (or regenerate) the terrain covered with vegetation by clicking the Generate button.
Last update:
2021-04-29
Help improve this article
Was this article helpful?
(or select a word/phrase and press Ctrl+Enter)