Generating Details
Details serve to achieve realistic visual representation of the terrain. They can be seen as layers (or masks) specifying where the additional features (such as rocks, sand, etc.) are located on the basic surface. Details are generated on the basis of landcover data available.
Let's review the process of generating details.
Notice
It is assumed that you have already added the data required for the terrain surface.
Adding a Landcover Data Source and Specifying Tags#
The process in general can be seen as picking the specific data from the data source with the help of tags to create a mask.
-
In the Sources panel, add a landcover data source as Mask.
NoticeR8/16/32f and RGBA8/16/32f mask textures are supported.
- In the added source, add tags that will act as a filter selecting the areas from the data source for each detail you are going to generate. Click the Add button in the Tags window in the Parameters panel.
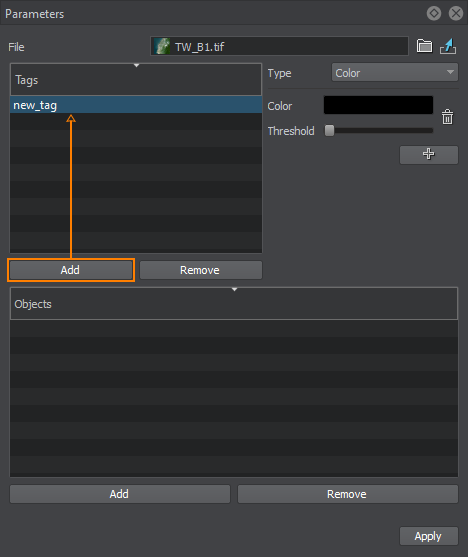
Double-click on the tag to specify a tag name. To remove a tag use Remove button. - For every tag, filters should be set to select certain data from the landcover data source. You can add as many filters as necessary. The following types of filters are available:
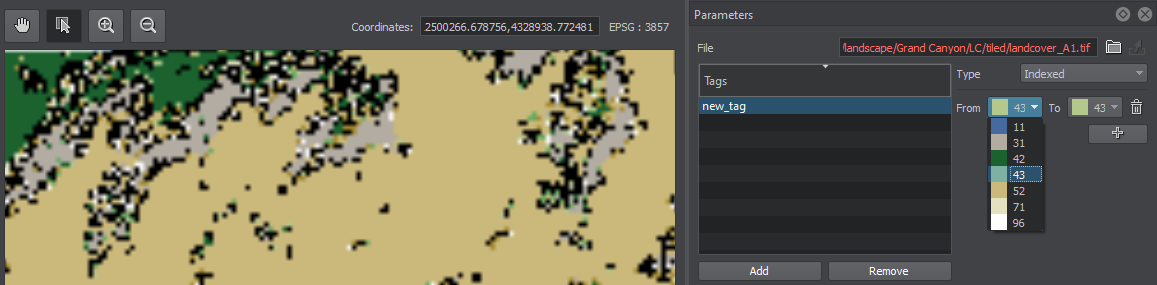
- Indexed — select a particular color index from the list of available ones in the source raster image. You can also specify the color range by indices (from color to color).
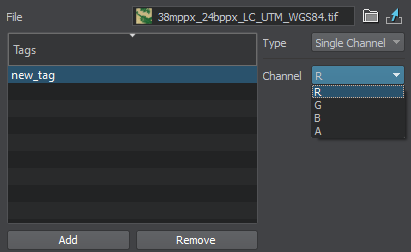
- Single Channel — select a channel of the source raster image.
- Color — set a particular color taken from the source raster image and specify a threshold for it thus defining a range.
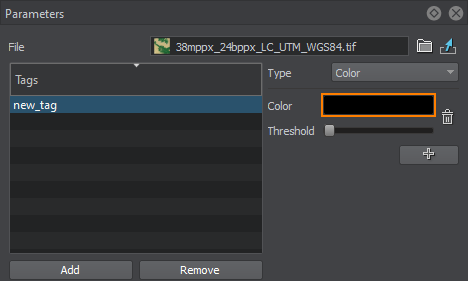 Click the color to open the color settings
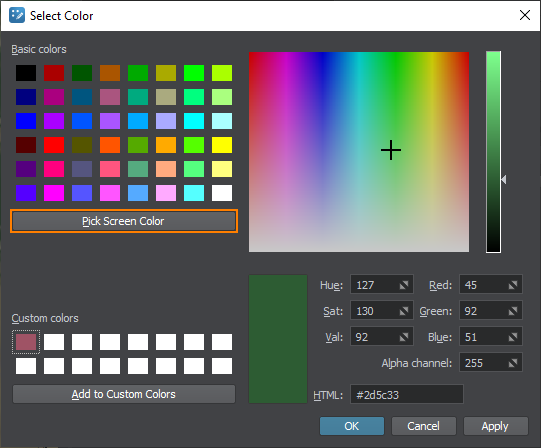 Select the color from available or click Pick Screen Color to select the color from the image in the Preview panel
- Indexed — select a particular color index from the list of available ones in the source raster image. You can also specify the color range by indices (from color to color).
This is it. The data for details is ready.
Generating Details#
Now you need to configure the output settings and generate (or regenerate) the details by clicking the Generate button.
The generated details are available in your project and can be configured as you need, depending on the output terrain object selected:
- Configuring details of Object Landscape Terrain
- Configuring details of Object Terrain Global:
 video tutorial
Last update:
2021-04-29
Help improve this article
Was this article helpful?
(or select a word/phrase and press Ctrl+Enter)