Terrain for a FlightSim: Best Practices
This articlе contains a set of basic recommendations to help you create a good-looking terrain based on GIS-data for your flight simulator project.
- To improve the quality of terrain heights you can use additional software, such as Houdini or World Machine. Unigine supports Houdini assets, thus you are able to generate a little more detailed heights for terrain through the Landscape Tool. Houdini with it's assets will be a better choice especially when you want to use a geo-positioned terrain. But the best way of course is to find heights data sources having as good quality as possible.
- You can enhance the visual quality of your terrain by using details instead of just colored photos from satellites (imagery). Details can represent different materials and surfaces of your terrain. e.g. sand, grass, rocks. You can define areas where details should appear by using special masks. Masks can be generated in Houdini as well. As it's just an additional input information for the Landscape Tool you can create pretty interesting masks for details and achieve very realistic results. In addition to storing color information, details also use normal maps and shading maps. In the end they will allow you to create several levels of detailing and you'll be able to see detailed visual information both in closeups and when looking at large distances from the surface of your terrain.

- For projects with a large territory and a need to simulate water bodies we recommend using our Global Water object. For example, to represent an ocean. But you may face some problems with it. As Water Global is an infinite object you may need to change the heights of your terrain (via Houdini again) to raise the entire surface (except ocean bottom) up in order to avoid flooding inside the land. But it only happens when you have heights inside the land which are lower than the Water Global level. And of course you can change height level of the Water Global object. There are several ways to fix such problems, for example, you can use a Field Spacer object to prevent water from rendering in a certain area.
Global Water has several presets for different types of weather and you always can tweak it manually to achieve the best result. This object has a lot of useful features, such as shoreline wetness, shoreline waves, and so forth.
For more detailed and visualized explanation of using the Global Water object see a part of our video tutorial on Water.
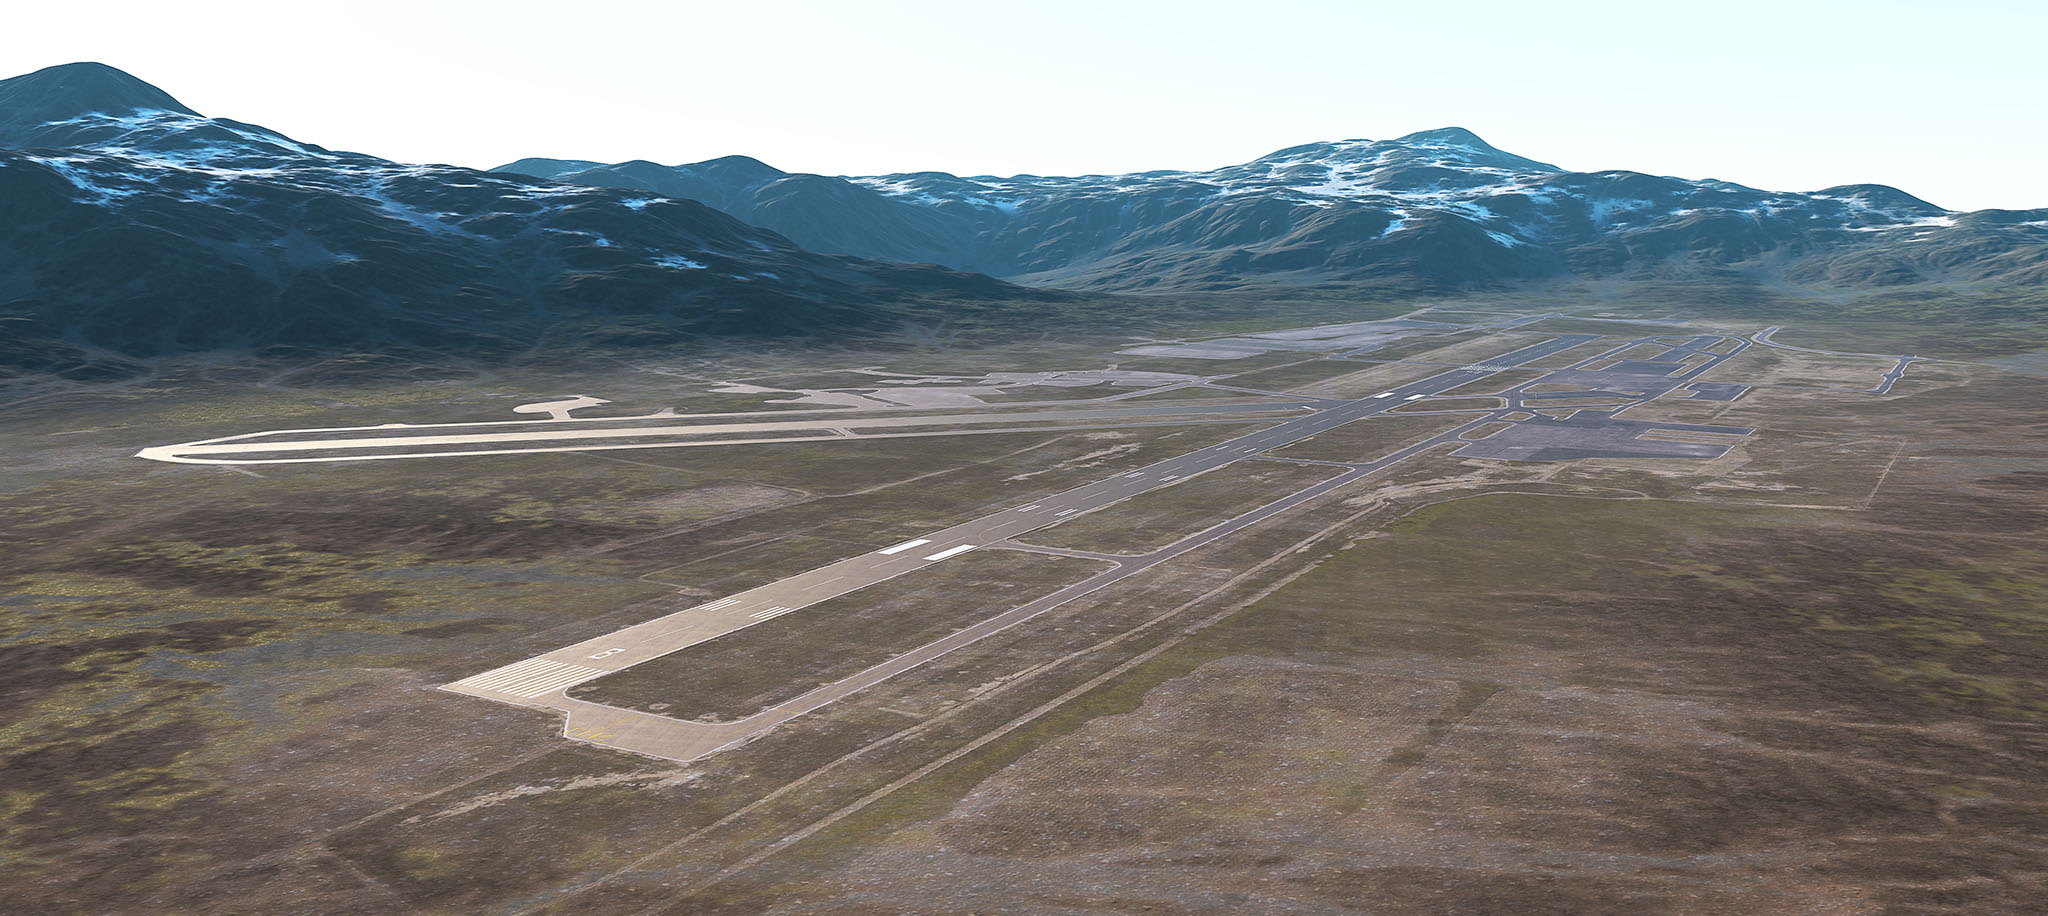
- You can flatten the a terrain area where the airport is located via a Houdini asset. Simple asset will use a custom mask to flatten areas during landscape generation.
- Runway itself should be created using Mesh Decals or separate geometry. Use the same way to create lines and markings on the runways.
For more detailed and visualized explanation of using Mesh Decals see a part of our video tutorial on Decals.
Last update:
2021-04-29
Help improve this article
Was this article helpful?
(or select a word/phrase and press Ctrl+Enter)