Postprocess Materials
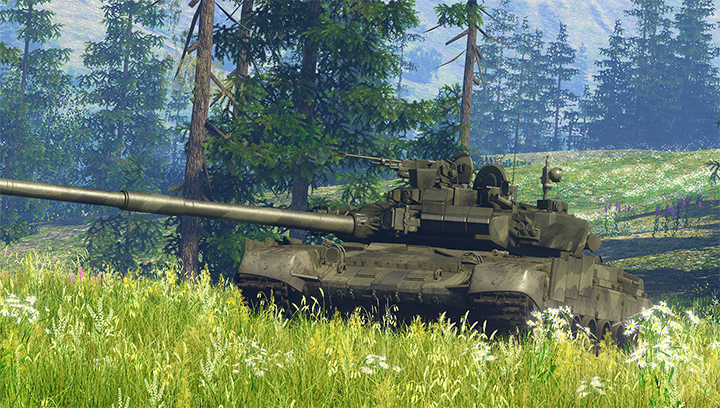
Unigine offers a number of materials to create image postprocessing effects out of the box. These effects are applied after the scene in the viewport has been rendered, but before outputting it onto the screen. (Other postprocessing effects, such as HDR and DOF, can be adjusted directly in Render settings).

How to Apply Postprocess Materials#
Postprocess materials are assigned globally or to a specific camera and affect the whole scene rendered in the viewport. To apply postprocess materials, do the following.
- In the Material Settings, select a postprocess material (you can use built-in postprocess materials, which start with post_*, or custom postprocess materials).

- If you want to use non-default values, inherit a new material from a selected one.
- Open Settings -> Screen Space Materials and write the name of the postprocess material you want to apply, in the Render or Post field, depending on the order it should be rendered in.
- A postprocess material set in the Pre-Post field will be rendered before any other postprocesses (such as HDR, DOF, etc.) are applied.
For example, we don't want subsurface scattering to be applied after the HDR blur. If we specify post_filter_scattering in the Render field, sub-surface scattering is rendered first and HDR is applied after it. - A postprocess material set in the Post field is rendered in the very end, after everything else has already been drawn. For example, such postprocess would also affect the color of glowing areas or HDR flares.
If you want to use several postprocess materials at the same time, separate their names in either of these fields by a comma with no whitespace, and these materials will be rendered in the order they are positioned in the field.

- A postprocess material set in the Pre-Post field will be rendered before any other postprocesses (such as HDR, DOF, etc.) are applied.
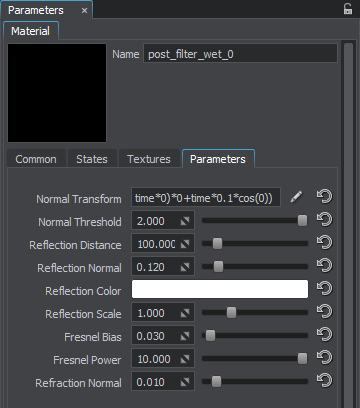
- The postprocess material settings can be modified in the Parameters tab of the postprocess material.
You can also apply postprocess materials to a selected camera.
In the Parameters tab of the camera, add postprocess materials in the Post Materials field. They will be applied after all other postprocesses (such as HDR, DOF, etc.) are applied.

Add a postprocess material from the dialog window to the materials list by using the  .
.