Mesh Cluster
A cluster is an object that can contain a great number of identical meshes with the same material, which are managed as one object. Cluster meshes can be scattered either automatically, or each mesh can be positioned, rotated, and scaled manually.
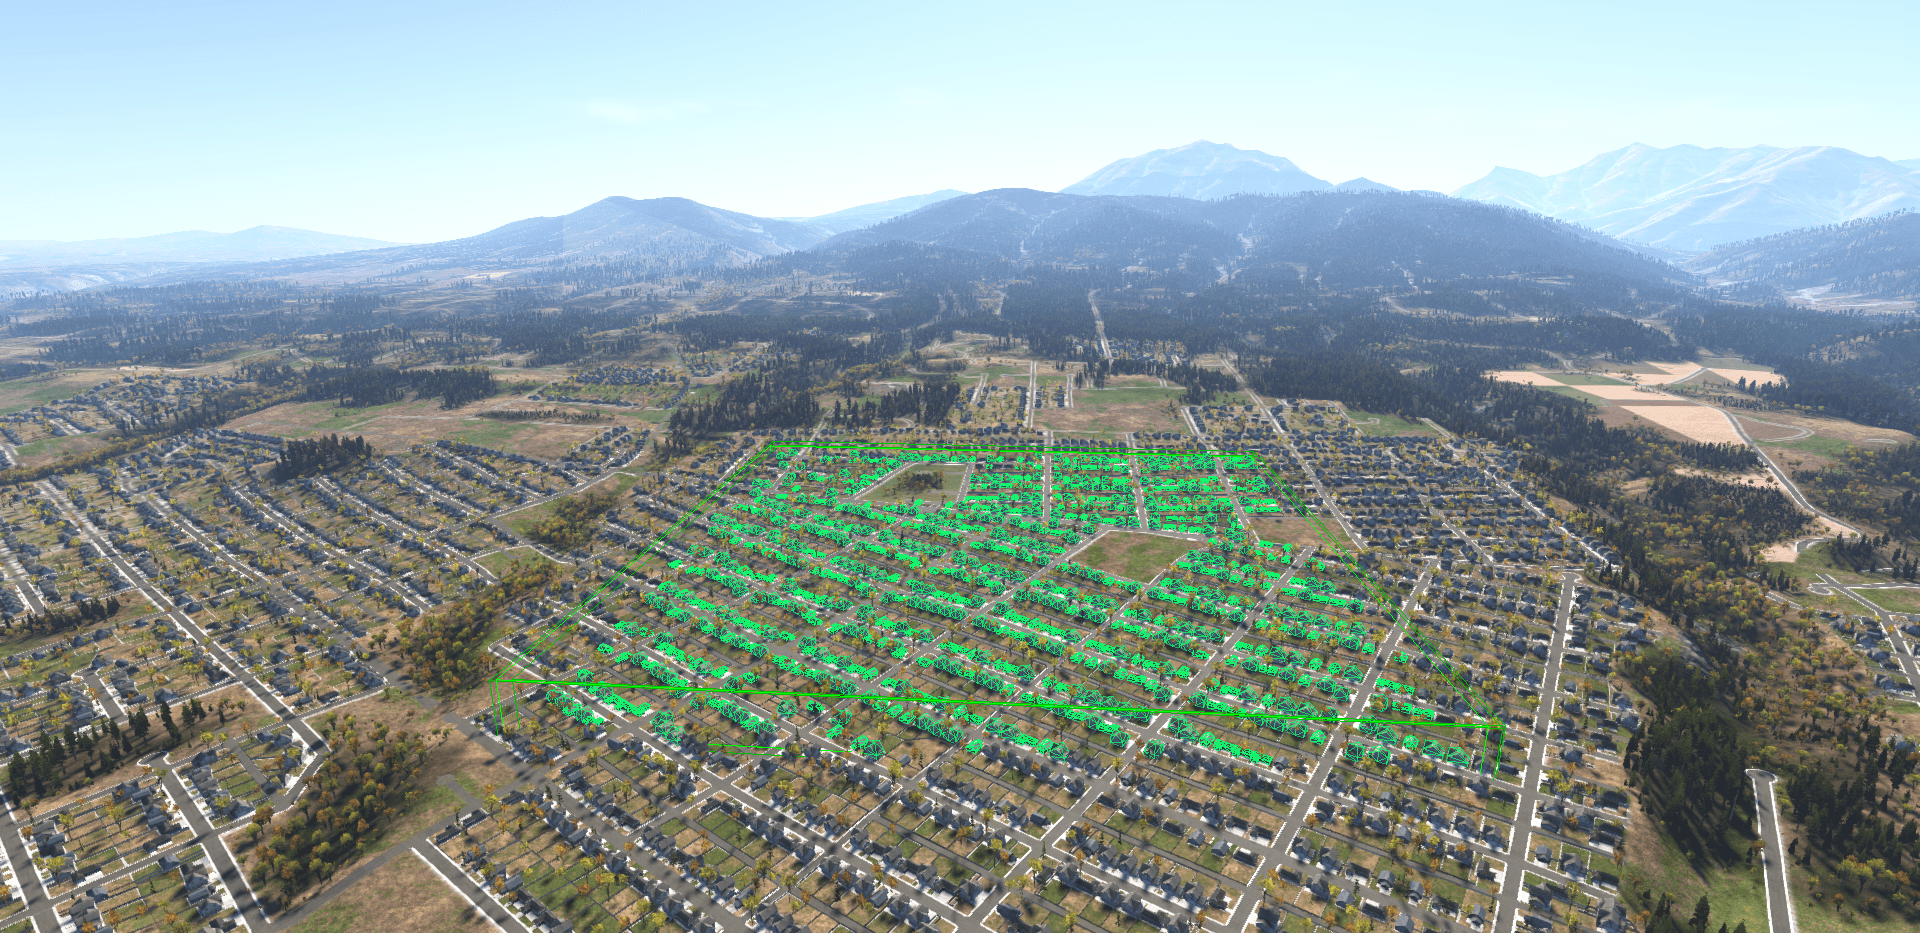
The mesh cluster is usually used for objects of the same type, for example, houses in neighborhoods.
Meshes of the cluster object that are visible in the viewing frustum are loaded, meshes outside the frustum are culled. Using clusters is very efficient performance-wise: it substantially speeds up rendering and allows handling a lot of objects without any performance drop.
There are two ways to create a cluster in UnigineEditor:
- Collect a cluster by baking all identical meshes in node's hierarchy or in the world.
- Create a cluster manually by baking all its identical child meshes.
See also#
- The ObjectMeshCluster class to edit clusters via API
- A set of samples located in the <UnigineSDK>/data/samples/objects/ directory:
Collecting a Cluster#
A cluster can be collected from all identical meshes that were added in the world or from all identical child meshes of a certain node.
Baking Identical Meshes of a Node#
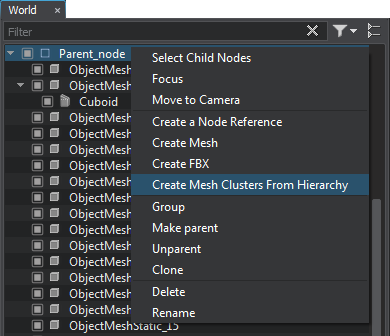
To create a cluster by baking all identical meshes in the hierarchy, right-click the parent node of the hierarchy in the World Hierarchy window and select Create Mesh Clusters From Hierarchy in the context menu.
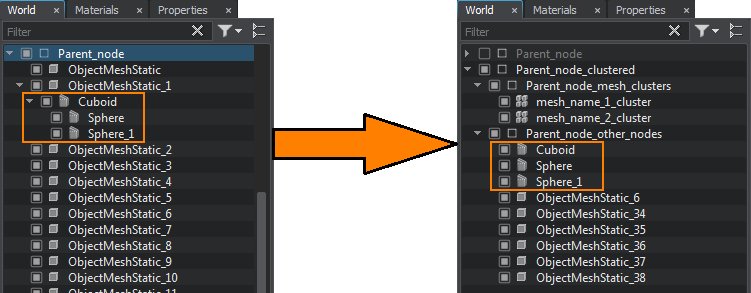
Applying this operation creates a dummy node with the _clustered postfix added to the parent node name. This dummy node contains two child nodes:
- Node that is a parent of all mesh clusters. This node is named by adding the _mesh_clusters postfix to the source parent node name. Clusters' names are formed using the mesh name and the _cluster postfix.
- Node that is a parent of all other child nodes of the source parent node. This node is named by adding the _other_nodes postfix to the source parent node name.
The created clusters contain all identical meshes of the source node including meshes that are referenced by Node References. Other nodes are added as a linear list. The source node is disabled.
Baking Identical Meshes in the World#
To create a cluster by baking all identical meshes in the world, do the following:
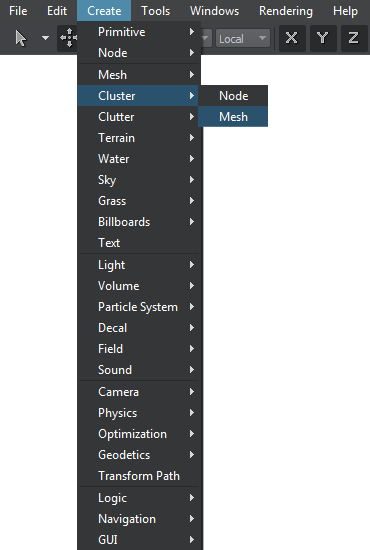
- On the Menu bar, click Create -> Cluster -> Mesh.
- In the dialog window that opens, choose the path to the .mesh file. This mesh would be used as the source one for the cluster.
- Place the cluster somewhere in the world. It won't be seen as it serves just like a source mesh for child meshes. Meshes that are going to be baked should have the same .mesh file as a mesh cluster.
- Specify the same material that is assigned to meshes going to be baked to the cluster in the Node tab of the Parameters window (the Surfaces section).
- Click Collect in the Node tab, Mesh Cluster section. All meshes having the same mesh and material assigned will be baked to the cluster. Baked meshes are no longer seen in the nodes hierarchy.
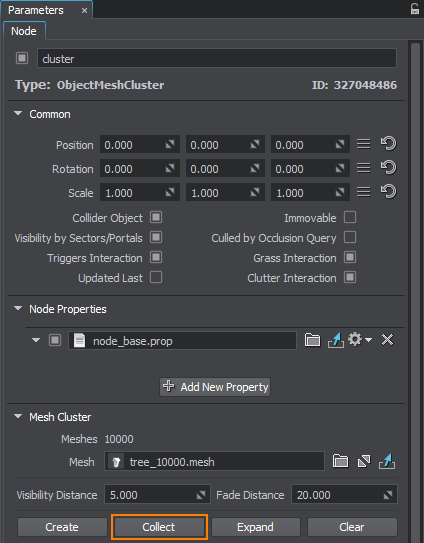 Parameters window, Node tab
To change all child meshes at the same time, just select a required asset in the Mesh field of the Mesh Cluster section.
Creating Mesh Clusters from Mesh Clutters#
To create a mesh cluster from a mesh clutter, use the following context-menu option:
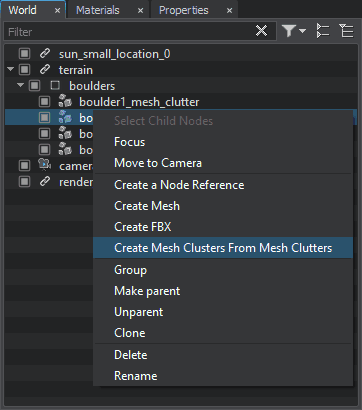
Using this option disables the mesh clutter and creates and enables a mesh cluster with the same name and postfix _Cluster added.
Creating a Cluster Manually#
To create a cluster by baking its child meshes, do the following:
- On the Menu bar, click Create -> Cluster -> Mesh.
- In the dialog window that opens, choose the path to the .mesh file. This mesh would be used as the source one for the cluster.
- Place the cluster somewhere in the world. It won't be seen as it serves just like a source mesh for child meshes.
- Manually position identical meshes in the world and make them children of the created cluster.
NoticeTo make a node a child of another node, drag it under the parent node in the World Hierarchy window.
- To bake the child meshes to the cluster, click Create in the Mesh Cluster section of the Node tab. The baked child meshes are no longer seen in the nodes hierarchy.
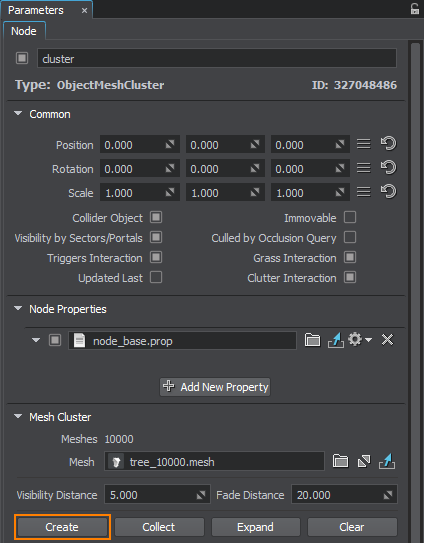 Parameters window, Node tabNoticeOnly enabled meshes are baked to a cluster. Disabled meshes are left as child nodes.
To add more meshes to the same cluster, simply make them its children and click Create once again to rebake the cluster.
To change all child meshes at the same time just change the path to the source mesh file in the Mesh field of the Mesh Cluster section.
Expanding a Cluster#
To expand a cluster (either created or collected) click Expand in the Mesh Cluster section of the Node tab. It may be necessary for some meshes repositioning or removing.
Clearing a Cluster#
To delete all meshes baked to cluster, click Clear. Make sure that the meshes are created or collected, as the operation won't be performed if they are rebaked.
Mesh Cluster Parameters#
The following parameters are available for a cluster in the Mesh Cluster section of the Node tab:
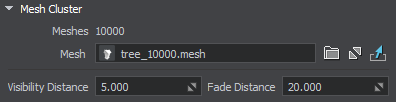
| Mesh | Change the source cluster mesh thus changing all children meshes. |
|---|---|
| Visibility Distance | The distance up to which all cluster meshes are visible.
Notice
To avoid flickering of cluster meshes, the object maximum visibility distance should be greater than the sum of minimum visibility distance and minimum fade out distance:
Max Visibility > Min Visibility + Min Fade
|
| Fade Distance | The distance up to which the number of rendered cluster meshes gradually decreases, as they disappear randomly one by one. The fade distance follows the visibility distance. Without the fade distance set meshes disappear sharply, as a clearly seen line. Using fade distance allows the objects to disappear one by one until up to the fade distance only a few left. It makes the disappearing smooth and much less noticeable.
For the best result, it is also recommended to combine this effect with objects fade-out. |