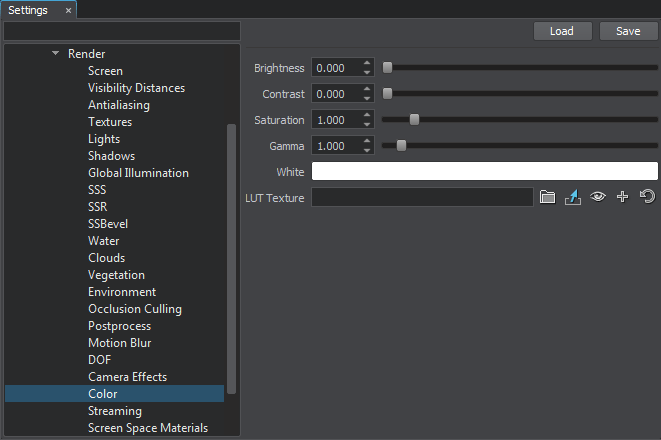
Color
This section describes settings for color correction of the scene.

Color Correction LUT#
Color Correction LUT (Lookup Texture) is an optimized way of performing color grading in a post effect. Instead of tweaking individual color grading parameters, only a single texture is used to produce the corrected image. The lookup is performed by using the original image color as a vector to address the lookup texture.
One of the most common applications of lookup tables is to use them to see how images look in different media, such as TV/video or film, which have different color capabilities. Using a lookup table designed to mimic a certain display medium gives a much better idea what your current work will look like after it’s transferred to that medium.
Advantages of using a Color correction LUT include:
- Better performance — realtime computation is replaced by a simple array indexing operation.
- More professional workflow opportunities, where all color transforms can be defined using professional image editing software (such as Photoshop or GIMP), which provides a more precise result.


Lookup Texture Requirements#
The 2D texture representation must be laid out in a way that it represents an unwrapped volume texture (as an image sequence of "depth slices").

Workflow Example#
- Generate a default lookup texture by clicking the
 button (Save texture) right to the LUT texture field and saving it as a TGA file (by selecting it in the Typefield).
 - Take a screenshot of your scene.
- Import your screenshot into a graphics editor (e.g., Photoshop or GIMP) and perform all necessary image correction operations (brightness, contrast, etc.) to achieve a desired look.
- Import your generated default lookup texture into the graphics editor and perform the same operations as for the scene screenshot. Save the modified lookup texture as a new LUT.
- In Render settings > Color > LUT texture, select you new texture.
Now your scene in UnigineEditor looks exactly as in the graphics editor!