Editing Global Terrain
The built-in terrain editor allows you to change the Global Terrain relief on the spot with the help of brushes. In the editing mode, you can draw various terrain features, such as rocky ground and other craggy details. All brushes modify only the selected LOD.
To start editing an already generated Global Terrain (it is generated using the Landscape tool), select Terrain Global Paint Mode on the toolbar.
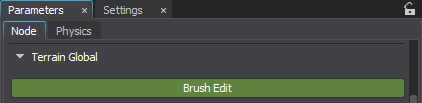
You can also click the Brush Edit button in the Terrain Global section of the Node tab in the Parameters window.
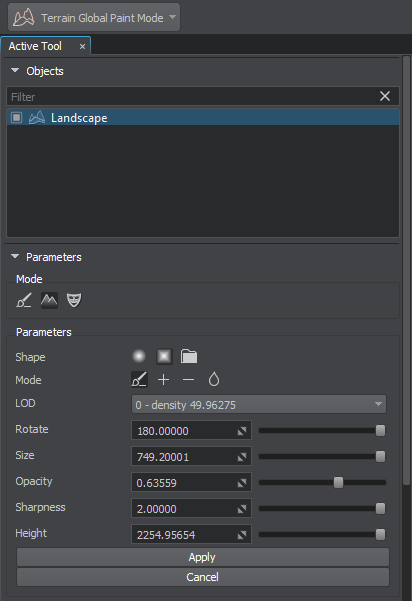
The following Active Tool window will open:
Controls#
- To draw with a brush, press ALT + LMB.
- To grab the height / color / material (depending on the brush type) at the current height of terrain and set it as a brush value, use ALT + RMB.
- To change the brush size, use the mouse wheel.
The information on controls is also available at the bottom of Active Tool.
Editing Modes#
The following modes with their specific settings are available for modifying Terrain Global.


Parameters#
Every mode has a set of parameters allowing to configure the terrain visual representation.
| Shape | Shape of the brush:
|
|---|---|
| Mode |
Available editing modes:
|
| LOD | Albedo, height, or mask LOD of the Terrain Global to be modified with the brush. |
| Rotate | Rotation of a non-circular brush. Can be used to make brush fit best for a specific task. |
| Size | Size of the brush, in units. Determines the area to be affected by the brush. |
| Color | Color of the brush. |
| Intensity | Intensity of the brush. Lower intensity values correspond to darker albedo colors, or a more translucent (less intense) texture for masks, while higher values — to brighter colors, or a more opaque texture. |
| Opacity | Rate at which the brush is applied. Lower values create a more translucent brush, and higher values create a more opaque brush. |
| Sharpness | Tip of the brush. The lower the value, the sharper and smaller the tip. The higher the value, the flatter and bigger the tip. |
| Height | Height value for the brush. This value is added, subtracted or applied at the corresponding point of the heightmap. |
 — circle shape
 — square shape
 — loading a custom texture-based brush
 Replace — apply the settings defined for the selected Brush in the Parameters depending on the selected editing mode (albedo, height, or mask) to the corresponding Terrain Global data on the selected layer and/or LOD.
 Add — add the value specified by the brush settings (albedo, height, or mask) to the corresponding Terrain Global data on the selected layer and/or LOD.
 Subtract — subtract the value specified by the brush settings (albedo, height, or mask) from the corresponding Terrain Global data on the selected layer and/or LOD.
 Smooth — blur albedo, height, or mask edges blending and softening the transitions.
- After using the Albedo brush, do not forget to regenerate a coarse albedo texture, so that introduced color changes would be seen on all levels of detail.
- After using the Heights brush, do not forget to regenerate a normal map so that new relief features would be correctly lit.