Adding a Mask
You should upgrade to
A Mask can be useful in two ways:
- Detail specifying where the additional features (such as rocks, sand, etc.) are located on the primary surface.
- Mask to identify where to generate grass and trees.
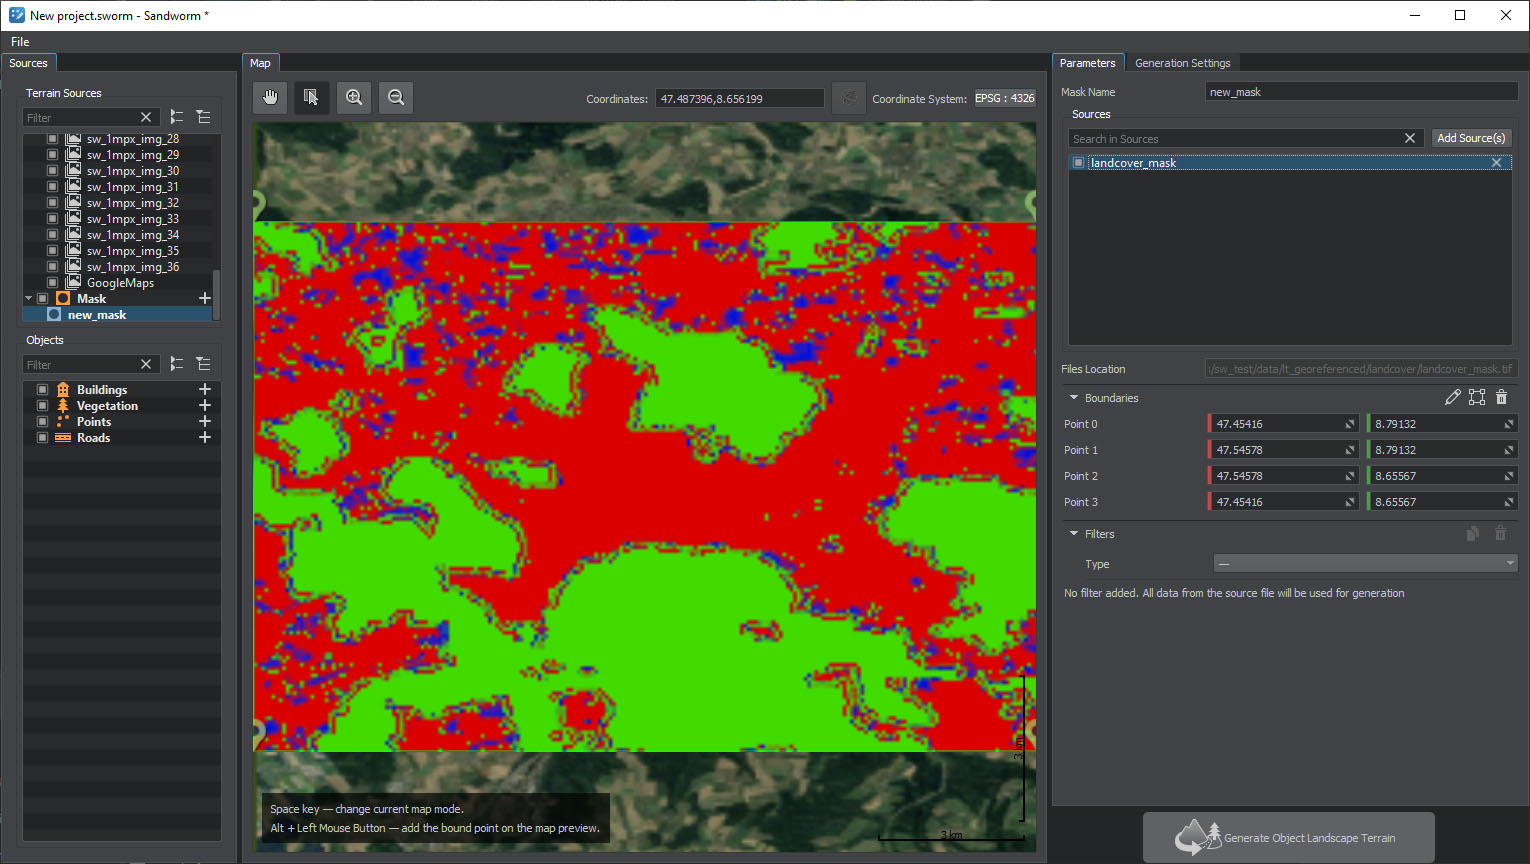
You are already experienced enough to add an asset as a mask on your own. Let's add the asset sw_georeferenced/landcover/landcover_mask.tif and click Preview.
You can already click Create Mask, and this mask will be added to Terrain Sources. Any further changes you make in this source will be saved automatically.
Specifying Mask Filters#
Filters are used to pick specific data from the mask source. At least one filter is required to make the mask useful.
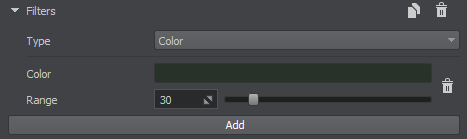
Let's add a filter: select the filter type.
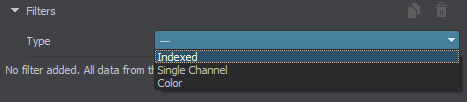
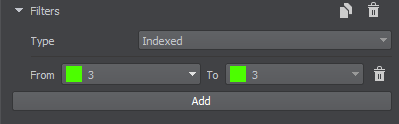
We are going to use this mask to generate trees. Apparently, this area is marked green in the landcover data. We can set the filter either as Indexed, or as Single Channel and select the green value. In our case, the result will be identical.
Let's add one more source from the assets to this mask and set a color filter.
- In the same mask (i.e. don't create a new mask), click the Add Source(s) button and select Assets.
-
Select the sw_georeferenced/img/sw_1mpx_img_6.tif file and click OK. The preview will be updated. Let's zoom in to this source in the Map.
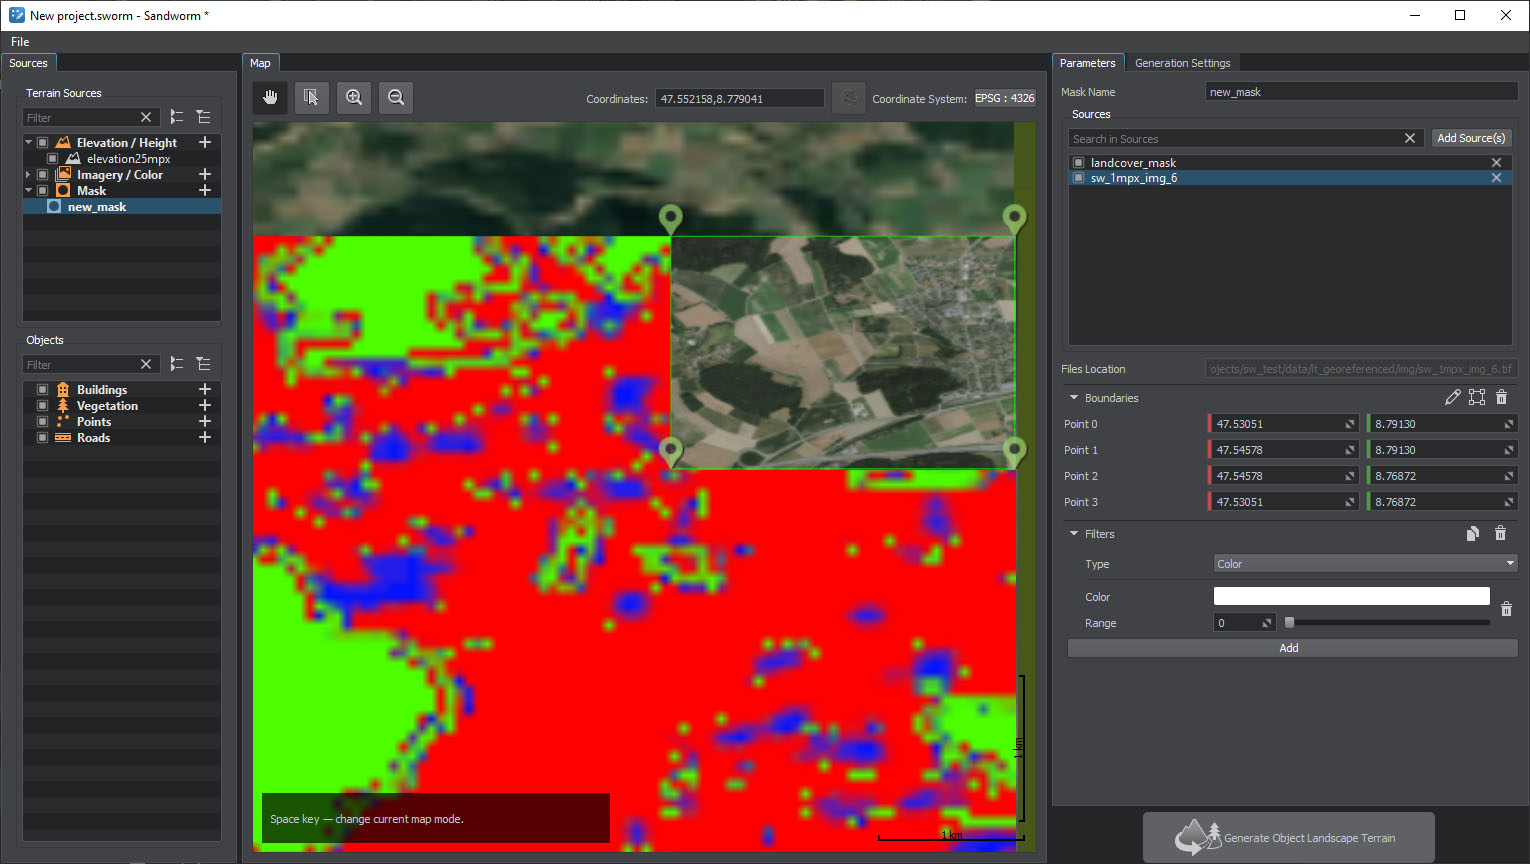
- Set the filter type to Color and click on the white color to open the color settings.
-
Click the Pick Screen Color button and click on the dark-green color on the preview.
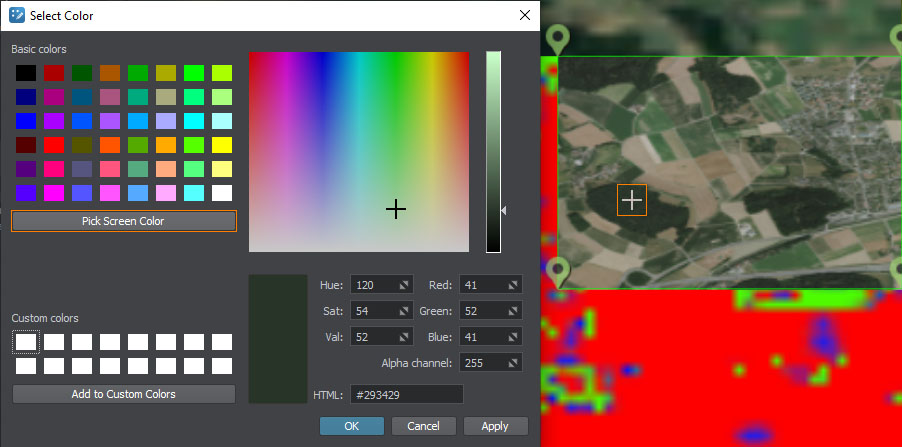
Click Apply to apply the picked color and OK to close the color settings window.
-
Set Range to some value to allow for some color variation along the color palette.
This is it. Now if we generate trees using this mask they will be dispersed in the areas marked green and additionally in the dark-green areas of the added imagery.
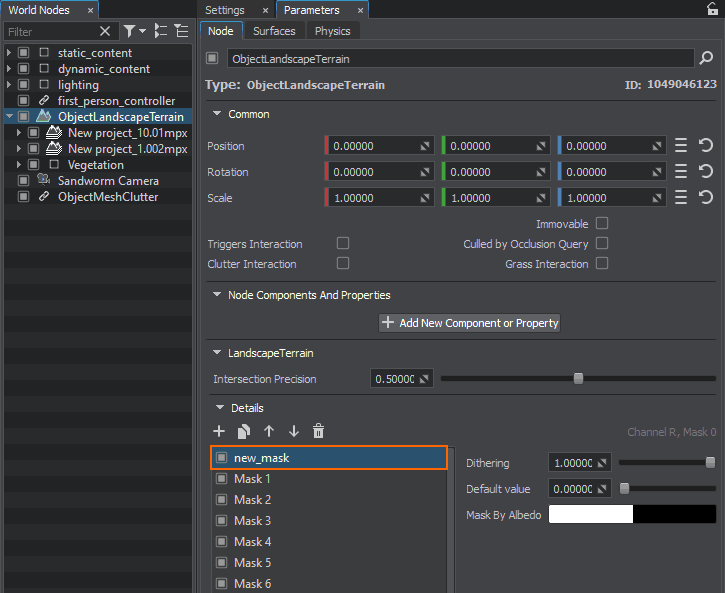
Generated Mask#
The generated mask is available as a detail of the Terrain object:
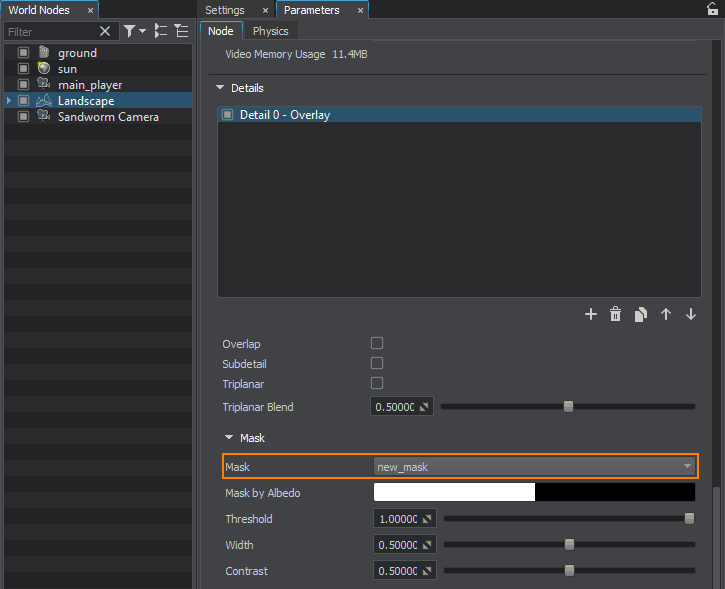
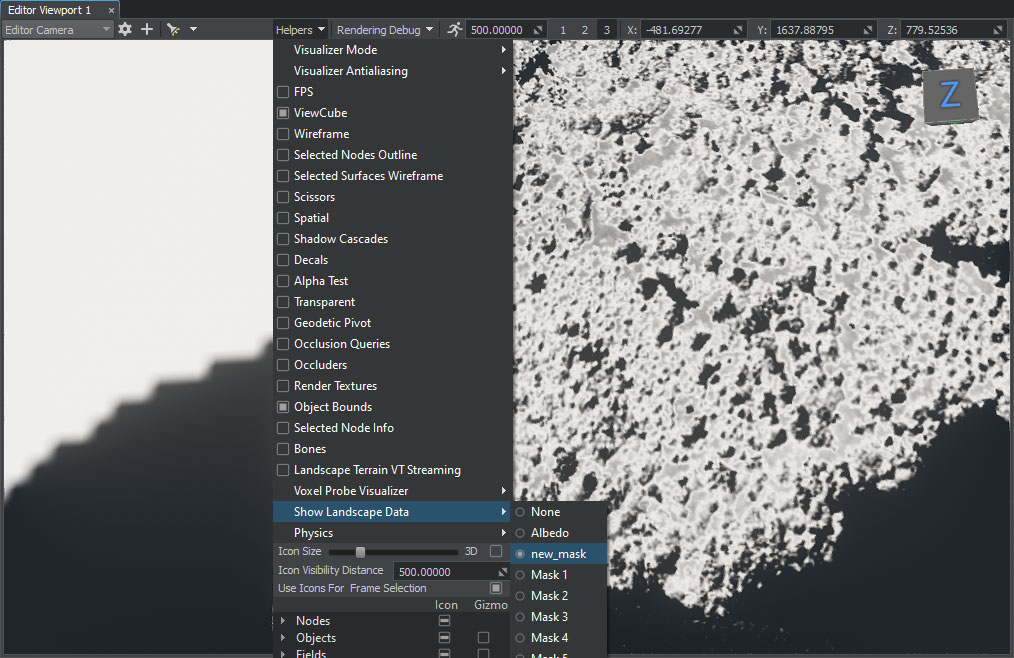
To see how the mask is applied to the terrain, toggle it in Helpers.
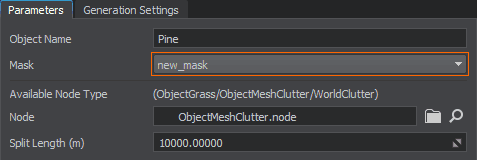
The mask is also available for generating vegetation in Sandworm.
What Else#
- Check the article on the mask for a more detailed description of parameters.
- Read about configuring details of Object Landscape Terrain.
- See the video tutorial on configuring details of Object Terrain Global.
- Read about indexed colors, for example on Wikipedia.