Creating Landscape
You should upgrade to
To generate a basic landscape we need elevation/height and imagery/color data.
Adding a Georeferenced Image#
We are going to add georeferenced images from the asset pack.
Adding Elevation/Height#
-
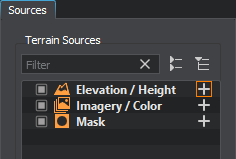
Click + for Elevation/Height.
The interface for adding a new source becomes available on the Parameters tab.
-
Keep the source type as it is and click the folder icon:

- Select Assets, as you have already added the required files as assets to your project at its creation.
- In the Asset Browser, select sw_georeferenced/elev/elevation25mpx.tif.
-
Click the Preview button and the preview for the added asset will be displayed on the Map tab. This step is optional, you can create the layer without generating the preview.
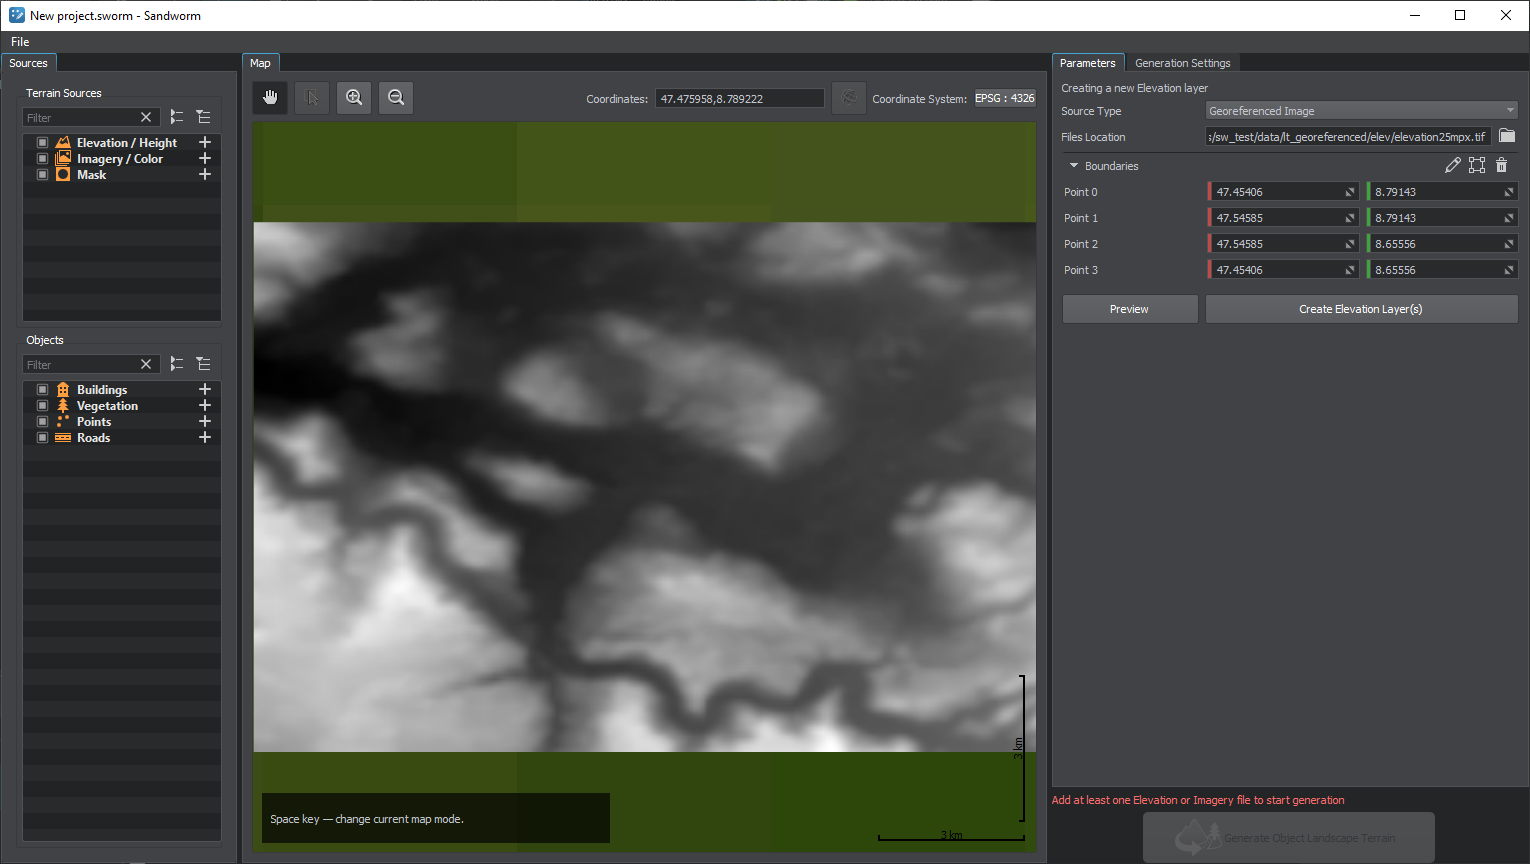
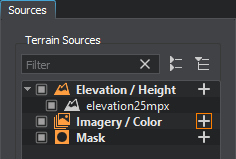
- Click the Create Elevation Layer(s) button and this source will be added to the Terrain Sources list.
Adding Imagery/Color#
Now let's add the Imagery sources. The process is mostly the same as for the Elevation source.
-
Click + for Imagery/Color.
The interface for adding a new source becomes available on the Parameters tab.
-
Keep the source type as it is and click the folder icon:
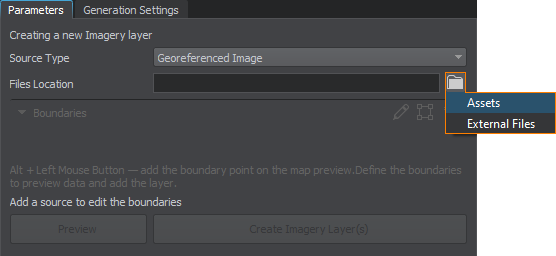
-
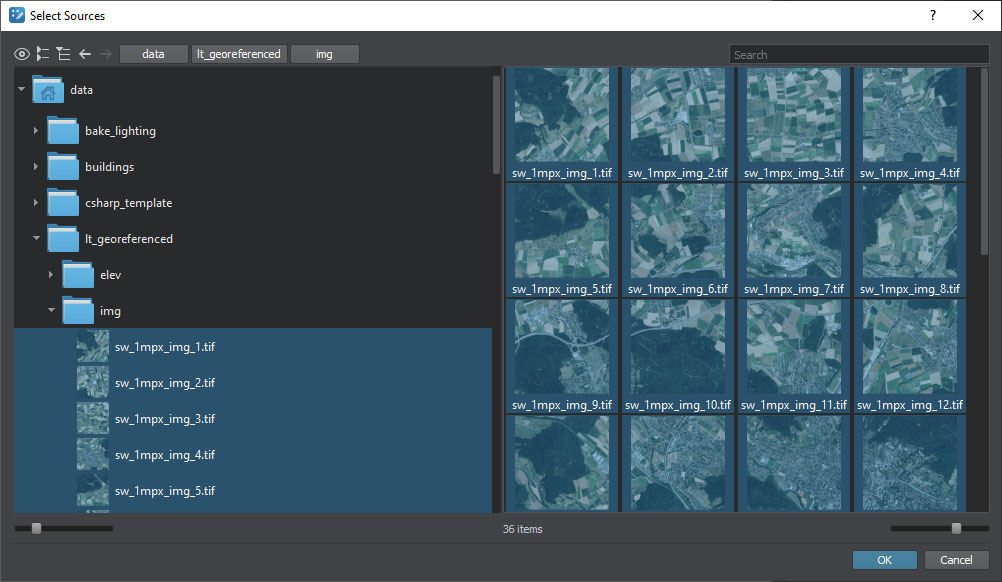
In the Asset Browser, open the data/sw_georeferenced/img/ folder, select all assets in it (Ctrl+A), and click OK.
-
Click the Preview button and the preview for the added assets will be displayed on the Map tab. This step is optional, you can create the layer without generating the preview.
-
Click the Create Imagery Layer(s) button and these sources will be added to the Terrain Sources list.
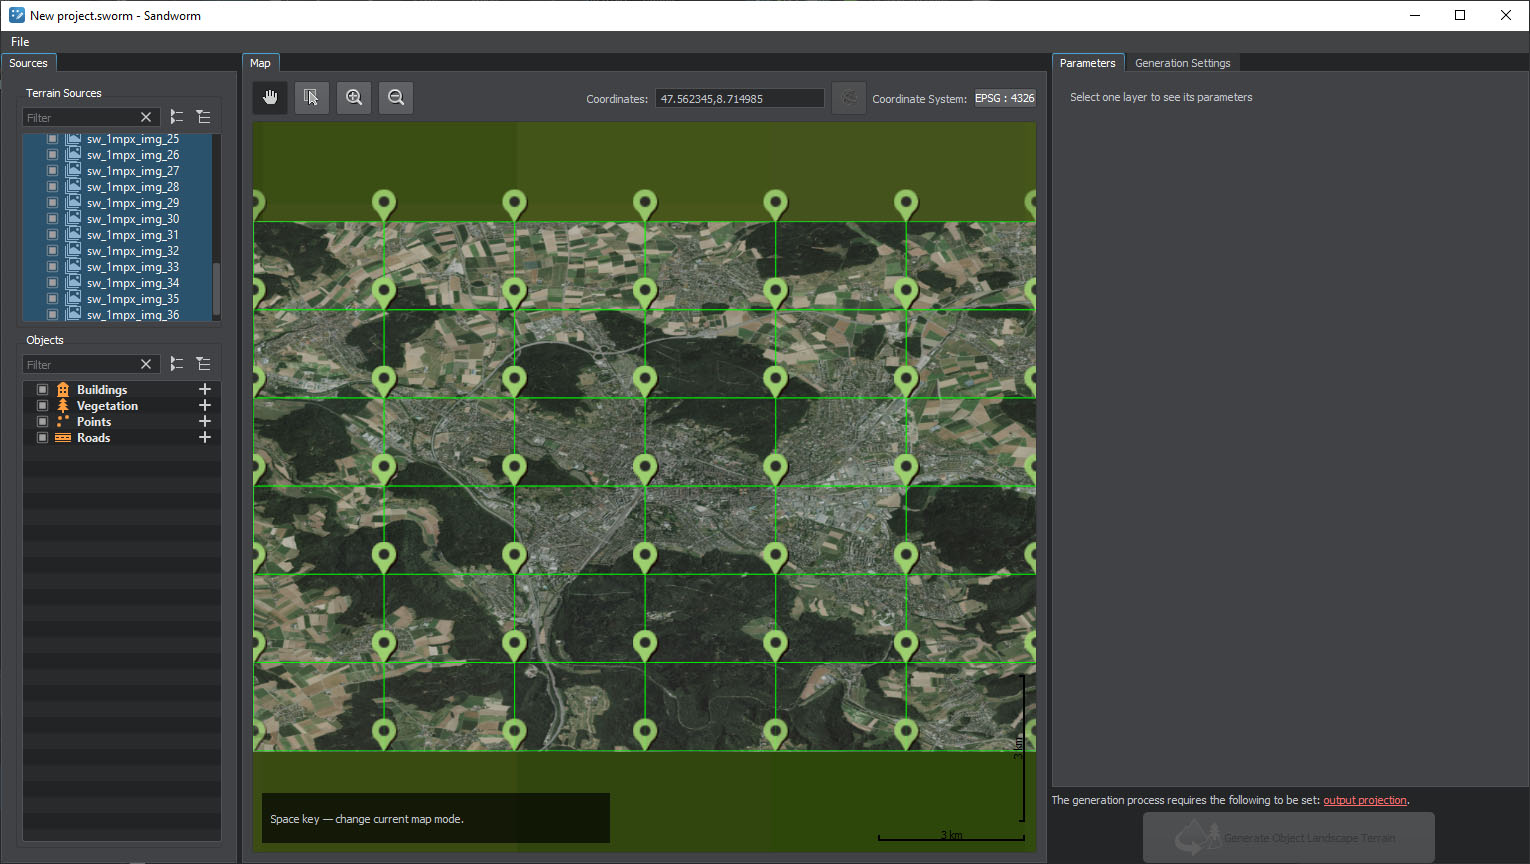
In the Map window, the created sources are visualized with their boundaries. These boundaries define the scope of source data to be used for generation. By default, all source data is used for generation.
Adding a TMS Source#
Let's add an extra piece from a TMS source to try it out.
Click + for Imagery/Color.
-
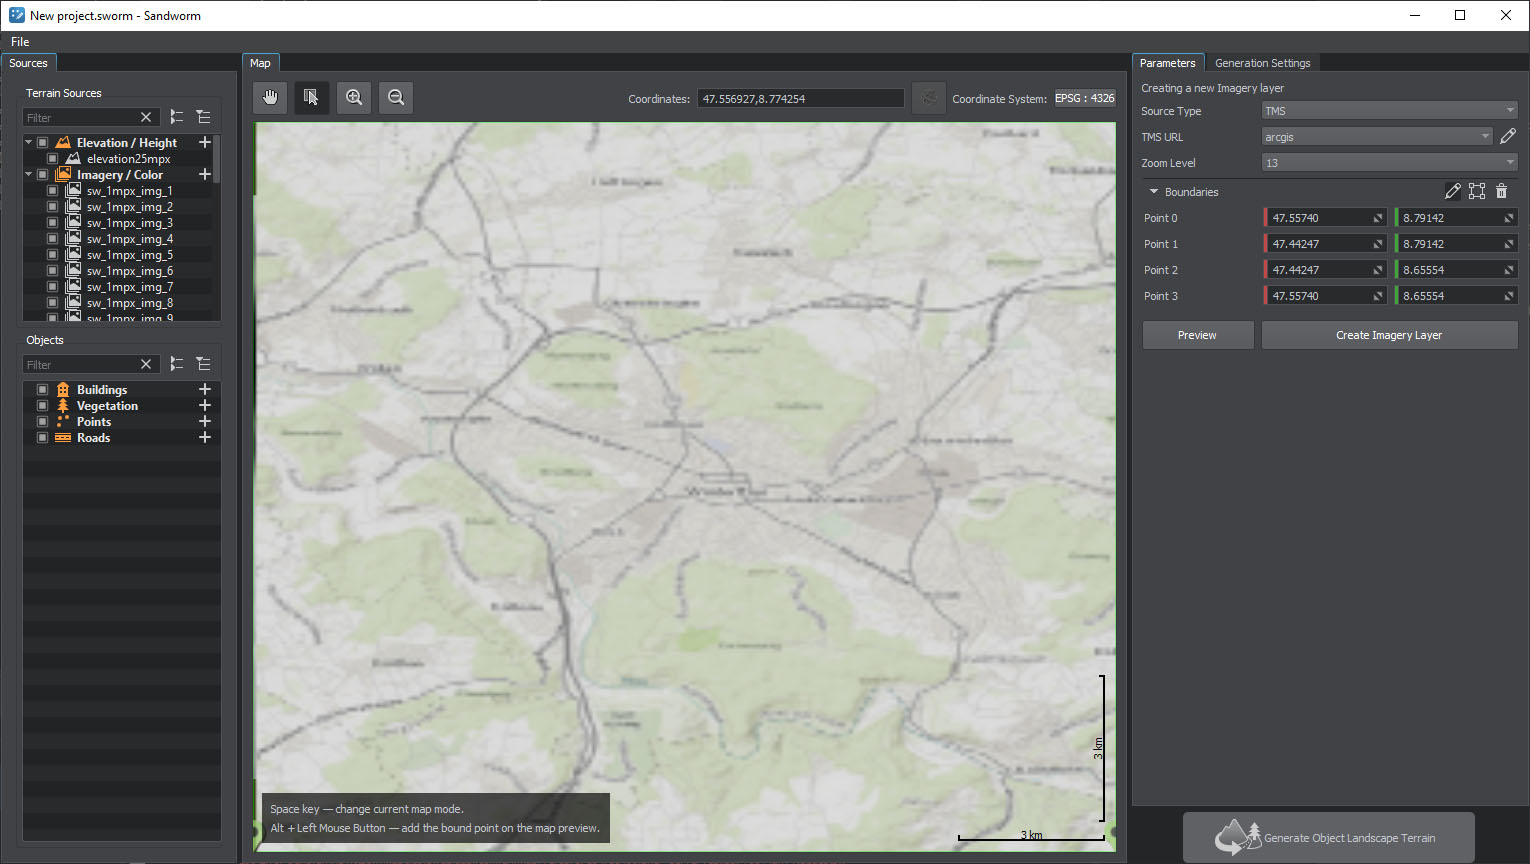
Select TMS as the Source Type in the drop-down list.
-
Add a TMS URL to download the data from. To add a URL, click the
 button:
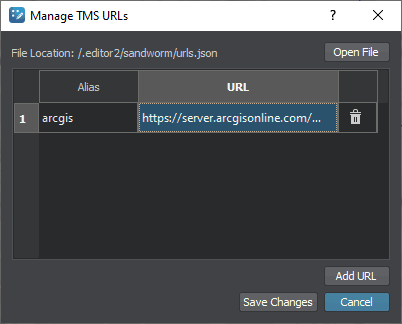
The table to manage TMS URLs will open. It's empty by default, so let's add an URL: https://server.arcgisonline.com/ArcGIS/rest/services/World_Topo_Map/MapServer/tile/{z}/{y}/{x}.png, type an alias that will be displayed in the drop-down list, and click Save Changes.
For more details on adding TMS URLs see here.
Set zoom level to 13. You can try higher levels, but they mean higher load. The preview generation process may take more time.
-
Set the boundaries for the source, otherwise Sandworm doesn't know what data is required.
The easiest way is to click the
 button — the area displayed on the Map tab will be enclosed in boundaries. You can scroll out and move the points, add more points or delete them.
 -
Click the Preview button and the preview for the added assets will be displayed on the Map tab. This step is optional, you can create the layer without generating the preview.
Click the Create Imagery Layer button and this source will be added to the Terrain Sources list.
The last added layer is displayed on the preview. You can move it to the background using the context menu available on the right click on the corresponding terrain source or on the Map preview. If you click on the preview, make sure that the selection mode is enabled.
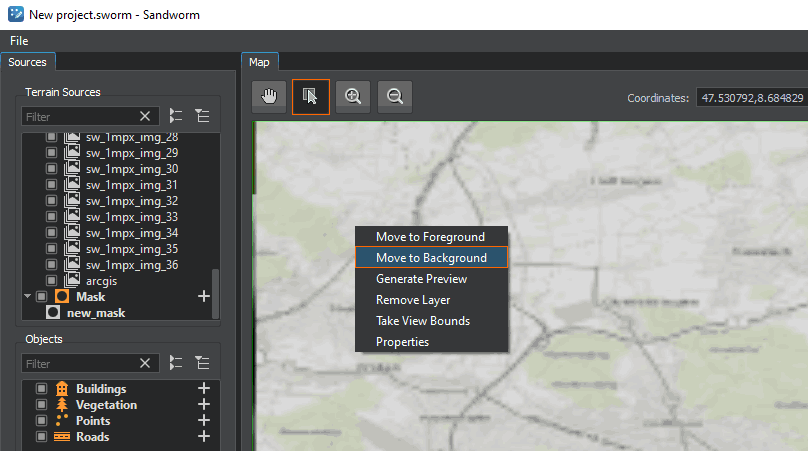
When generating a terrain, data with the higher density is selected from all available sources. Therefore, in our case the imagery of the terrain taken from ArcGIS will be taken only for the area where no data from assets is provided.
Generated Terrain#
The generated terrain will look as follows:
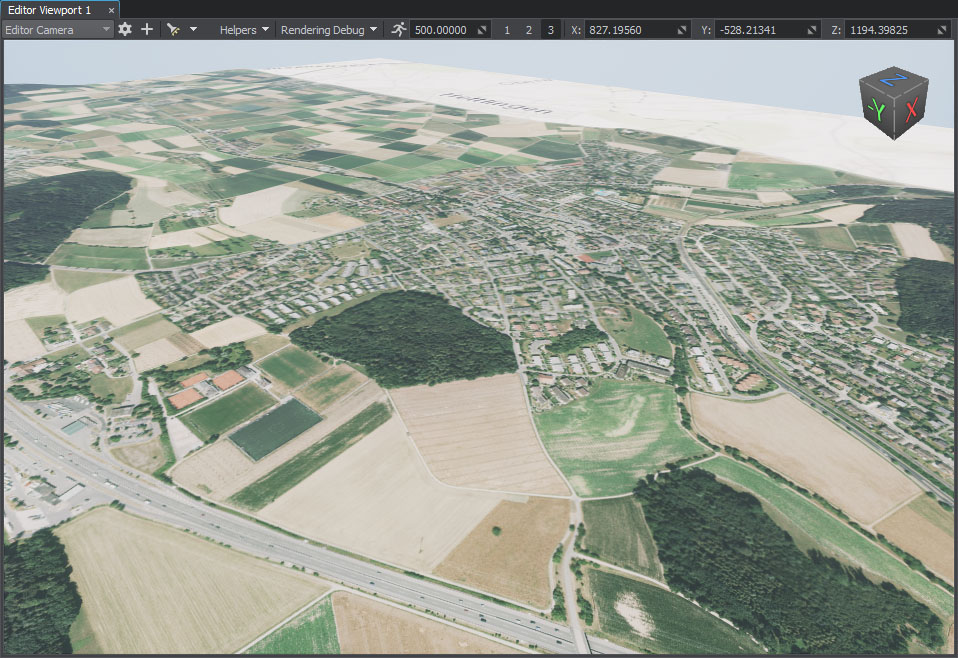
Here we can see both parts: high-density imagery data with height data in the foreground, and lower-quality imagery data with no height data in the background.
What Else#
- Search for an elevation TMS source, because imagery added without elevation will look flat.
- Remove or disable sources that you don't need.
- Check the article on the elevation and imagery for a more detailed description of parameters.