Mask Parameters
You should upgrade to
Mask is landcover data based on which natural features of the terrain are generated: details, grass, trees, etc.
Masks are added the same way as Elevation and Imagery, both online and offline data sources can be used. The data contained in a mask source can be filtered to fine-tune the use of the mask for a specific purpose.
An example of creating a Mask is given here.
Filters#
Filters select specific data from the data source for each type of the generated landcover object. There are three types of filters:
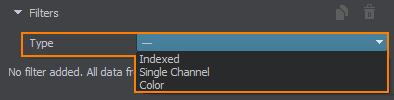
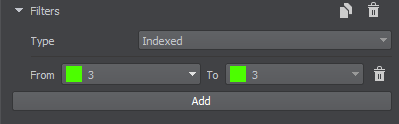
| Indexed |
Select a particular color index from the list of available ones in the source raster image. You can also specify the color range by indices (from color to color). |
|---|---|
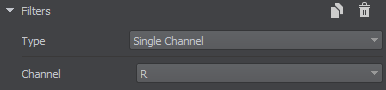
| Single Channel |
Select a channel of the source raster image. |
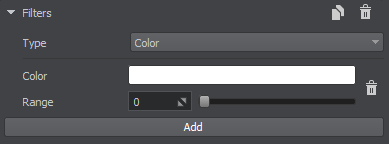
| Color |
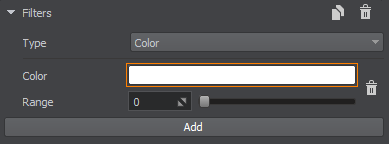
Set a particular color taken from the source raster image and adjust the Range for it, thus defining the suitable deviation from the specified color within the range [0, 255]. Click on the color to open the color settings:
Select the color from available, use HSV or RGBA values, or click Pick Screen Color to select the color from the image in the Preview panel:
Notice
Screen color on the Map preview may be affected, if Export Area is already set. If this is the case, enable the Block Export Area to Changes option to avoid any color changes. Range — threshold value for the color that defines a range of colors to be used for the filter. 0 means that only the selected color is used as mask, increasing the Range value makes the filter include the specified number of neighboring colors. |
Copy filters |
Opens the window to copy all filters from the current source to the selected sources:
If you change anything in filters that you have already copied, and want these changes to be applied to other sources, you need to copy the filters once again. All filters of the selected sources will be replaced with the filters of the current source. |
Delete all filters |
Deletes all added filters. |
Add |
Adds one more filter. |