Terrain Material
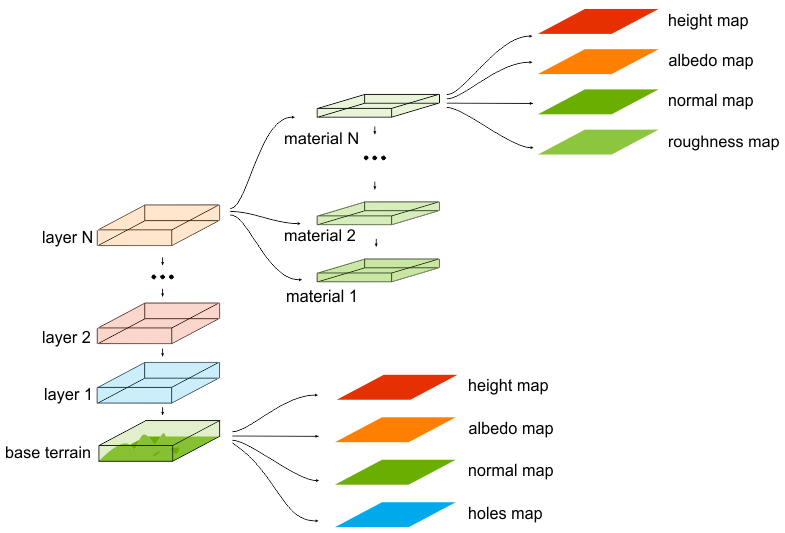
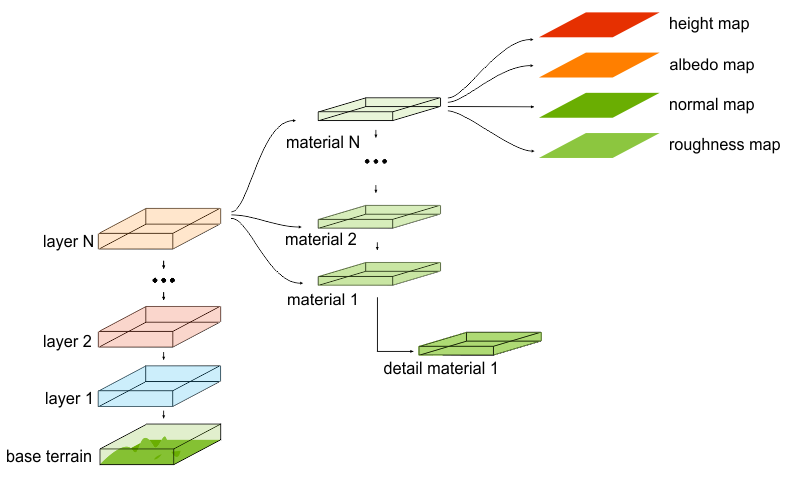
A terrain material system is different from other objects ones. It has the following concepts:
- Terrain Base is a base relief for terrain. It has a set of textures specifying the relief. It's like a root layer, other layers will overlap (or overlay) above the base material.
- Layers are dummy entities which help to organize materials inside layers. Layers have masks specifying the places where materials should be visible over the base terrain.
- Material is a set of textures and parameters that is used for terrain visual representation. Materials are grouped into layers and use layer masks.
All of the textures and their parameters are modified via the Nodes panel.
Terrain Base
Terrain base specifies the base relief by using four textures:
- Height map is used to create relief
- Albedo map is used for main color of the terrain
- Normal map is used to lit the terrain
- Holes map is used for specifying the holes in the relief

These 4 textures compose the whole terrain.
Height Map
A height map is a gray-scale texture that stores the height values for each point of a terrain, where dark pixels correspond to lower heights and bright pixels correspond to higher heights.
Depending on the methods of a terrain creation, there are several ways of a height map generation:
- Import (either on creation or while editing). In this case you need to load the height map, created in the external specialized software or exported via UnigineEditor.
- Creation. In this case you need to create a height map manually by using Terrain Editor.
The following color spaces for a height map are supported:
- R8 - 256 height gradations
- R16 - 65536 height gradations
- RG8 - 65536 height gradations
- R32F - 2^32 height gradations
To import the height map, in the Textures field choose the path to the height map. The Max height parameter is the maximum possible height for a terrain relief (this parameter specifies the scale):
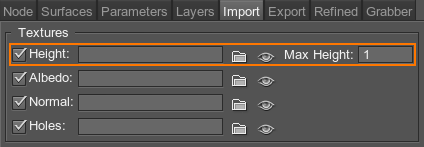
- In case of non-float texture, values of the texture will be normalized and then multiplied by this Max height parameter.
- In case of float texture, engine uses float values of the height map and these values also will be multiplied by Max height parameter.
Albedo Map
An albedo map is used to describe basic coloring of the whole terrain. The terrain base albedo texture is imported via the Import tab or created in the Terrain Editor.
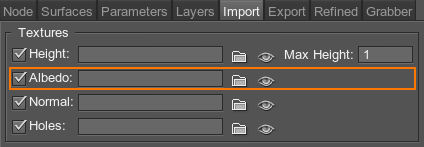
To import the albedo map, go to the Textures field and choose the path to the albedo map.
Normal Map
A normal map is used to grant correct lighting of the whole terrain. The base texture is imported via the Import tab, and a layer texture is loaded via the Layers tab.
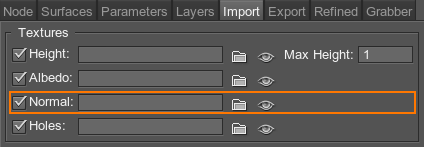
To import the normal map, go to the Textures field and choose the path to the normal map.
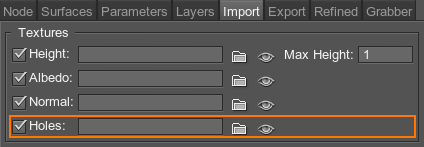
Holes Map
A holes map is a simple 1-channel texture that indicates whether there is a hole or not. Black values correspond to holes.
To import the holes map, go to the Textures field and choose the path to the holes map.
Layer
Layers are dummy entities that don't have their own textures and used to group and organize materials. Layers can have masks that specify where materials textures should be visible on the terrain.
Layers (with its materials) are superimposed on terrain base in specified order.
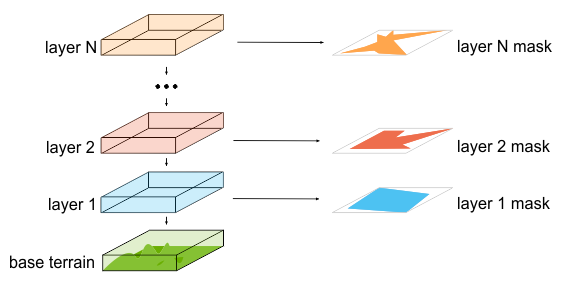
To add a layer, go to the Layers tab. Click Add and the layer will appear in the list.

At the same time, the field for this layer mask import will appear in the Import tab.
Mask
A mask is the 1 -channeled texture that specifies where to show the materials textures (albedo, normal, roughness).
After adding a layer, you can specify its mask in the Import tab.
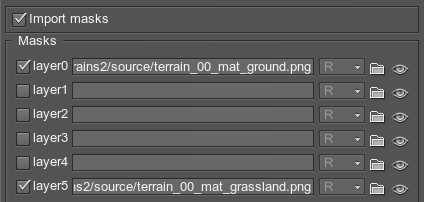
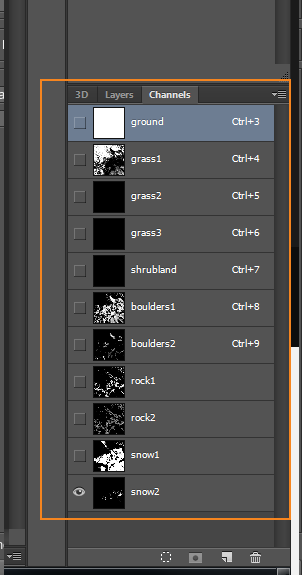
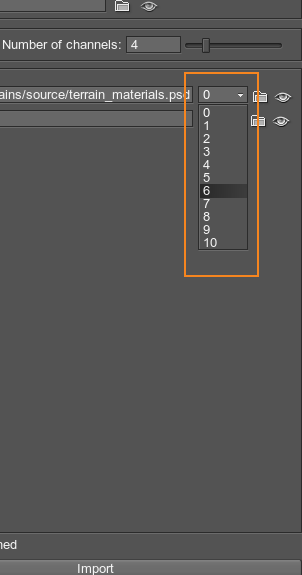
For each mask you need to specify a channel of the texture that will be used (for example, G-channel of RGBA texture). Since the texture could be a .psd file, you can specify the number of channel of the .psd file. Thus masks can be stored in single file but in different channels.
|
|
|
Channels in Photoshop file.
|
Channels in UnigineEditor.
|
Material
Material is a set of textures and parameters that are used for terrain visual representation: it adds details (rocks, grass, snow, etc.) to the terrain base. Each material has 4 textures:
- Height texture is used to specify the height of the material (height of rocks, grass, etc.)
- Albedo texture is used to specify the color (how the material looks like) of the material
- Normal texture is used to specify the normals for light sources (how the material will be lit)
- Roughness texture is used to additional roughness effect of the material
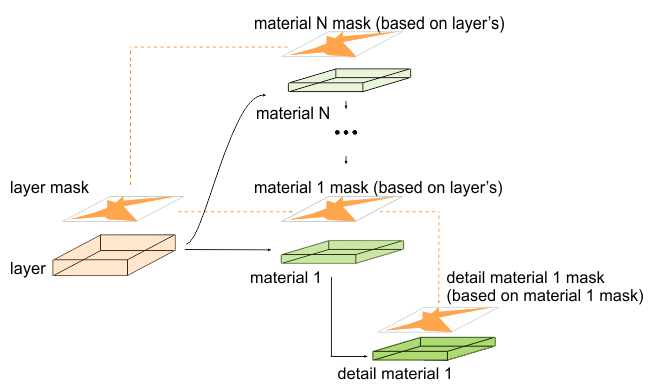
Materials are grouped into layers and use layers masks (or generate their own masks based on layers').
Detail materials have the same textures and parameters as materials, but they use "parent" materials' masks and can generate own masks, based on parents'.
To add the material, click the Add Material button in the Layers tab.

In the Layers tab, you can perform the following operations with layers:
- Add Material - add a new material inside a layer.
- Remove - remove a selected material / layer from the list.
- Clone - clone the selected material / layer.
- Up - move the material / layer upper in the hierarchy.
- Down - move the material / layer down in the hierarchy.
Material Textures
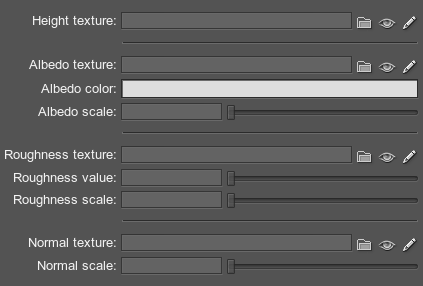
In the Layers tab, you can select the material and assign necessary textures to it.
Height Texture
Height texture is used to specify the height value of the material.
Based on height texture, the terrain generates the material mask by using blending parameters: value, width and threshold.

- Height texture - the path to the height texture.
Albedo Texture
Material's albedo texture specifies the color (and details) of the material: here you should assign snow texture for snow, green for green grass, etc.

- Albedo texture - the path to the albedo texture.
- Albedo color - albedo texture color multiplier.
- Albedo scale - the intensity scale of the albedo texture.
NoticeIn the overlay mode, the scale value higher 0.5 performs addition, lower 0.5 performs subtraction.
Roughness Texture
Roughness texture is used to add roughness of the terrain material.

- Roughness texture - the path to the roughness texture.
- Roughness value - the roughness value multiplier.
- Roughness scale - the intensity scale of the roughness texture.
Normal Texture
Normal texture shows how material should be lit by light sources.

- Normal texture - the path to the normal texture.
- Normal scale - the intensity scale of the normal texture.
Material Parameters
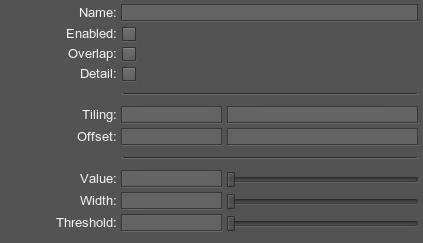
In the Layers tab you can specify the parameters of the material.
Common Parameters

- Name - the name of the material / layer. When you change the name, it will be automatically changed in hierarchy.
- Enabled - enable the material / layer.
NoticeDisabling layer disables all materials inside it.
- Overlap - the overlap blending mode.
-
Overlap mode for detail materials is simply used for drawing them atop of terrain (without blending). Unlike Overlay, this mode is used to render detail without any color alternation, for example, flowers, stones, etc.
-
If this option is disabled, the material is blended in the overlay blending mode. When detail materials are rendered in Overlay mode, the colors of the surface and detail material diffuse textures are blended.
-
- Detail - use the mask of the parent material.
Each material uses the layer's mask (or generates it's own mask by using materialheight texture with blending parameters based on layer's mask). A detail material uses "parent" material mask (or generates it's own mask based on parent material's mask).
Transformation Parameters
You can specify material coordinates transformation.

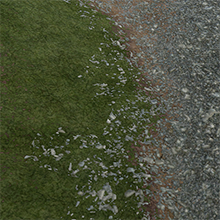
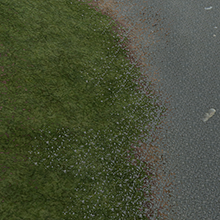
- Tiling X - tile of the textures along the X axis. For example, by the scale of 2 the texture will be twice as small (it would have two tiles instead of one).
- Tiling Y - tile of the textures along the Y axis.
|
|
|
The value of transform tiling is 16x16.
|
The value of transform tiling is 128x128.
|
- Offset X - a textures offset along the X axis. For example, by the offset of 0.5 the texture is rendered as if its left corner is in the middle of the texture.
- Offset Y - a textures offset along the Y axis.
Blending Parameters
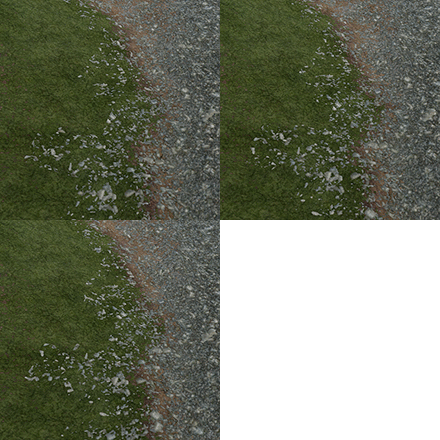
Value, Width and Threshold parameters allow you to control the blending of the material according to the layer's mask.

For example, we have the following mask and the following height texture of the material:

The mask (layer's or material's)
|
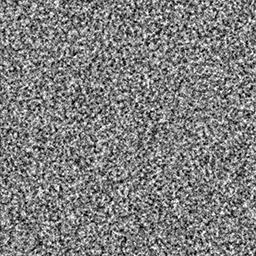
The height texture of the material
|
The Value parameter controls the spread intensity of the layer. Lower values provide bigger spread.
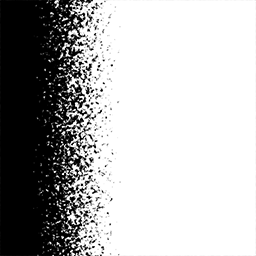
The high value
|
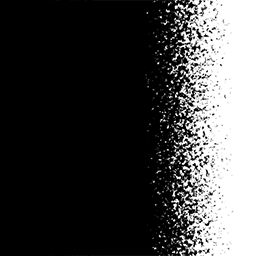
The low value
|
The Width parameter controls the width of blending with a layer. Higher values provide wider areas.
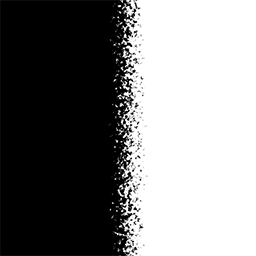
The low value
|
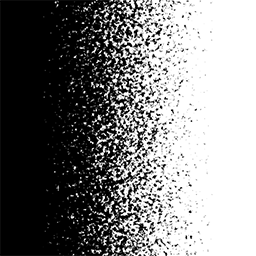
The high value
|
The Threshold parameter controls smoothness of blending. Higher values provide smoother results.
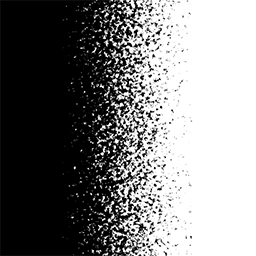
The low value
|
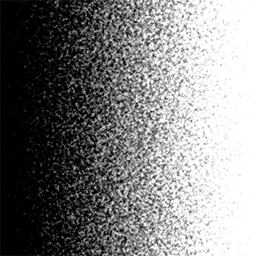
The high value
|