MeshViewer
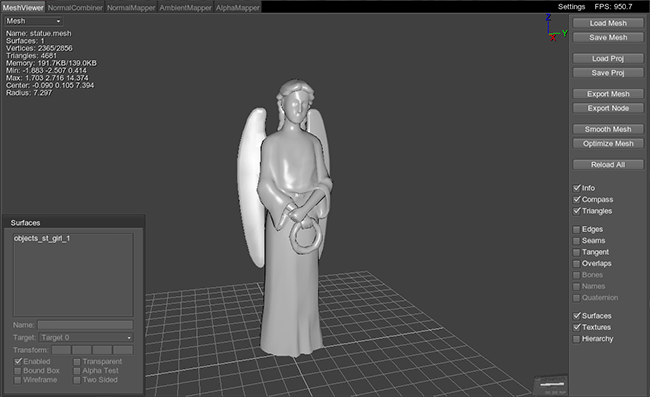
MeshViewer is a robust tool used for fast preview of the exported geometry, animation and textures. It allows for converting loaded data into Unigine supported formats. Besides that, it has a set of useful features to help artists in optimization of created models.
MeshViewer supports:
- Vertex color
- Multiple animations
- Morph targets (blend shapes) from .dae and .mesh files
Usage
MeshViewer uses a simplified set of shaders to speed up the loading, so its primary purpose is a fast display and visual check of the data obtained from a 3D editor.
MeshViewer is a convenient way to perform the following operations:
- Fast preview of models exported from a 3D editor (see supported formats).
- Convert geometry data from external file formats into a native Unigine mesh.
- Export animated meshes as a simple geometry.
- Check UV mapping and texturing of the model.
- Try out tessellation and parallax mapping according to the loaded textures.
- Quickly test the model for possible problems:
- UV seams.
- Overlaps in UV coordinates.
- Tangent space to light the model correctly.
- Manage model geometry: save a mesh without some of its surfaces, save selected surfaces of the model as separate meshes.
- Optimize the model:
- Ensure efficient usage of vertex cache by a model at rendering time.
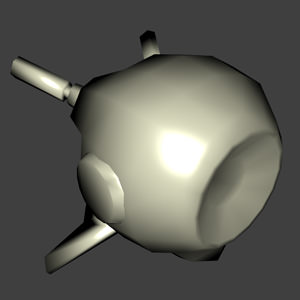
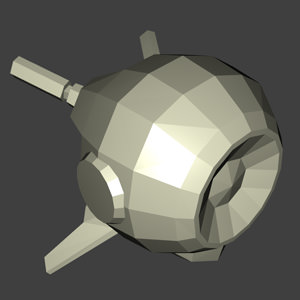
- Smooth curved surfaces.
- Save the textured model as a project. After that, the set up model can be loaded in one click.
Display Modes
Models can be operated in three display modes. To switch between them, choose the mode in the drop-down list in the upper left corner of a window:

|
|
Current Animation
If the model contains animation, it can be operated in different animation modes. To switch between them, choose the mode in the drop-down list in the upper left corner of a window, next to the Display modelist:

|
|
The other poses, if exist, will be displayed in the drop-down list under the Bind pose option.
Mesh Options
Mesh options are present at the right side of the MeshViewer window:
| Load Mesh | Load a model stored in any of supported formats:
Loading options available in the opened dialog window:
Notice
Though you can load animation using this option, there is a special option, Load Anim, made for quick and convenient animation loading. Notice
You can also load the mesh by pressing Ctrl+O. |
|---|---|
| Save Mesh | Save a model into one of the following formats:
Saving options available in the opened dialog window:
Notice
To save geometry without animation, use Export Mesh. If no surfaces are selected, the whole mesh (all non-hidden surfaces) will be saved. If one or several separate surfaces are selected (for multiple selection hold Shift or Ctrl), only specified geometry will be saved into the file. The same options as for loading are used for saving.
Notice Also note that if the
Vertex cache optimizationoption was enabled when loading a mesh, there is no need to enable it again. Remember, however, that this optimization should be used on any step: either when the model is exported from 3D editor, loaded into MeshViewer or saved.
Models that have third-party formats can be saved into the .mesh format only. Notice
Though you can save animation using this option, there is a special option, Save Anim, made for quick and convenient animation saving. Notice
You can also save the mesh by pressing Ctrl+S. |
| Load Proj | Load a saved MeshViewer project (.proj file), which contains a model, textures and all settings made for them. |
|---|---|
| Save Proj | Save a mesh with all its settings as a project (into a .proj file). This file contains a path to the mesh file and settings made for mesh surfaces (textures, parameters and flags). After being saved, a mesh can be quickly loaded.
Notice
Note that the project with the applied textures and surfaces cannot be exported to Unigine engine. MeshViewer is used for preview purposes only. |
| Export Mesh | Save the model geometry without animation and bones into a .mesh file. The same options as for loading are used for saving. Also note that:
|
||||
|---|---|---|---|---|---|
| Export Node | Save the model with assigned textures into the .node and the .mat files. You can select the following options while exporting:
|
||||
| Smooth Mesh | Smooth all curving parts of mesh. This option does not affect the geometry, but only the way the mesh is shaded. If one or several separate surfaces are selected (by holding Shift or Ctrl), only they will be smoothed rather than the whole model. The smoothing options are:
|
||||
| Optimize Mesh | There are several options available for mesh optimization:
Notice
For the difference between these rendering methods to be seen, enable the Overlaps option. |
||||
| Reload All | Reload all resources (mesh and its textures). This option does not affect set up parameters for surfaces and textures.
Notice
You can also reload resources by pressing Ctrl+R. |
Visualization Options
The model can be displayed in the different ways. The set of visualizations options is the following:
| Info | Display information about the mesh and one selected surface in the upper left corner of the viewport. Such data is shown as:
Notice
You can also enable the option by pressing I. |
||||
|---|---|---|---|---|---|
| Compass | Enable a XYZ compass in the upper right corner of the viewport.
Notice
You can also enable the option by pressing C. |
||||
| Triangles | Show the base grid plane, as well as triangles of the mesh (its selected surfaces) or a wireframe (if enabled).
Notice
You can also enable the option by pressing T. |
||||
| Edges | Show texture edges for the mesh (or its selected surfaces) in red. | ||||
| Seams | Show texture seams for the mesh (or its selected surfaces) in green. | ||||
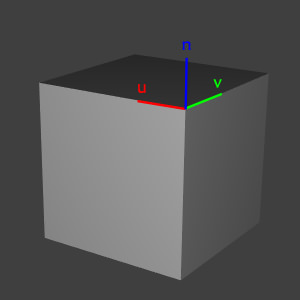
| Tangent | Show the tangent space at polygon vertices of the mesh (or its selected surfaces). It represents texturing coordinates for face of each polygon with the triple of vectors: U,Vandnormalvector that is always perpendicular to the face itself. This option is useful for detecting tangent space discontinuities, which may cause lighting artifacts. In areas where adjacent polygons have a different tangent space, there will be an noticeable edge; in areas where tangent space is the same, there will be a smoothly curved surface.
Tangent space: U, V and Normal
|
||||
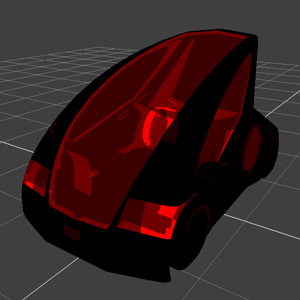
| Overlaps | Show overlaps in UV coordinates in different shades of red. The more saturated is the color, the more overlaps there are in the given point.
Overlaps in UV coordinates
|
||||
| Bones | Show bones of the mesh. | ||||
| Names | Show names of the bones. | ||||
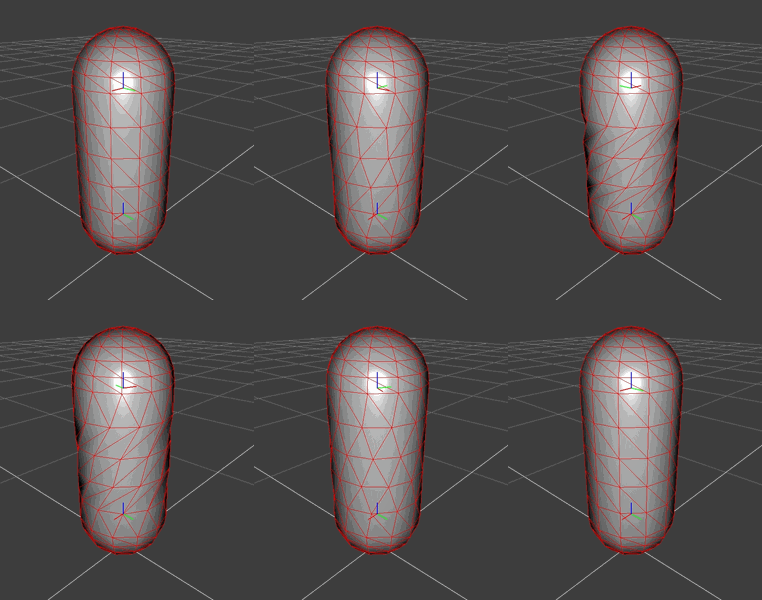
| Quaternions | Use dual quaternions for the skinned mesh. When quaternions are used instead of simple matrices to describe rotation and position of vertices, it allows to reduce a twisting artifact between two bones, which is often seen at shoulder joints of characters. With dual quaternions character joints do not look deformed like a candy wrapper. (In the Unigine-based application dual quaternions can be enabled with Use dual quatoption).
|
||||
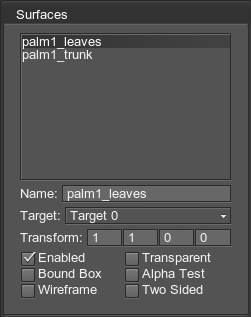
| Surfaces | Show a dialog window with a list of surfaces and their visualization parameters.
|
||||
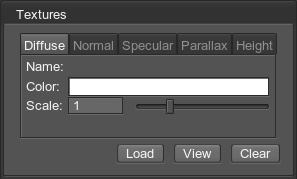
| Textures | Show a dialog window with texture settings for the selected surface.
On the texture tab you can Load a new texture, View or Clear the loaded texture. If multiple surfaces are selected, these operations will be performed for all the textures. The texture window has the following tabs:
|
||||
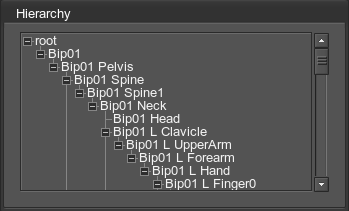
| Hierarchy | Show a dialog window with the animation hierarchy.
|
Animation Options
Preview skinned animation is supported only for meshes containing animation.
- Simply click Play if animation is stored in one .mesh file together with a mesh in a bind pose.
- If a bind pose and animation are stored in a separate files, perform the following steps:
- Click Load Meshand select.mesh file with a bind pose.
- Click Load Meshagain and select.anim file with animation data.
- Check Animation onlyat the bottom of the dialog window.
- Play the animation applied to the skinned mesh.

- From — the first frame to start animation playback from.
- To — the last frame to end the animation playback with.
- Fps — the speed of animation playback.
- Play — play the animation in a loop.
Help
To open the help window, containing the brief information about the tool and the list of hot keys, click Help at the bottom right corner of the MeshViewer window.
Supported File Formats
Supported geometry and animation formats:
- Unigine mesh (.mesh)
- Unigine animation (.anim)
- Unigine skinned mesh (.smesh)
- Unigine skinned mesh animation (.sanim)
- Wavefront (.obj)
- COLLADA (.dae)
Supported textures formats:
- Targa (.tga)
- Portable Network Graphics (.png)
- JPEG (.jpg)
- Photoshop Document (.psd)
- Direct Draw Surface (.dds)
Controls
Selection
- Ctrl+Left mouse button/Double click — select a surface or deselect a previously selected surface. Hold Shift to select/deselect more surfaces.
Hot Keys
- Ctrl+O — load a mesh.
- Ctrl+S — save a mesh.
- Ctrl+R — reload all files.
- I — toggle mesh info.
- C — toggle a XYZ compass.
- T — toggle base grid, surface triangles or a wireframe.
- F — focus on the selected surface. It sets the pivot on the focused surface. To reset it, use G hotkey.
- Space — deselect the selected surface.
- F1 — show the help window.
