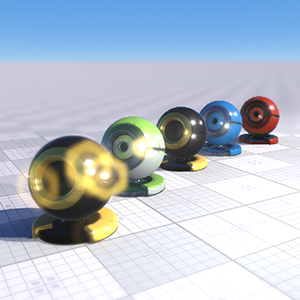
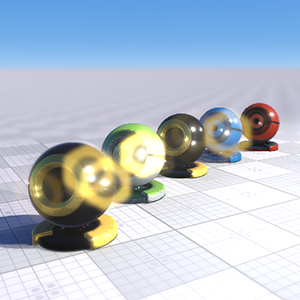
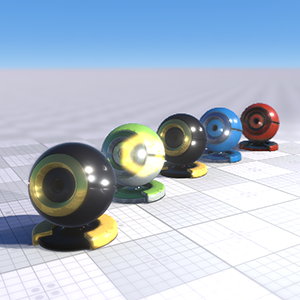
Camera Effects
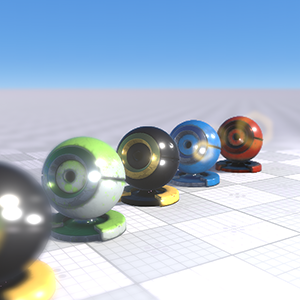
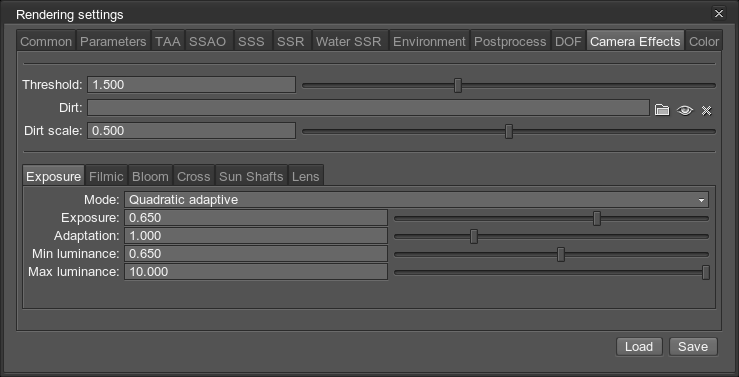
A camera effects list contains features specific to the usual SLR camera. To tweak, use Rendering panel -> Camera Effects.
Common
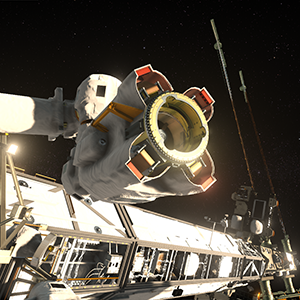
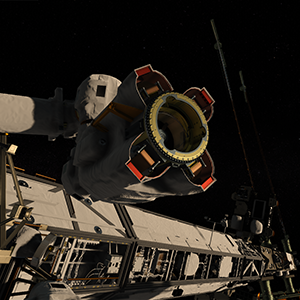
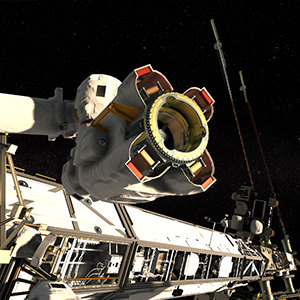
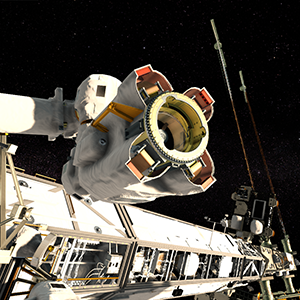
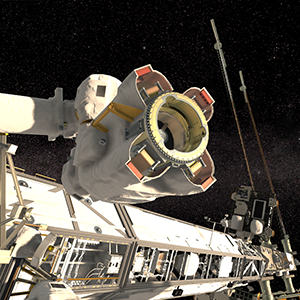
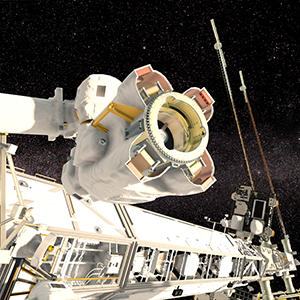
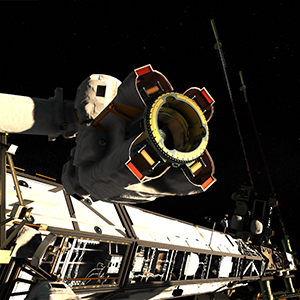
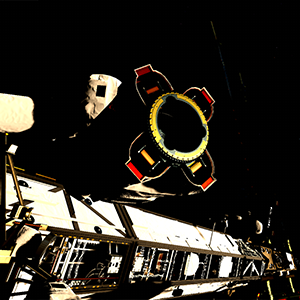
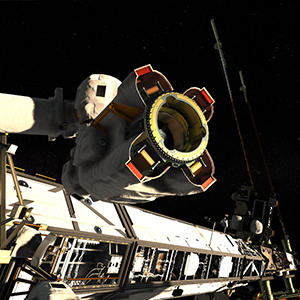
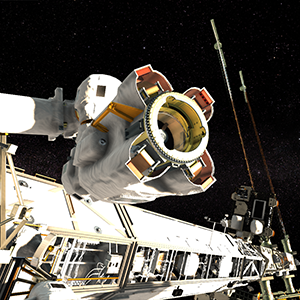
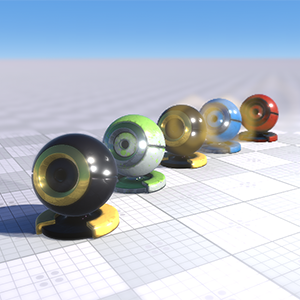
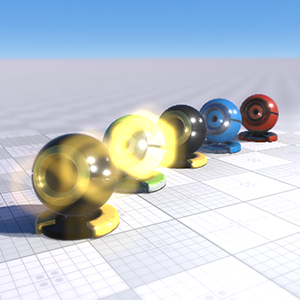
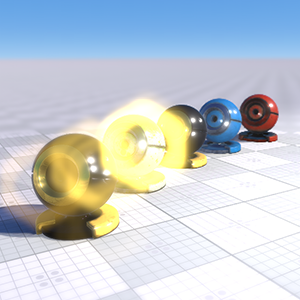
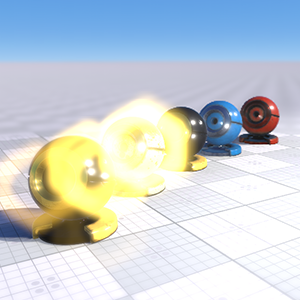
| Threshold | Brightness threshold used to determine areas to be illuminated:
|
||
|---|---|---|---|
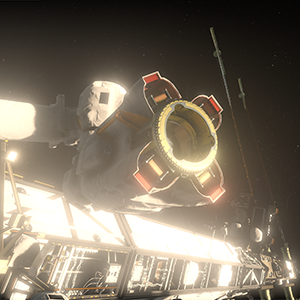
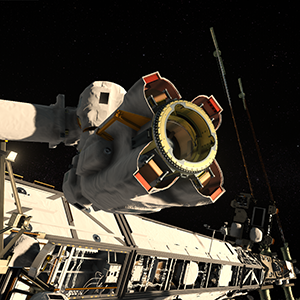
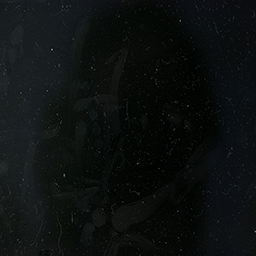
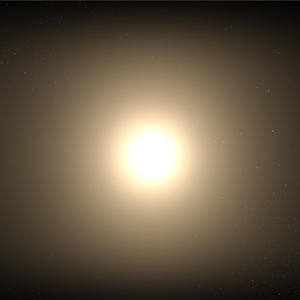
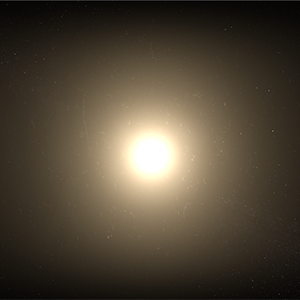
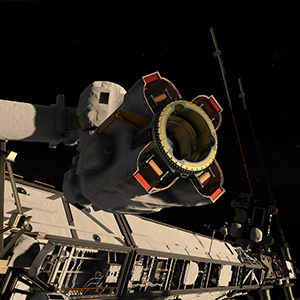
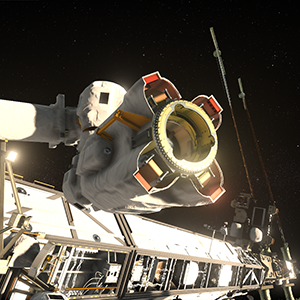
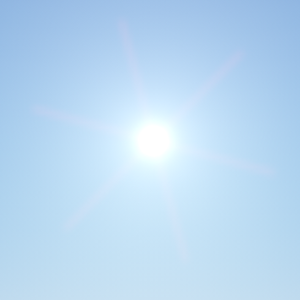
| Dirt | A texture that creates an effect of dirty camera lens. For example, it can be used to create an effect of light reflections or unclean optics when the camera looks at the sun.
Example of dirt texture
Notice
If you can't see the dirt texture, try tweaking the threshold parameter. |
||
| Dirt scale | Intensity of the dirt texture. |
Exposure
| Mode | The exposure mode:
|
||
|---|---|---|---|
| Exposure | Camera exposure. It determines the resulting amount of luminance:
|
||
| Adaptation | Time in seconds for the camera to adjust exposure (0 is for instant adaptation). | ||
| Min luminance | The minimum luminance used for adaptive exposure rendering:
|
||
| Max luminance | The maximum luminance used for adaptive exposure rendering:
|
Filmic
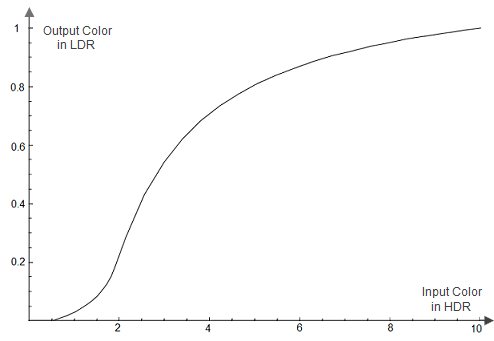
The filmic tone mapping provides better image quality. It lightens the darkest image regions and makes the lightest regions darker.
All of the parameters described below represent the tone mapping curve, which is constructed by using the following formula:

- A - Shoulder Scale
- B - Linear Scale
- C - Linear Angle
- D - Toe Scale
- E - Toe Numerator
- F - Toe Denominator
For more details about tone mapping curve construction see the article on An efficient and user-friendly tone mapping operator.
The parameters described below are available only when filmic tone mapping is enabled (Rendering -> Camera Effects -> Filmic tone mapping).
| Shoulder Scale | The Shoulder Strength filmic tone mapping parameter value that is used to change bright values.
|
||
|---|---|---|---|
| Linear Scale | The Linear Strength filmic tone mapping parameter value that is used to change grey values. The Linear Scale controls the length of the tone mapping curve linear part.
|
||
| Linear Angle | The Linear Angle filmic tone mapping parameter value. This parameter controls the slope of the linear part of the tone mapping curve.
|
||
| Toe Scale | The Toe Strength filmic tone mapping parameter value that is used to change dark values. The Toe Scale controls the slope of the tone mapping curve toe (the area of underexposure).
|
||
| Toe Numerator | The Toe Numerator filmic tone mapping parameter value.
|
||
| Toe Denominator | The Toe Denominator filmic tone mapping parameter value.
|
||
| White Level | The Linear White Point filmic tone mapping parameter value, which is mapped as pure white in the resulted image.
|
Cross
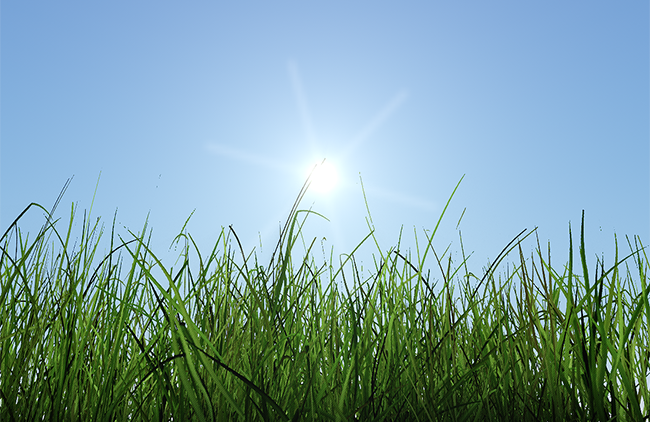
The parameters described below are available only when cross flares are enabled (Rendering -> Camera Effects -> Cross).
Bokeh
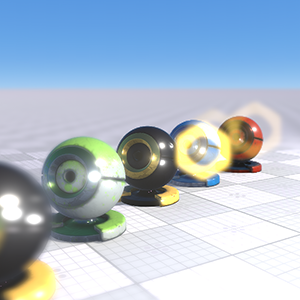
The bokeh effect is rendered for bright lights or emissive materials only across the DOF-blurred range.
The bokeh effect is rendered only if the bokeh and DOF effect are enabled at the same time (Rendering -> Bokeh and Rendering -> DOF).
| Color | The color multiplier for the bokeh effect. It allows you to change the tint of the bokeh effect or decrease its brightness if a dark color is set.
|
||||
|---|---|---|---|---|---|
| Scale | The numerical multiplier for the bokeh effect. The higher the value, the brighter the bokeh effect is.
|
||||
| Far size | The size of the bokeh effect across the far blur range of DOF.
|
||||
| Far power | Controls how close to the focal point the bokeh effect appears across the far blur range of DOF.
|
||||
| Near size | The size of the bokeh effect across the near blur range of DOF.
|
||||
| Near power | Controls how close to the focal point the bokeh effect appears across the near blur range of DOF.
|
||||
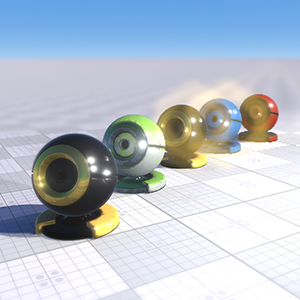
| Threshold | Brightness threshold for areas to create a bokeh effect:
|
||||
| Iris | A custom texture for the bokeh effect. |
Sun Shafts
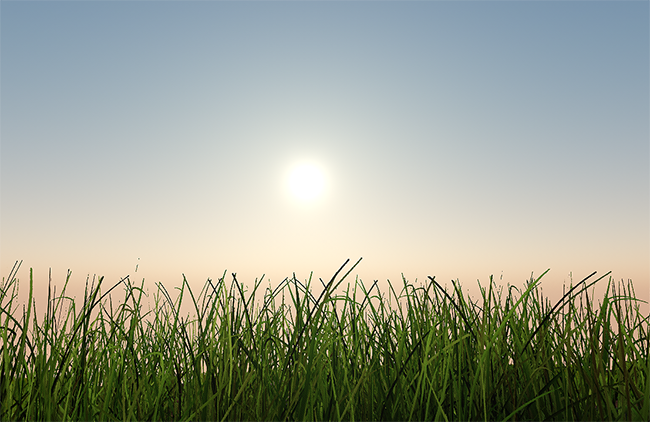
The parameters described below are available only when the light shaft effect is enabled (Rendering -> Sun Shafts).
| Color | The color of light shaft.
|
||||
|---|---|---|---|---|---|
| Scale | A multiplier for a color of shaft flares.
|
||||
| Length | Length of light shaft.
|
||||
| Attenuation | How fast the flares fade out along their length:
|
||||
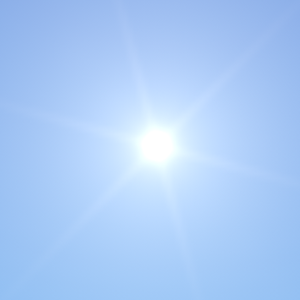
| Threshold | Brightness threshold for sun to generate light shaft:
|
Lens
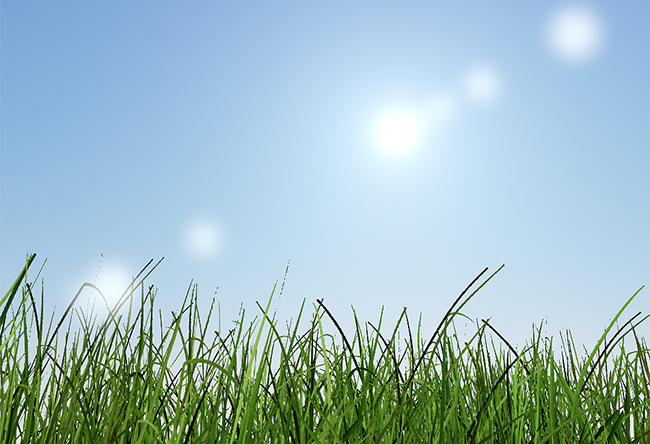
The parameters described below are available only when lens flares are enabled (Rendering -> Lens).
| Color | The color of lens flares.
|
||||
|---|---|---|---|---|---|
| Scale | A multiplier for a color of lens flares.
|
||||
| Length | Length indicating if the whole radial lens flare is rendered on the screen or only a part of it. This option controls how lens flares pattern is distributed. | ||||
| Radius | A radius of the spherical lens flares on the screen.
|
||||
| Threshold | The brightness threshold for areas to produce flare:
|
||||
| Red | Color displacement for the red channel of the lens flares.
|
||||
| Green | Color displacement for the green channel of the lens flares.
|
||||
| Blue | Color displacement for the blue channel of the lens flares.
|
