post_filter_reflection
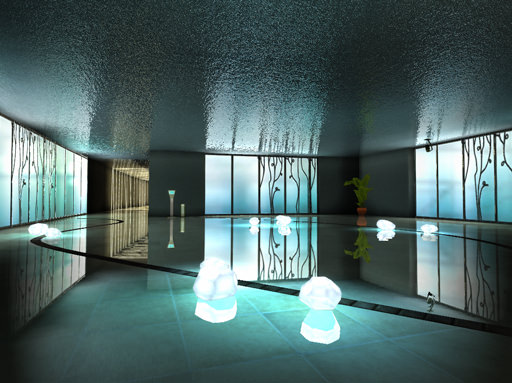
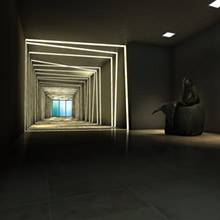
This postprocess allows to create image-based reflections. (See how to assign this postprocess material to make the selected materials reflective.) The technique works by tracing rays at each pixel of the material you set to reflect and rendering an approximate version of the scene at each tracing step (that is, a sample).
Being rough and inaccurate, this approach is performance-friendly and has the following advantages (if compared a standard
reflective
material):
- A mesh does not have to be planar in order to create 2D reflection. It can have an arbitrary curved shape.
- The rendering load does not depend on the number of reflected objects.
Textures
| GUI name | XML name | Description | Channels |
|---|---|---|---|
| Vignette | vignette | One-channel vignette texture. It is used to disable rendering reflections along the edges of the viewport. Vignette shape and smoothness can be customized, but it should be wide enough to cover the sides of the screen. | R:
|
Parameters
Shading Parameters
| GUI name | XML name | Description |
|---|---|---|
| Fresnel bias | fresnel_bias | Coefficient that allows to compensate for the Fresnel effect. It sets the minimum necessary reflectance level (i.e. restores reflections to be seen at all viewing angles).
|
| Fresnel power | fresnel_power | Factor to scale Fresnel effect that defines the amount of reflectance depending on the viewing angle:
Notice
If the Fresnel bias equals 1, Fresnel power does not apply. |
It is recommended to set Fresnel power high enough and the Fresnel bias close to zero. In this case, reflections will not be rendered when looking at objects from above. Otherwise, as the reflections are only approximate and calculated in steps, moire patterns will be seen.
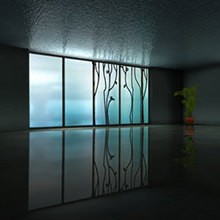
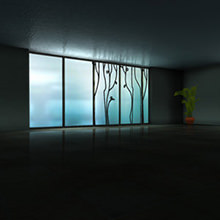
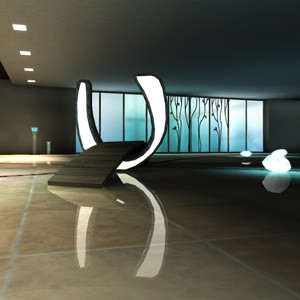
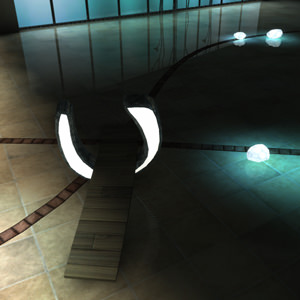
On the images below Fresnel power = 3 and Fresnel bias = 0. When looking on the object from above, there is no reflection. Distant objects seen at the small viewing angle, are still reflected.
|
|
|
With Fresnel power = 3 and Fresnel bias = 0 reflections are not seen from above
|
|
Reflection Parameters
| GUI name | XML name | Description | ||||
|---|---|---|---|---|---|---|
| Step | reflection_step | The distance in units between the tracing steps (i.e. samples).
|
||||
| Power | reflection_power | The speed of reflections fade out. The attenuation is performed relative to the surfaces that are being reflected.
|
||||
| Color | reflection_color | Color multiplier for reflections.
|
States
| GUI name | XML name | Description |
|---|---|---|
| Mask | mask | Color mask for the materials' auxiliary color. See how to use it as a mask to apply a postprocess only to the selected materials. |
| Samples | samples | The number of tracing step along the ray. At each step the reflections is rendered if the ray hits an obstacle. This setting defines how accurate the rendered reflections will be:
|
