Migrating to UNIGINE from Unity: Content Creation
Overview#
Assets#
The Assets Workflow in UNIGINE is similar to the Unity one. First, let's take a look at the Asset Browser window.
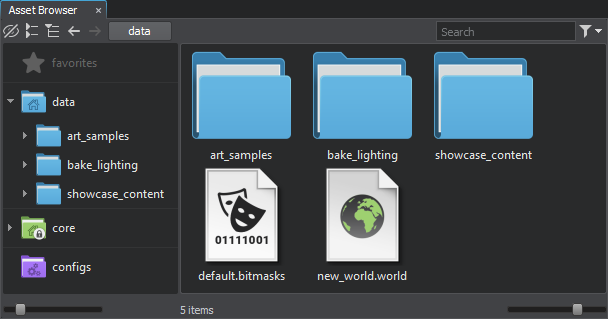
It contains the data stored in the data folder of the project root — all project resources. This is where all textures, models and other assets are copied when imported. Like in Unity, you can modify your assets at any time after importing, the Asset System will notice when you save new changes to the file and will re-import it as necessary.
There is no Packages entry here — the set of features is defined by the SDK edition and engine/UnigineEditor plugins.
- Packages in UnigineEditor are *.upackage assets enabling you to conveniently transfer files with all dependencies, or exchange data with other users, be it content (a single model or a scene with a set of objects driven by logic implemented via C# components) or plugins, libraries, execution files, etc. Additional content packs are available as add-ons — plugged functionality and content extensions for the Engine and UnigineEditor. There is a Package Manager in UNIGINE as well as in Unity software, it shows all added packages downloaded from Add-On Store and helps browsing, deleting, and updating packages, as well as unlinking files from a package to prevent them from being affected by further package updates.
- core — contains the built-in core assets (contents of the core.ung archive). These assets are available for every project by default
- configs — stores all global engine-related and project-related settings. For example, here you can specify the default project world.
The virtual file system can be easily extended by using the mount point feature. It allows you to extend the virtual file system of your project by adding any external shared folders and packages to the data directory.
Components vs Nodes#
The basic scene object in Unity — GameObject — is conceptually a container for components with its transformation. Component-based workflow implies that standard and user components assigned to a GameObject define its functionality.
UNIGINE provides a more strict approach to world objects. Basic functionality of a node is determined by its type: there are objects, light sources, decals, world building objects, etc. Additional functionality can be added using properties and a component system.
All built-in node types are available for creation in the Create menu (Shift + RMB in the viewport):
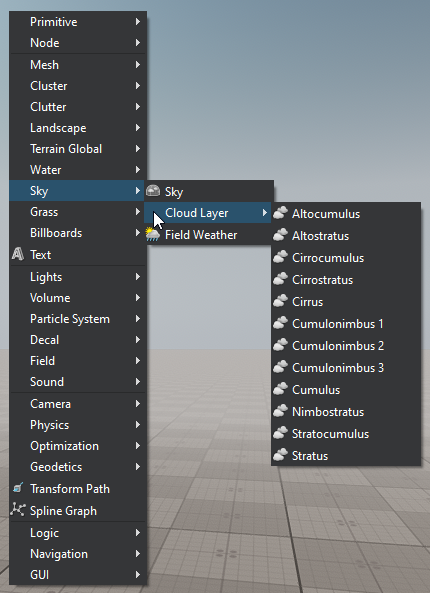
Dummy Node, similarly to empty GameObject, can be used to build a hierarchy of nodes and for logic. It is probably one of the most common nodes in projects, so it might worth remembering the shortcut Ctrl+G creating a new Dummy node or grouping selected nodes.
Most objects for level design (some of them are provided in Unity URP/HDRP or third-party packages) are available in UNIGINE out of the box:
|
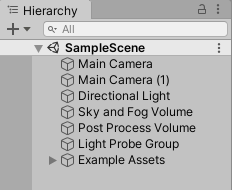
Unity Hierarchy
|
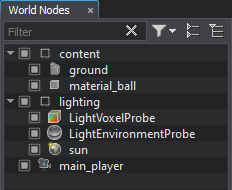
UNIGINE World Nodes
|
The World Nodes window outlines the content of the world. Unlike in Unity Hierarchy, only content of the current loaded world is shown and toggling off a node affects all its children.
Meshes#
As well as in Unity software, mesh is the main graphics primitive in UNIGINE.
You can freely use FBX-models from Unity-based projects without scaling issues — 1 unit is 1 meter in UNIGINE as well.
However, UNIGINE uses a right-handed coordinate system where the vertical direction is represented by the +Z axis and the Y+ axis is the forward direction. It is important to use proper export settings for correct orientation of models.
After being imported to the project, an FBX asset becomes a container for all meshes it stores.
In Unity Editor, you access the content of an FBX asset using the arrow button next to it:
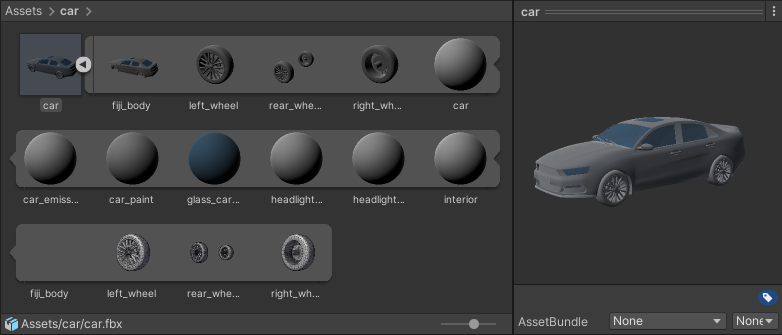
Both meshes and read-only materials appear as components of the asset.
In UNIGINE, you can do the same by double-clicking the asset (or choose Open in the right-click menu):
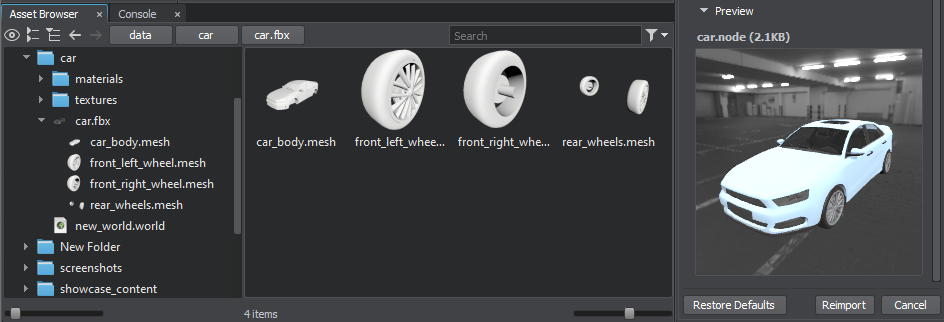
Every separate object in the FBX model is represented by a .mesh runtime asset. Materials (if there are any, provided the Import Materials option was enabled) are generated in the materials folder next to the asset.
To create a node that uses the mesh or FBX asset you can simply drag it to the Editor viewport the same way you would do in Unity Editor. In UNIGINE this will add a Mesh Static object to the world hierarchy.
Object nodes play the part of the Mesh Filter and Mesh Renderer components. For example, it is best to use a Static Mesh object for objects that are not intended to change their geometry.
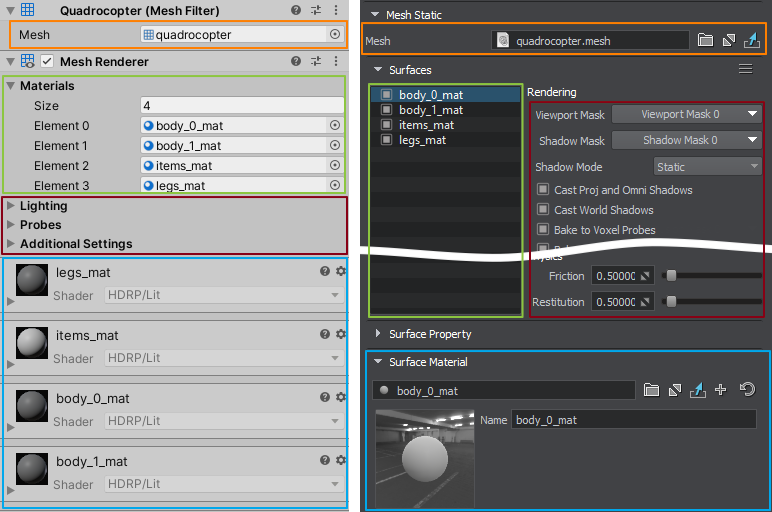
Here Surfaces come into play. A surface encapsulates a sub-mesh having a certain material assigned (in third-party 3D editors) and has the name according to that material. For convenience, surfaces can be rearranged in a hierarchy and toggled on and off. Optimization settings you would set for the whole mesh in Unity Editor, such as contribution to lighting and probes, are available for each surface separately.
Levels of Detail (LOD)#
In Unity software, you are likely to be used to using the LOD Group component enabling you to operate several detail levels, the active LOD is defined by the threshold based on the ratio of the mesh's screen-space height to the total screen height.
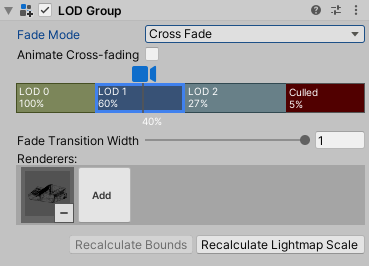
In UNIGINE, levels of detail are configured based on distances — in a more low-level manner to make fine tuning available. Surfaces have visibility settings for this purpose. You can set the minimum and maximum visibility distances from the camera for each surface. For Cross Fading use the Minimum Fade and Maximum Fade values.

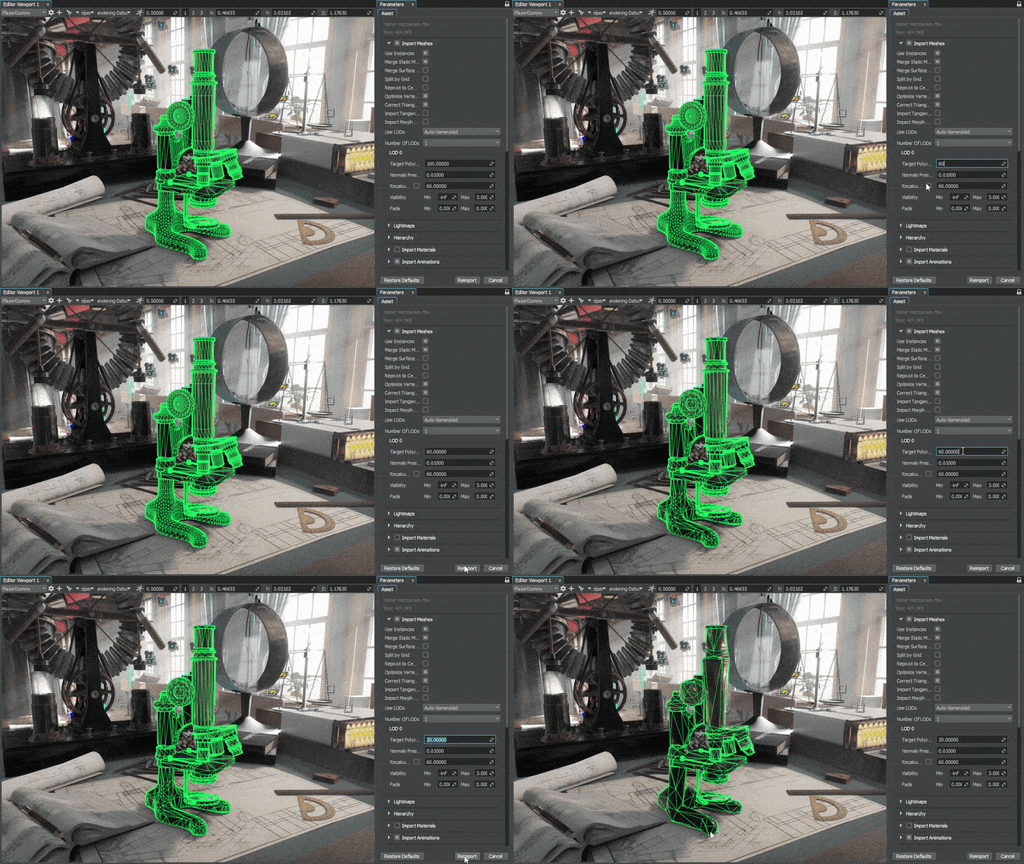
Automatic creation of LODs upon importing a model is described in the FBX Import Guide. And if you need fine control over LODs, you can make use of Combine By Postfixes option and merge prepared separate objects with certain postfixes in their names representing LODs. For more details on configuring LODs refer to the dedicated article.
Bone-Based Animation#
FBX models containing bone-animated skinned meshes create animation clips when imported in both engines. In UNIGINE, such clips are represented by .anim assets.
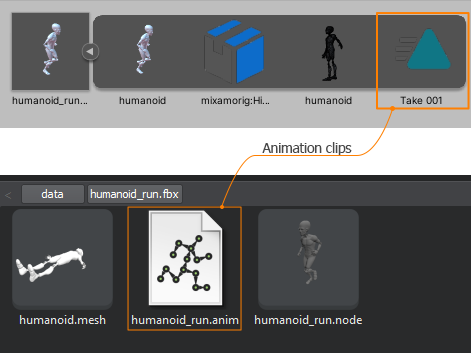
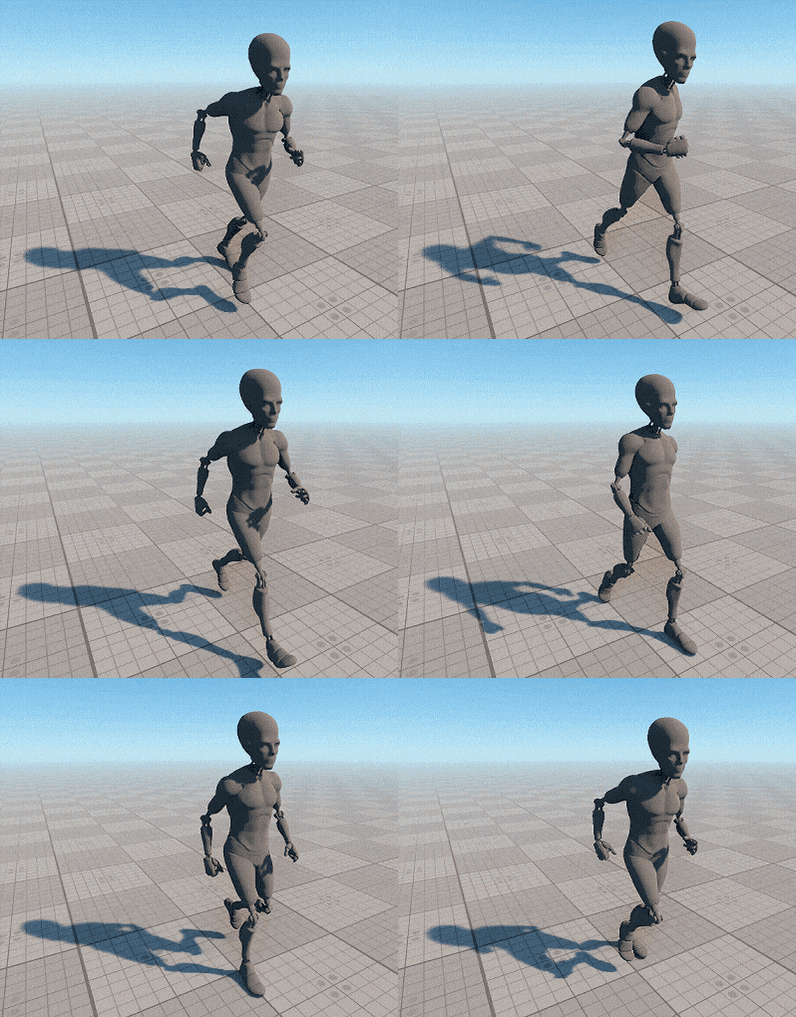
UNIGINE imports only skeletal animation. Skinned Mesh object is an analog for the Unity Skinned Mesh Renderer component for handling bone animations.
Unity software provides a sophisticated animation system (sometimes referred to as 'Mecanim'). It implies using Animator Controller — a state machine that manages animation states and transitions between them.
UNIGINE skinned animation system is focused on operating animation layers: you can configure multiple layers with various animation clips and perform blending between them by using API methods.
For more details refer to the following articles:
- 3D Models Requirements
- ObjectMeshSkinned class API reference
- Animation section of C# Component Samples
Blend Shapes#
The same way the Mesh Skinned object supports morphing. If a mesh has blend shapes (sometimes referred to as morph targets for some 3D editors) assigned in a third-party 3D modelling software, they will be available internally as surface morph targets (provided the Import Morph Targets was enabled for the imported asset).
Unity Skinned Mesh Renderer component lists the imported Blendshapes in the parameters:
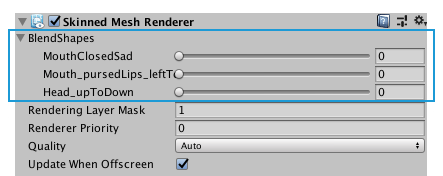
In UNIGINE, multiple animation morph targets (i.e. morph layers) are created based on the available surface targets and blended manually using weights via API methods.
Follow the related tutorial for more details:
Materials and Shaders#
Similar to Unity software, UNIGINE primarily works with PBR materials. Additionally, UNIGINE supports legacy Specular workflow, which is available via Standard (Specular setup) in Unity software.
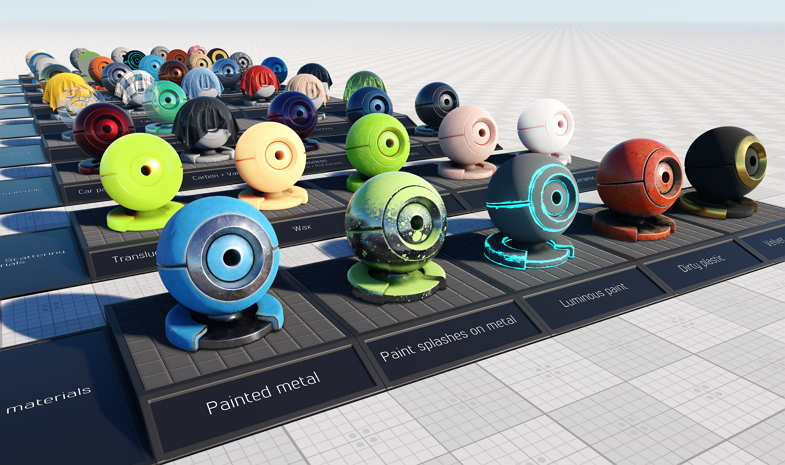
In Unity software, you are accustomed to create user materials that implement a certain shader, depending on the applicability of this shader to a Renderer component type. As an example, you use materials implementing physically based Standard surface shader (or Lit in URP/HDRP) to be used with Mesh Renderer.
In UNIGINE, material system is formed by base materials and user materials inherited from them.
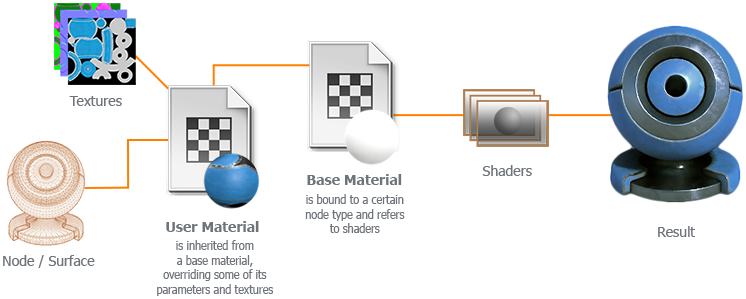
A base material is a set of read-only material properties (basically flags, parameters and textures) referring to fragment, vertex and geometry shaders. Base material can be assigned to nodes (or surfaces) of the type it is bound to. UNIGINE provides a rich out-of-the-box library of base materials and standard shaders that can be used to create almost any appearance for all the types of nodes available in the engine.
The mesh_base is the base PBR material in UNIGINE used for meshes. Right here you can inherit a new material from it and start setting it up.
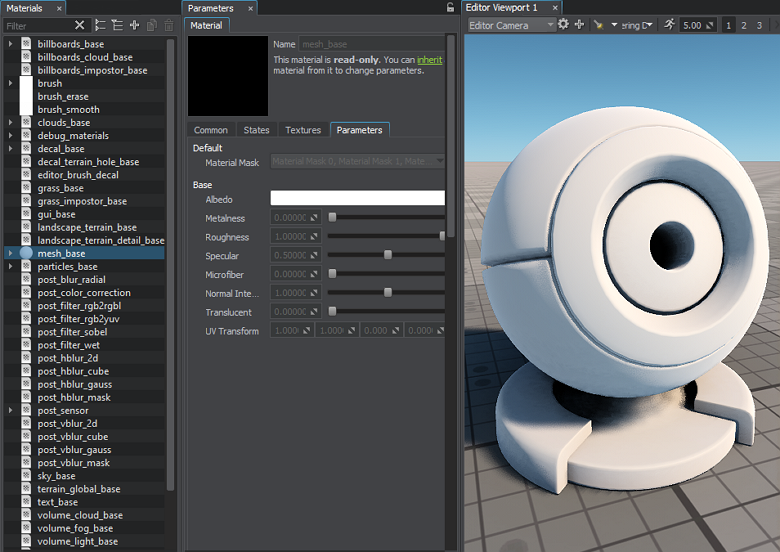
Its primary parameters are:
- Albedo,
- Metalness,
- Roughness (instead of Smoothness in Unity),
- Specular (for fine-tuning of specular reflections of dielectrics),
- Microfiber (for simulation of napped surfaces).
The Transparency Preset not only defines the transparency mode for the material, but also specifies the stage of the Rendering Sequence to which objects with this material assigned belong. A comparison with the Unity Rendering Modes:
- Opaque — Opaque,
- Cutout — Alpha Test,
- Transparent — Alpha Blend.
We create user materials by inheriting them from base materials to override some properties passed to shaders on rendering. When creating a material in the Asset Browser, we choose the base material to inherit from, thus defining the type of objects the new material will support.
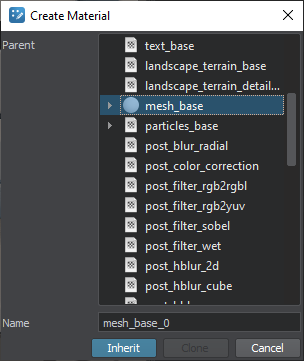
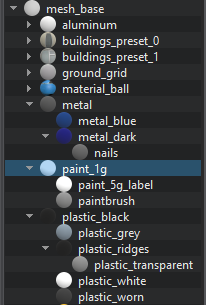
Furthermore, user materials can form a hierarchy for convenience. So, when parameters of the parent material are changed, overridden parameters of its children remain the same.
This system proves useful in big projects: an artist prepares a basic material for a certain surface type (e.g., a brushed metal) which can be used later in inherited materials used per object.

You can create a custom base material with complex effects for meshes and decals via the visual Material Editor. Unlike in Unity Shader Graph, it outputs a material; there is no master stack with Vertex and Fragment contexts here, the main node is Material that takes parameters for all shaders.
As for shaders, HLSL syntax is supported for DirectX. Also, UUSL, the built-in UNIGINE shader language is provided as a universal one.
See also:
Textures#
UNIGINE supports the same texture shapes as Unity software: 2D, 3D, Cubemap and 2D Array, but texture types (known in UNIGINE as Texture Presets) are different. There are presets for all possible application in a project: PBR-textures, masks, height maps, etc. We strongly recommend to always use appropriate texture presets to ensure the texture has the best compression and settings.
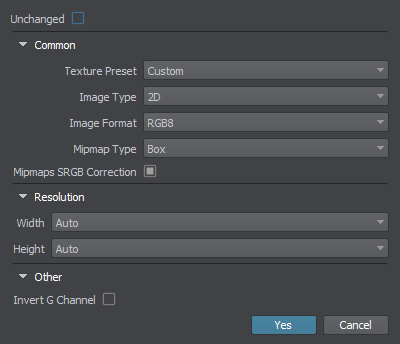
For convenience, presets are automatically applied according to the filename postfix: mytexture_alb.png will be treated as an albedo texture аnd mynormal_c.hdr — as a cubemap.
Sometimes texture compression is not needed, for example, in vertex animation textures or custom HDR-maps. UNIGINE supports using the texture "as is" without additional compression, check the Unchanged option for it.
The Shading texture for the mesh-base material must have the following format:
- R — Metalness,
- G — Roughness,
- B — Specular (optional),
- A — Microfiber (optional).
Of course, any other set of textures can be used in custom materials.
UNIGINE uses DirectX-style normal maps — Y-. When using normals maps right from projects based on Unity that uses Y+ (OpenGL-style) normals, use the Invert G Channel flag for convenient convertion. Normal maps in UNIGINE are two-channel (the third vector component is calculated) and the third channel of the texture can be used as an opacity map or for other purposes.
UNIGINE uses its own tangent space for normal mapping which is not fully compatible with the Unity one. It is possible to import tangent space right from an FBX file, however, different Digital Content Creation tools use different tangent spaces. The common recommendations for baking normals are following:
- Break UV-shells and make hard edges only where the angle between polygons is small enough, for example, lower than 45 degrees.
- Bake normals maps always on triangulated meshes to avoid artifacts caused by different triangulation on import.
- Keep paddings between UV-shells big enough.
All these steps will help you not worry about correct baked normals in any software. As a result, there is no need to export tangent space to FBX — UNIGINE will automatically calculate it on import.
Also, texture clamping and anisotropic filtering flags are available per each assigned texture in the material parameters.
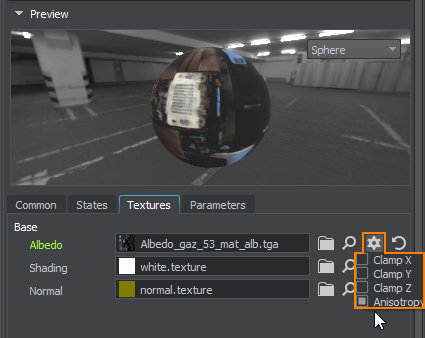
The Common Texture Settings, such as the maximum resolution, are available in the global rendering settings.
Lighting and Environment#
The same way as in Unity software, lighting in UNIGINE can be considered as either realtime or precomputed. A set of objects and tools enables you to get benefit from the both approaches.
Light Sources#
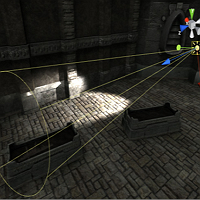
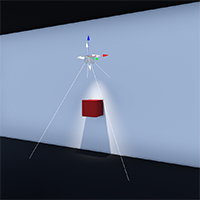
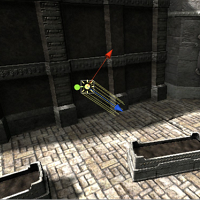
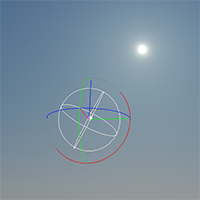
In Unity software, light sources are represented by the Light component. UNIGINE provides several types of light sources similar to the ones of Unity software.
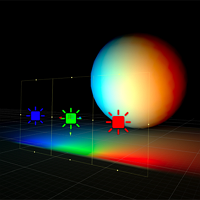
| Light Source | Unity software | UNIGINE |
|---|---|---|
|
A light source located at a point and sending light out in all directions equally |
Point Light |
|
|
A light source type providing a cone-shaped region of illumination |
Spot Light |
|
| A type simulating an infinitely distant light source and casting parallel beams onto the scene |
Directional Light |
|
| An area light that illuminates objects in different directions at once |
Area Light: Rectangle and Disc shape |
|
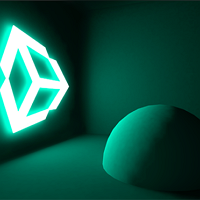
| Emissive objects emitting light across their surface area |
Emissive materials |
|
| Global flat filling lighting |
Ambient light |
|
Shadows#
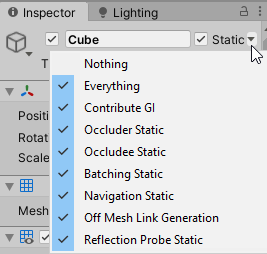
In Unity software, light sources can be in Realtime, Mixed, and Baked modes and cast realtime shadows by default. When it comes to light baking (including shadows), Unity workflow implies using Lightmaps. The way of considering GameObject contribution to light baking is defined by its Static flag and a bunch of other parameters.
Considering the concept of realtime and precomputed shadows, UNIGINE provides both types of shadows from light sources.
Shadows are cast using a commonly used technique called Shadow Mapping. All light sources can be either in Dynamic or Static mode according to which it is decided if shadow maps are computed in real time or saved in an asset, thus significantly reducing the number of polygons rendered each frame. Apparently, moving lights should be Dynamic, we can't precompute shadows cast from a moving light source.
The Mixed or Static Shadow Casting Mode of a light source filters the surfaces that cast shadows from it. By using the Mixed mode you can combine baked shadows from static geometry and realtime shadows cast by certain dynamic meshes. Use the Shadow Mode to decide whether the surface is static or dynamic.
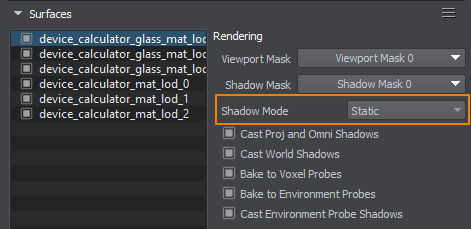
To learn more about configuring different types of shadows, watch the dedicated video tutorial:
World light source, as well as Unity Directional light source, uses an advanced shadow mapping technique called Parallel-Split Shadow Mapping to handle shadows at large distances. The shadow settings are available per each light source.
Lights Cookies#
For texture modulated lights, Unity software has a special type of textures: Cookie. High Definition RP also provides support for IES Light Profiles for more realistic light sources.
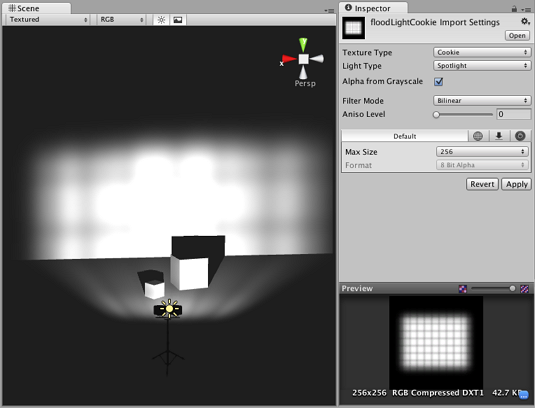
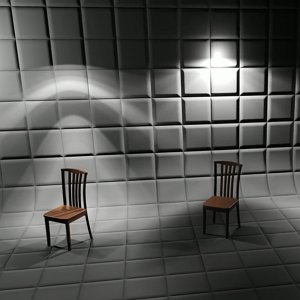
In UNIGINE, you can use an arbitrary flat diffuse or albedo texture, as well as an IES-profile, in the Texture parameter of Light Projected. The same way you can apply texture modulation to Light Omni by using a cubemap texture.
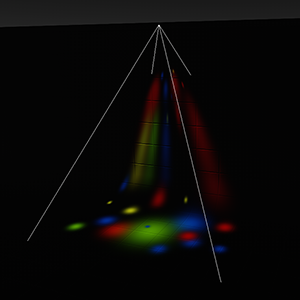
Modulation by texture
|
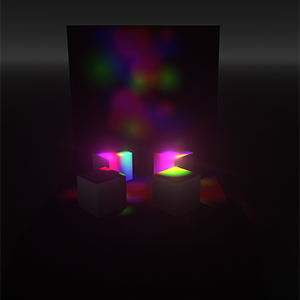
Modulation by cubemap
|
IES Profile
|
Environment#
In Unity Editor, scene environment settings are placed in the Lighting window (menu: Window > Rendering > Lighting Settings). The Environment section contains settings for the skybox, diffuse lighting and environment reflections.
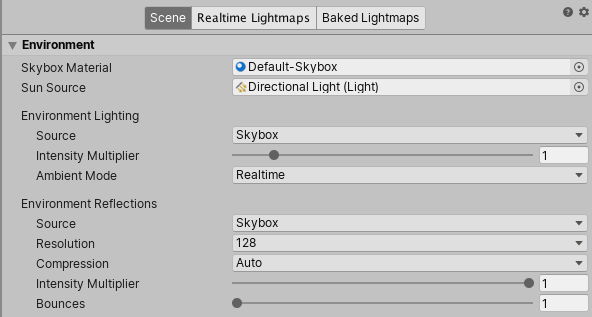
In UNIGINE, similar Environment Settings are available in >Render Settings (choose Window -> Settings in the main menu, then in the Settings window go to Runtime -> World -> Render -> Environment).

UNIGINE provides three environment presets, by configuring which you can create a smooth transition between different weather conditions.
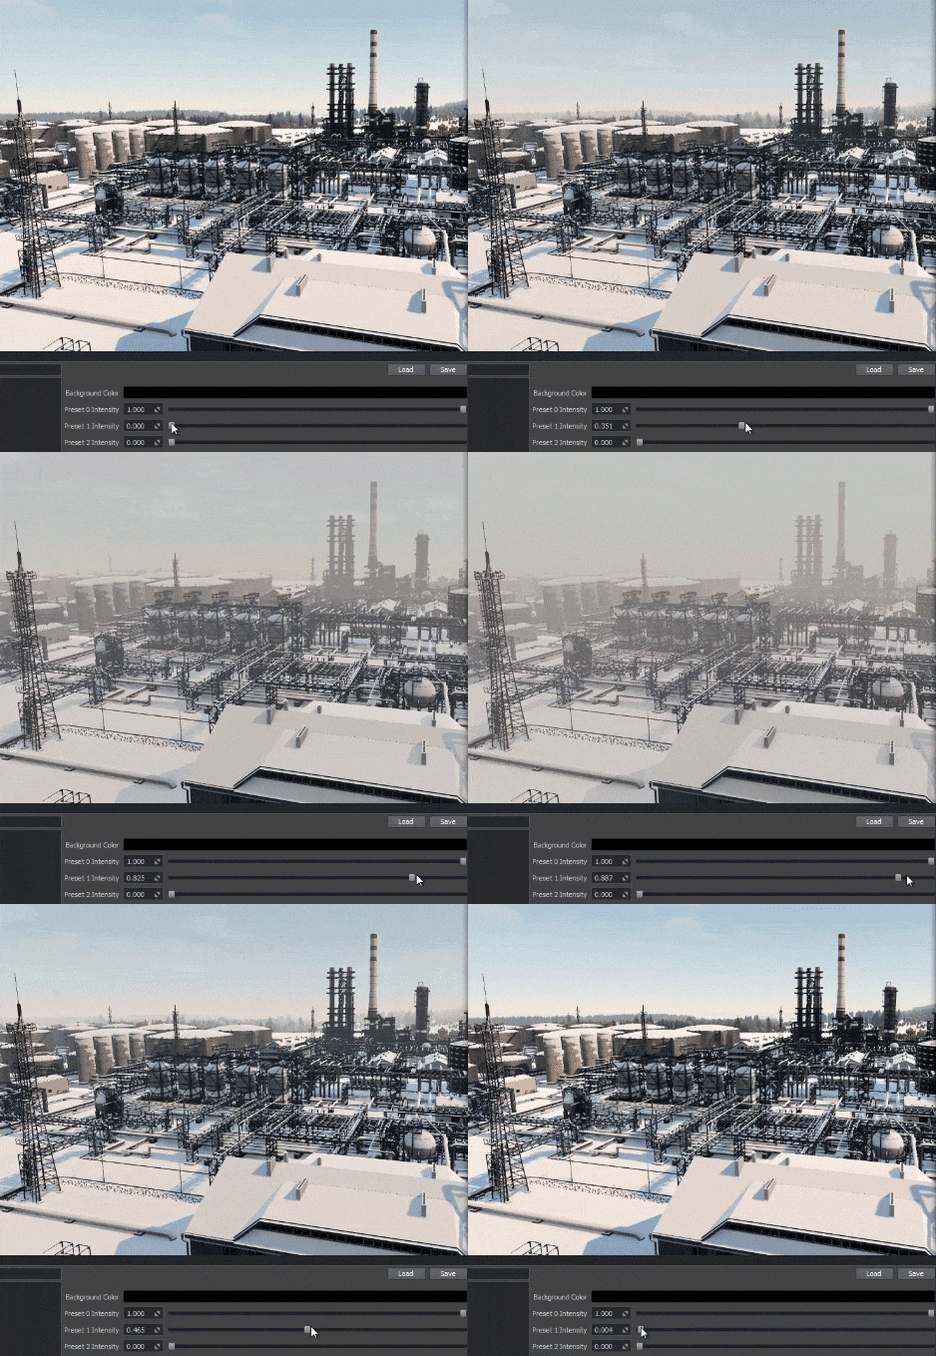
In order to achieve physically correct atmosphere rendering, UNIGINE's environment system simulates Scattering by interpolating certain LUTs (Look-UP Textures). When configuring environment lighting you should consider all the settings combined. For more details visit the dedicated article.
You can set a cubemap texture as the Environment Texture (a Unity Skybox counterpart) for both sky color and reflections.
Additionally, Unity Editor allows specifying a different environment skybox for the camera by using the Skybox script.
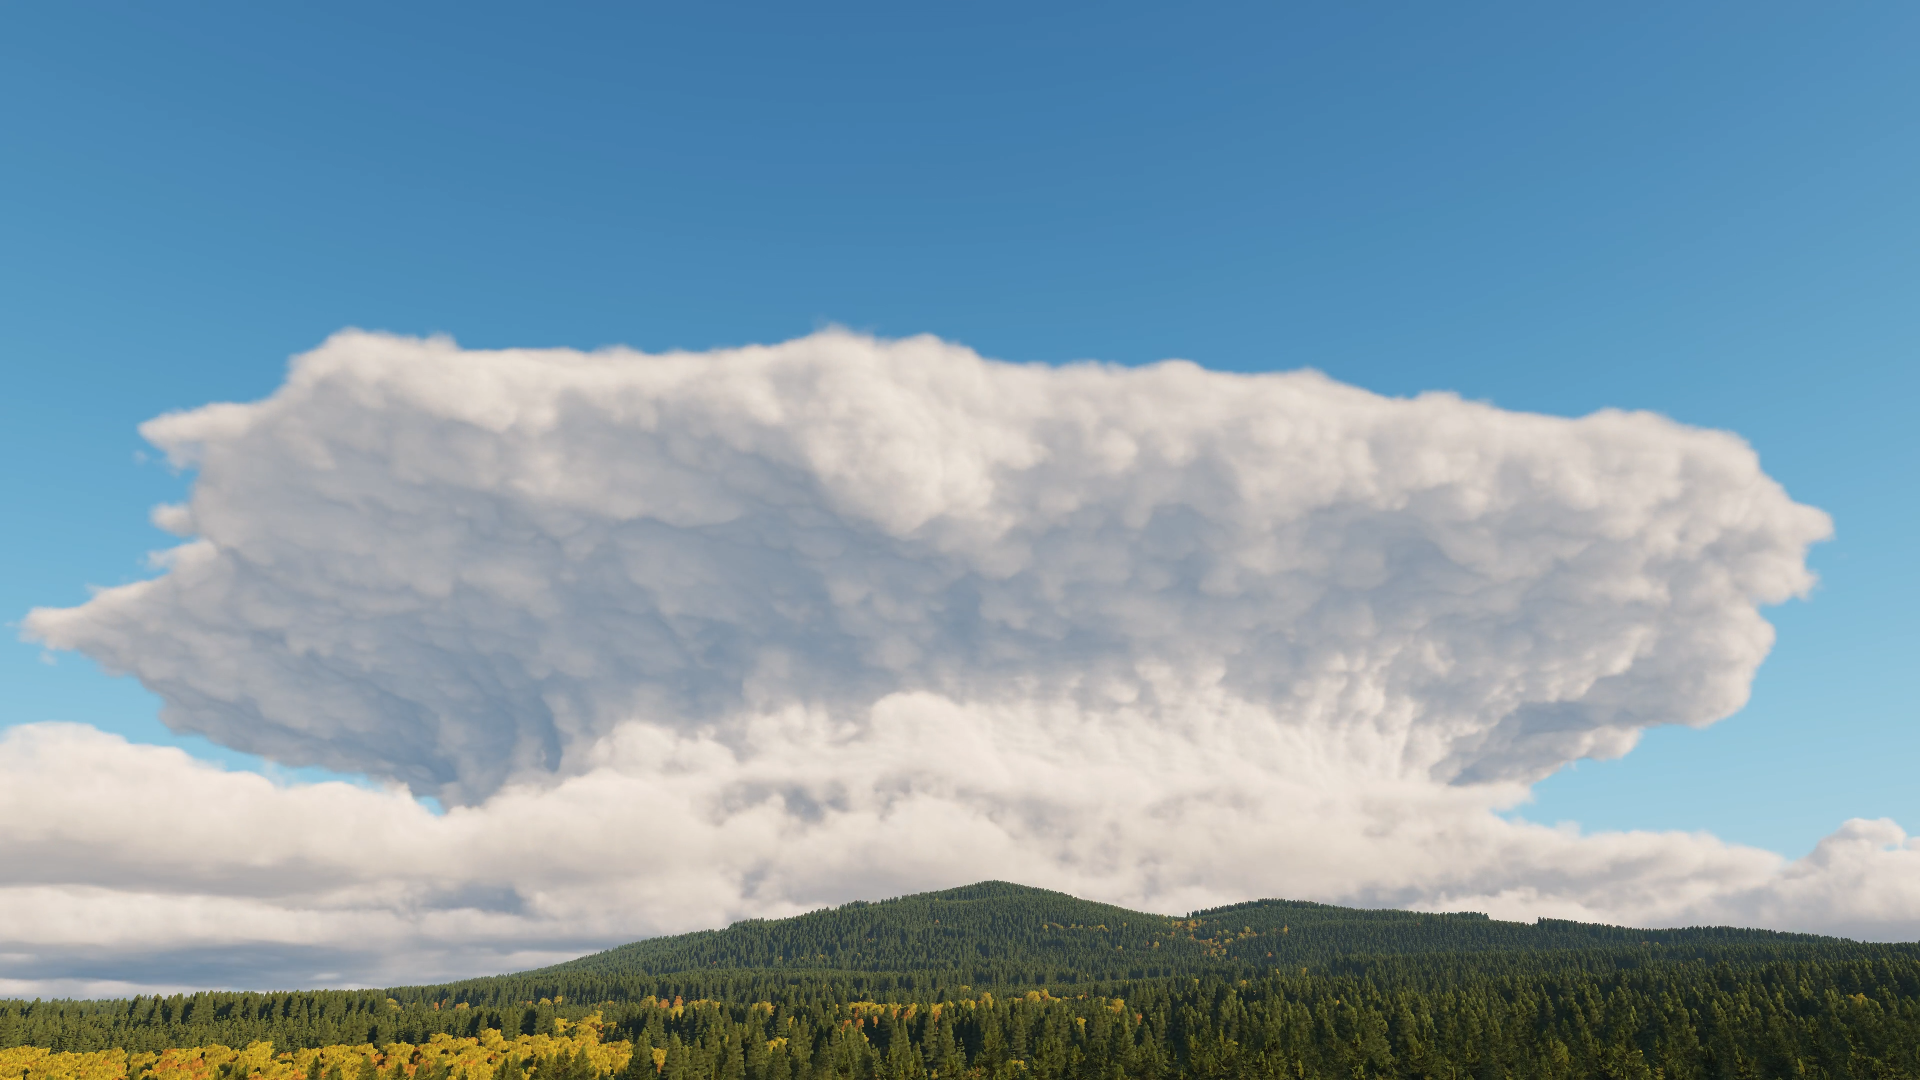
In UNIGINE, you can use the Sky object recreating the atmosphere in the scene. It can represent a hemisphere or a full sphere with a cubemap assigned, tiled with clouds texture to produce plausible and inexpensive dynamic clouds.
Fog#
To simulate fog in Unity software, you are accustomed to use the Other Settings section of the Lighting window when using Forward Rendering Path, and the Deferred Fog feature from the Post Processing package when using Deferred Rendering.
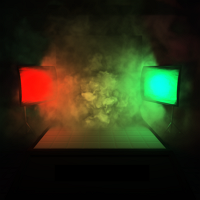
For the same purpose in UNIGINE you can use Environment Haze in the Solid mode or, if the difference between haze and fog is crucial for your project, use Volumetric Objects — they are great for simulating light beams and shafts, fog and shaped clouds.
Global Illumination#
Unity software provides a set of advanced systems that model indirect lighting significantly improving the realistic look of the scene. So does UNIGINE. This section lists Unity GI techniques and ways to get the same or similar results in UNIGINE.
Lightmaps#
Unity software provides path-tracing-based lightmappers enabling to pre-calculate (bake) the brightness of surfaces in a scene and store the result in a light map for later use at run time. It requires non-overlapping UVs with small area and angle errors, and sufficient padding between the charts.
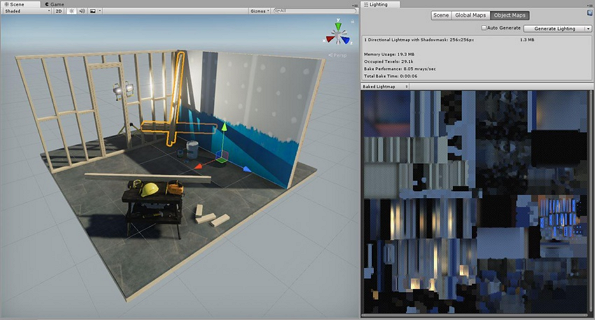
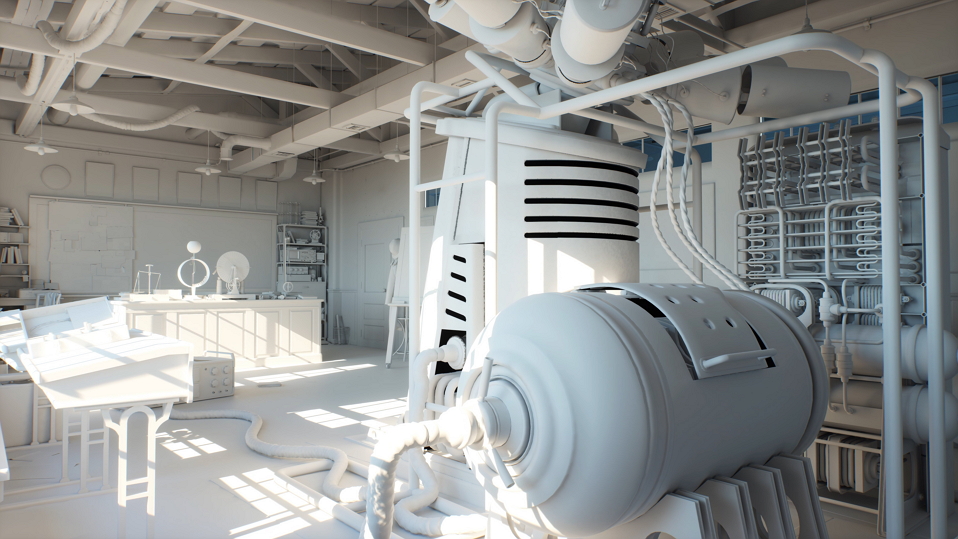
In UNIGINE, lightmaps are also supported and baked using the integrated GPU Lightmapper tool. When importing an FBX-model, you'll be offered to automatically unwrap either of two UV-channels, one of which will be used for lightmaps.
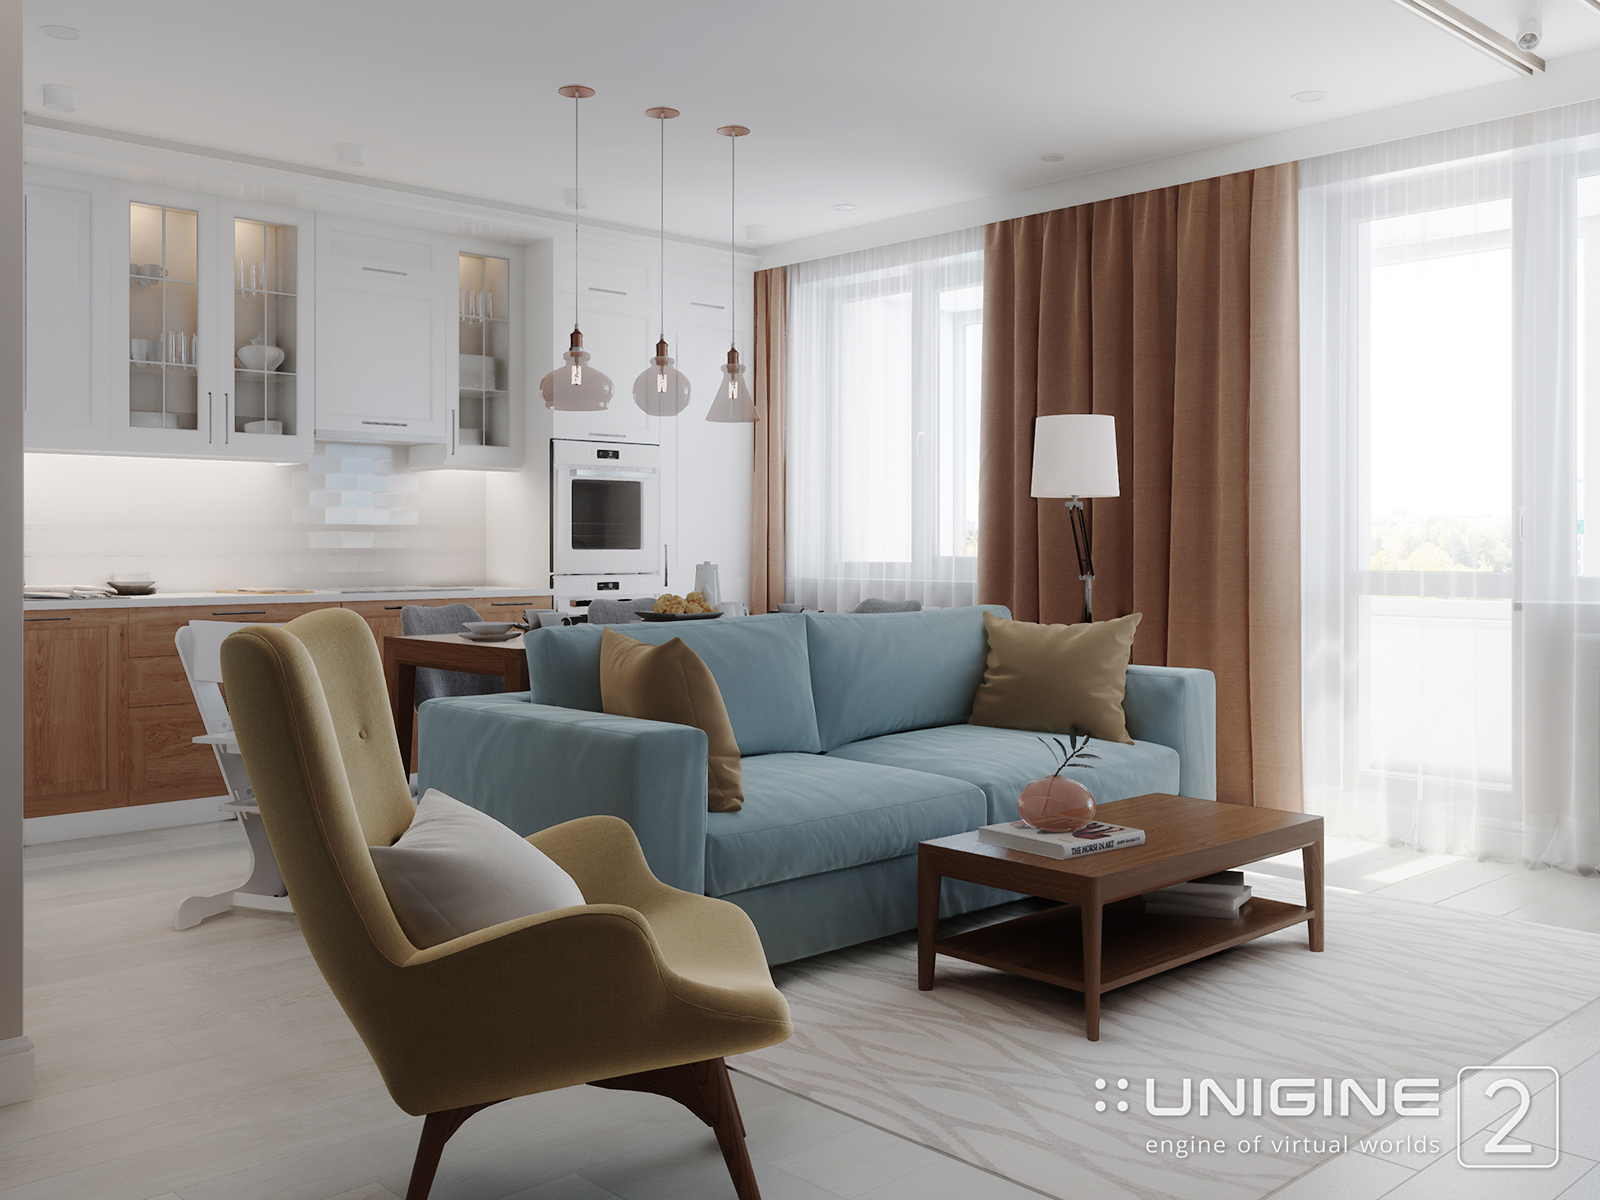
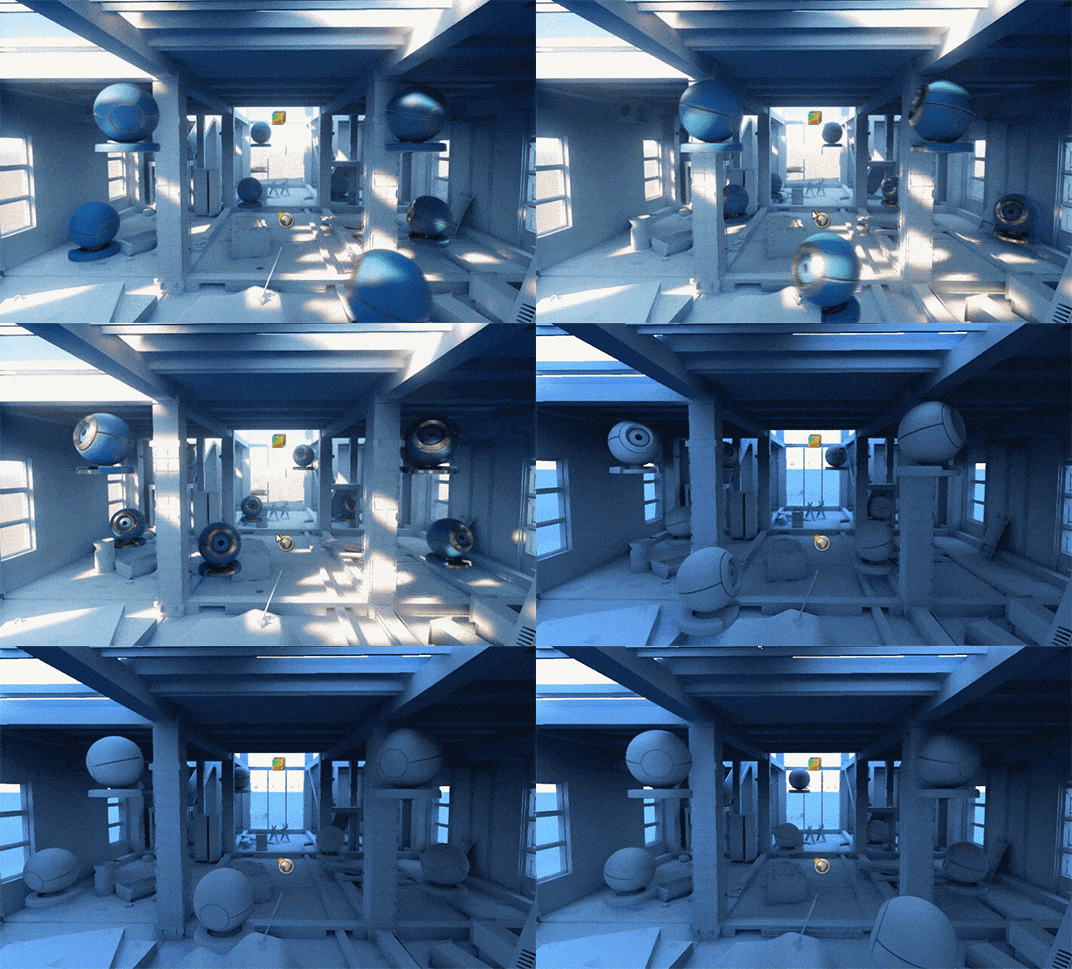
UNIGINE provides another advanced solution for static GI — Voxel-Based Global Illumination provided by Voxel Probes.
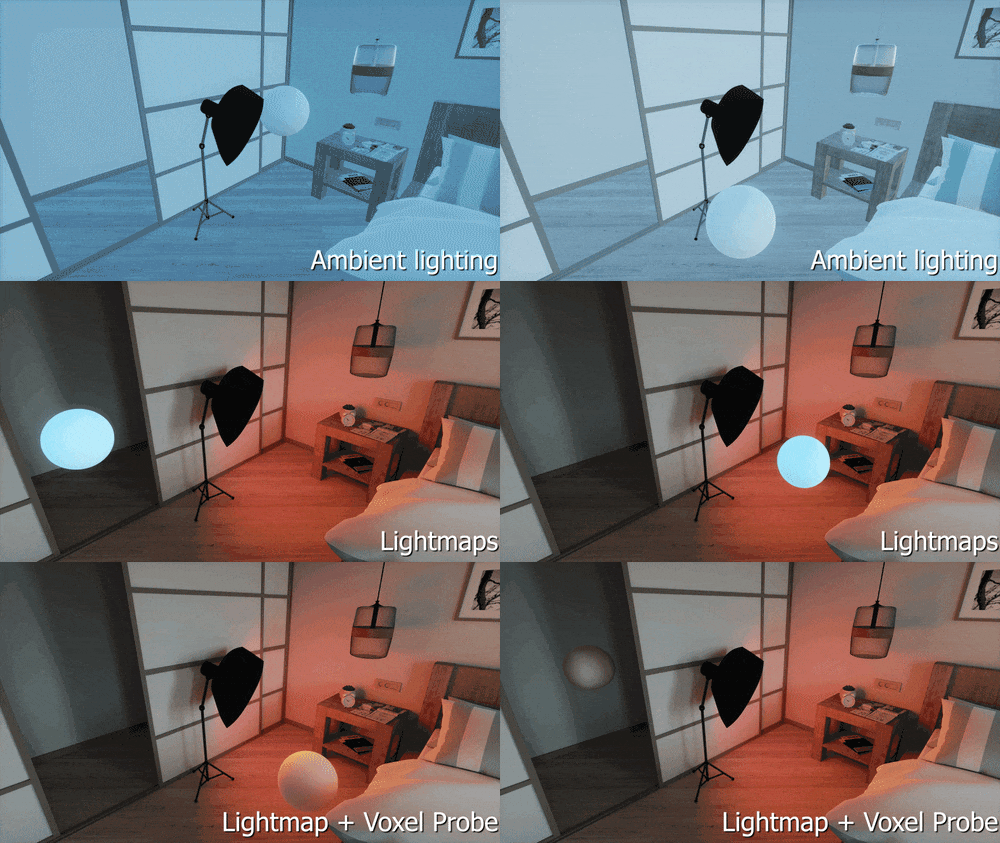
Voxel Probe is a box-shaped volume composed of voxels of fixed size, providing both pre-calculated indirect lighting and diffuse (blurred) reflections. One of advantages of this approach — there is no need in UV coordinates, any geometry will contribute to GI with no issues. Also, this technique illuminates dynamic objects as well and greatly fits with static lightmaps.
Light baking is performed using Bake Lighting tool.
As concerns realtime, Unity real-time lightmaps are mainly useful for lights that are animated at run time. For such cases UNIGINE features the SSRTGI (Screen-Space Ray-Traced Global Illumination) technology enhancing overall connectedness of the scene a lot.
Light Probe#
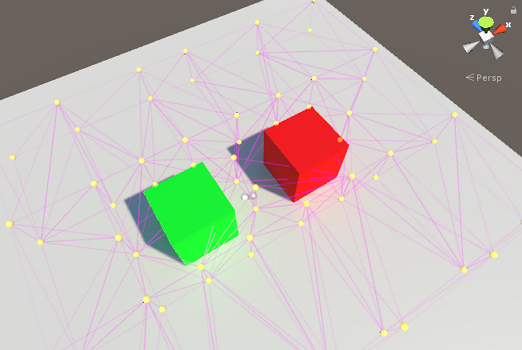
In Unity software, information about light passing through the empty space in the scene is handled by Light Probe. The primary use of Light Probe is to provide high quality lighting (including indirect bounced light) on moving objects in the scene.
In UNIGINE, as told earlier, you can achieve the same result by using Voxel Probe. The Bake Internal Volume parameter enables to choose the quality and time required to bake GI for empty voxels (i.e. the voxels that do not cover any geometry).
Reflection Probe#
An almost complete counterpart for Unity Reflection Probe is Environment Probe. These reflection providers store a cubemap texture to be rendered on reflective surfaces.
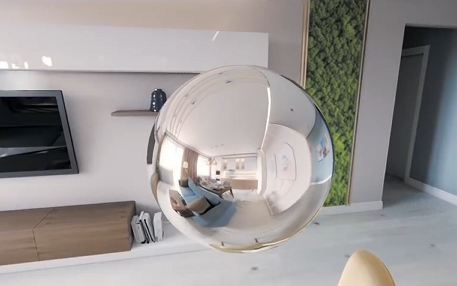
The Static, Realtime and Custom modes are also available for Environment Probe:
Realtime Mode. The cubemap is grabbed each frame providing real time reflections and a massive load on the CPU.
Static Mode. Environment Probe uses a pre-baked cubemap obtained using the Bake Lighting tool. This mode suits mostly static environments.
Custom Mode. The static mode with a custom cubemap texture assigned.
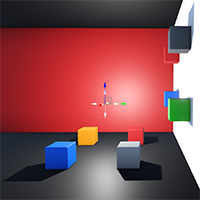
Box projection is supported as well:
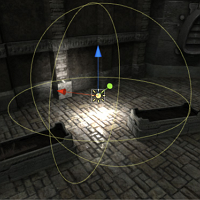
Furthermore, spherical Environment Probe can be subject to the Parallax effect controlled by the corresponding parameter. While the 0 value implies projecting the reflection on an infinitesimally far sphere, the value of 1 corresponds to the actual Probe's bounding sphere taking into account the viewer's perspective.
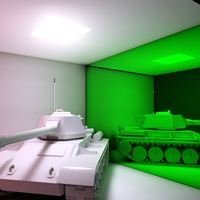
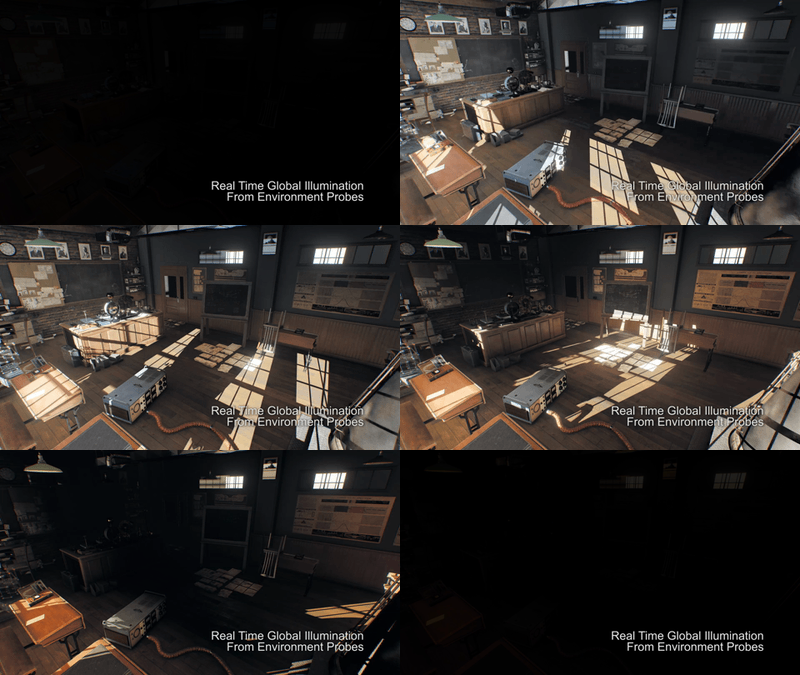
One more application of Environment Probes is simple dynamic global illumination.
Planar Reflection#
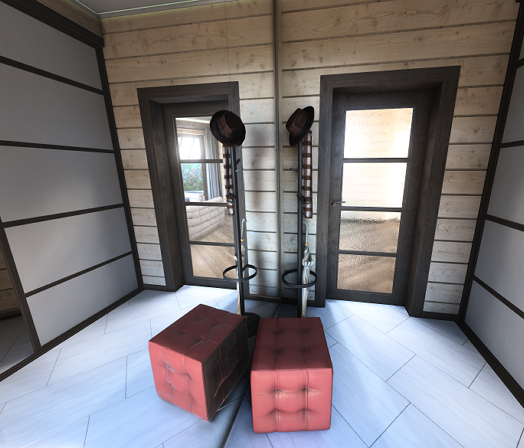
Lately Planar Reflection Probes were added as a part of Unity High Definition Render Pipeline (HDRP). This component is responsible for providing dynamic planar reflections and shares many properties with the conventional Reflection Probe.
In UNIGINE, planar reflections are implemented as Planar Reflection Probe too.
Baked Ambient Occlusion#
Unity GI system is also equipped with Baked Ambient Occlusion, a part of pre-computed illumination which darkens creases, holes and surfaces that are close to each other. Unity Editor supports baking AO out of the box.
UNIGINE has no built-in baking tool for AO, nonetheless, it is possible to apply an additional ambient occlusion texture generated using third-party software in the mesh_base material settings.
Audio and Video#
Audio Sources#
In Unity software, Audio Source components play back Audio Clip assets. There must be an Audio Listener component, usually attached to the main camera by default, to make the sounds audible. The Spatial Blend parameter of the Audio Source component allows controlling the blending between 2D and 3D spatial sound.
In UNIGINE, Sound Source node type is responsible for playing back an audio asset. It provides a surround effect the same way as it does Unity software. There is no such entity as the Unity Audio Listener — all sound sources that appear in the world are audible. While many parameters seem rather familiar to you, such settings as Doppler level, Attenuation (Rolloff) function and other, including Audio Mixer channels, are available only globally in the Sound section of the Settings window.
UNIGINE supports HRTF (Head Related Transfer Function) out of the box, so imitation of surround sound for stereo headsets is close to real life.
Another sound source entity in UNIGINE is Ambient Source used to create a non-directional ambient background sound (e.g. background music). It has no position in the world and, therefore, can't be represented as a node. So it is available only via API.
Reverberation Zones#
Just like Reverb Zone in Unity software, UNIGINE's Sound Reverb nodes represent reverberation zones where ambient sound effect appears provided the player is within the zone. With fine-tuned parameters a reverberation zone correctly reproduces the way the sound is reflected from surfaces, forming three main components:
- Early reflections
- Late reverberation
- Echo
Besides that, a number of parameters can be changed to alter the type of environment being simulated. A number of presets may help you to quickly choose the most suitable type of environment to simulate:

By adjusting the Threshold parameter you can enable smooth sound transition when the listener moves from the outside area into the reverberation zone.
Video Player
Unity software provides an advanced Video Player component capable of rendering videoclips of various formats to textures and other targets.
In UNIGINE, video playback is supported only in a virtual monitor as a part of GUI system. Currently only *.OGV files are supported.
Built-in Optimization#
Texture Streaming#
Unity software provides mipmap-based Texture Streaming. This system reduces the total amount of memory Unity software needs for textures by loading only the mipmaps that are needed to render the current camera position in the scene.
The Texture Streaming settings are provided in Unity Quality Settings.

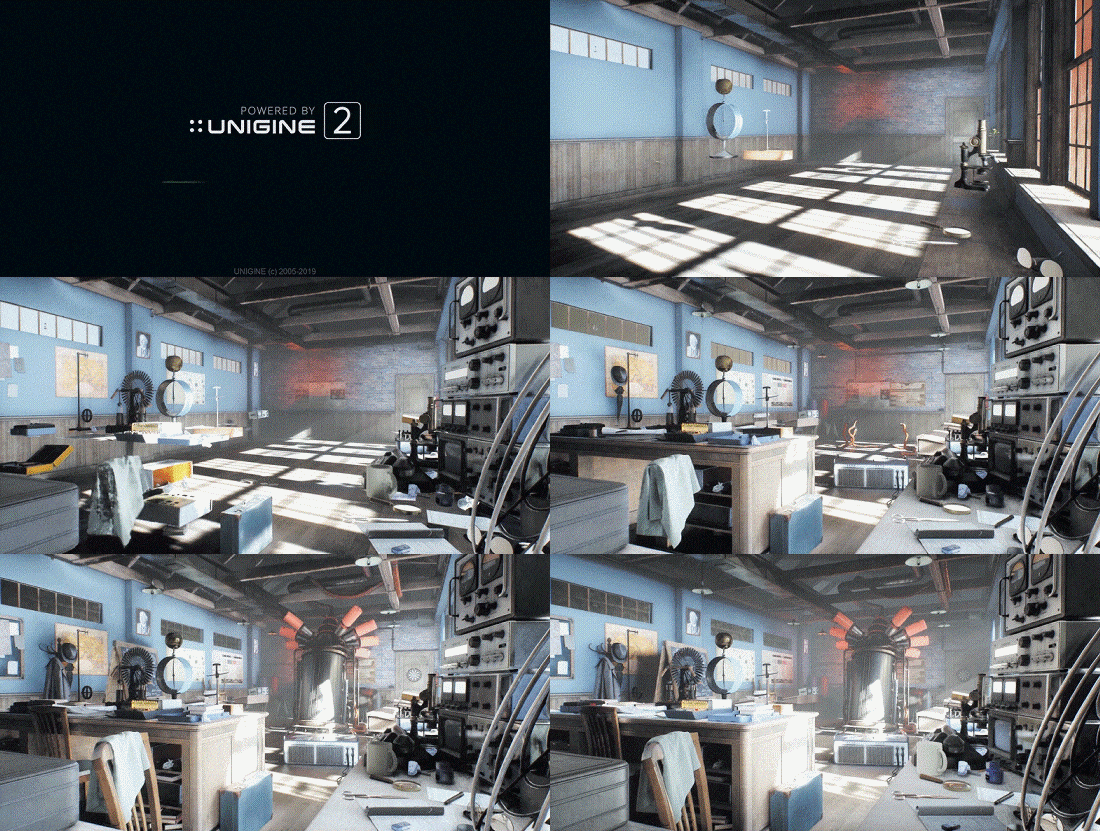
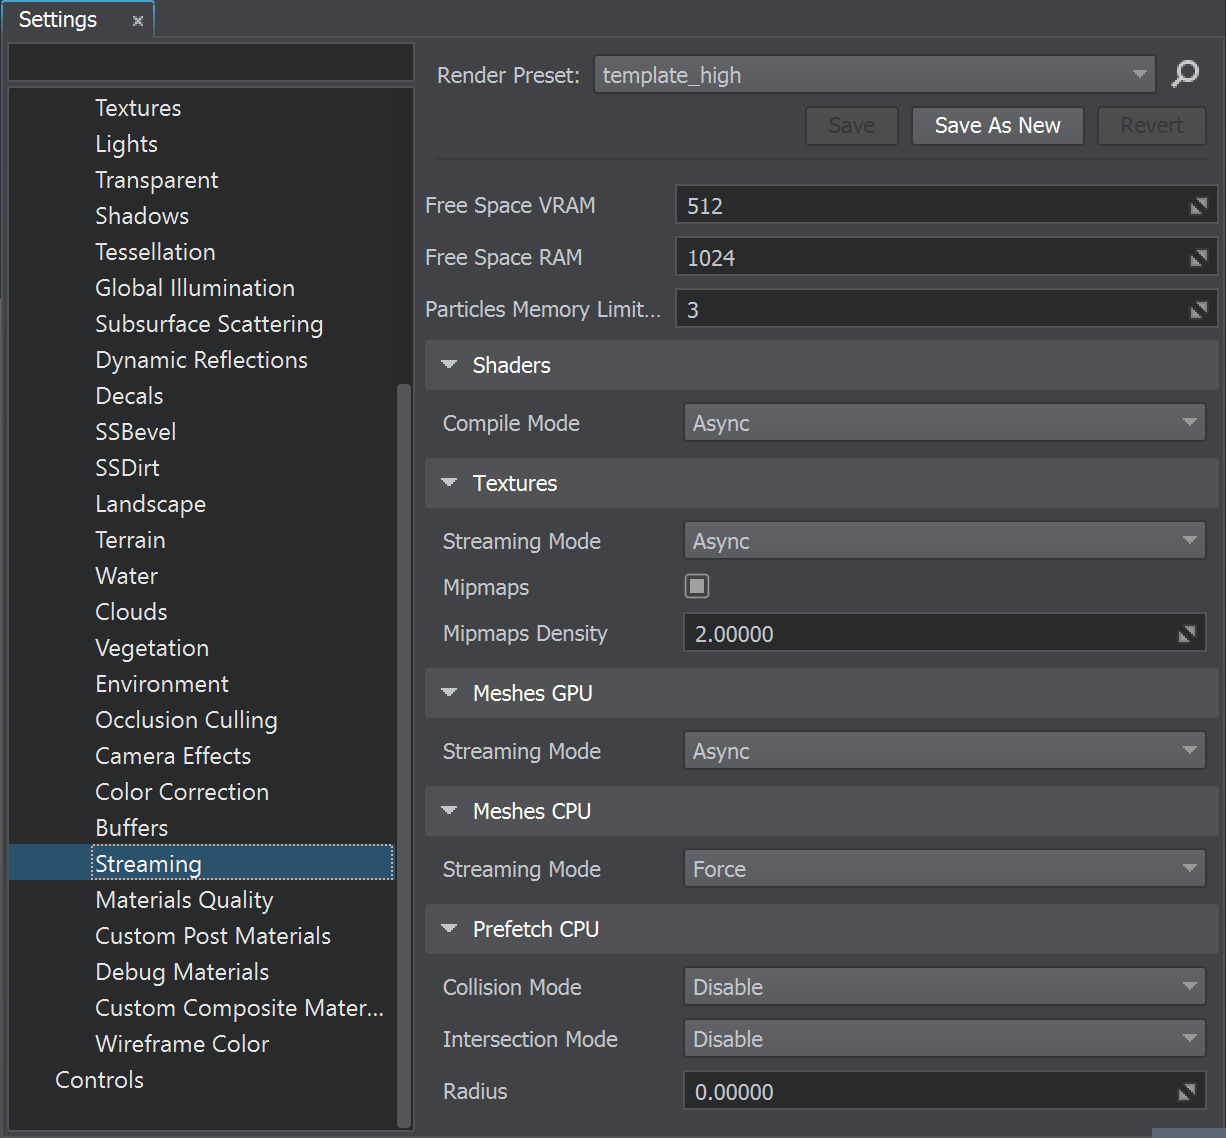
In UNIGINE, textures streaming is a part of the advanced Asynchronous Data Streaming system. This system is intended to reduce spikes caused by loading of graphic resources, such as meshes and textures. Only the resources that are required to render the current camera view are loaded; and unloaded as soon as other resources require to be loaded to video memory in order not to exceed the specified memory limits. Uploading is time-sliced so as to avoid spikes when the world is just loaded.
Settings for fine adjustment are available in the Streaming section of the Settings window:
Asynchronous Texture Upload#
Unity Asynchronous Texture Upload technique enables time-sliced upload of texture data to GPU.
UNIGINE's Asynchronous Data Streaming system also provides Texture Streaming with an option to load texture mipmaps. When mipmaps loading is enabled, the textures that are not currently in use are unloaded.
Occlusion Culling#
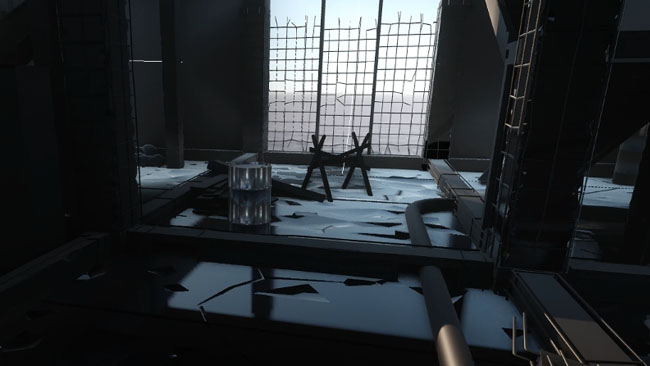
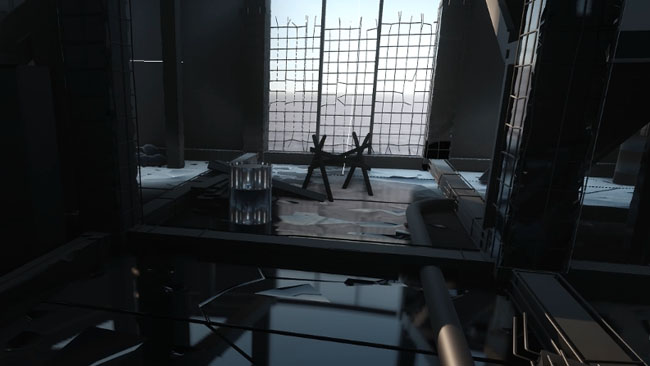
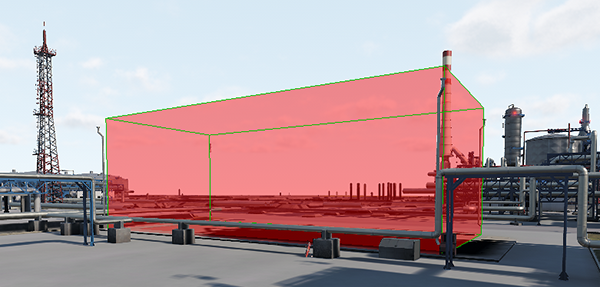
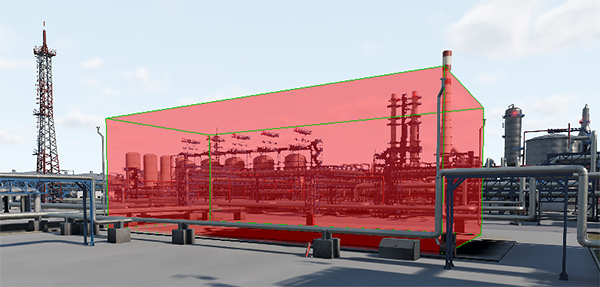
In Unity Editor you can bake static GameObject with the Static Occluder flag enabled into View Volumes for Occlusion Culling to define the geometry that will block the GameObjects with the Static Occludee enabled from rendering. This technique extremely reduces the number of polygons rendered.
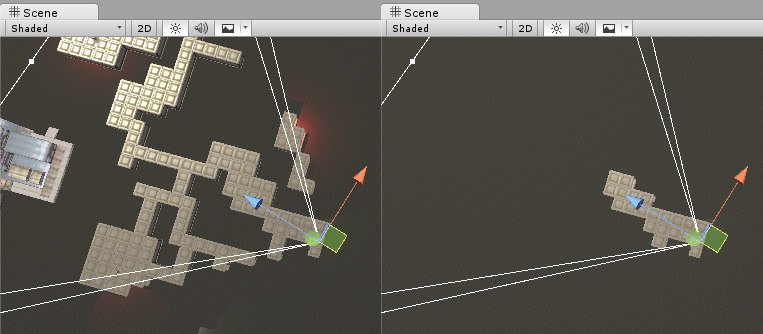
Also, it is normal for you, as a Unity user, to define View Volumes using Occlusion Areas and use Occlusion Portals to represent GameObjects that can be both open and closed in terms of blocking the sight, such as doors.
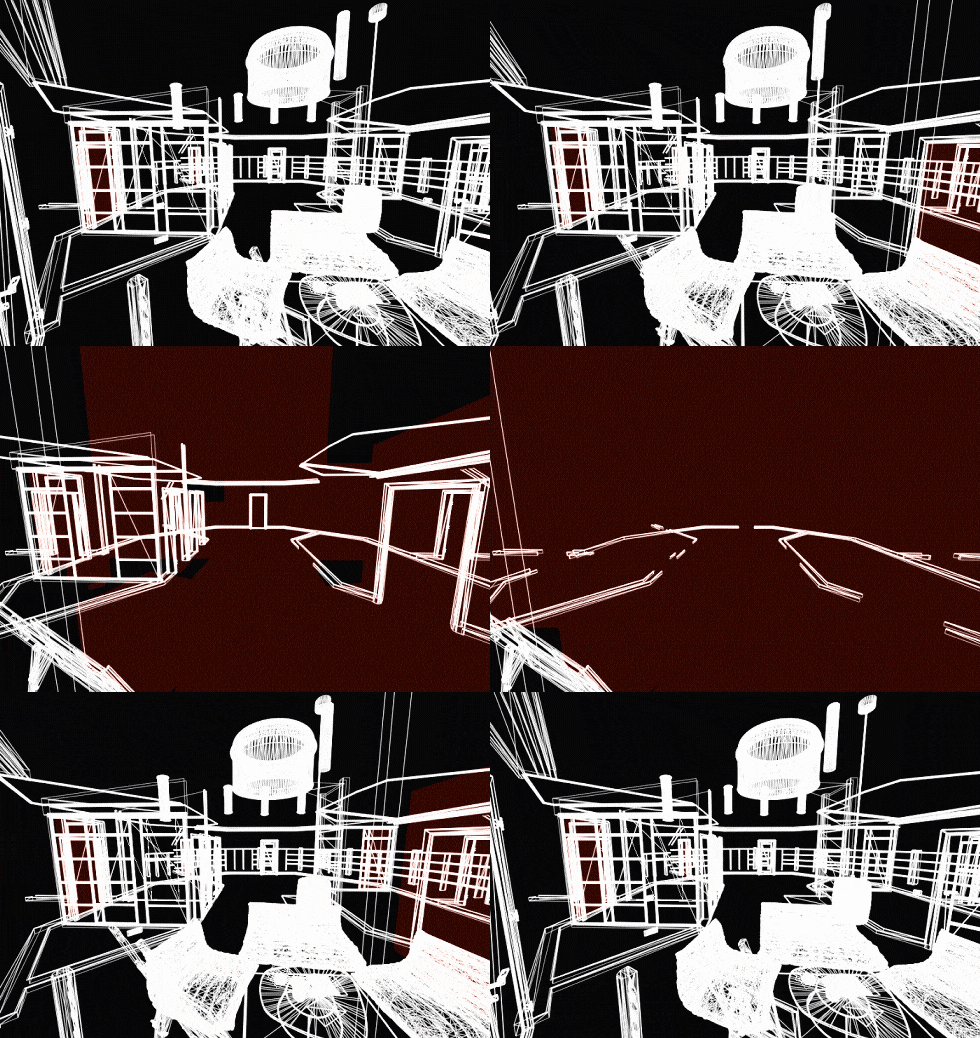
In UNIGINE, Occlusion Culling technique is represented by two methods:
-
Occluder. Use box-shaped and mesh-based objects culling geometry occluded by them.
-
Hardware Occlusion Queries technique allows skipping rendering of objects, the bounding boxes of which are covered by another opaque geometry.
Draw Call Batching#
Draw call batching in Unity software is a way to reduce the number of draw calls by combining static GameObjects sharing the same material into big meshes. In order to take advantage of static batching, one needs to enable the Batching Static flag of GameObject:

As well as Unity software, UNIGINE performs Draw call batching: all opaque surfaces are automatically grouped and rendered in batches according to materials assigned, thus decreasing the number of DIP calls and, therefore, increasing the performance. This is why sometimes it is reasonable to create Texture Atlases, so even objects using different textures could share the same material in order to be subject to batching.
UNIGINE provides additional objects to take full advantage of mesh batching:
-
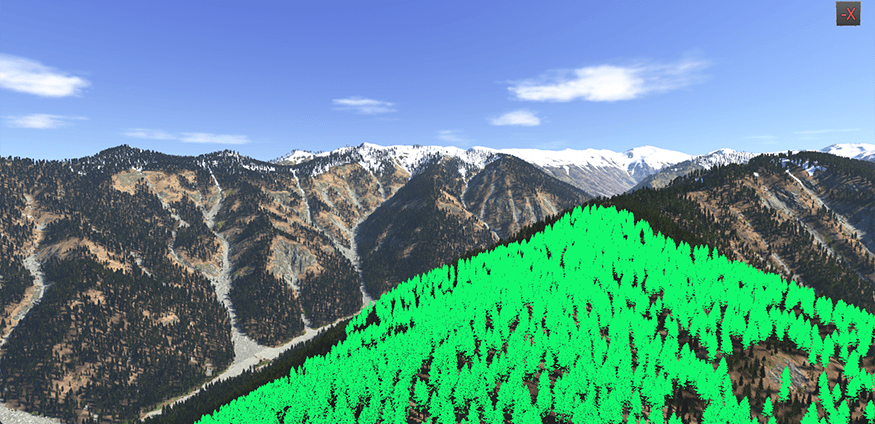
Mesh Clutter is an object used to scatter a large number of identical meshes across the world. It is suitable for simulating vegetation a lot while keeping performance high.
-
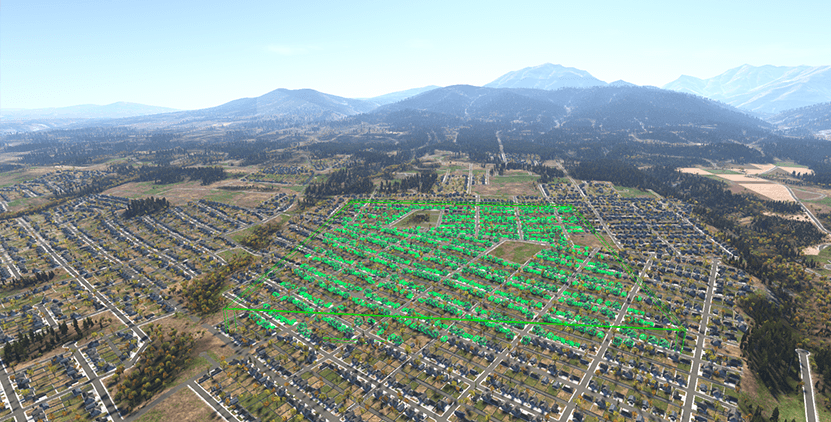
Mesh Cluster is an object that can contain a great number of identical meshes with the same material, which are managed as one object. Cluster meshes can be scattered either automatically, or each mesh can be positioned, rotated, and scaled manually.
Follow the Working with Large Number of Objects article for more details on using these objects.
Billboards#
In Unity software, you use Billboard Asset — a collection of pre-rendered images of a more complicated Mesh intended for use with the Billboard Renderer component — to replace the complex 3D mesh with a 2D billboard representation at some distance from the camera, thus reducing the load on GPU.
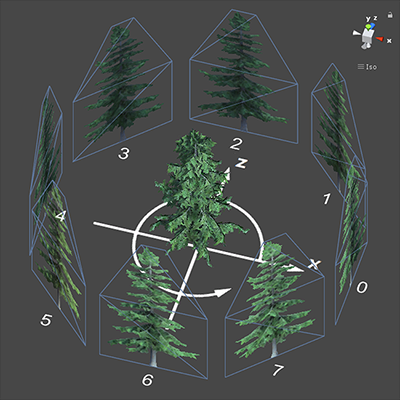
The most common way to generate Billboard Asset is to use a third-party software or create Billboard Asset from script.
UNIGINE provides support for Billboards as well. In UNIGINE, a Billboard is a rectangular flat object that always faces the camera so it is capable of representing some flat effects and objects that are barely seen from far off.
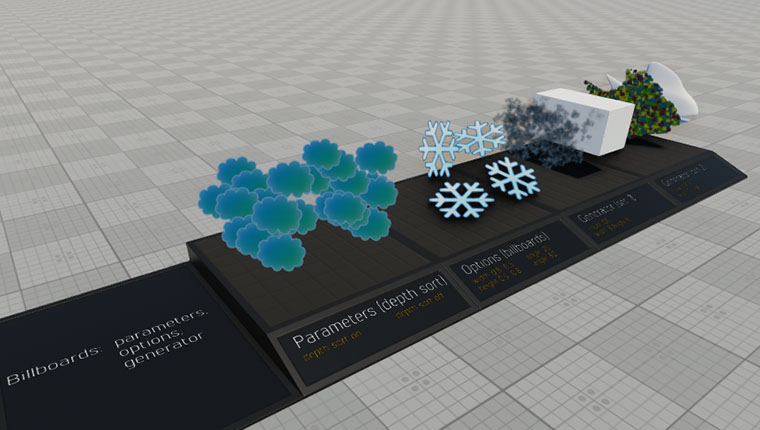
You can generate a billboard-based Impostor using the Impostors Creator. This out-of-the-box tool creates a series of snapshots of the object while saving shading fidelity and combines them in a single Billboard object. Now you can use the impostor object as the lowest LOD for the mesh at a distance.
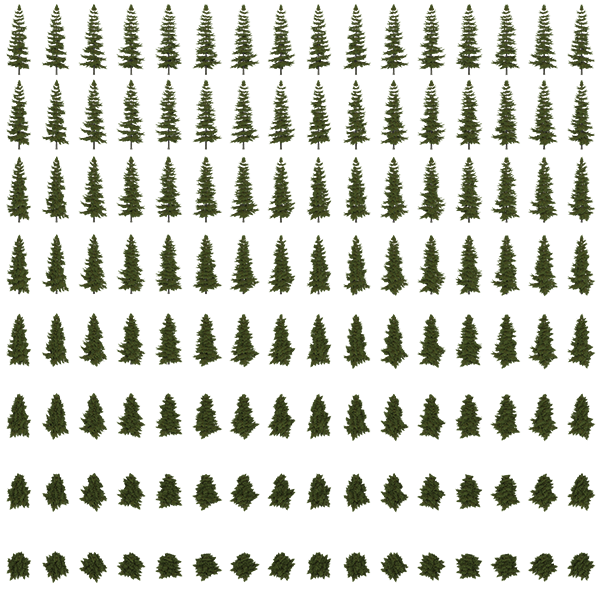 |
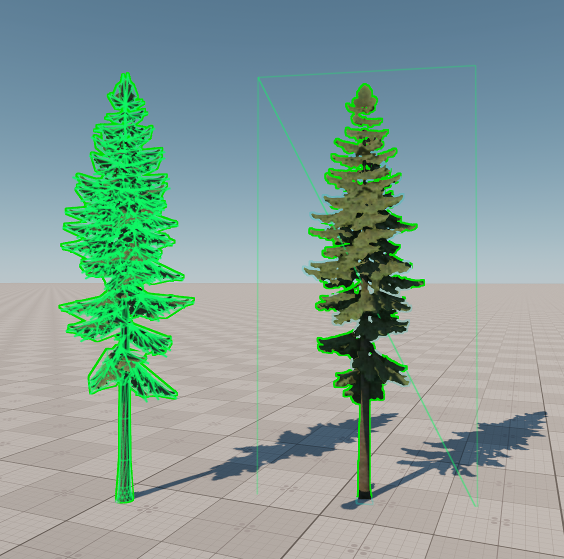 |
Impostor albedo texture |
Object and Impostor wireframes |
Tags and Layers#
In Unity Editor you are accustomed to assign Tags to GameObjects for user-defined classification of them. You also use Layers to define groups of GameObjects to be unapproachable by light sources and cameras, as well as for selective raycasting and collisions.
 |
 |
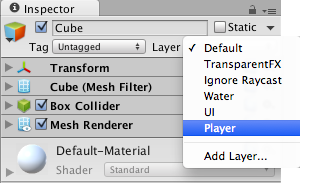 |
In UNIGINE, a high level of abstraction is omitted, both these systems are represented by the Bit Masking mechanism. Objects, cameras, materials and other entities have bit masks used by various effects and features to define their scope. Each bit in a bit mask can be named for convenience.
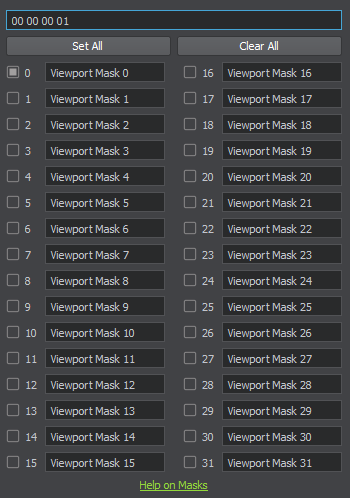
The masks are compared bitwise using logical conjunction, so if two masks have at least one matching bit enabled, they match and, therefore, the entity is subject to the effect.
For instance, you can filter out certain objects (e.g. tooltips) for reflections by adjusting the Reflection Viewport Masks:
For more details and usage examples:
- Proceed to the Bit Masking article.
- Watch the dedicated video tutorial.
Optimization Tools#
All runtime spikes, bottlenecks and performance issues can be tracked using the built-in optimization tools:
-
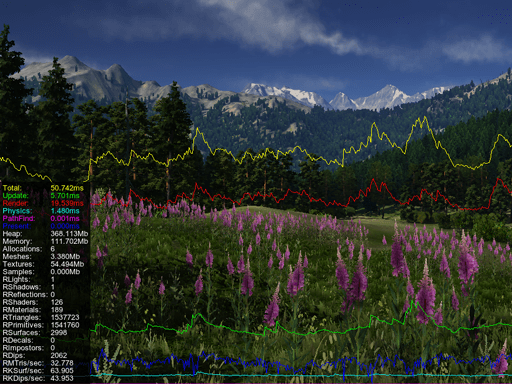
Performance Profiler, an analog for Unity Profiler tool, displays performance data in a timeline in several modes.
-
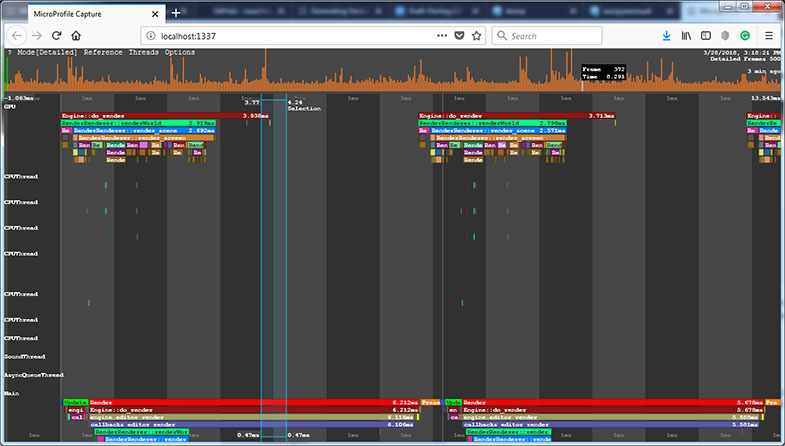
Microprofile, an advanced CPU/GPU profiler with support for per-frame inspection.
-
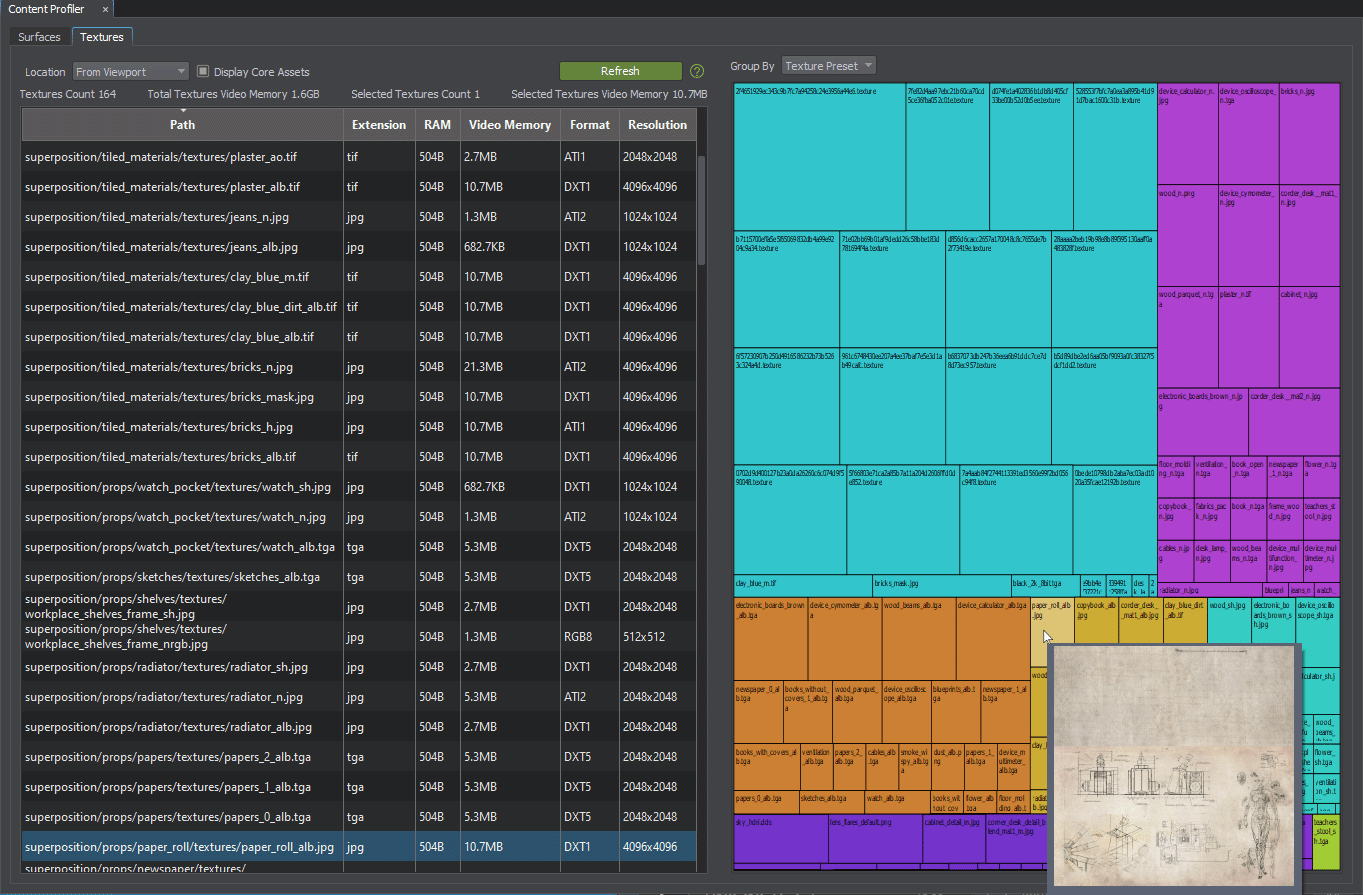
Content Profiler — a tool helping to optimize texture assets and monitor the content surface-related settings.
See Also#
- Content Optimization section
The information on this page is valid for UNIGINE 2.19 SDK.
