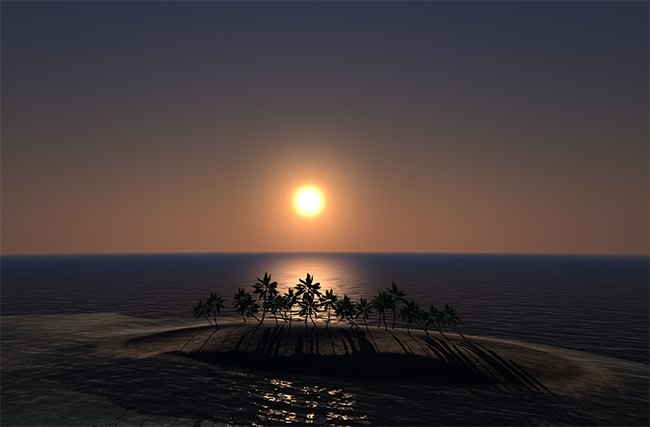
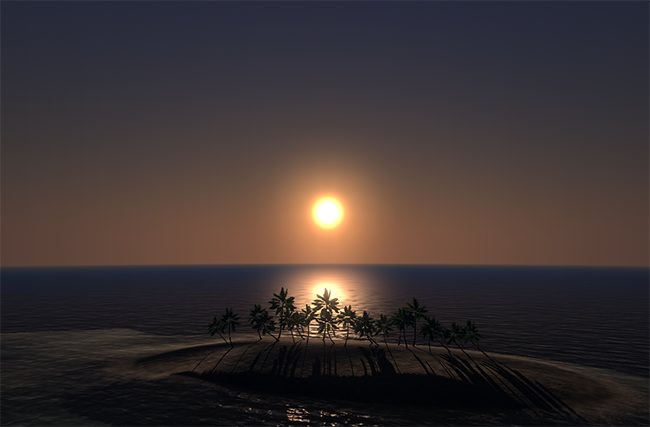
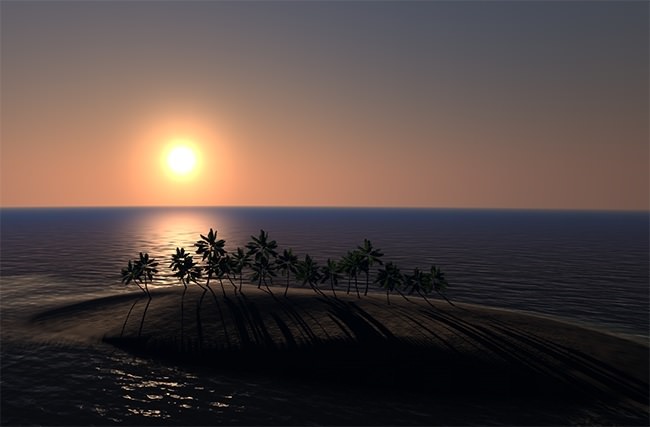
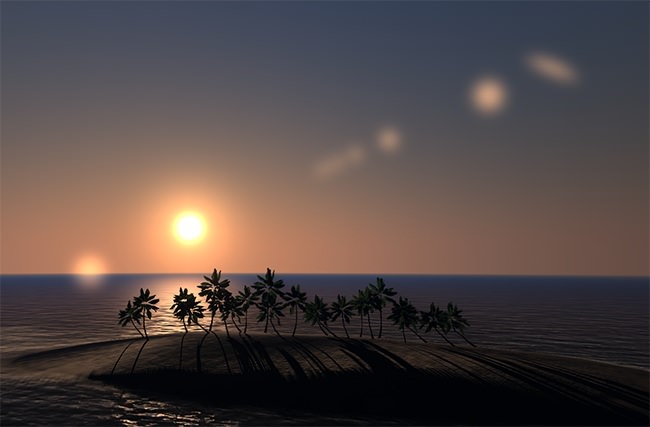
Adding Sun, Sky and Clouds
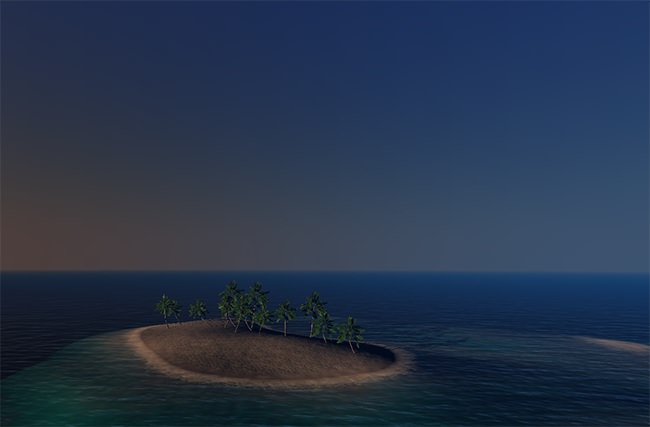
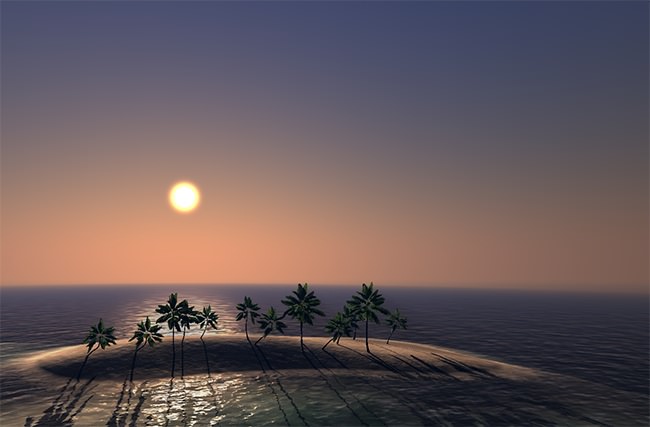
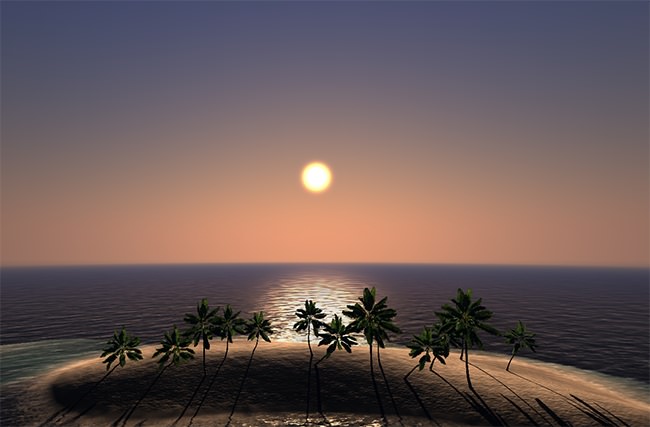
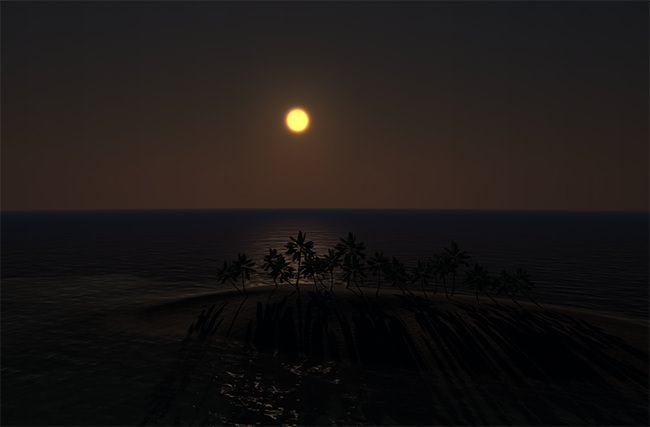
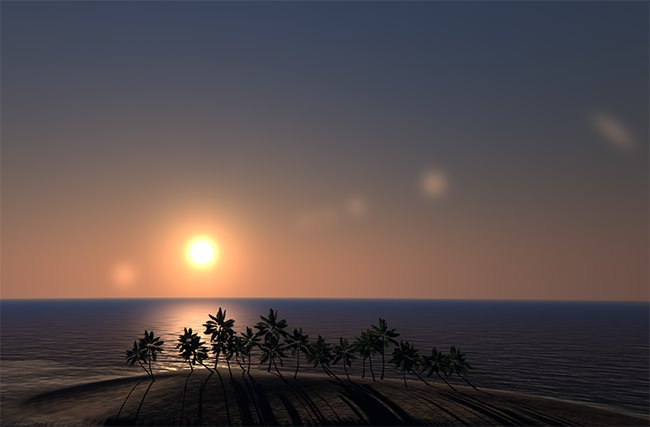
Learn how to modify the outdoor lightning and create the cloudy sky. After passing this tutorial you will be skilled enough to simulate any atmospheric conditions, even ones on Mars.
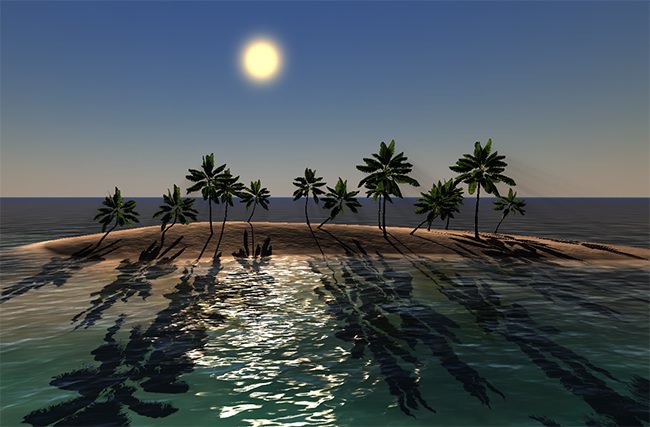
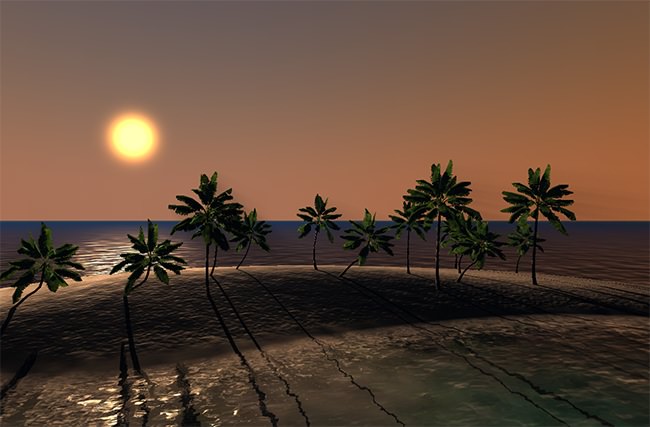
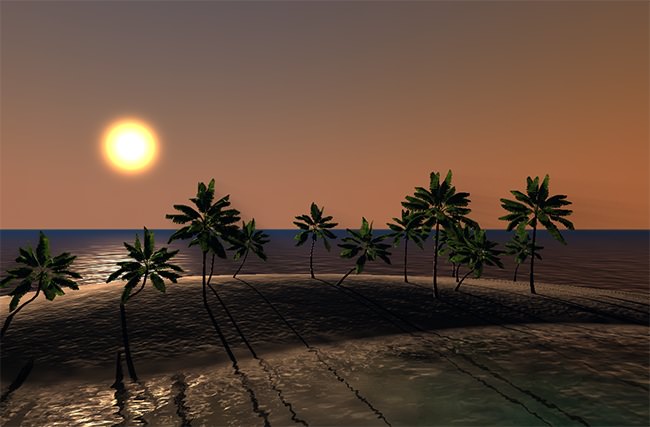
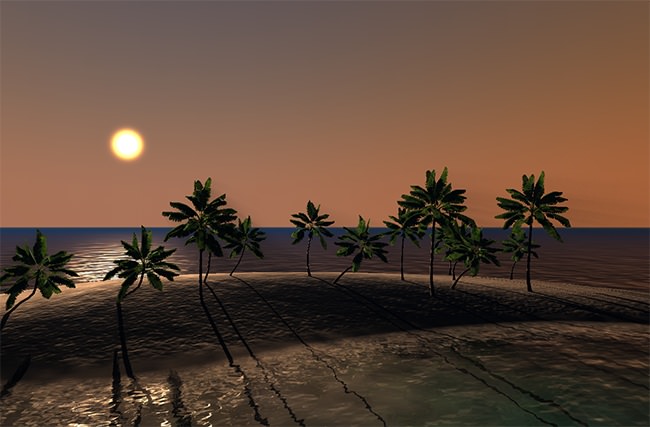
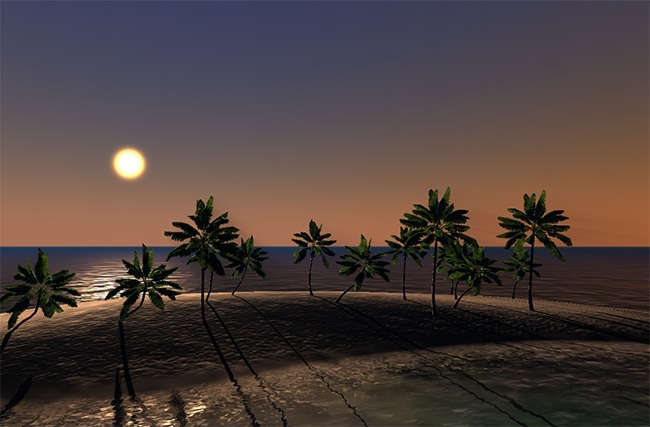
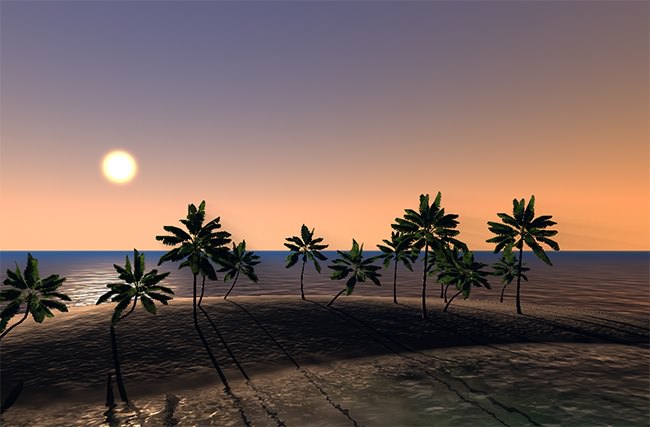
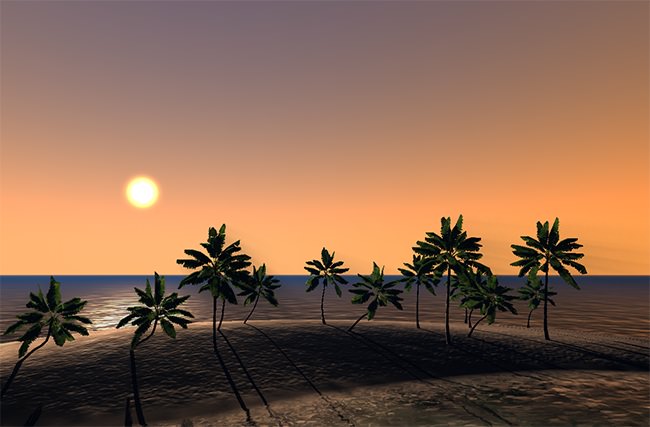
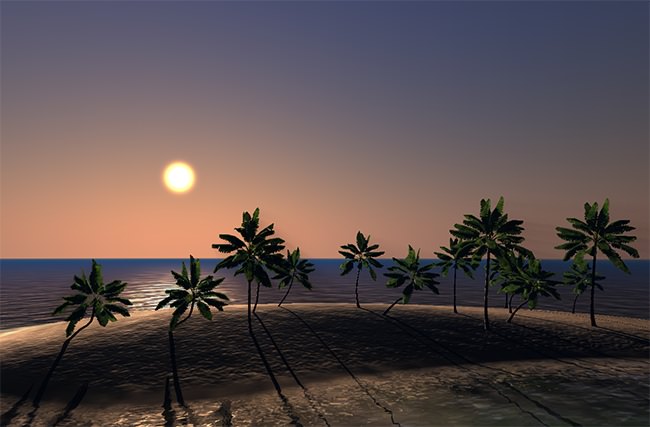
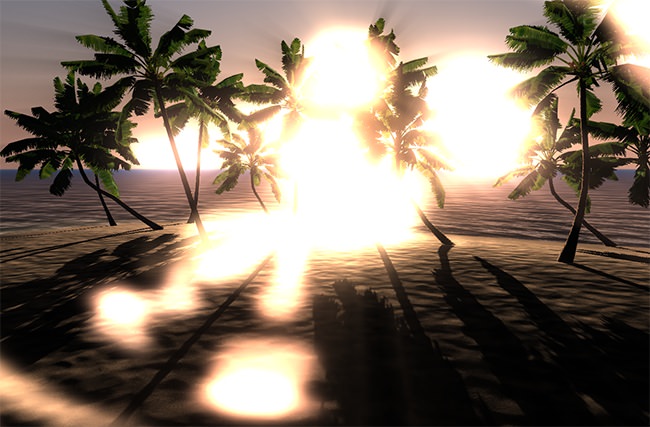
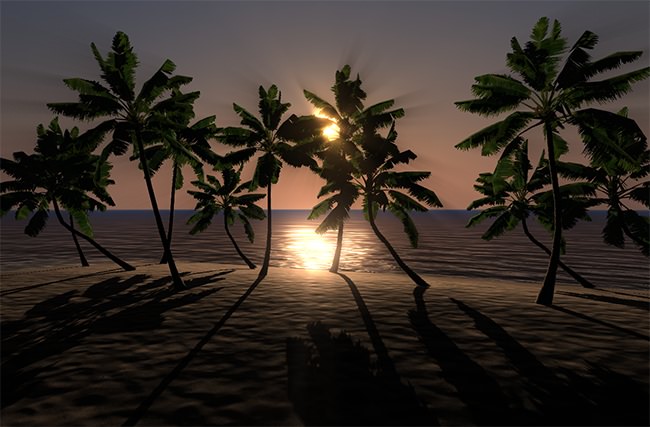
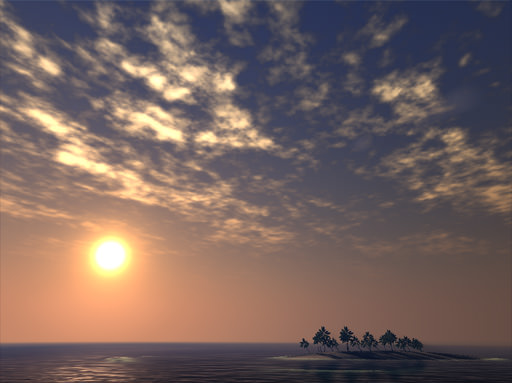
At first, we are going to make the sky looking like a sunny midday. Then we will tweak it to create the evening colors and add an HDR effect to make the light look blazing. To top it off, we will add the sky with the moving clouds into our scene. Besides, you are going to find out how to give an aerial perspective to the scene.
This tutorial uses the Tropics demo environment.

Step 1. Preparation
- All manipulations require the editor to be running.
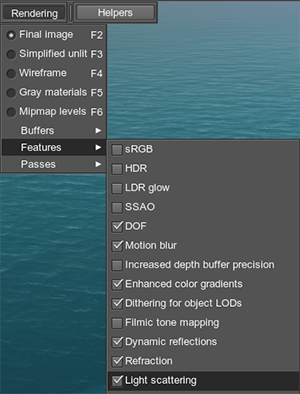
- In the Rendering -> Features menu:
- Make sure that the Light scattering box is checked.
- Disable the HDR option for now to avoid overexposure during the first steps.
- In the Camera panel, press the Camera Settings button. The Camera Settings window will be opened.
The far clipping plane drastically influences light scattering, so it should be of the recommended value: 10000 units.
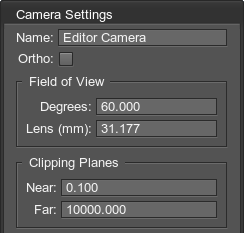 WarningIf the camera clipping settings are different in the editor and in the world, it causes different scattering colors.
Step 2. Modifying Sun Parameters
Now you are going to learn how to deal with the lighting settings. For it, you will need to modify the sun node.
-
Press N to go to the Node Settings -> sun node -> Light tab. Set the Multiplier to 1.5, so the lighting will be brighter.
- Click on the Color field to change the light color used to illuminate objects in the world. Set the color values as shown at the picture:
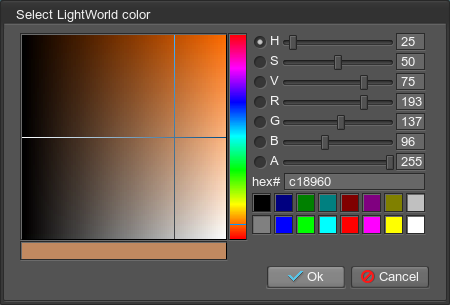
Click Ok to close the dialog window.

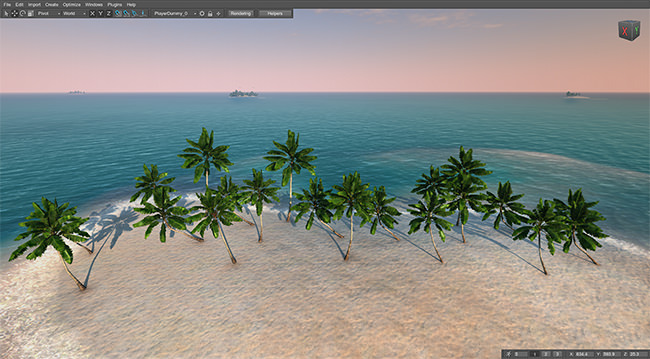
The result should be the following:
- Now let's deal with the shadows provided by the world light. Press R to go to the Windows -> Rendering Settings -> Common tab. Here, specify the distance, up to which shadows from all of the sources will be rendered. In our case, let's set it to 1200.
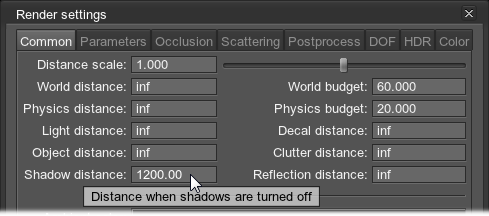
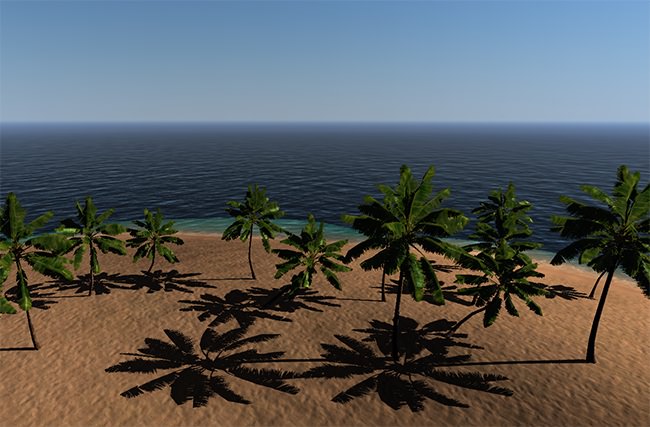
As a result, the shadows are of better quality:
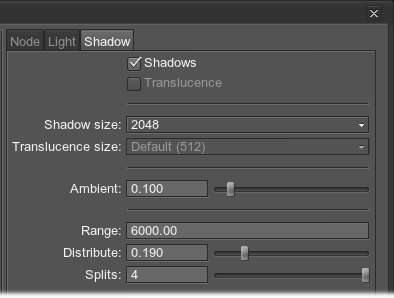
- Further adjustments are done on light source basis. Once again go to the Nodes settings -> sun node -> Shadow tab:
- Set the size of the shadow map (Shadow size) to 2048, so that palm leaves cast nicely refined shadows
- Setting Ambient to 0.1 lightens them a bit
- Distribute the shadow splits with the value of 0.19. It means that the splits are narrower, and owing to that, are of higher quality compared to default setting. For more details, see PSSM article
 NoticeTo visualize the current splits distribution, press T to go to the Tools settings -> Show tab -> Render splits box.
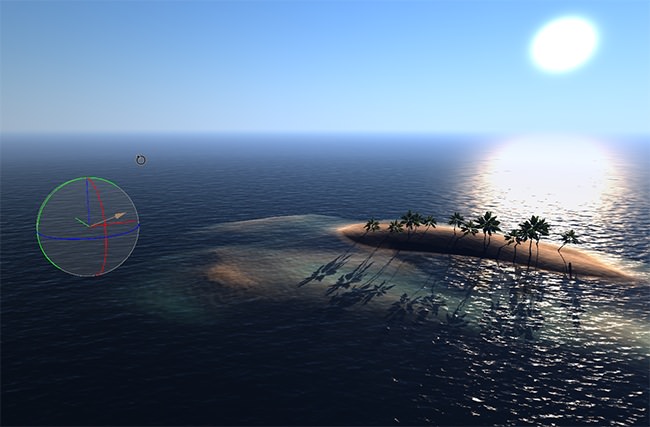
 - To lower the sun closer to the horizon and change the angle of the light incidence, press C (see the list of controls), or click Rotate object button on the editor panel.

- Rotate the light source by dragging the axes rims:
- Red for X axis
- Green for Y axis
- Blue for Z axis
Step 4. Setup Light Scattering
Light scattering allows to recreate the sunlight color based on the time of the day, brightness and color gradient of the sky, as well as realistically attenuate objects with the distance. Tweaking the settings, you can render various atmospheres — sunrises and sunsets from the ground up as we see them every day, troposphere as seen form an airplane, outer space or colorful fantasy world skies.
- Press R to open Render settings, or choose the relevant button on the editor interface panel.

- Click on the Background color.
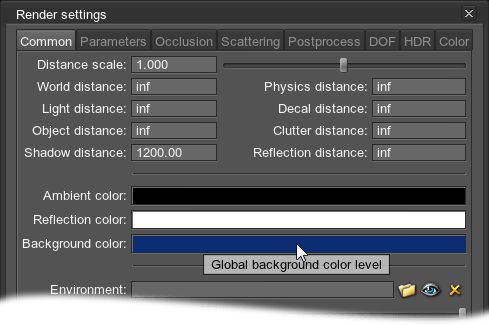
- For the sky colors to be richer and preserve the blue undertone, set the blue background color.
Click Ok.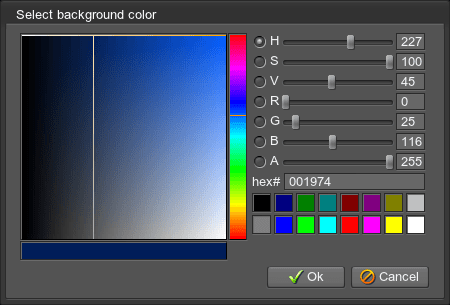
- Now go to the Scattering tab. Scattering settings are common for all the world light sources.
- Click the Earth button to change the values to default ones. This will be the starting point for adjusting.
- Set the Energy of the sunlight to 10.
- Set the Mie scattering intensity to 0.1. Mie scattering deals with particles that create haze and are concentrated mainly near the horizon and round the sun.
- Color of the rest of the sky and of distance-dependent attenuation for objects is defined by Rayleigh scattering for small particles and molecules. For correct scattering it should be of higher value then Mie.
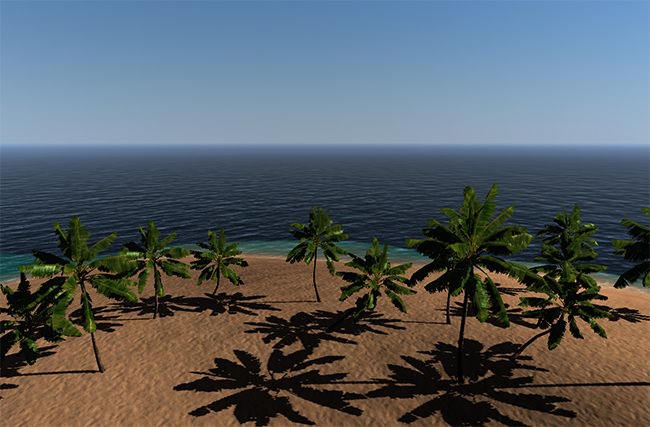
As a result, we get the colors of the midday sky.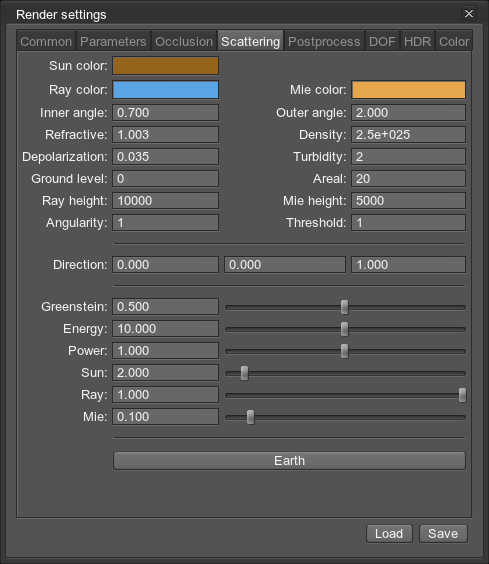
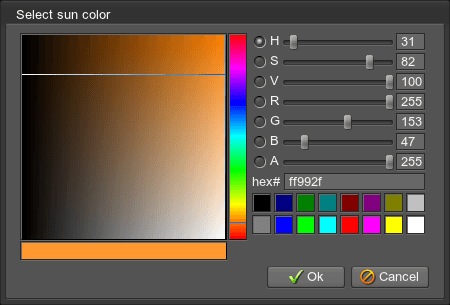
- Now let's move on to creating the sunset. Make the Sun color brighter:
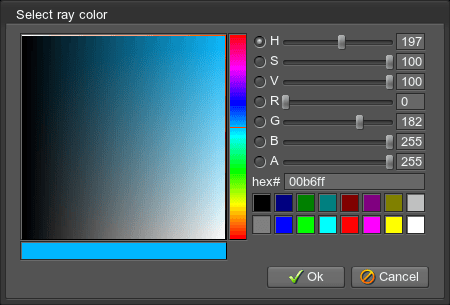
- Ray color for Rayleigh scattering should be more intense.
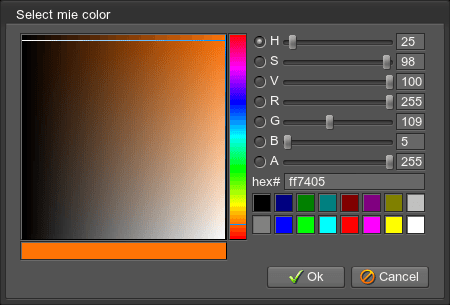
- Mie color should also be made of more distinct orange hue.
- Change the amount of Mie and Rayleigh scattering:
- Set the Sun value to 4, making the solar disk brighter.
- With the Outer angle value set to 1, the sun disk becomes smaller. It will be compensated by HDR.
- For the scattering gradient to be more colorful, with larger and darker blue area on top, set Aerial to 40.
- The current sky is too dark for the sunset, especially if we enable HDR mode. Increase the Energy of the sunlight to 17.
- Increase Turbidity up to 2.4 so that there is more haze particles in the atmosphere and Mie scattering is more prominent.
- However, the colors are too orange tinted. Set Greenstein to 0.8, for Mie scattering to be more concentrated. On the other side of the sunset the sky becomes naturally bluish:
- The horizon line is definitely too blue. Now it's time to adjust it. Setting Threshold to 3 allows to attenuate objects that are closer to the camera with Mie scattering.
- The palms still appear to be over-attenuated and bluish. Slightly increasing Power up to 1.3 allows not to attenuate (by both Mie and Rayleigh scattering) objects that are too close to the camera.
Step 5. Setup HDR
- Press Esc to go to the Main menu -> Render and enable HDR. Click Apply.
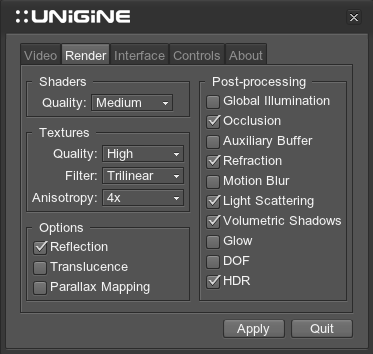 NoticeWhat we've got for now is:With HDR enabled, the Ambient color shouldn't be precisely equal to 0. Otherwise, completely dark areas will be overexposed and the contrast of the whole image will be too high.
 - Go to the Render -> Scaterring tab and decrease Sun value to 2.
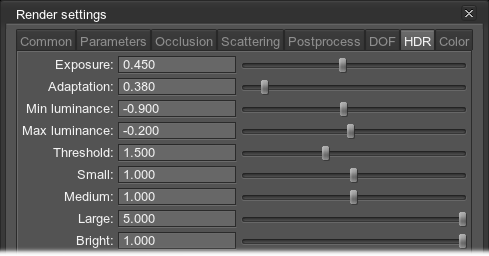
- Press R and go to Render settings -> HDR tab.
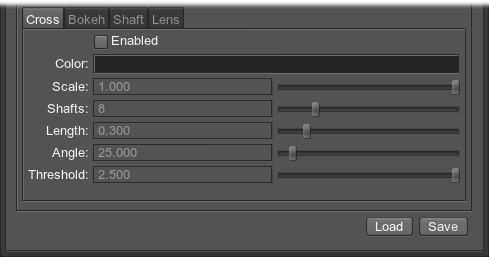
- If any of 4 tabs: Cross, Bokeh, Shaft, Lens is enabled, uncheck it.
-
- Set Exposure time up to 0.3 to brighten the scene.
- The Adaptation time can be decreased to 0.38 seconds for faster accommodation to light.
- Decrease the Threshold to 0.8 so that the sun and bright area around it will be more blazing.
- To create the surrounding flare around the sun, go to the Shaft tab and enable shaft flares.
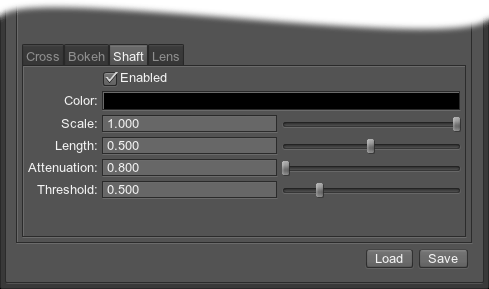
- Click on the Color field and choose yellowish tone.
Click Ok.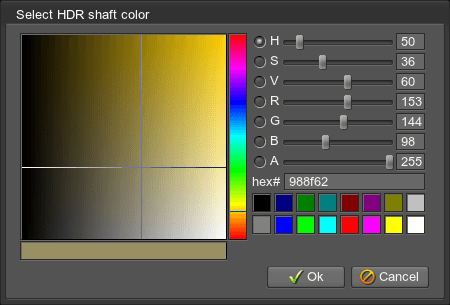
- To create the lens flare from the sun, go to the Lens tab and click Enabled box.
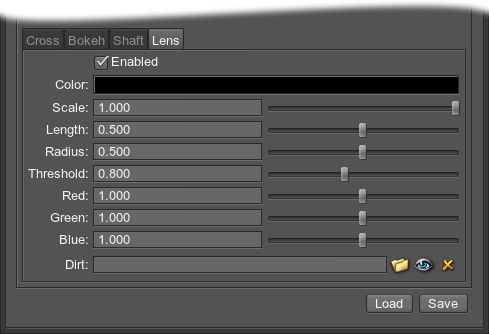
- For the flare to be more sharp and small, set Threshold to 2.5.
- We've got a satisfying image on the open space. But we also need to put the camera is in shadows and check if the scene becomes awfully overexposed. If it is, the scene will look like: To darken overexposed areas, set Min luminance to -1.2. This parameter specifies the threshold, over which the scene cannot be exposed.
Step 6. Add Clouds
- On the editor panel, click Add object button and choose Sky in the rollout.
Clouds will appear in the sky: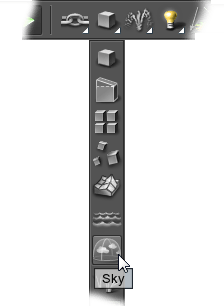
- Press N to open Nodes settings.
- Select the object and rename it, if necessary.
- In the Node tab set Z-coordinate of the sky to 3000 to raise it upper the horizon.
- Go to Surfaces tab. Select clouds surface and disable it. These are volumetric clouds that won't be needed in our case.
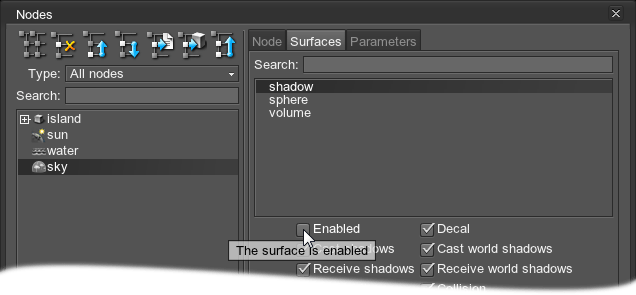
- Press M to open Material settings. For further steps, there should be a custom library associated with the world. If you haven't prepared material library for the sky yet, you can use materials from the tropics demo. tropics.mat library can be found under demos/tropics folder. See how to add a material library here.
- Select sky_base in the list of materials and click inherit the material.
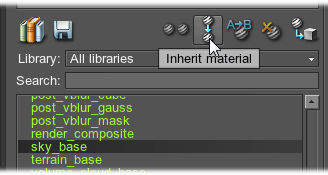
- Choose material library where to save the new material and specify its name.
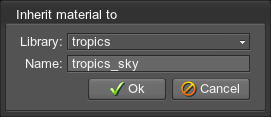
Click Ok.
- Go to Textures tab to load textures that create clouds layers:
- Mask 0 - mask for creating gaps in the 1st lower cloud layer.
- Mask 1 - mask for creating gaps in the 2nd upper cloud layer.
- Clouds 01 - noise texture that creates the 1st lower cloud layer. For example, these can be high cirrus clouds.
- Clouds 23 - noise texture that creates the 2nd upper cloud layer. For example, these can be low cumulus clouds.
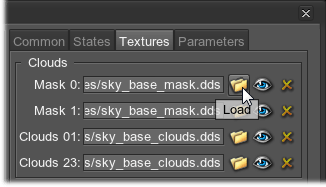
- Select the path for all 4 textures:
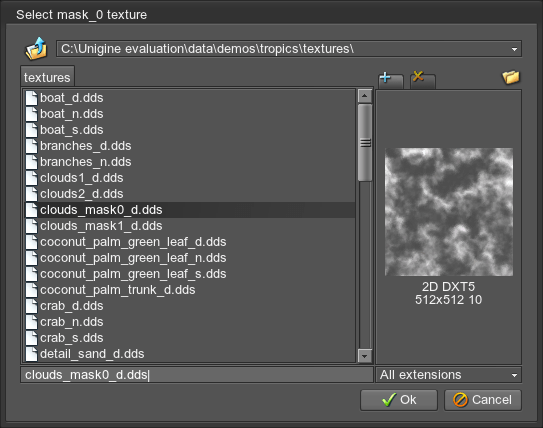 NoticeThe textures will be automatically compressed if they are stored in /uncompressed folder with the following postfix:
- Diffuse texture - "_d"
- Once again go to Nodes settings -> Surfaces tab.
Holding SHIFT or CTRL, select the surfaces for which a material should be assigned. In our case, that will be shadow and sphere.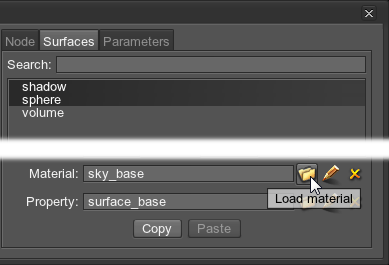
- Select the created sky material in the list:
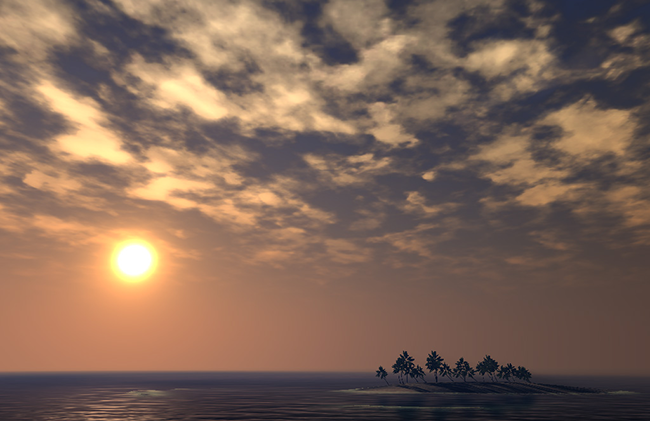
The clouds will change according to the loaded textures: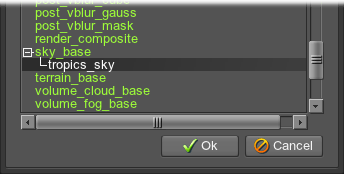
- Go back to Materials settings -> Parameters tab.
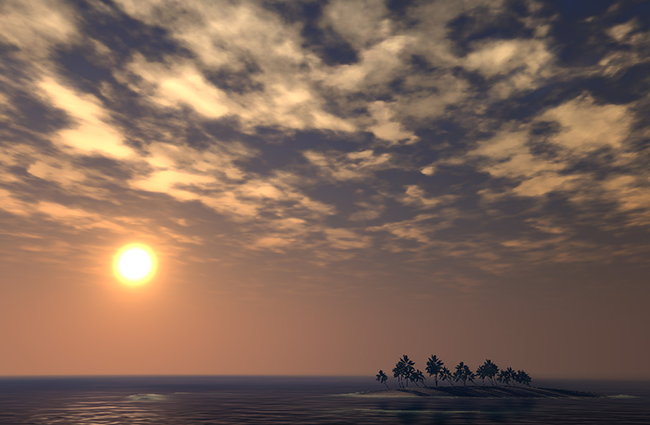
Change the Sphere to vec4(4.0,4.0,0.5,0.25) additionally scaling it by X and Y.
It gives the sky more circular perspective at the horizon, adding a nice touch: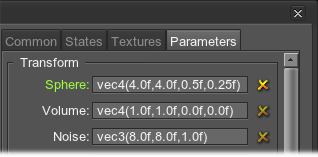
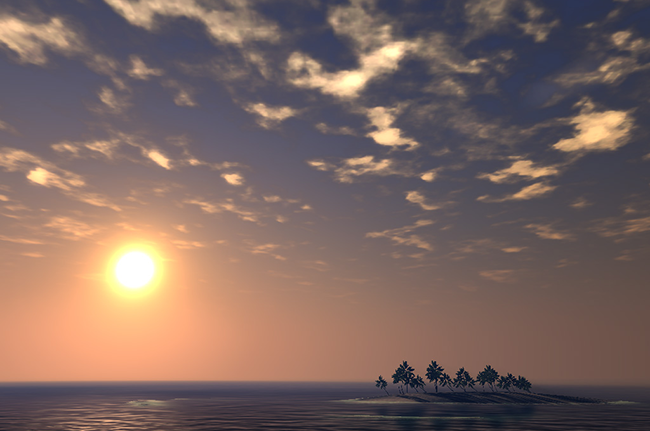
- Turn off the 2nd cloud layer by setting Clouds 23 scale to 0.
Only the 1st cloud layer is left visible. We're going to make this clouds fast and wispy.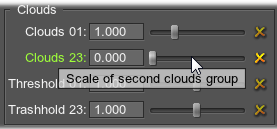
- Now let's animate the 1st cloud layer (Clouds 01 texture). For that purpose, two transformation layers are used, each transforming the Clouds 01 texture:
- Clouds 0
- Clouds 1
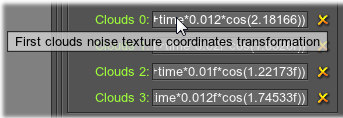
Double click on the Clouds 0 field to open the Texture coordinates transformationwindow.
- Go to the Animation tab and set the following parameters:
- Scale X and Scale Y — 0.5, as a bigger base for the second Clouds 1 transformation.
- Velocity — 0.012, so that the texture offset with the set speed creates an effect of clouds movement. These clouds layer is an upper one, and thus the clouds move pretty fast.
- Angle — 125, setting the direction of the clouds movement. It is measured clockwise.
Click Ok.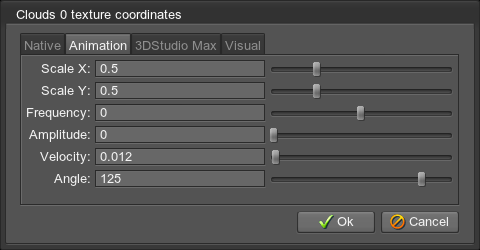
- Set the transformation for Clouds 1: double click on the field and go to the Animation tab:
- Scale X and Scale Y — 2, tiling the texture two times and adding refinement to the Clouds 0 transformation.
- Velocity — 0.02, creating faster movement.
- Angle — 105, so that directions differ, but not greatly.
Click Ok.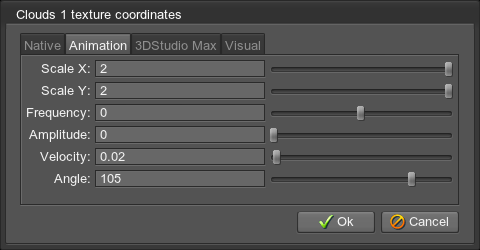
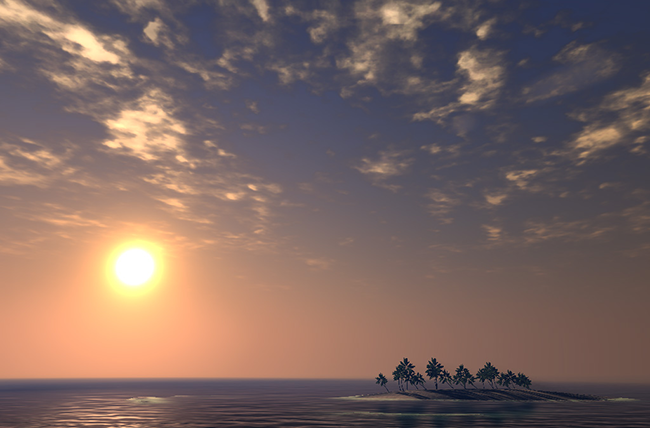
- As the transformations are set, we can move on to masking the combined 1st cloud layer with Mask 0.
On the Animation tab set the following parameters:- It should be animated approximately the same way as transformation layers to gain the natural look.
- Angle — choose the mean value between Clouds 0 and Clouds 1 directions.
The result we get is the upper layer of clouds plausibly moving in a uniform direction.
- It's time to deal with the 2nd lower layer of clouds:
- Turn off the 1st cloud layer by setting Clouds 01 scale to 0.
- Set Clouds 23 to 1.
Only the second clouds layer is now visible. This layer is going to be slow and fleecy clouds.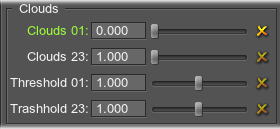
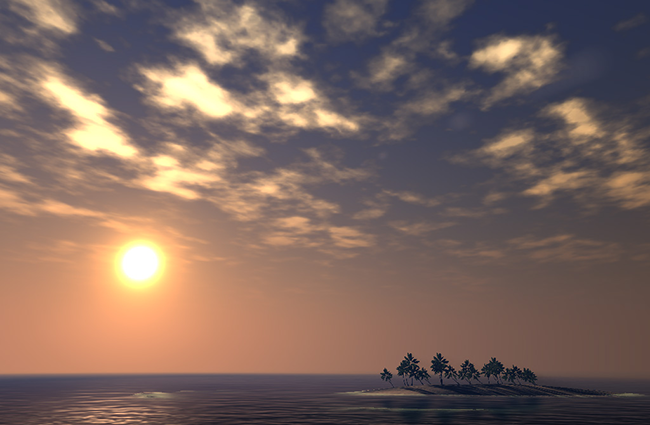
- Similar to the first layer, Clouds 23 is transformed twice in the following transformation layers:
- Clouds 2
- Clouds 3

- Click on the Clouds 2 field and go to Animation tab:
- Scale these clouds higher if compared to the 1st cloud layer, as they are supposed to be small and fluffy.
- Set smaller Velocity creating dynamics in the sky.
Click Ok.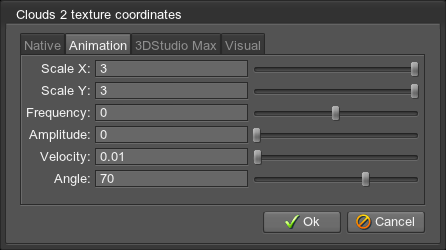
- Set Clouds 3 transformation:
- Scale higher again for more detailed loOk.
Click Ok.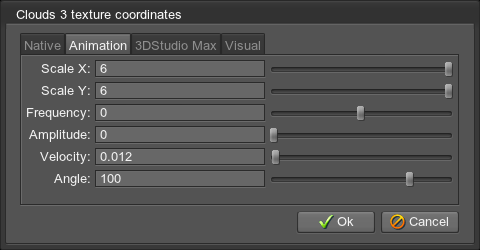
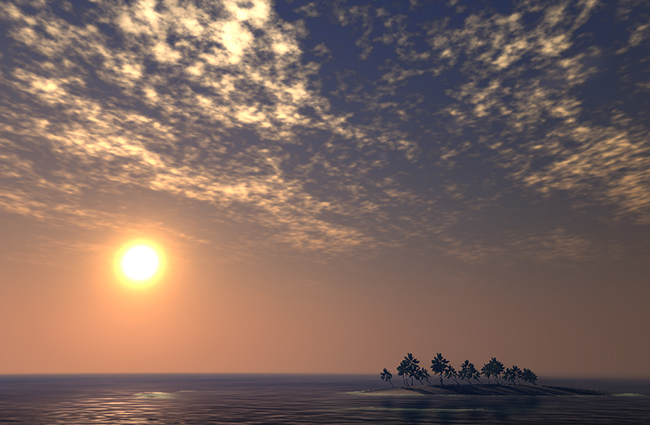
- Mask the 2nd cloud layer with animated Mask 1. We'll add a little bit of circular movement in addition to the linear one:
- Frequency — 0.02, setting the speed of the mask to rotate on the circular orbit.
- Amplitude — 0.02, setting the size of the circular orbit.
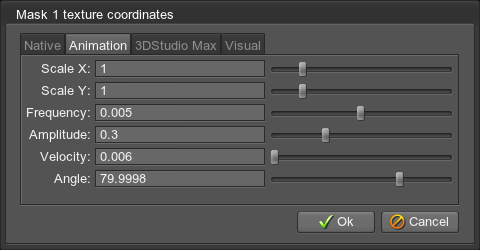
- We're done with animation. Now adjust the intensity of both cloud layers:
The result is: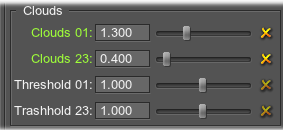
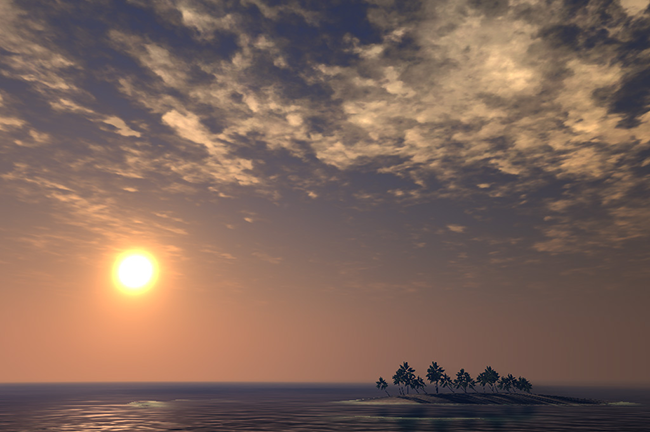
- However, the clouds turn out to be uniformly thick, which looks dull. Adjust the strength of layers masking with Threshold parameters:
- Increase Threshold 01 to 1.5, making the Cloud 01 thinner.
- Decrease Threshold 23 to 0.4, making the Cloud 23 more prominent.
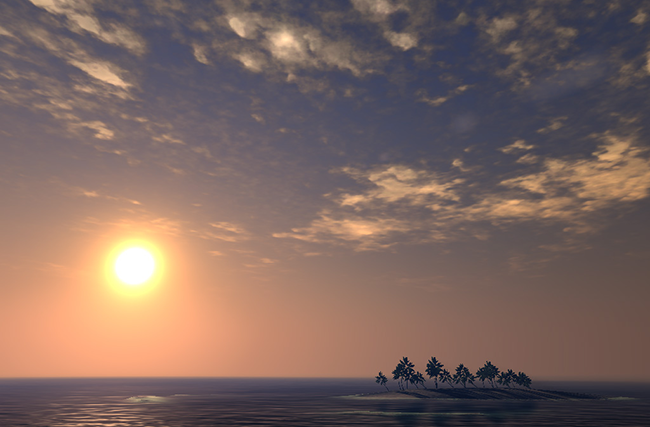
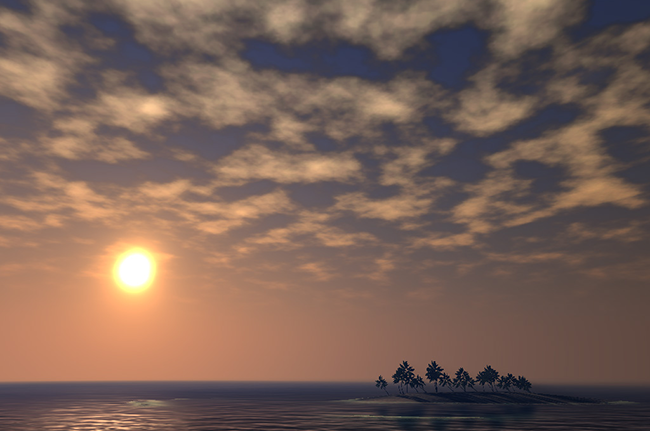
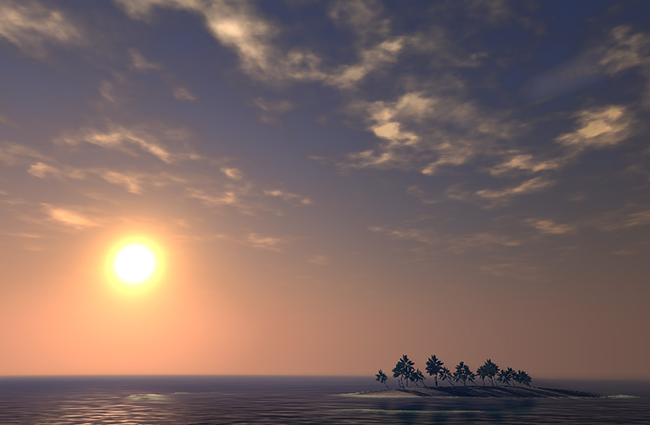
Voila, the sunset sky with clouds is ready.
