Migrating to UNIGINE from Unreal Engine: Content Creation
Geometry Brushes#
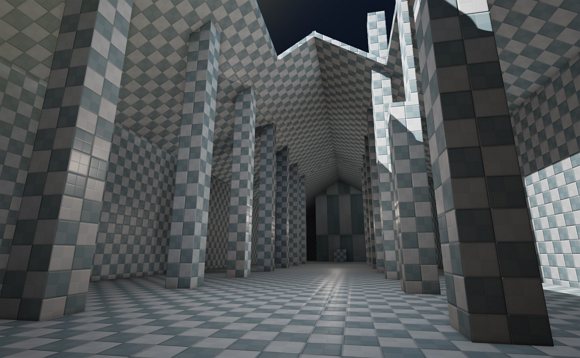
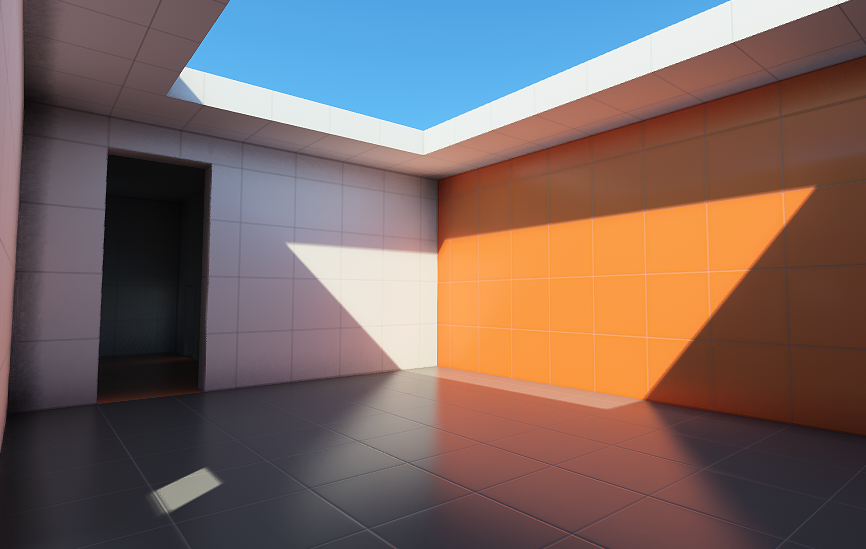
Geometry Brush is the most basic tool for level construction in Unreal Engine. They are useful for rapid prototyping of levels and objects.
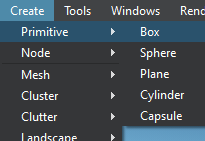
In UNIGINE, you can use primitives for this kind of task. Go to the Create -> Primitives menu and select the desired type.
Meshes#
As well as in Unreal Engine, mesh is the main graphics primitive in UNIGINE.
In UE4, all data stored in the FBX model (meshes, sceletal data, animation sequences, materials and embedded textures) is imported as a set of separate assets linked to the source file (useful for updating the assets when changing the source model). Static Mesh assets can be edited in a separate window.
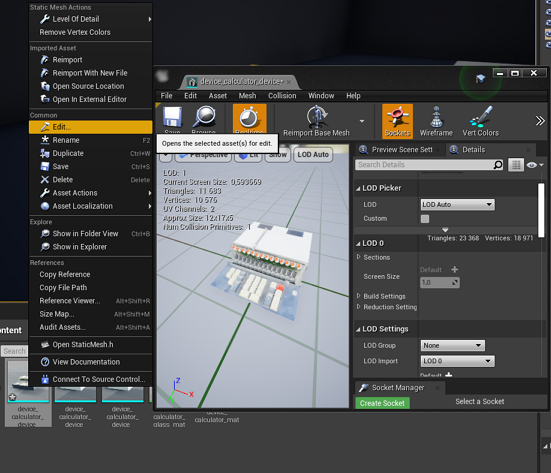
Both meshes and read-only materials appear as components of the asset.
In UNIGINE, an imported FBX asset appears as a container for all meshes it stores in the Asset Browser. The link to the original file isn't created, the file is copied to the project data folder when imported. You can access the contents by right-clicking the asset and choosing Open:
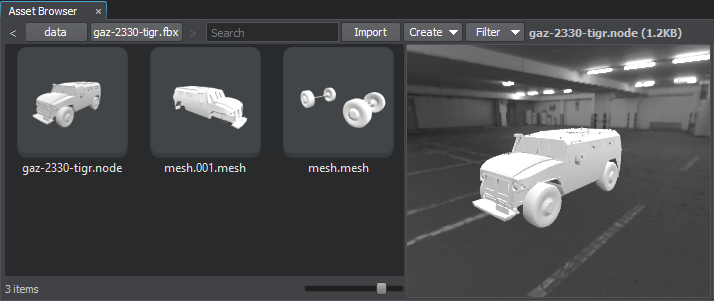
Every separate object in the FBX model is represented by a .mesh runtime asset. Materials (if there are any, provided the Import Materials option was enabled) are generated in the materials folder next to the asset. To adjust import settings, select the FBX asset and proceed to the Parameters window.
To create a node that uses the mesh or FBX asset you can simply drag it to the UnigineEditor viewport the same way you would do in Unreal Editor. In UNIGINE, this will add a Static Mesh object to the world hierarchy.
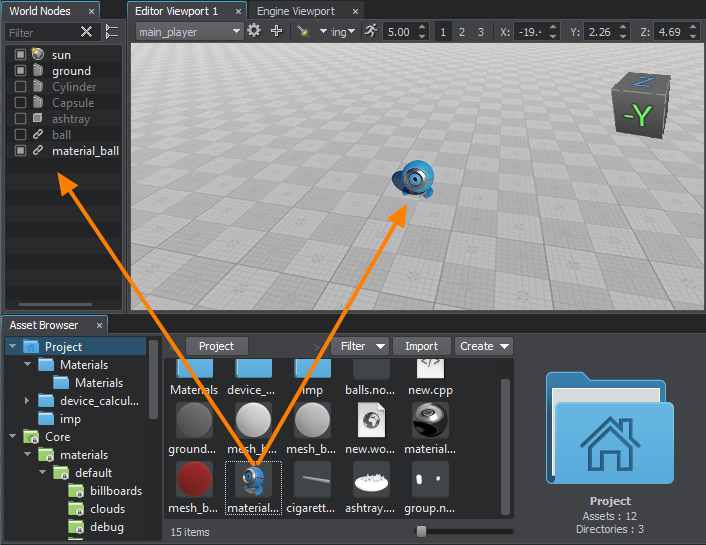
Object nodes are major building blocks that construct the world. Most of them represent visible geometry of the scene. For example, it is best to use a Static Mesh object for objects that are not intended to change their geometry the same way as Static Mesh actor in UE4.
On the picture below similar UI elements for static mesh parameters are color-coded for both editors:
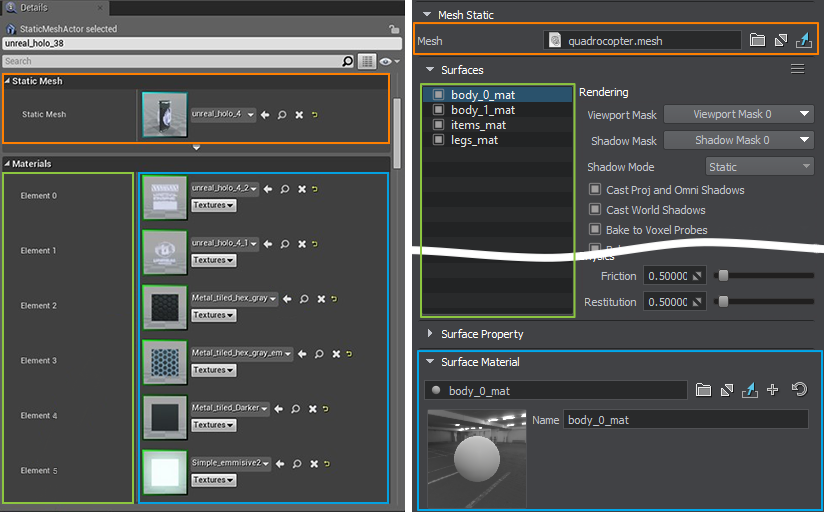
Here Surface come into play. They are pretty close to Elements of a Static Mesh in Unreal Engine, but a surface encapsulates a sub-mesh having a certain material assigned (in third-party 3D editors) and has the name according to that material. For convenience, surfaces can be rearranged in a hierarchy and toggled on and off. Some settings you would set for the whole Static Mesh actor, such as visibility and contribution to lighting, are available for each surface separately.
Levels of Detail (LOD)#
In Unreal Editor, you are likely to be used to configuring LODs for a Static Mesh asset using the Static Mesh Editor. You usually import additional FBX files for all LODs and specify the screen size for each one. The active LOD is defined by the threshold based on the ratio of the mesh's screen-space size to the total screen height.
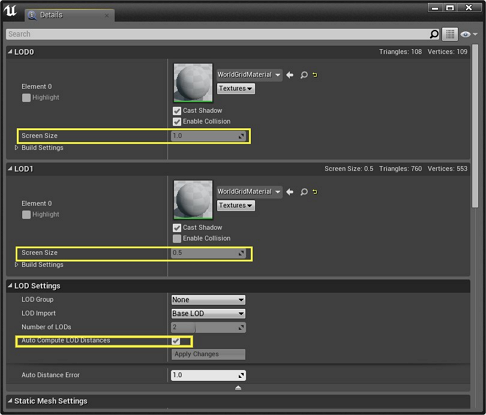
In UNIGINE, it is much more handy to store all LODs in a single .fbx model, in this case a Static Mesh created based on the asset will have several surfaces corresponing to LODs. Levels of detail are defined based on distances — in a more low-level manner to make fine tuning available. Surfaces have visibility settings for this purpose. You can set the minimum and maximum visibility distances from the camera for each surface. For Cross Fading use the Minimum Fade and Maximum Fade values.

Automatic generation of LODs is not provided in UNIGINE, but automatic LODs setup when importing a model is described in the FBX Import Guide. For more details on configuring LODs refer to the dedicated article.
Bone-Based Animation#
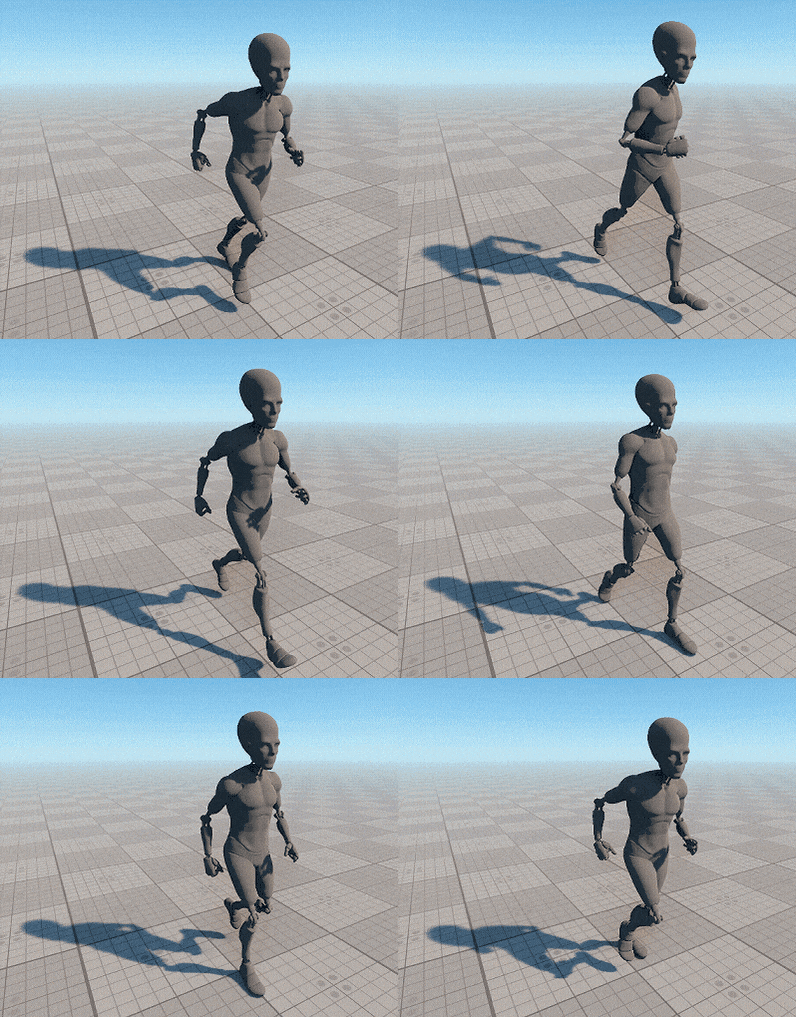
FBX models containing bone-animated skinned meshes create animation clips when imported in both engines. In UNIGINE, such clips are represented by .anim assets.
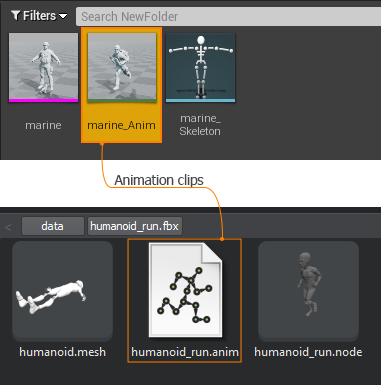
Skinned Mesh object acts the same way as Sceletal Mesh Actor in UE4 used for handling bone animations.
There is no sceleton concept as a special type of asset in UNIGINE. The skinned animation system is focused on operating animation layers: you can configure multiple layers with various animation clips and perform blending between them by using API methods.
For more details refer to the following articles:
- ObjectMeshSkinned class API reference
- Animation section of C# Component Samples
Blend Shapes#
The same way Skinned Mesh object supports morphing. If a mesh has blend shapes (sometimes referred to as morph targets) assigned in a third-party 3D modelling software, they will be available internally as surface morph targets (provided the Import Morph Targets option was enabled for the imported asset).
In UNIGINE, multiple animation morph targets (i.e. morph layers) are created based on the available surface morph targets and blended manually using weights via API methods.
Follow the related tutorial for more details:
Materials and Shaders#
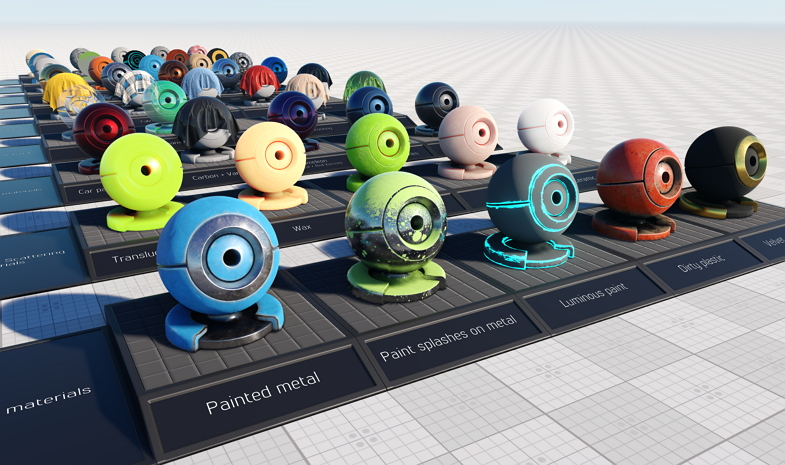
Similar to Unreal Engine, UNIGINE primarily works with PBR materials. Additionally, UNIGINE supports legacy Specular workflow.
In UE4, you are accustomed to create materials and edit them using a node-based Material Editor visually. Each node represents a snippet of HLSL code, so, basically, you create a shader through visual scripting. To avoid time-consuming rebuilding of the material when tweaking parameters, you can use Material Instances.
In UNIGINE, material system is formed by base materials and user materials inherited from them. A node-based Material Editor is also available in UNIGINE enabling you to create custom complex materials without coding required.
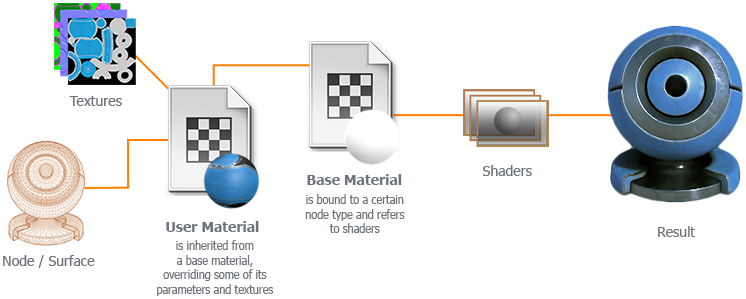
A base material is a set of read-only material properties (basically flags, parameters and textures) referring to fragment, vertex and geometry shaders. Base material can be assigned to nodes (or surfaces) of the type it is bound to. UNIGINE provides a rich out-of-the-box library of base materials and standard shaders that can be used to create almost any appearance for all the types of nodes available in the engine.
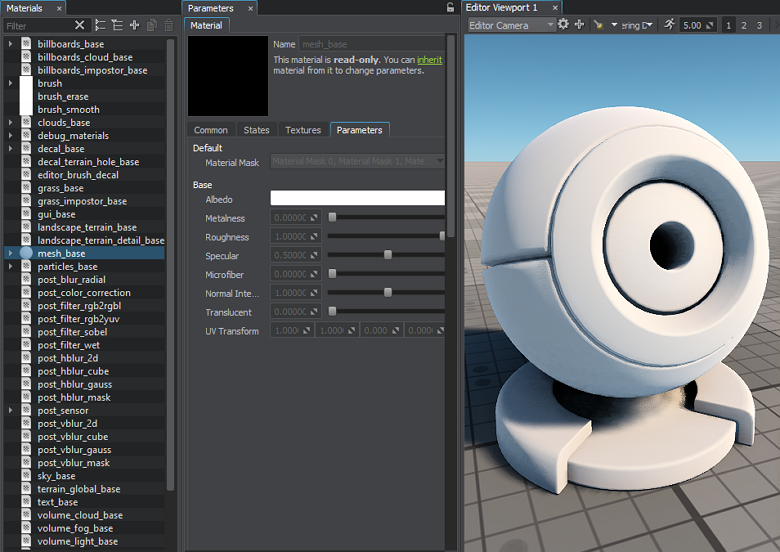
The mesh_base is the base PBR material in UNIGINE used for mesh surfaces. Right here you can inherit a new material from it and start setting it up by tweaking the parameters and assigning textures in the Parameters window.
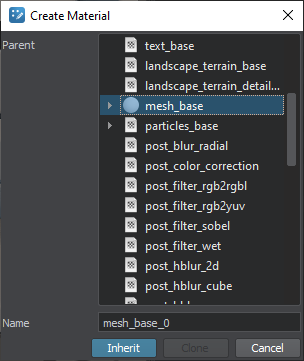
We create user materials by inheriting them from base materials to override some properties passed to shaders on rendering. When creating a material in the Asset Browser, we choose the base material to inherit from, thus defining the type of objects the new material will support.
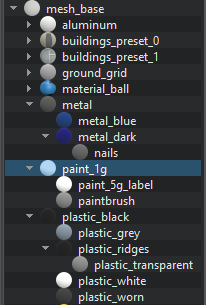
Furthermore, user materials can form a hierarchy for convenience. So, when parameters of the parent material are changed, overridden parameters of its children remain the same.
You can create a custom base material via the visual Material Editor or manually, in this case you will need to create and edit a .basemat file in a text editor. The format of Base Material asset has a quite straight structure. As for shaders, HLSL and GLSL sysntaxes are supported for DirectX and OpenGL respective. Also, UUSL, the built-in UNIGINE shader language is provided as a universal one.
See also:
Shader Compilation#
UE4 compiles shaders asynchronously using a streaming system.
In UNIGINE, Forced Shader Compilation, an in-editor feature, is available via both the toolbar and the Editor section of the Settings window.

Lighting and Environment#
The same way as in UE4, lighting in UNIGINE can be considered as either realtime or precomputed. A set of objects and tools enables you to get benefit from the both approaches.
Light Sources#
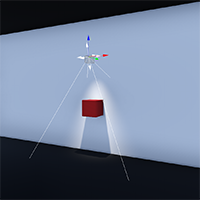
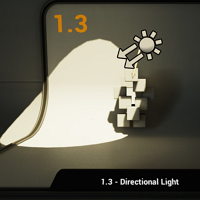
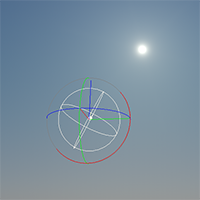
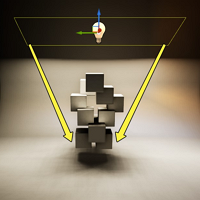
In UE4, light sources are represented by several Light actors. UNIGINE provides several types of light sources similar to the ones of Unreal Engine. The following table lists all possible way to add lighting in both engines.
| Light Source | Unreal Engine | UNIGINE |
|---|---|---|
|
A light source located at a point and sending light out in all directions equally |
Point Light |
|
|
A light source type providing a cone-shaped region of illumination |
Spot Light |
|
| A type simulating an infinitely distant light source and casting parallel beams onto the scene |
Directional Light |
|
| An area light that illuminates objects in different directions at once |
Area Light: Rectangle and Disc shape |
|
| Emissive objects emitting light across their surface area |
Emissive materials |
|
| Flat ambient lighting |
Sky light with a cubemap specified |
|
Shadows#
In UE4, light sources can be Static, Stationary, actors have the same modes. When it comes to light baking (including shadows), UE4 workflow implies using Lightmaps.

Considering the concept of realtime and precomputed shadows, UNIGINE provides both types of shadows from light sources.
Shadows are cast using a commonly used technique called Shadow Mapping. All light sources can be either in Dynamic or Static mode according to which it is decided if shadow maps are computed in real time or saved in an asset, thus significantly reducing the number of polygons rendered each frame. Apparently, moving lights should be Dynamic, we can't precompute shadows cast from a moving light source.
The Mixed or Static Shadow Casting Mode of a light source filters the surfaces that cast shadows from it. By using the Mixed mode you can combine baked shadows from static geometry and realtime shadows cast by certain dynamic meshes. Use the Shadow Mode to decide whether the surface is static or dynamic.
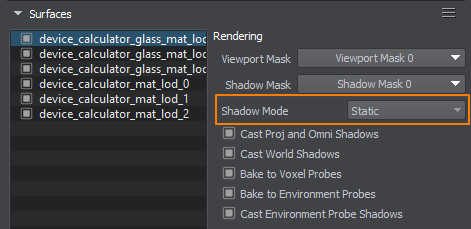
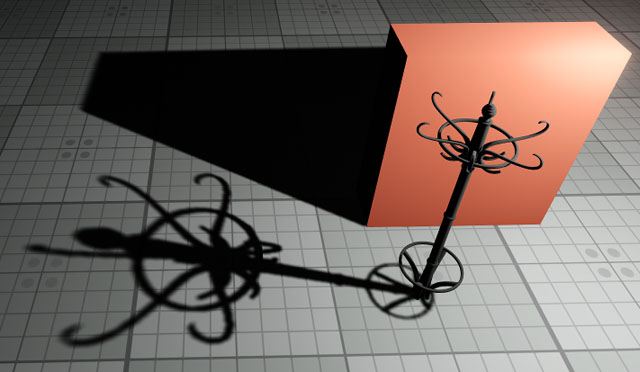
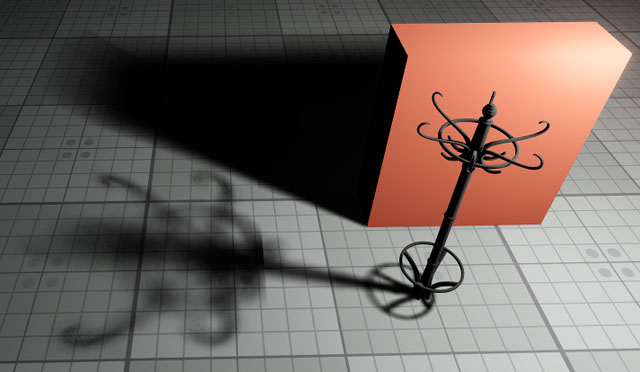
You don't have to bake shadows to achieve the soft shadows effect. This is controlled by the Penumbra Mode and Filtering Mode parameters per each light source.
World light source uses an advanced shadow mapping technique called Parallel-Split Shadow Mapping to handle shadows at large distances, it is pretty close to the Cascaded Shadow Maps technique the Directional light source uses in Unreal Engine. The shadow settings are available per each light source.
To learn more about configuring different types of shadows, follow the dedicated links:
- Global Shadows settings.
- Video tutorial: Lighting.
- Video tutorial: Cached Shadows.
Contact Shadows#
Contact Shadows are known as Screen-Space Shadows in UNIGINE. Settings for them are available per each light source.
Light Functions#
To filter a light's intensity Unreal Engine provides Light Functions.
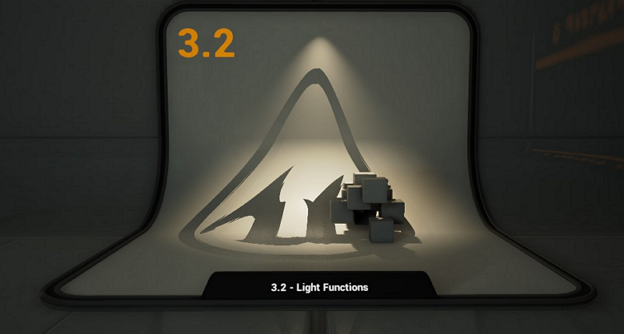
In UNIGINE, you can use an arbitrary 2D diffuse or albedo texture in the Texture parameter of Light Projected. The same way you can apply texture modulation to a Light Omni by using a cubemap texture.
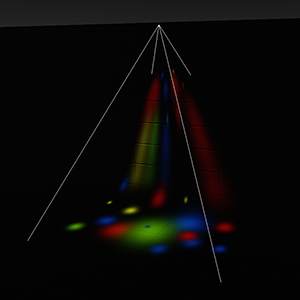
Modulation by texture
|
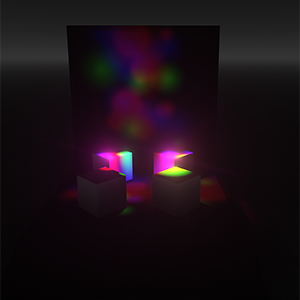
Modulation by cubemap
|
This is the way IES Light Profiles can be simulated as well.
Environment#
In UE4, atmospheric lighting is usually represented by a set of actors: SkyLight, SkyAtmosphere, AtmosphericFog, and DirectionalLight.
In UNIGINE, all Environment Settings are gathered in the Render Settings (choose Window -> Settings in the main menu, then in the Settings window go to Runtime -> World -> Render -> Environment).

UNIGINE provides three environment presets, by configuring which you can create a smooth transition between different weather conditions. By default, the first preset is enabled only.
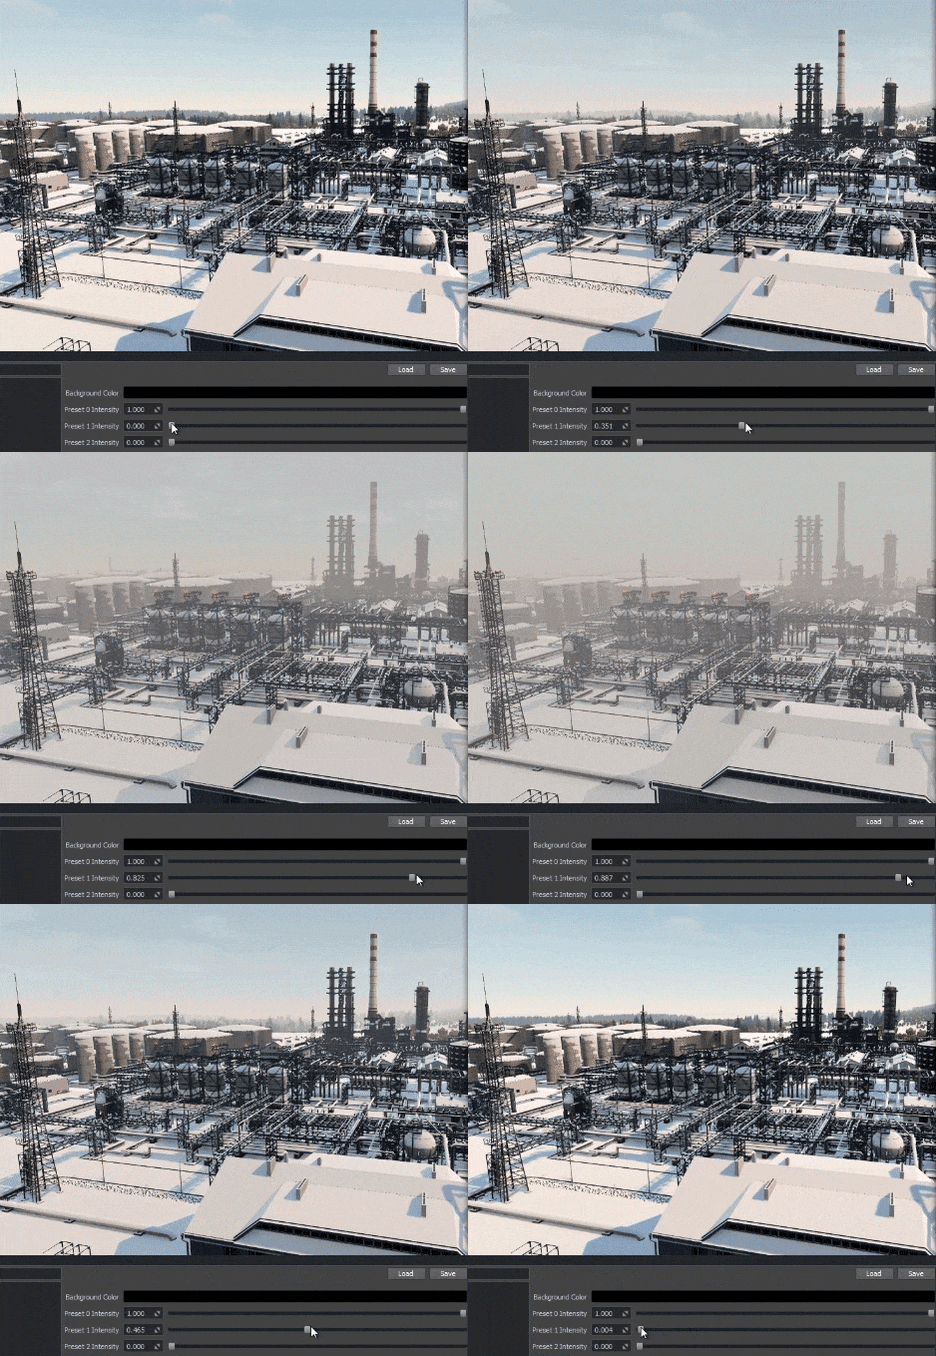
In order to achieve physically correct atmosphere rendering, UNIGINE environment system simulates Scattering by interpolating certain LUTs (Look-UP Textures). This system works in conjunction with the current enabled World light (the Scattering mode), so when configuring environment lighting you should consider all the settings combined. For more details visit the dedicated article.
You can set a cubemap texture as the Environment Texture for both sky color and reflections.
In UNIGINE, you can use a Sky object recreating clouds and environment background in the scene. It can represent a hemisphere or a full sphere with a cubemap assigned, tiled with clouds texture to produce plausible and inexpensive dynamic clouds.
Fog#
To simulate fog in Unreal Engine, you are accustomed to use different types of actors, such as AtmosphericFog, ExponentialHeightFog with the support for Volumetric Fog.
For the same purpose in UNIGINE you can use Environment Haze in the Solid mode or, if the difference between haze and fog is crucial for your project, use Volumetric Objects — they are great for simulating light beams and shafts, fog and shaped clouds.
Global Illumination#
Unreal Engine provides a set of advanced systems that model indirect lighting significantly improving the realistic look of the scene. So does UNIGINE. This section lists UE4 GI techniques and ways to get the same or similar results in UNIGINE.
Lightmaps#
UE4 provides the Lightmass system enabling you to pre-calculate (bake) the brightness of surfaces in a scene and store the result in a lightmap for later use at run time. It requires non-overlapping UVs which are auto-generated for static meshes when importing.
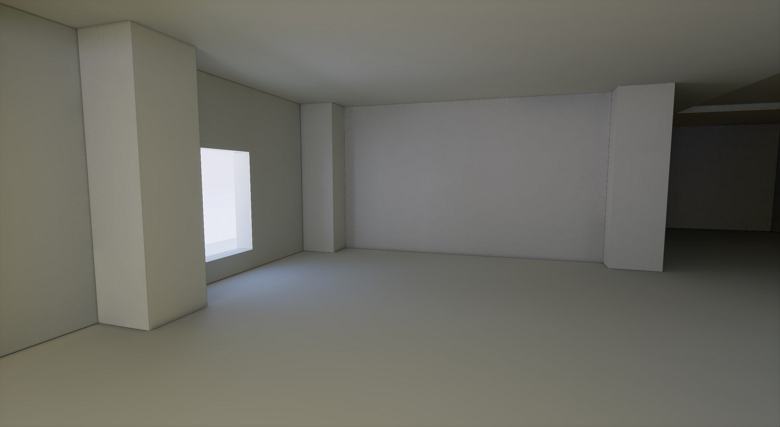
In UNIGINE, lightmaps are also supported and baked using the integrated GPU Lightmapper tool.
UNIGINE provides another advanced solution for static GI — Voxel-Based Global Illumination provided by Voxel Probe.
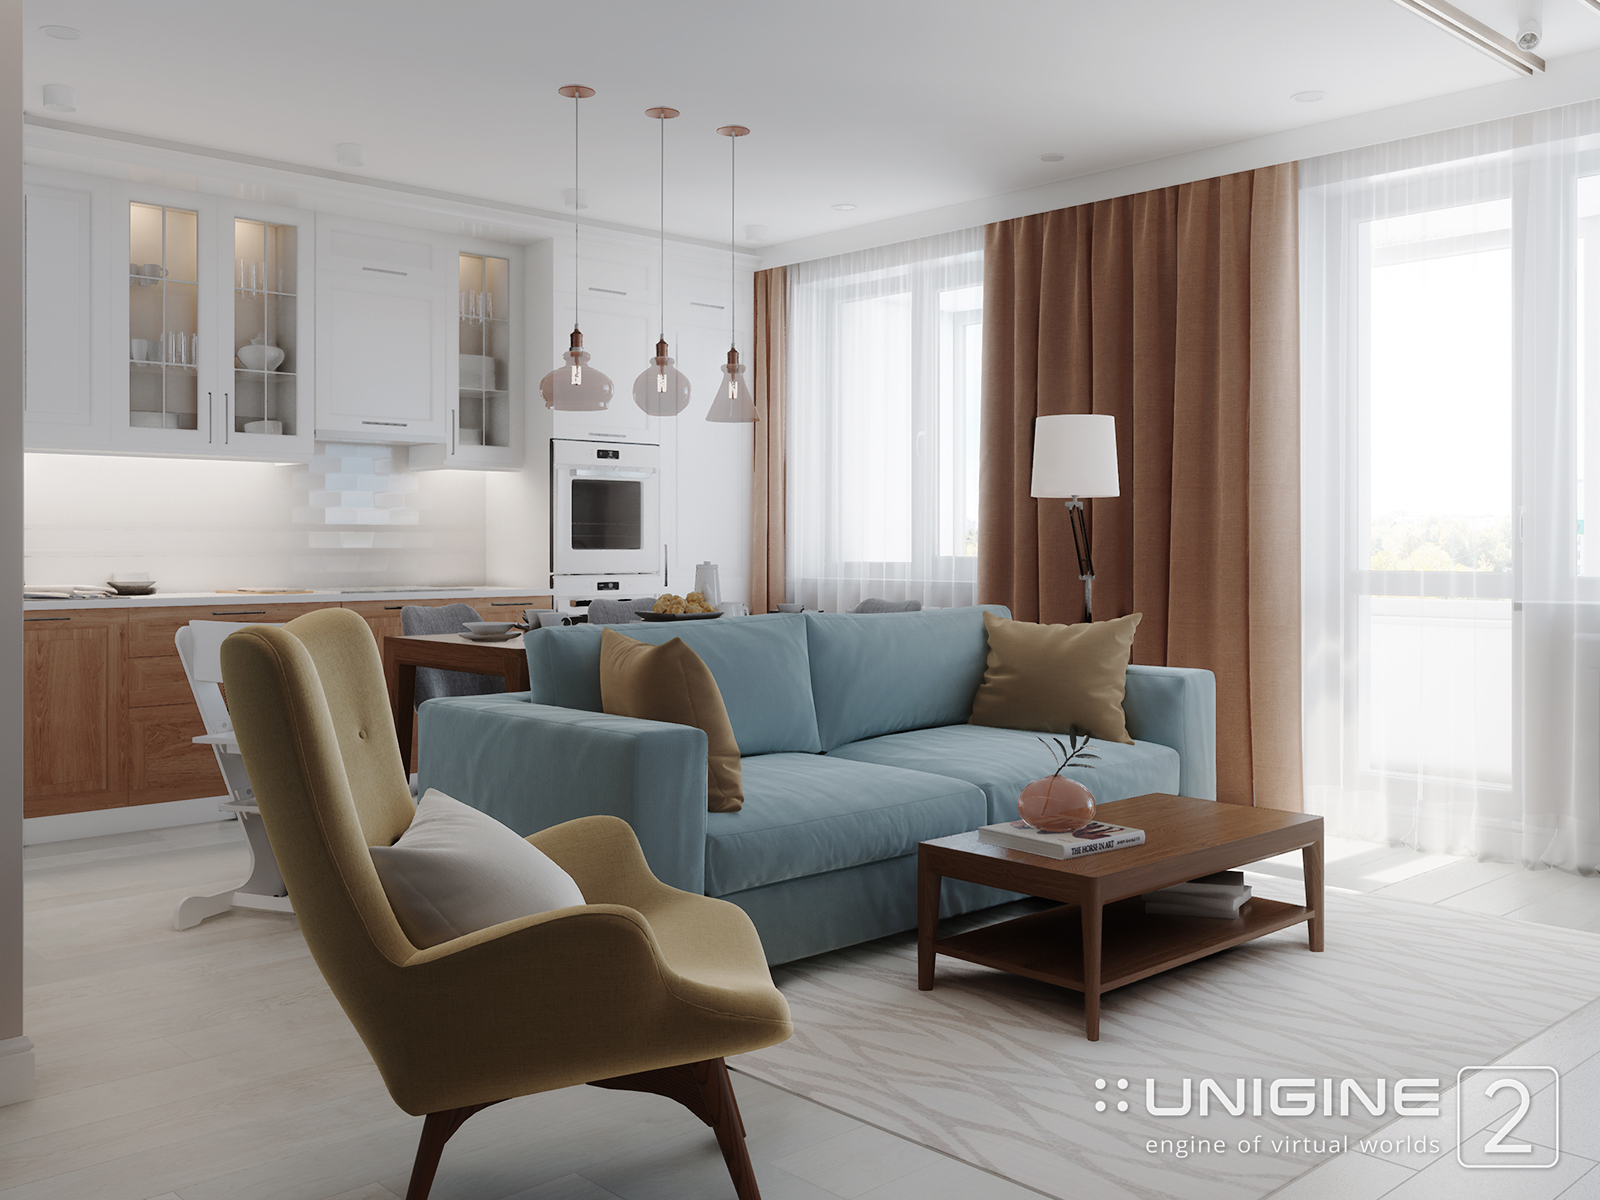
Voxel Probe is a box-shaped volume composed of voxels of fixed size, providing both pre-calculated indirect lighting and diffuse (blurred) reflections. One of advantages of this approach — there is no need in UV coordinates, any geometry will contribute to GI with no issues.
Light baking is performed using Bake Lighting tool.
Similar to using Lightmass Importance Volume in UE4, you can make insets — Voxel Probes with more dense grid — to bake more details of GI where necessary.
As concerns realtime, Unreal Engine supports SSGI solution providing real-time GI simulation in screen space. For such cases UNIGINE features the SSRTGI (Screen-Space Ray-Traced Global Illumination) technology, which incorporates ray-traced SSGI, SSAO and Bent Normals in screen space, enhancing overall connectedness of the scene a lot.
Baked Ambient Occlusion#
Lightmass system is also capable of baking Ambient Occlusion, a part of pre-computed illumination which darkens creases, holes and surfaces that are close to each other.
UNIGINE has no built-in baking tool for ambient occlusion, nonetheless, it is possible to apply an additional ambient occlusion texture generated using third-party software in the mesh_base material settings.
Volumetric Lightmaps#
Volumetric Lightmap storing precomputed lighing in all points in space is much closer to UNIGINE Voxel Probe.
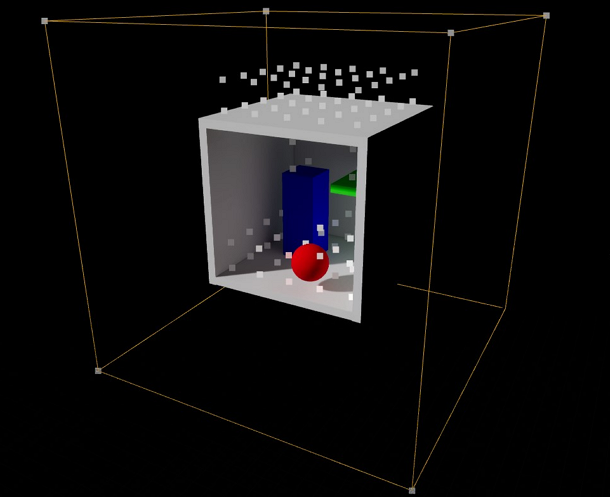
As Voxel Probe has internal volume baked, it will illuminate objects that move within its bounds. The Bake Internal Volume parameter enables to choose the quality and time required to bake GI for empty voxels (i.e. the voxels that do not cover any geometry).
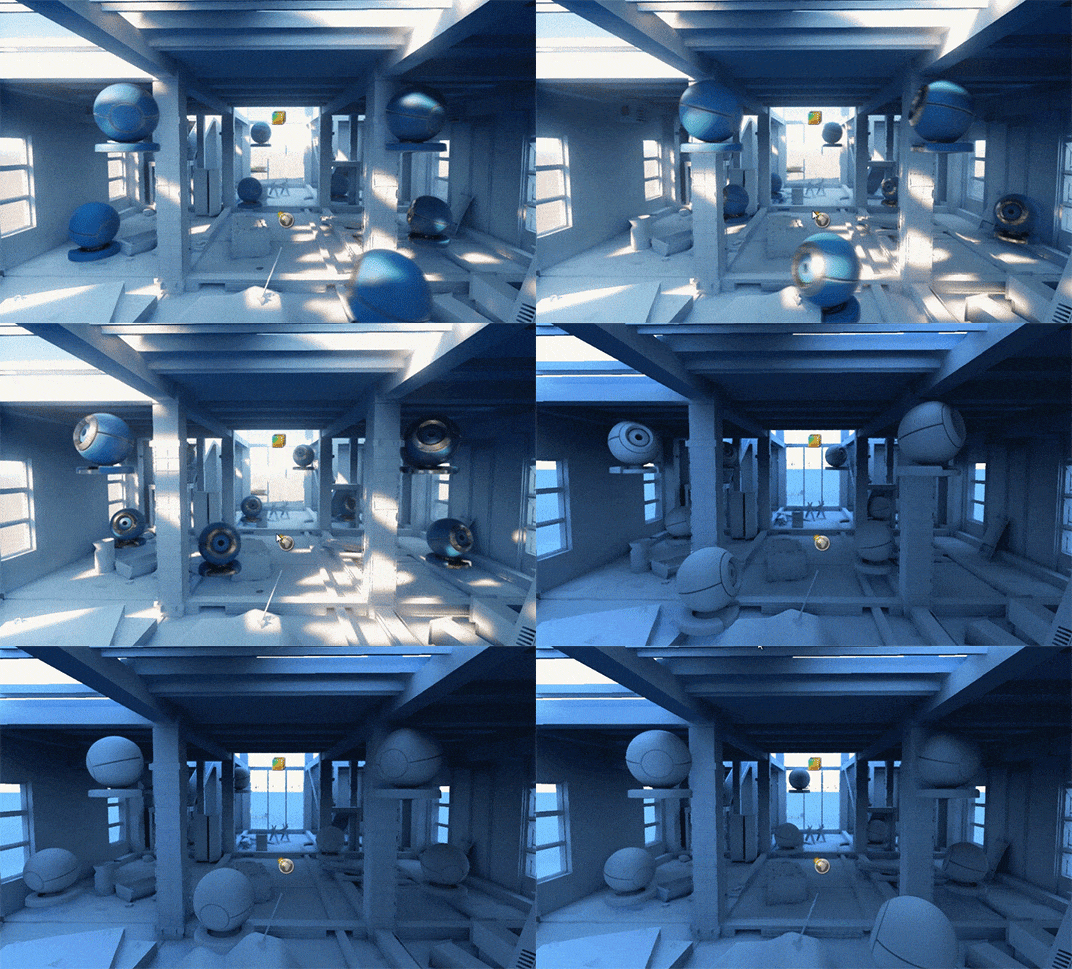
To preview ambient lighting in the viewport, switch the Rendering Debug mode to Indirect Lighting.
Reflection Capture#
An almost complete counterpart for Sphere Reflection Capture and Box Reflection Capture actors of UE4 is Environment Probe in UNIGINE. This reflection provider stores a cubemap texture to be rendered on reflective surfaces within its bounds.
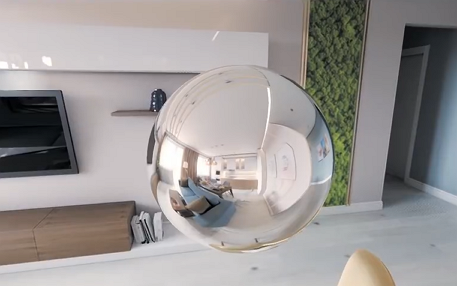
Environment Probe can be either Static or Dynamic:
Dynamic Mode. The cubemap is grabbed each frame providing real time reflections and a massive load on the CPU.
Static Mode. Environment Probe uses a pre-baked cubemap obtained using the Bake Lighting tool. This mode suits mostly static environments.
Custom Static Mode. The static mode with a custom cubemap texture assigned.
Box projection is supported as well:
Furthermore, spherical Environment Probe can be subject to Parallax effect controlled by the corresponding parameter. While the 0 value implies projecting the reflection on an infinitesimally far sphere, the value of 1 corresponds to the actual Probe bounding sphere taking into account the viewer's perspective.
Planar Reflection#
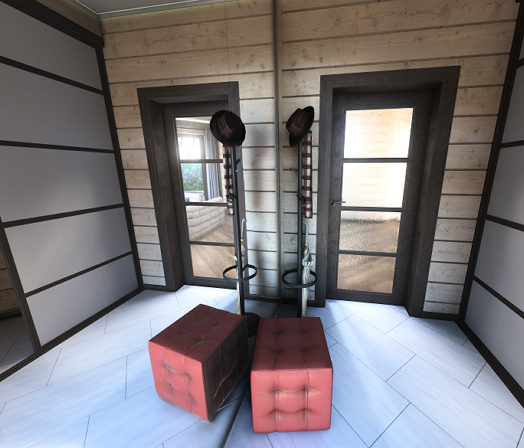
The Planar Reflection actor is the provider of real-time planar reflections in Unreal Engine.
In UNIGINE, planar reflections are implemented via Planar Reflection Probe.
Screen Space Reflections#
Screen-Space Reflections are also a part of UNIGINE. Global SSR settings contain multiple parameters making fine-tuning available.
Audio and Video#
Audio Sources#
In UE4, AudioComponent plays back Sound Wave assets. The sound is spatialized using the dedicated flag of AudioComponent.
In UNIGINE, Sound Source node type is responsible for playing back an audio asset. It provides a surround effect the same way. While many parameters seem rather familiar to you, such settings as Doppler level, Attenuation (Rolloff) function and other, including Audio Mixer channels, are available only globally in the Sound section of the Settings window.
UNIGINE supports HRTF (Head Related Transfer Function) out of the box, so imitation of surround sound for stereo headsets is close to real life.
Another sound source entity in UNIGINE is the Ambient Source used to create a non-directional ambient background sound (e.g. background music). It has no position in the world and, therefore, can't be represented as a node. So it is available only via API.
Audio Volumes#
Just like Audio Volume in Unreal Engine, UNIGINE Sound Reverb objects represent reverberation zones where ambient sound effect appears provided the player is within the zone. With fine-tuned parameters a reverberation zone correctly reproduces the way the sound is reflected from surfaces, forming three main components:
- Early reflections
- Late reverberation
- Echo
Besides that, a number of parameters can be changed to alter the type of environment being simulated. A number of presets may help you to quickly choose the most suitable type of environment to simulate:

By adjusting the Threshold parameter you can enable smooth sound transition when the listener moves from the outside area into the reverberation zone.
Playing Video#
In Unreal Engine, you use Media Framework to play back video files stored in Media Source asset types. Videoclips of various formats can be rendered to textures and other targets.
In UNIGINE, video playback is supported only in a virtual monitor as a part of GUI system. Currently only *.OGV files are supported.
Built-in Optimization#
Levels Streaming#
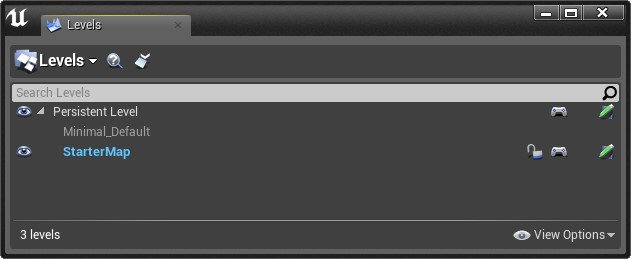
Unreal Engine supports streaming of levels: you can create several maps representing small chunks of a huge world that are streamed when the player approaches to them. The levels to be streamed are listed in Levels window.
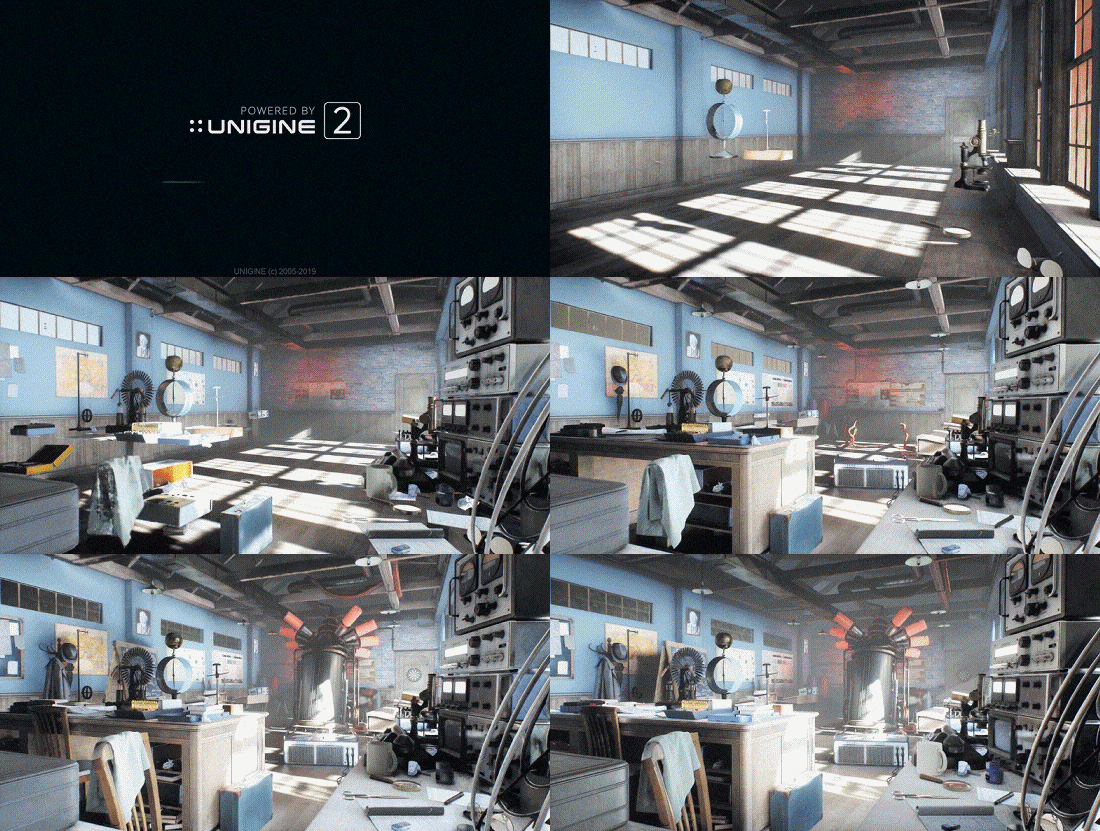
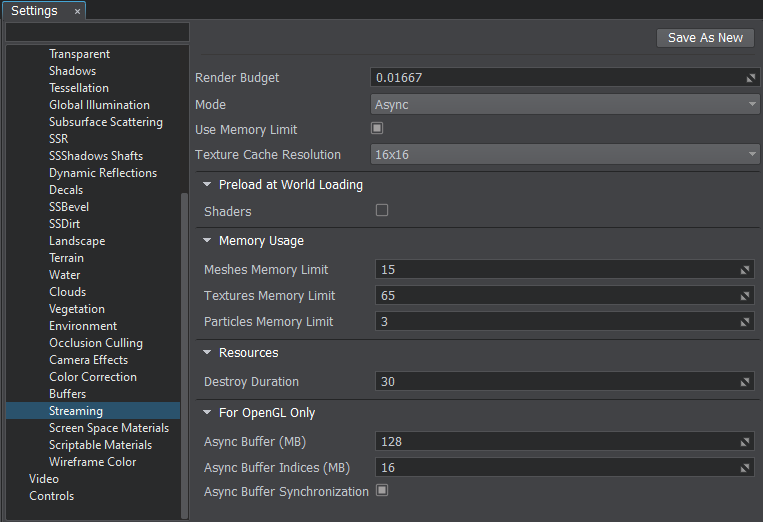
In UNIGINE, resources streaming is a part of the advanced Asynchronous Data Streaming system. This system is intended to reduce spikes caused by loading of graphic resources, such as meshes and textures. Only the resources that are required to render the current camera view are loaded; and unloaded as soon as other resources require to be loaded to video memory in order not to exceed the specified memory limits. Uploading is time-sliced so as to avoid spikes when the world is just loaded.
Settings for fine adjustment are available in the Streaming section of the Settings window:
Texture Streaming#
UE4 provides mipmap-based Texture Streaming. This system reduces the total amount of memory UE4 needs for textures by loading only the mipmaps that are needed to render the current camera position in the scene.
UNIGINE's Asynchronous Data Streaming system uses pre-cached minimized copies of textures — Texture Cache. On world loading the texture cache is loaded first, giving a preliminary content for the scene, whilst full-size textures are being asynchronously loaded.
Occlusion Culling#
In UE4, apart from the common culling technique, such as Frustum Culling, there is also a set of additional ones. Mostly all of them have Occlusion Culling analogs available in UNIGINE. These techniques extremely reduce the number of polygons rendered.
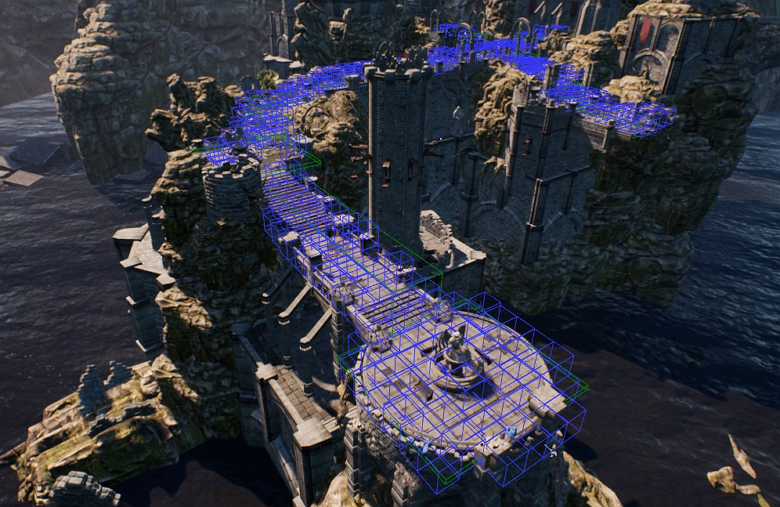
In UNIGINE, technique is represented by methods:
- Cull Distance Volumes can be replaced by Switcher nodes.
-
Precomputed Static Visibility. It is usual for you, as an Unreal Engine user, to define Visibility Volumes and precompute visibility cells.
In UNIGINE, you can use box-shaped and mesh-based Occluder culling geometry occluded by them dynamically.
-
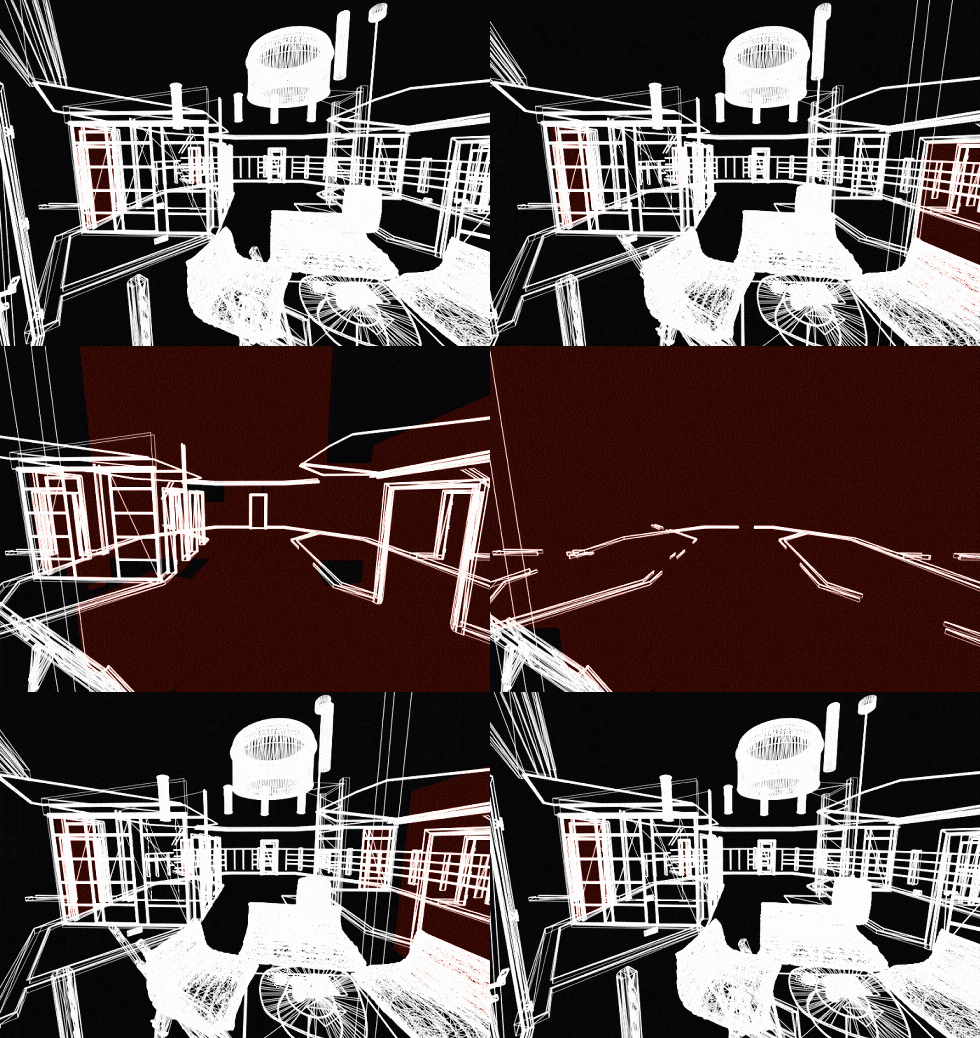
Hardware Occlusion Queries technique is also available in UNIGINE. It allows skipping rendering of objects, the bounding boxes of which are covered by another opaque geometry.
Draw Call Batching#
There is no Draw call batching in Unreal Engine as is. You are rather accustomed to Merge Actor and use the Proxy Geometry tool as a way to reduce the number of draw calls by combining static meshes and materials they use.
UNIGINE performs DIP batching: all opaque surfaces are automatically grouped and rendered in batches according to materials assigned, thus decreasing the number of DIP calls and, therefore, increasing the performance. This is why sometimes it is reasonable to create Texture Atlases, so even objects using different textures could share the same material in order to be subject to batching.
UNIGINE provides additional objects to take full advantage of mesh batching:
-
Mesh Clutter is an object used to scatter a large number of identical meshes across the world. It is suitable for simulating vegetation a lot while keeping performance high.
-
Mesh Cluster is an object that can contain a great number of identical meshes with the same material, which are managed as one object. Cluster meshes can be scattered either automatically, or each mesh can be positioned, rotated, and scaled manually.
Follow the Working with Large Number of Objects article for more details on using these objects.
Billboards#
In UE4, you use Billboard rendering component — a 2D texture rendered always facing the camera that can be used to replace a complex 3D mesh at some distance from the camera, thus reducing the load on GPU.
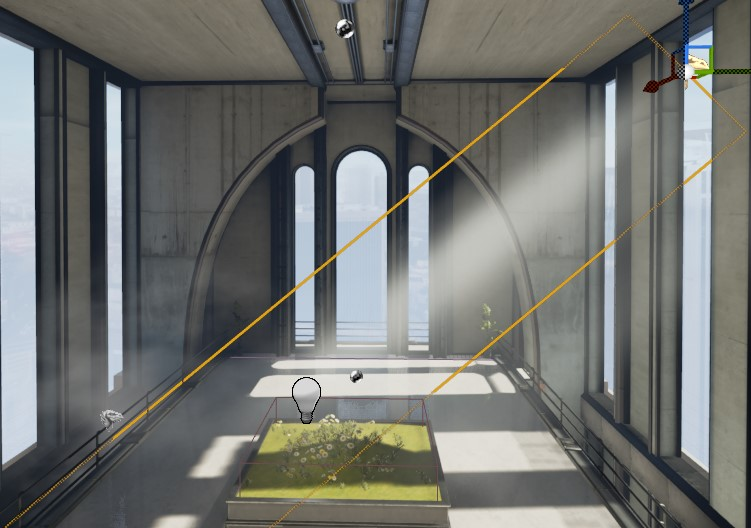
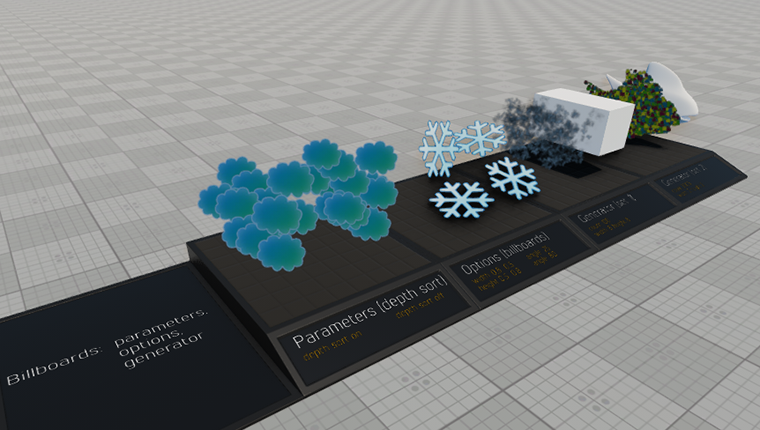
UNIGINE provides support for Billboards as well. In UNIGINE, a billboard is a rectangular flat object that always faces the camera so it is capable of representing some flat effects and objects that are barely seen from far off.
Imposter Sprites#
To substitute a complex mesh with a set of sprites showing the mesh from a number of views, you generate 3D Imposter Sprites using the Render To Texture Blueprint toolset.
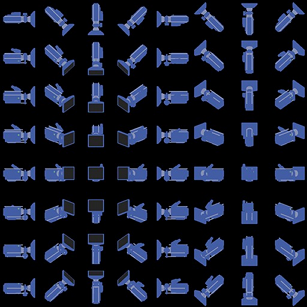
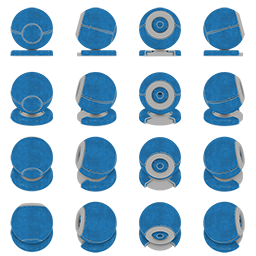
In UNIGINE, you can generate a billboard-based Impostor using the Impostors Creator. This out-of-the-box tool creates a series of snapshots of the object while saving shading fidelity and combines them in a single Billboard object. Now you can use the Impostor object as the lowest LOD for the mesh at a distance.
 |
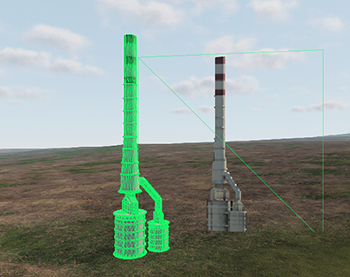 |
Impostor albedo texture |
Object and Impostor wireframes |
Channels#
In UE4, you are accustomed to use Channels to define groups of GameObjects to be unapproachable by light sources, as well as for selective collisions.
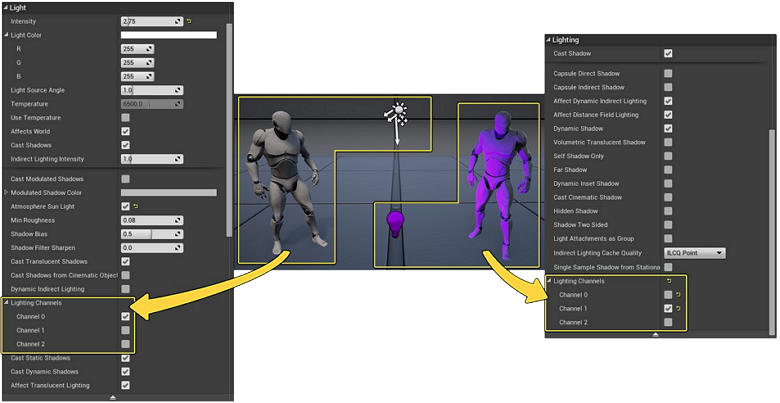
In UNIGINE, a similar system is called the Bit Masking mechanism. Objects, cameras, materials, and other entities have bit masks used by various effects and features to define their scope. Each bit in a bit mask can be named for convenience.
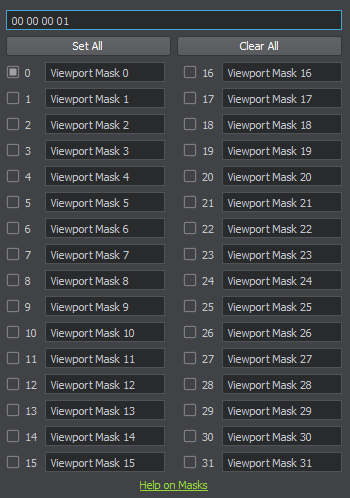
The masks are compared bitwise using logical conjunction, so if two masks have at least one matching bit enabled, they match and, therefore, the entity is subject to the effect.
For instance, you can filter out certain objects (e.g. tooltips) for reflections by adjusting the Reflection Viewport Mask:
For more details and usage examples:
- Proceed to the Bit Masking article
- Watch the dedicated video tutorial
Optimization Tools#
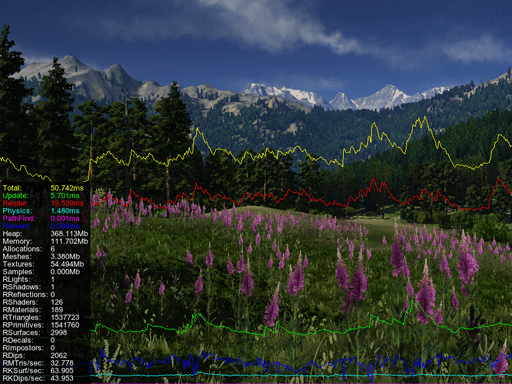
All runtime spikes, bottlenecks, and performance issues can be tracked using the built-in optimization tools:
-
Performance Profiler, an analog for the Profiler tool in Unreal Engine, displays performance data in a timeline in several modes.
-
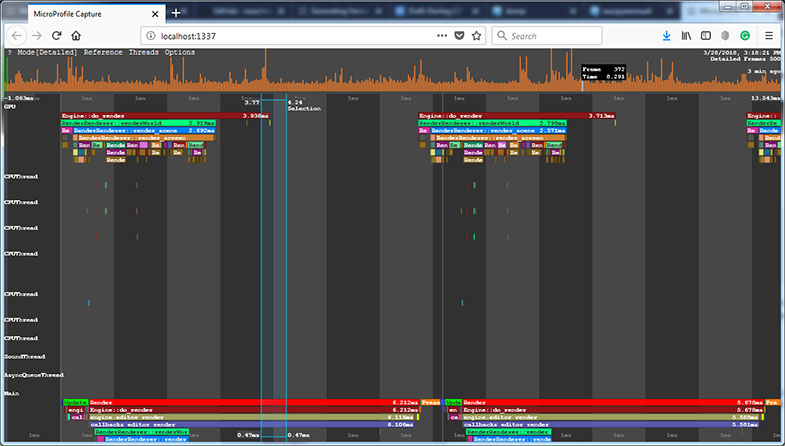
Microprofile, an advanced CPU/GPU profiler with support for per-frame inspection.
-
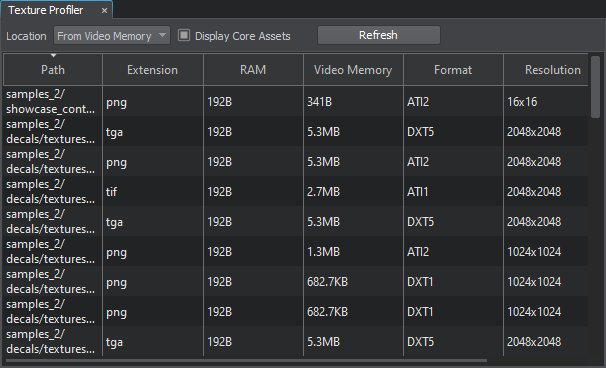
Texture Profiler, a tool helping to check the memory consumption by textures.
See Also#
- Content Optimization section.
