Projected Light Source
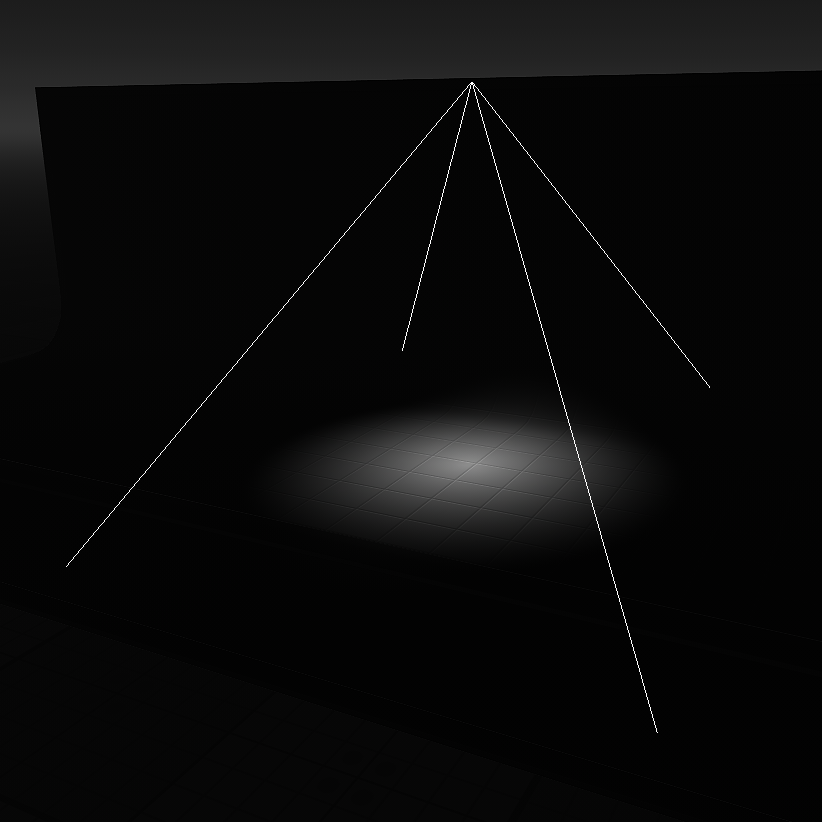
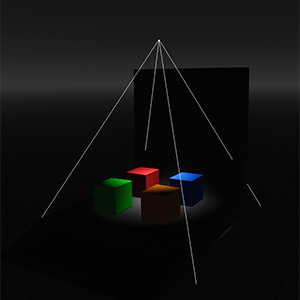
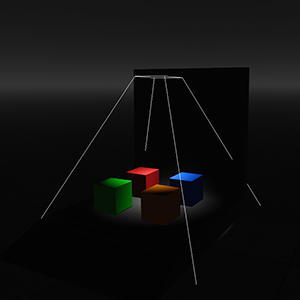
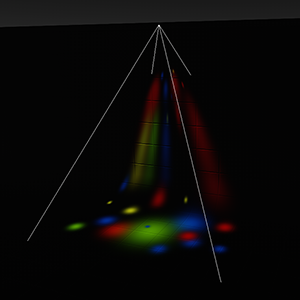
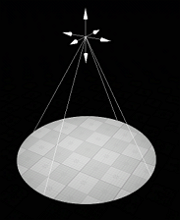
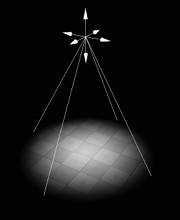
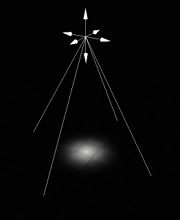
The projected light source casts light from a single point forming a focused beam aimed in a specific direction. This type of light is visualized in a form of a pyramid. Due to its form, it is versatile and can be conveniently used to simulate the numerous light emitting sources: for example, car headlights, flash light, or street lamps.
Projected light sources can produce shadows of accurate perspective projection. They require only a single rendering pass and are performance-cheap if compared to the two previous light source types.
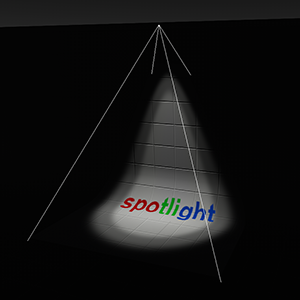
As the projected light can have different shapes, it can be used to create area lights.

See Also#
- A LightProj class to manage projected lights via API
- The part of the Lighting video tutorial dedicated to working with a Projected Light.
Adding Projected Light#
To add a projected light, do the following:
- On the Menu bar, click Create -> Light -> Projected
- Place the light somewhere in the world.

Setting Projected Light Parameters#
Parameters of the projected light can be adjusted in the Light Projected tab of the Parameters window. It includes both the common parameters and the parameters specific for the projected light source. The specific ones are described below.
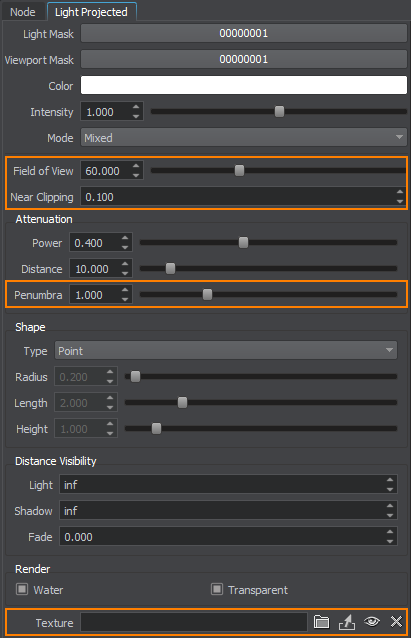
Light Settings#
| Field of view | A field of view of the projected light. This parameter defines the angle of the light clipping in range from 1 (only a very narrow segment is illuminated) to 175 degrees (the whole hemisphere is lit).
|
||||||
|---|---|---|---|---|---|---|---|
| Near clipping | The near clipping plane that truncates the light pyramid to necessary extend. This parameter adjusts the distance relative pyramid vertex for cutting off the top surface. The default 0.001 fits to represent a very small snip emitting the light.
|
||||||
| Texture | An arbitrary 2D texture that is projected onto the scene. All the surfaces receiving the formed light pattern are redrawn in additional rendering pass, required because of manipulations with texture matrix.
|