Lights Optimization
Light sources in the scene (especially, if there are a lot of them) are resource-consuming. For example, depending on the light source type, calculation of shadows casted by the lit objects may require up to 6 rendering passes. Some type-specific settings of the light sources can affect the performance as well.
The article describes the main techniques that can be used for lights optimization.
Common Lighting Optimizations#
Some optimization approaches differ depending on the type of the light sources. However, there are several common optimizations that can be applied to all light sources in the scene.
Disabling Shadows for Surfaces#
You can simply disable shadows rendering for some surfaces or materials, if possible. For example, it can be done for the farthest LOD surface (when the shadows don't matter).
To disable shadows rendering for a surface:
- In the World Hierarchy window, choose the node and go to the Surfaces section in the Node tab of the Parameters window.
- Select the required surfaces and toggle the Cast Shadow parameter off. To disable shadows from the world light, toggle the Cast World Shadow parameter off.

To disable shadows rendering for a material:
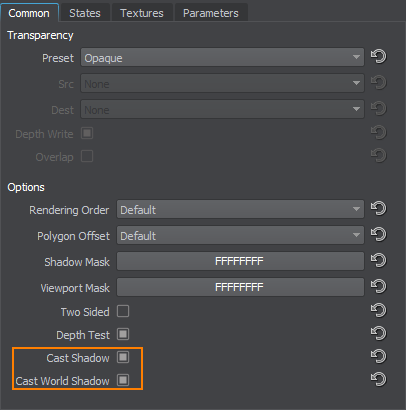
- In the Materials Hierarchy window, choose the material and go to the Common tab of the Parameters window.
- Toggle the Cast Shadow parameter off. To disable shadows from the world light, toggle the Cast World Shadow parameter off.
Using Shadow Masks#
A shadow mask allows you to control rendering of shadows. You can specify which surfaces lit by a light source should cast shadows:
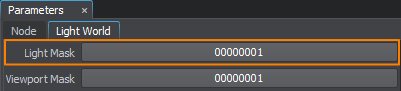
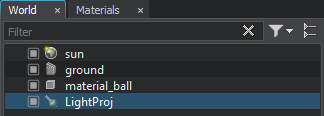
- For a light source, specify the shadow mask: open the World Hierarchy window and select your light source. In the Light Mask field of the type-specific tab (such as Light World, Light Omni and so on) of the Parameters window, specify the shadow mask.
- For all surfaces that are lit by the light source and should cast shadows, specify the shadow mask that matches the light source's mask (one bit, at least).
- For all materials applied to such surfaces, specify the matching shadow mask as well.
 Content Optimization video tutorial.
Using Screen Space Shadows#
For all types of light sources, screen space shadows can be rendered instead of the shadow maps at large distances. It improves the performance, as such shadows don't depend on complexity of the geometry.
You can enable screen space shadows in one of the following ways:
- In the Menu Bar, choose Rendering -> Shadows -> Screen Space Shadows.
- In the Menu Bar, choose Windows -> Settings and then go to the Shadows section. Here you can toggle the Screen Space Shadows parameter on.
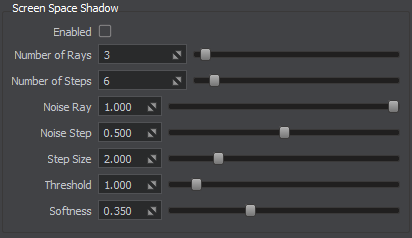
You can also set up per-light screen space shadows in the type-specific tabs (Light World, Light Omni, etc.) of the Parameters window.
Reducing Size of Light Source#
The size of a light source significantly affects the performance: the larger the screen area where the illuminated surface is rendered, the lower the light performance is. So, keep the size as small as possible.
Setting Up Visibility Distances#
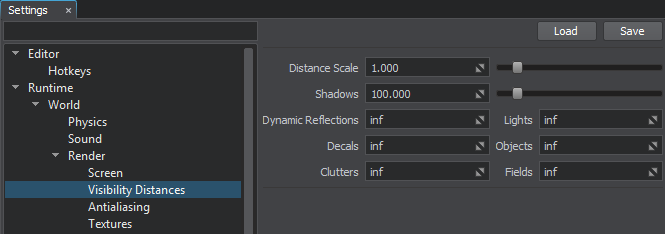
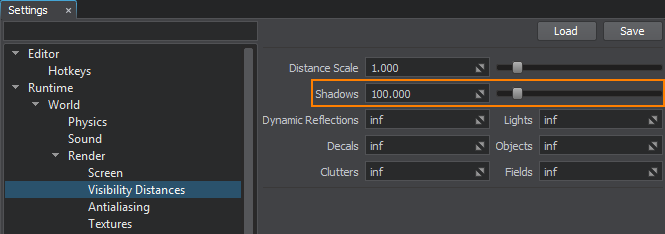
You can control rendering of light sources and casted shadows by specifying the visibility distances.
The global settings for all light sources (World, Omni, Projected) can be specified in the Visibility Distances section of the Settings window.
Rendering Lights on Water#
If your scene contains water object(s), you can disable rendering the light from the light source on them. It will significantly increase the performance.
- Select the light source in the World Hierarchy.
- In the type-specific tab (Light World, Light Omni, etc.) of the Parameters window, go to the Render section and toggle the Water parameter off.

World Light#
A World Light source illuminates all objects that are positioned along the shadows visibility distance thus increasing the number of calculations of shadows. So it is recommended to keep the number of World Light objects in the scene as low as possible. For most purposes other light sources (Projected Light, etc.) are more suitable in terms of project performance.
For the world light, the Engine creates cascaded shadow maps (maximum 4 cascades). Each cascade requires a separate rendering pass.
Omni Light#
Omni Light sources emit light in all directions, which allows reproducing realistic shadow casting.
An omni light source uses 6 cameras that generate shadow maps, so shadowing by this light source requires 6 rendering passes and can sufficiently decrease the performance. So, keep the number of such light sources as low as possible. For better performance, you can also use Projected Light sources instead of the omni ones.
However, there is a way to use a lot of omni light sources in the scene without negative impact on the performance: you should disable shadows for them (not screen space shadows). As the Engine uses tile rendering for the omni lights without shadows, they will be grouped and rendered in batches, decreasing the number of DIP calls and making the omni lights the fastest light sources in the scene.
You can also control rendering of omni lights and casted shadows by specifying visibility distances for the light sources. When the camera is located at a given distance from the light source, it is turned off. The same can be specified for the casted shadows:
- Open the World Hierarchy window and select an omni light source.
- Go to the Light Omni tab in the Parameters window and specify the Distance Visibility Settings.
Projected Light#
Projected Light sources cast light from a single point forming a light pyramid. Such light sources produces shadows that require only 1 rendering pass, so they are performance-cheap.
However, the influence of these light sources on performance can be also reduced by specifying visibility distances for the light sources and the casted shadows:
- Open the World Hierarchy window and select a projected light source.
- Go to the Light Projected tab in the Parameters window and specify the Distance Visibility Settings.
Voxel and Environment Probes#
Voxel Probe light source provides static voxel lighting and shading on an object inside the probe by using a prebaked 3D lighting map. Voxel Probe is a required object for baking indirect lighting from light sources in static mode.
Using the voxel probes as insets inside the other voxel probes significantly decreases the performance. Moreover, if you add several nested voxel probes with coinciding size, the visual result will be the same as if you add a single voxel probe. However, the performance will drop. So, if possible, try to avoid such situations.
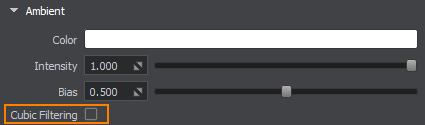
The main setting of the voxel probe that significantly decreases performance is Cubic Filtering. Disable it, if the linear filtering for ambient lighting is enough.
Another setting that also affects the performance is Reflections. When toggled on, the voxel probe is used for both ambient lighting and reflections. We recommend you to use Environment Probes for reflections simulation.
Environment Probe light source provides ambient lighting and reflections on an object inside the probe by using a cubemap. However, the main purpose of the environment probe is reflections rendering. For lighting, we recommend you to use Voxel Probes: just toggle the Ambient lighting off in the Environment Probe tab of the Parameters window.
Such an approach allows improving the application performance without loss of visual quality: using both the environment and voxel probes for ambient lighting and reflections rarely gives notable visual improvement.
Fake Lighting#
When you need only the visualization of the light source without illumination, you can use one of the tricks described below.
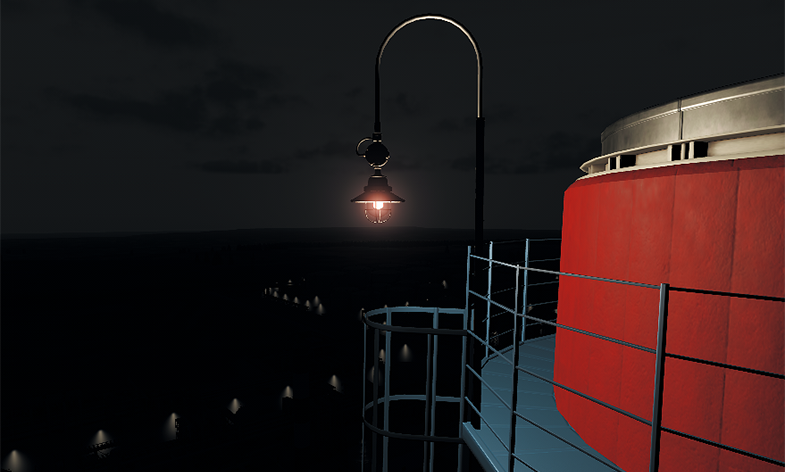
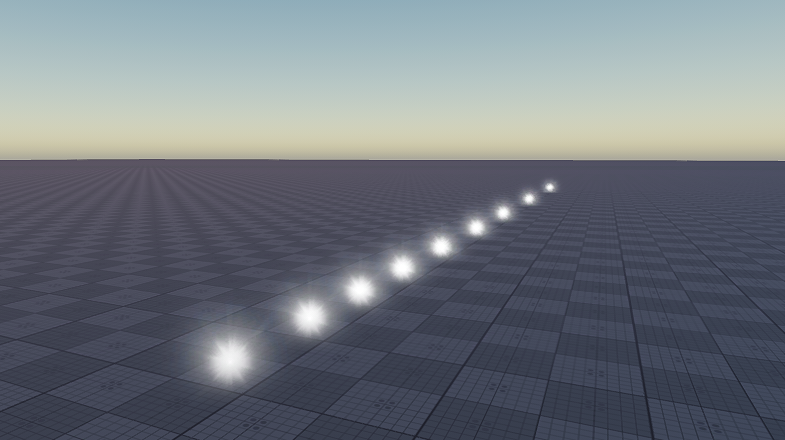
Using Billboards#
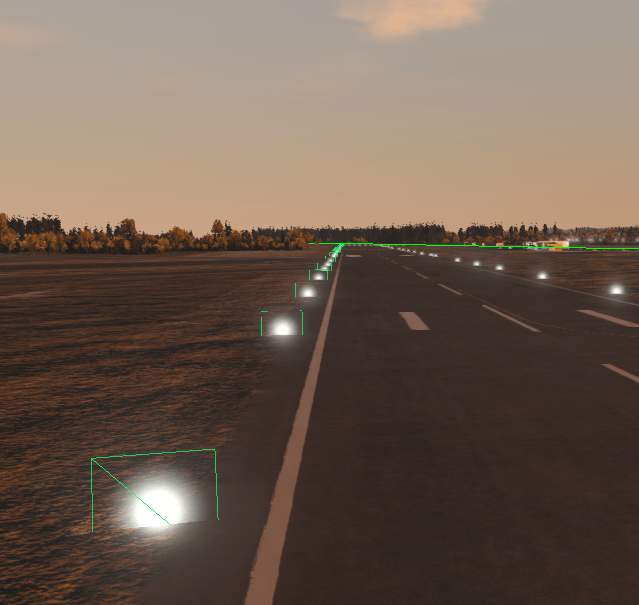
Billboards can be used to simulate small light sources observed from large distances. In such cases, only visualization of the light sources matters. For example, you can use billboards for takeoff runway lights. They don't produce any light, but look like real lights.
To create a billboard that replaces the real light source, perform the following:
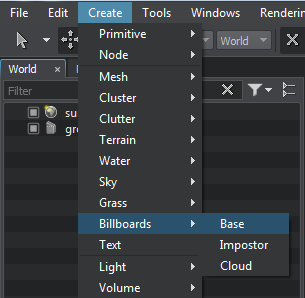
- Add a billboard object to the scene by choosing Create -> Billboards -> Base in the Menu Bar and place it somewhere in the world.
- Assign a material inherited from the billboards_base material.
- Specify the following settings for this material:
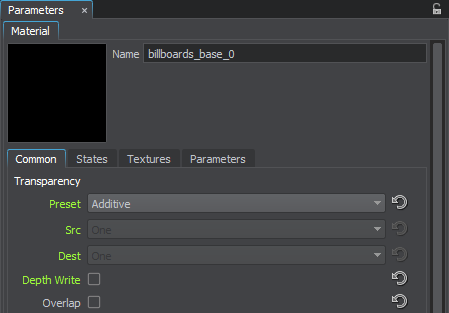
- In the Common tab, set the blending Preset to Additive and toggle the Depth Write parameter off to avoid obstructing objects behind the billboard.
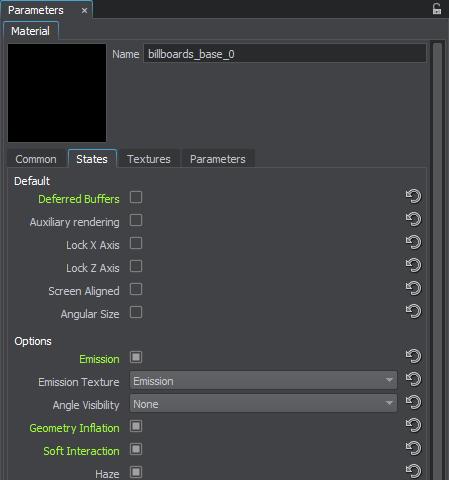
- In the States tab, disable writing into the Deferred Buffers and enable the following states:
- Emission to provide the emission effect by using the corresponding texture.
- Geometry Inflation to limit the minimum billboard screen size to a fixed value and, therefore, to provide visibility from far distances.
- Soft Interaction to make interaction of the billboard with other objects in the scene softer and avoid artifacts.
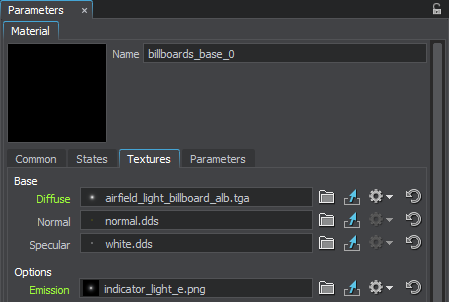
- In the Textures tab, specify the Diffuse and Emission textures.
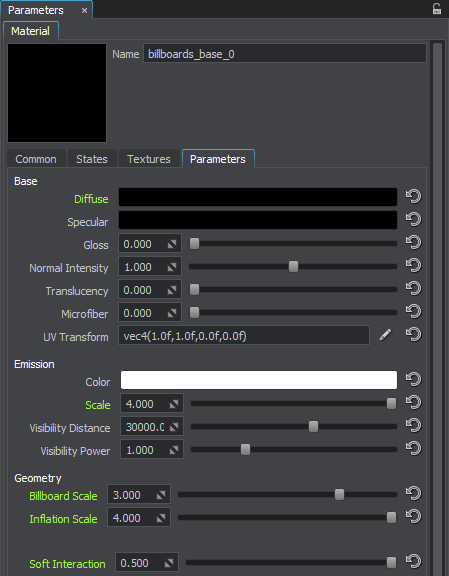
- In the Parameters tab, specify the following values:
- Set the Diffuse color multiplier to black, so that the billboard become fully transparent.
- Increase the Emission Scale to make the billboard brighter.
- Increase the Geometry Parameters to scale the size of the billboard and limit the minimum size of the billboard.
- Correct the Soft Interaction value, if necessary.
- In the Common tab, set the blending Preset to Additive and toggle the Depth Write parameter off to avoid obstructing objects behind the billboard.
In the result, you will get the billboard that can be used to simulate a small light source at large distance. You can add any required number of billboards to the existing billboard object: in the Billboards tab of the Parameters window, select the created billboard in the list and click Add.
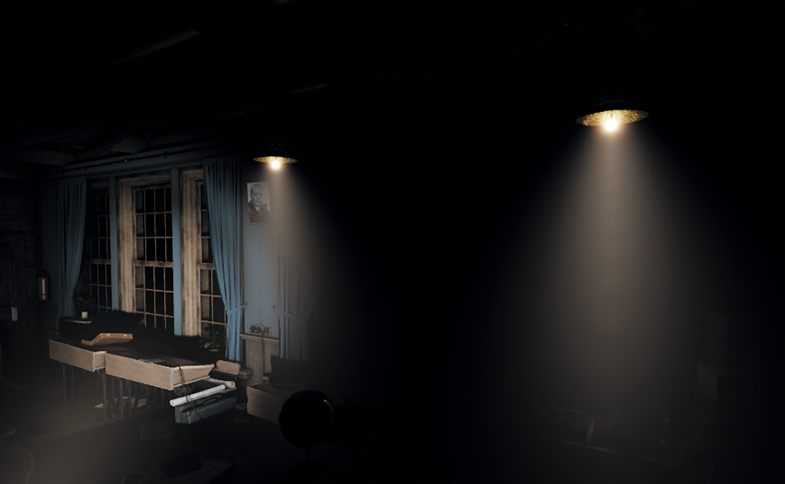
Using Volumetric Objects#
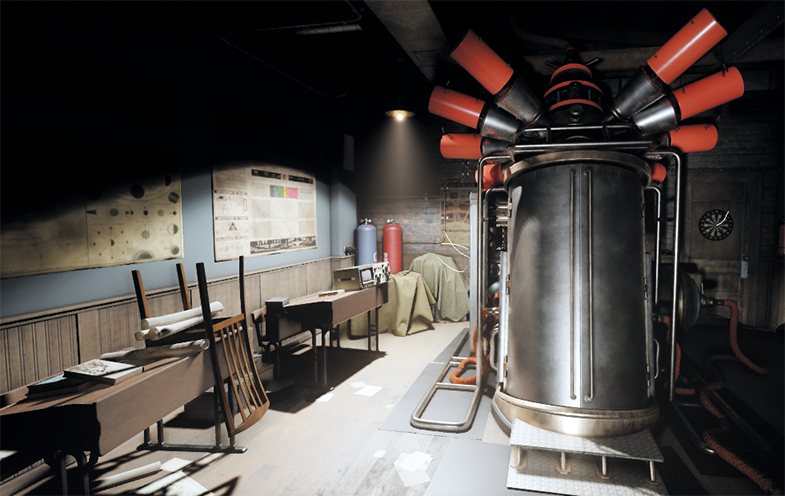
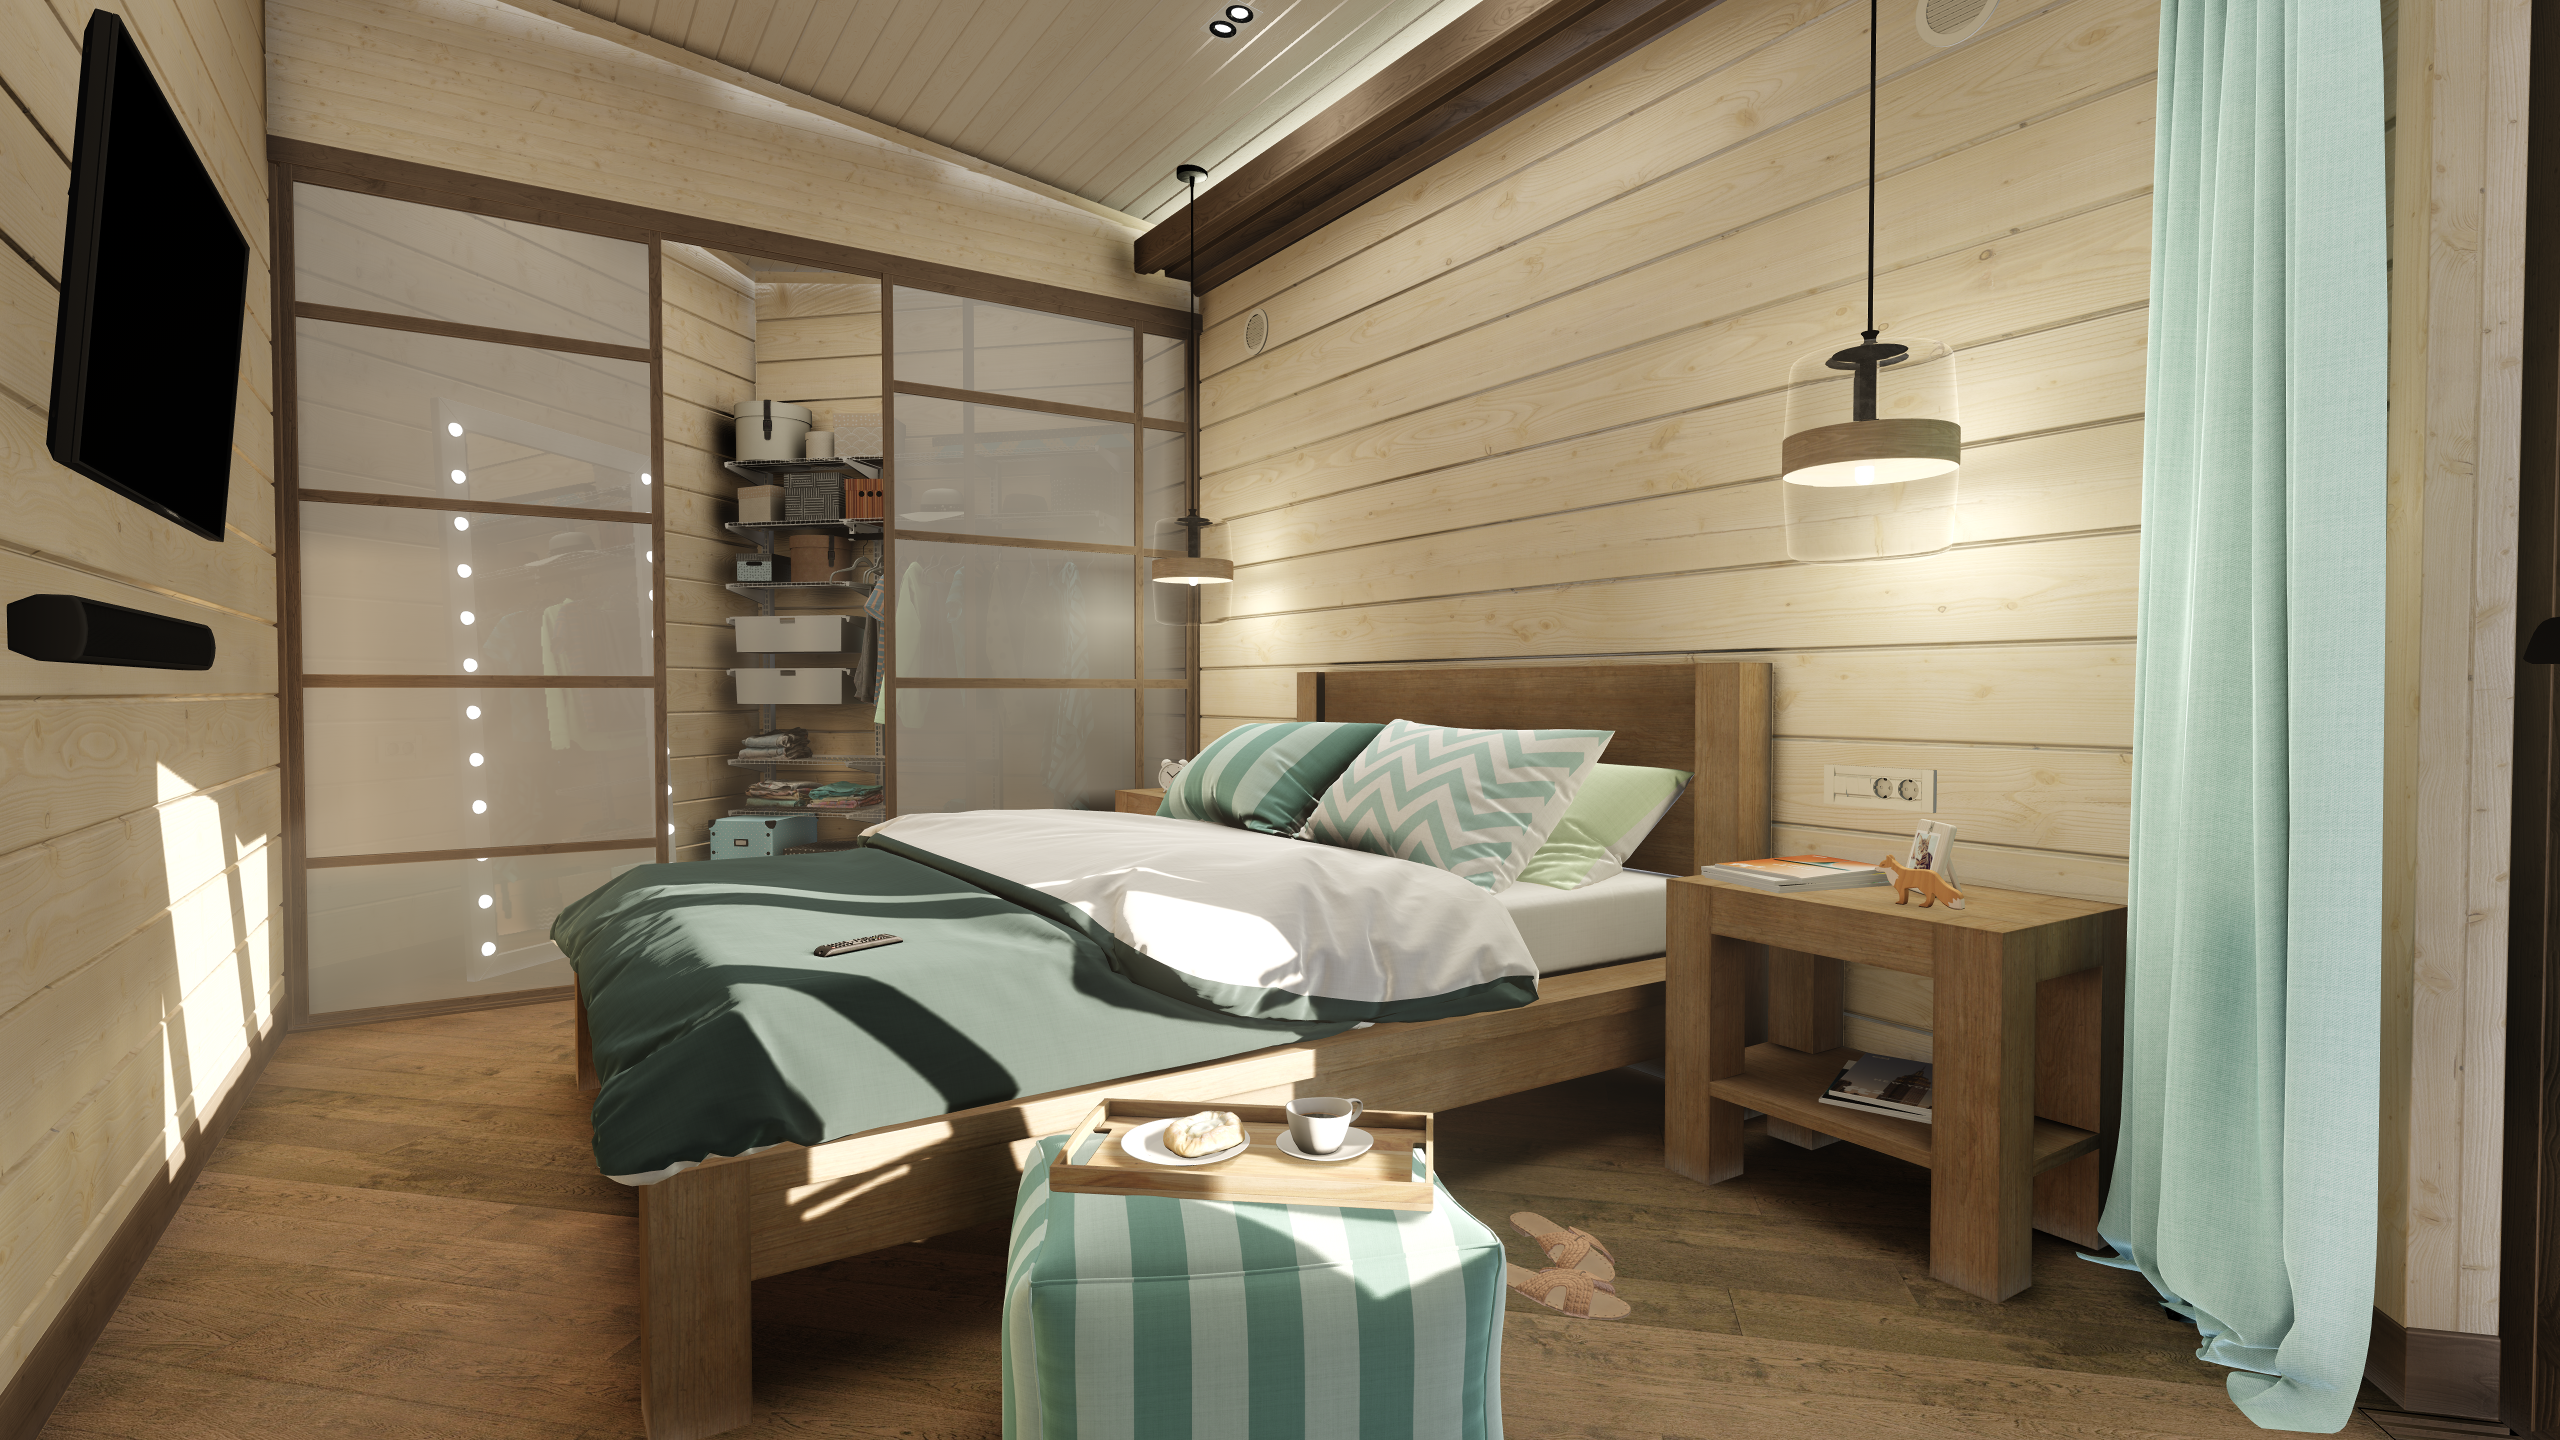
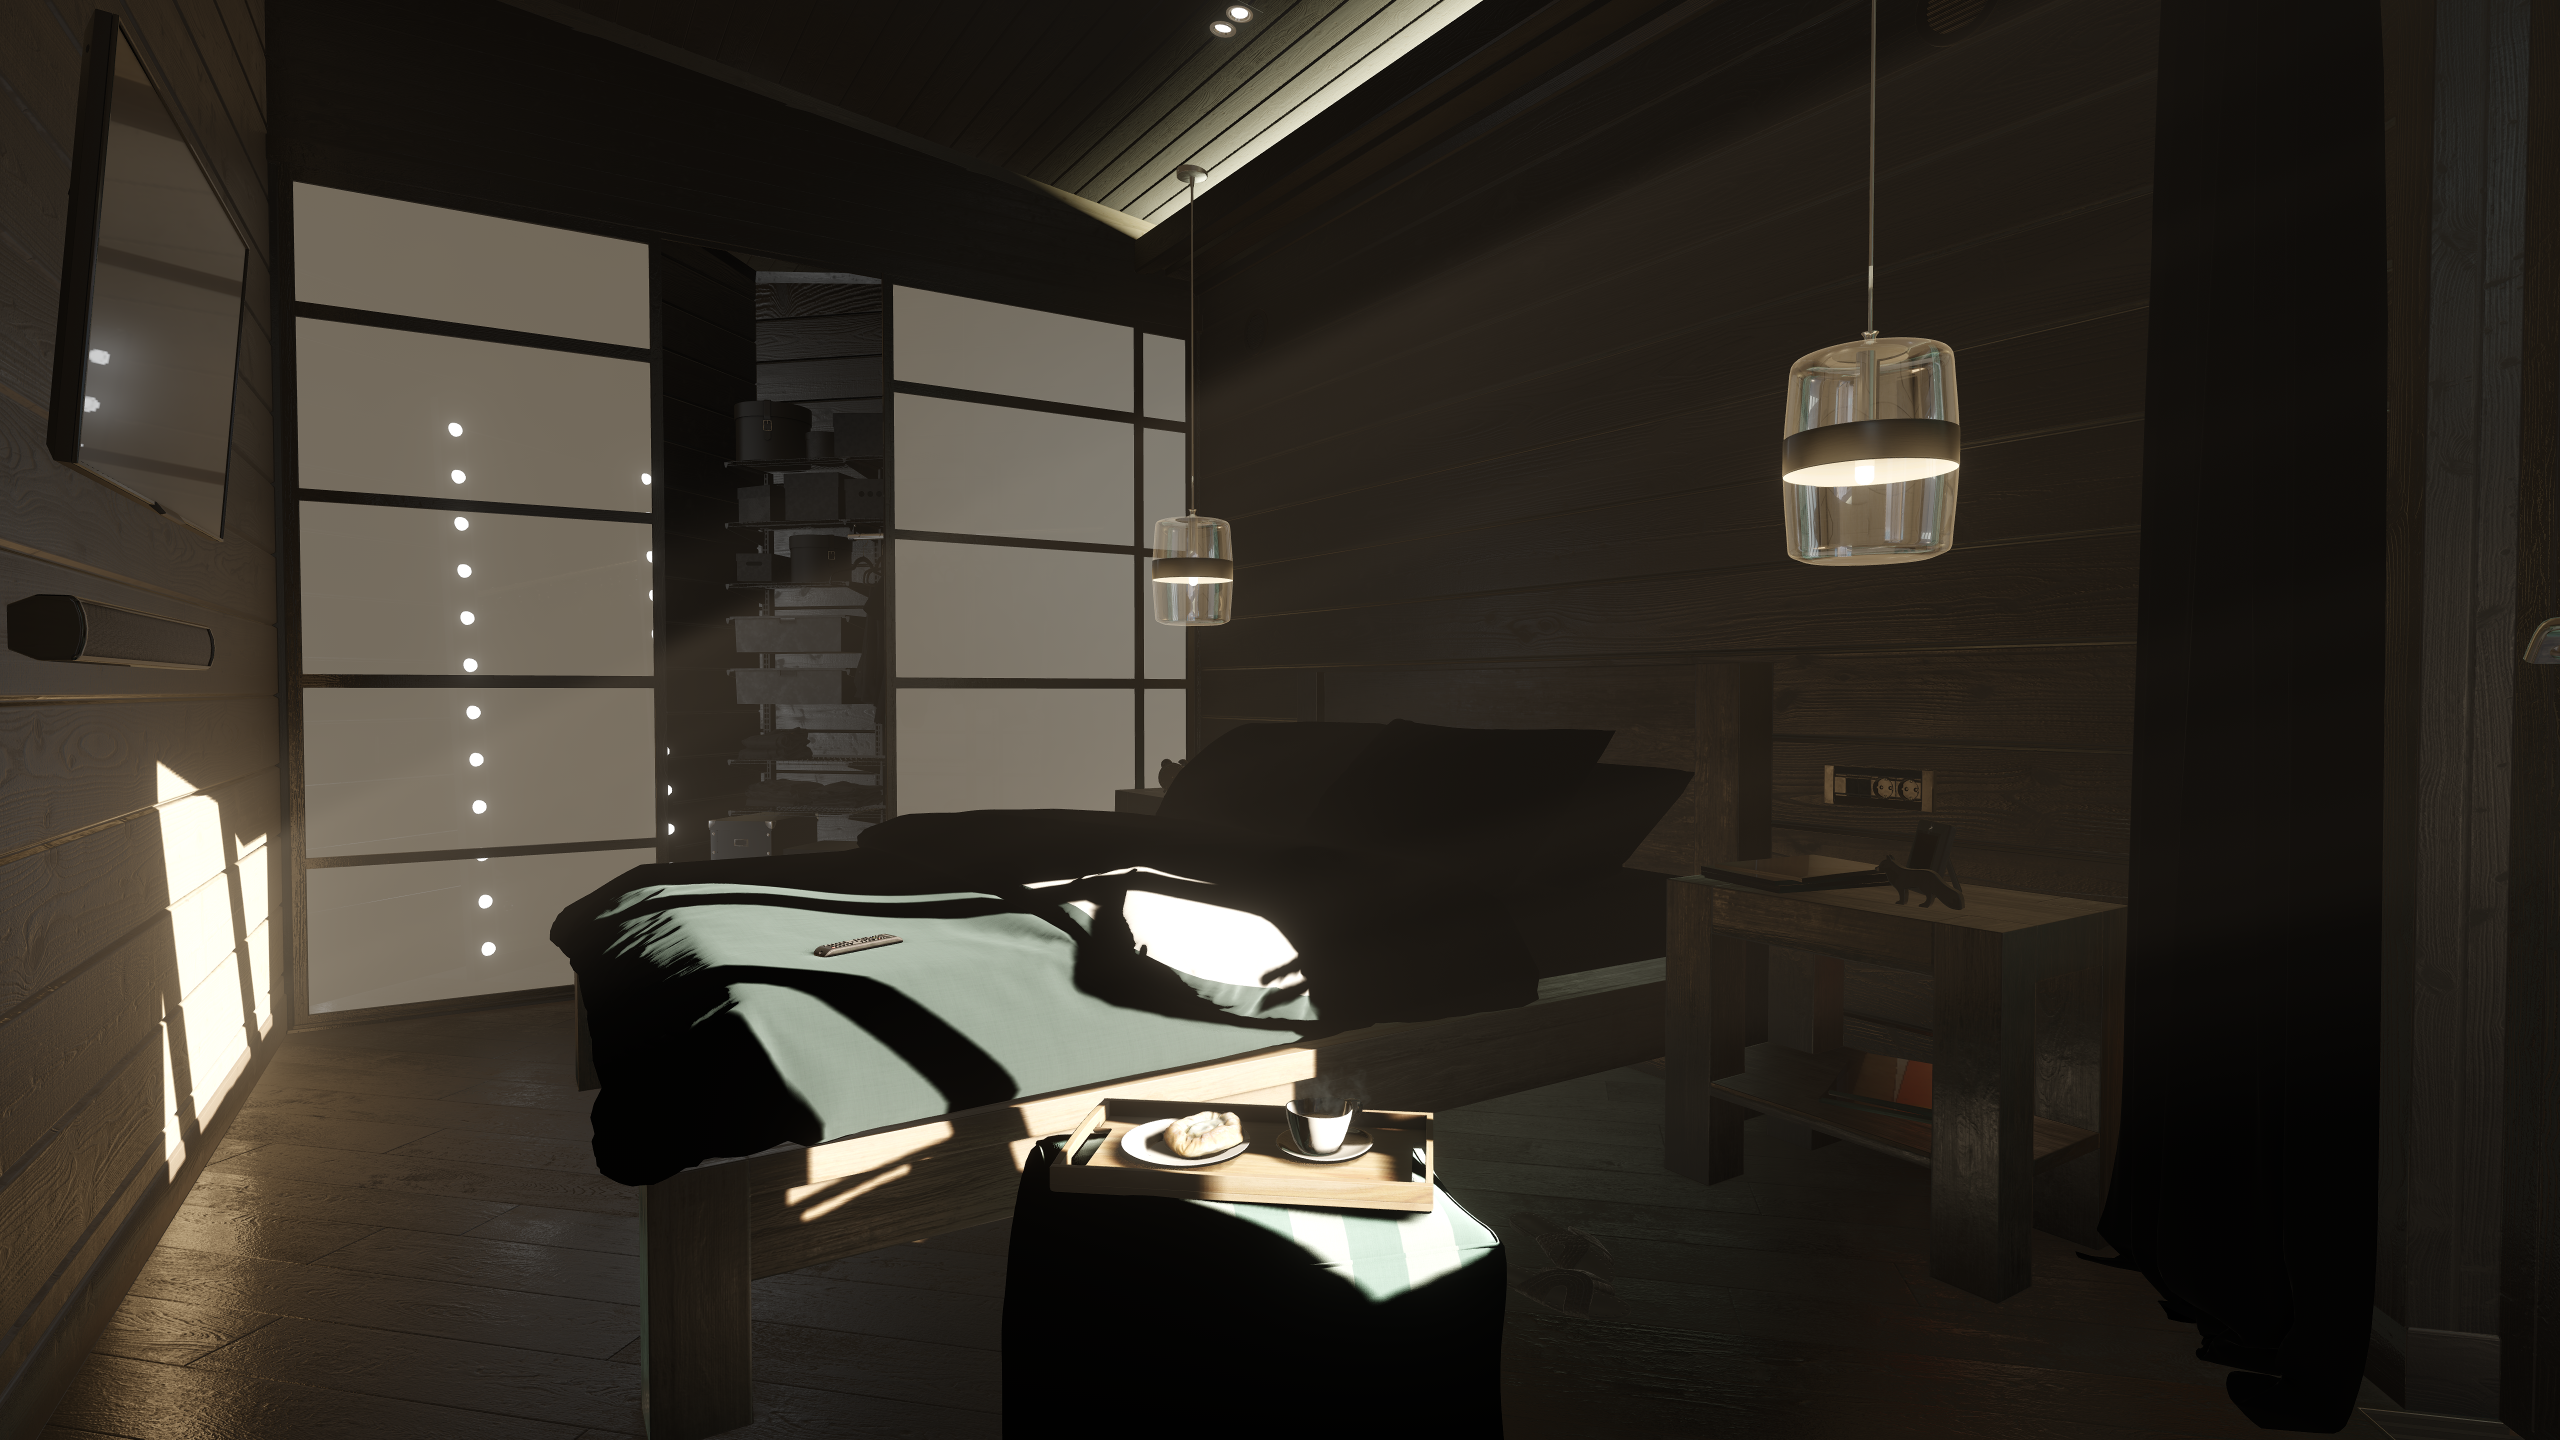
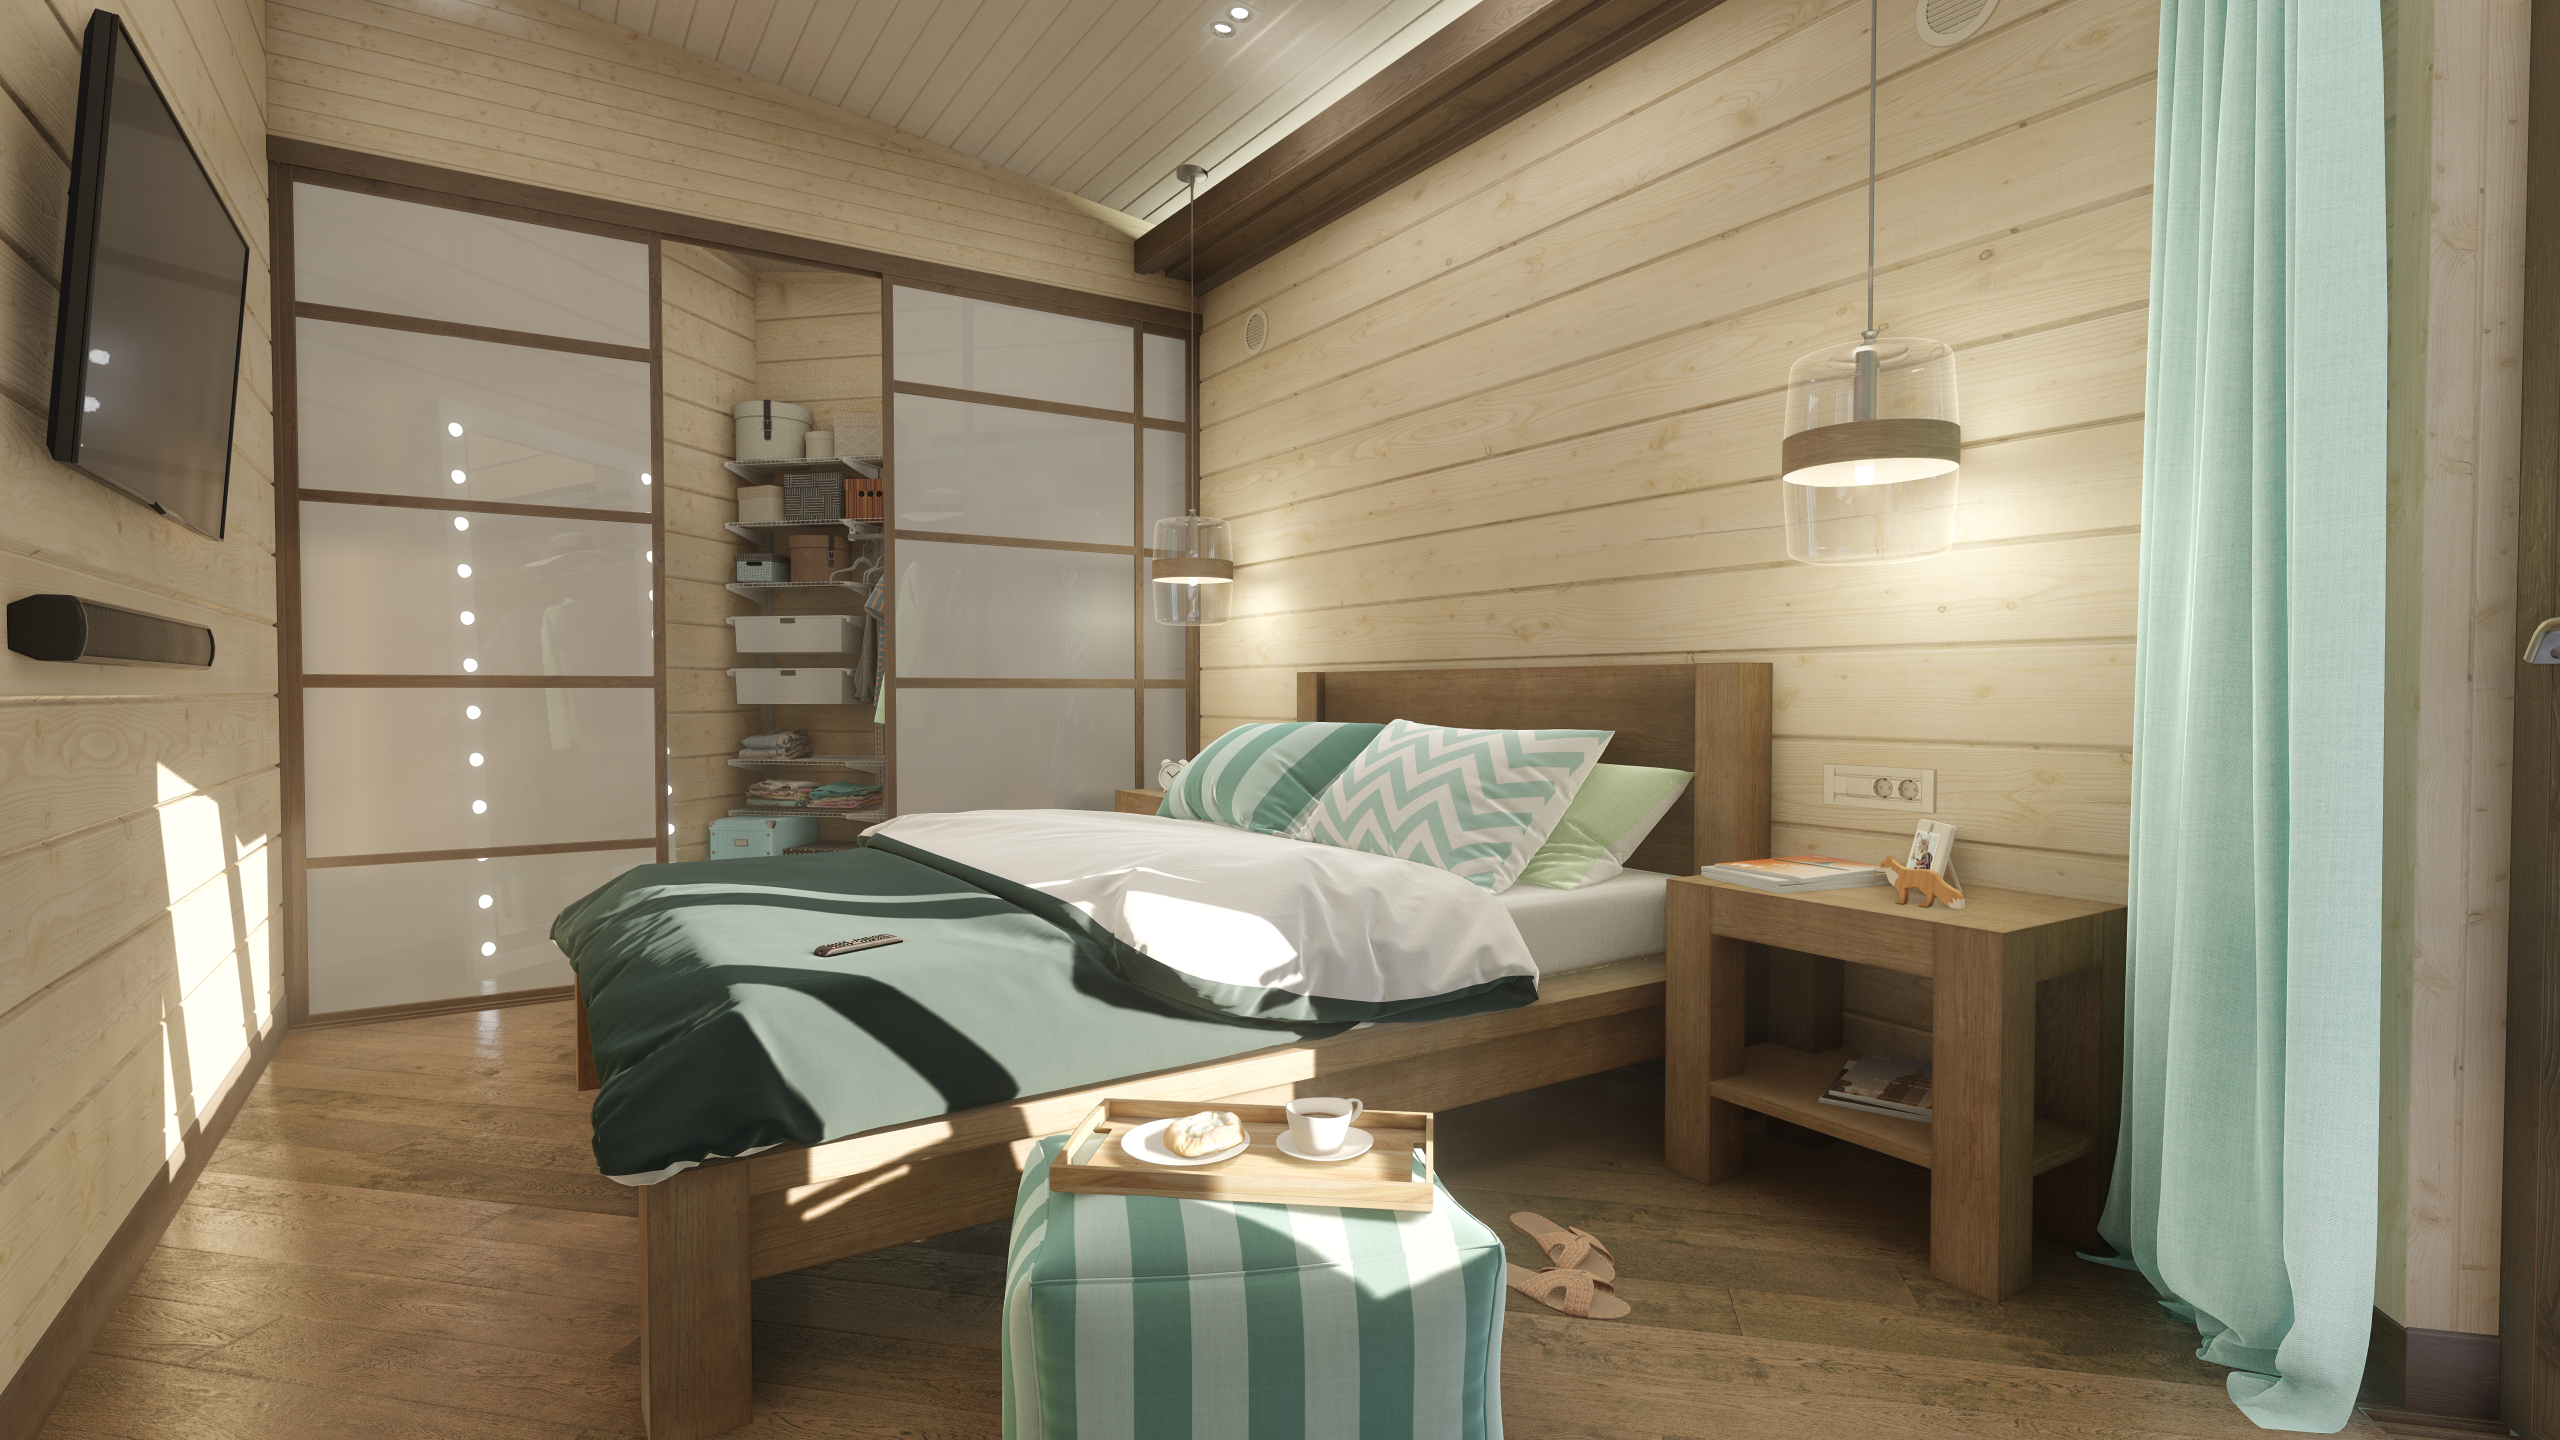
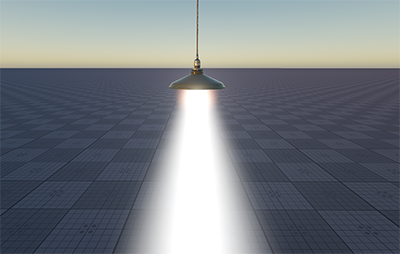
Volumetric objects can be used to simulate visible light volumes instead of using the real light sources. Such objects should be used when you don't need illumination. For example, by using volumetric objects, you can create light spheres, beams or volumes, imitate sun beams falling into a room through openings, and so on.
To create the same light volumes, perform the following:
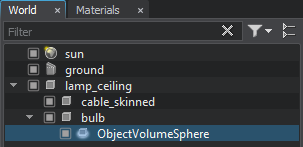
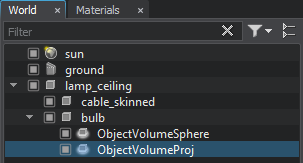
- Add a volume sphere object by choosing Create -> Volume -> Sphere Light in the Menu Bar and make it a child of the node that should emit the light.
- In the Volume Sphere tab of the Parameters window, change the size of the sphere to 0.15.
- In the Node tab of the Parameters window, set coordinates of the volume sphere to the parent node and then slightly correct the sphere position, so that it looks realistic.
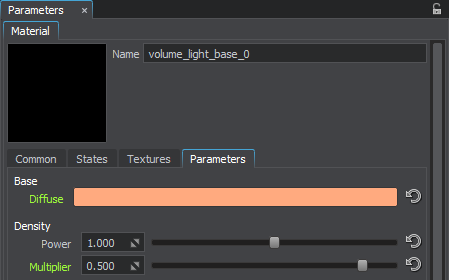
- Assign a material inherited from the volume_light_base base material and specify the required values in the Parameters tab. For example, you can set the color of the light sphere and scale the density of the light.
- Add a volume projected object by choosing Create -> Volume -> Projected in the Menu Bar and make it a child of the node that should emit the light.
- In the Node tab of the Parameters window, set position and rotation of the volume projected to the parent node.
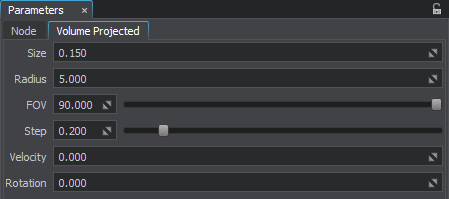
- In the Volume Projected tab of the Parameters window, specify the required parameters of the light beam. For example, change its size, radius, field of view and step.
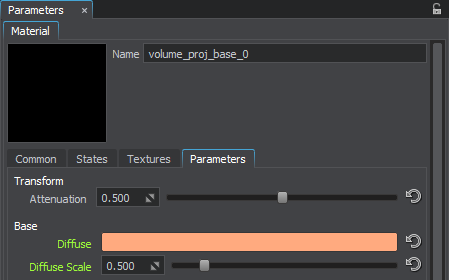
- Assign a material inherited from the volume_proj_base base material.
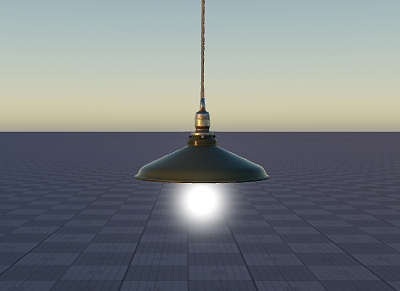
- In the Parameters tab of the material, set the color of the light beam the same as for the volume sphere and decrease the diffuse scale to 0.5 to make the color less bright.
In the result, you will get a light sphere and beam imitating the real light source.