Starting with Sandworm
This chapter gives an overview of the Sandworm tool interface.
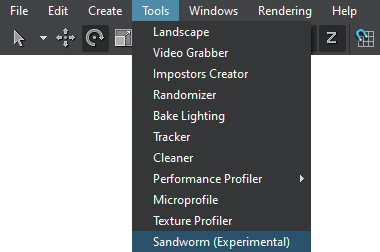
Opening the Sandworm Tool#
To open Sandworm, in the main menu select Tools -> Sandworm.
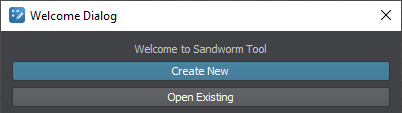
The following window will open:
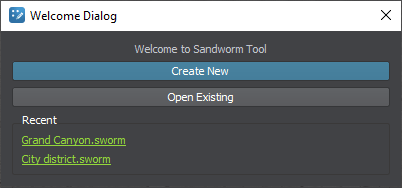
If you have already worked with Sandworm and created projects, you'll also see a list of links to your recent projects for quick access:
By clicking the Create New button, the Project Configuration window opens:
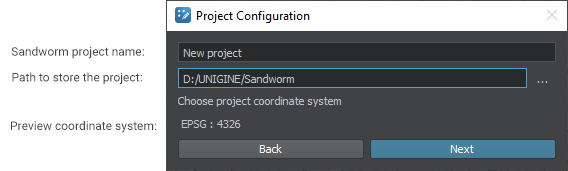
The coordinate system you choose here is set for the convenience of preview display. While for data export you should specify only a projected coordinate system, because the generated landscape is exported to Object Landscape Terrain, which is actually a flat (i.e. not geospherical) area.
Sandworm Interface#
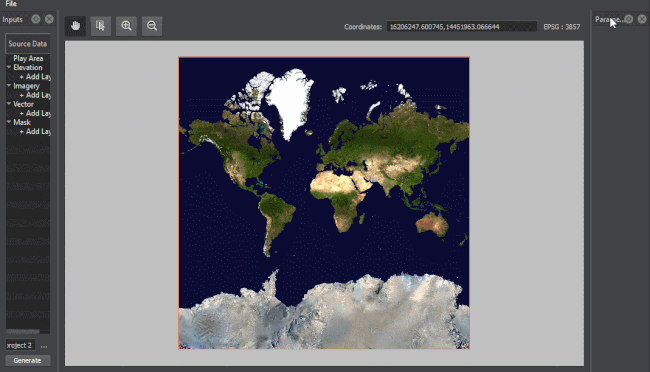
The Sandworm tool interface has 3 main panels: Inputs, Preview, and Parameters.
- In the Inputs panel, you specify the Elevation (height) and Imagery (albedo) sources for the terrain generation, as well as Vector and Mask data sources for generation of details, vegetation, buildings, etc. if necessary.
- In the Preview panel, you can specify the play area of the landscape generation, select the display projection, and preview the added inputs.
- The Parameters panel contains parameters of the selected settings or information of the selected data source.
The location of panels is not fixed, and they can be rearranged as necessary.
Inputs Panel#
The Inputs panel contains all the added layers. To work with multiple layers simultaneously, multiselection is provided.
Right-clicking on a layer opens the context menu:
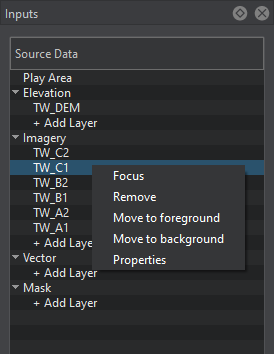
| Focus | Focuses the view in the Preview panel on the selected layer. |
|---|---|
| Remove | Removes the selected layer or layers. |
| Move to Foreground | Moves the selected layer (or layers of one type) to the foreground in the Preview panel. |
| Move to Background | Moves the selected layer (or layers of one type) to the background in the Preview panel. |
| Properties | Displays the properties of the source file for the selected layer such as file name, the coordinate system the source file uses, the source file density in meters per pixel, and geographic bounds of the source file. |
Renaming of layers is done by double click + focus click on the layer name.
Preview Panel#
The Preview panel visualizes the available information. The following controls are available:

 |
Panning mode. Allows only panning in the Preview panel, without selecting any layer. |
|---|---|
 |
Selection mode. Allows panning and selecting the foreground layers in the Preview panel. |
 |
Zoom-in button. The preview can also be zoomed in by scrolling the mouse wheel up. |
 |
Zoom-out button. The preview can also be zoomed out by scrolling the mouse wheel down. |
| Coordinates | Current coordinates of the mouse cursor. |
| Coordinate System | The coordinate system selected for preview. Can be changed by clicking on it. |