Adding Water
The following tutorial gives step-by-step instructions on creating an ocean with waves, including:
- Creating dynamic caustics and foam.
- Setting up reflections on the water surface.
- Setting up refraction for submerged object.
- Adding underwater fog effect.
- Setting up subsurface scattering for additional play of colors.
Step 1. Prepare World
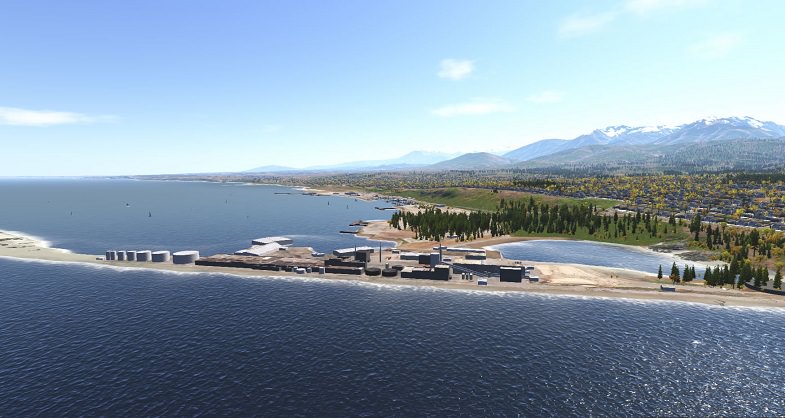
Before adding and setting up water, you should prepare a world. If you already have a world prepared (for example, the terrain, the sun and the atmosphere), you can use it for completing this tutorial. Otherwise, you can slightly modify the PortAngeles Demo (available in the Downloads section of the developer.unigine.com portal): disable the ocean node in the nodes hierarchy list of the Nodes window.
Also if you use your own project to complete the tutorial, you may need to copy material libraries and textures from the PortAngeles Demo into your project. In the tutorial, you will find the required information on how perform this correctly.
Within this tutorial the modified world of the PortAngeles Demo will be used. If you have chosen the same variant, please, perform the following in order do change settings to the default ones:
- On the Menu bar, choose Windows -> Render settings and click
 opposite to the Environment field in order to change the environment texture to the default one. During this tutorial we will learn how to create a new environment texture.
Step 2. Add Water
Due to its reflectance properties, the water is usually set up after or parallel to the light scattering.
- On the Menu bar, choose Create -> Objects -> Water Global and place the water on the required level in the world.
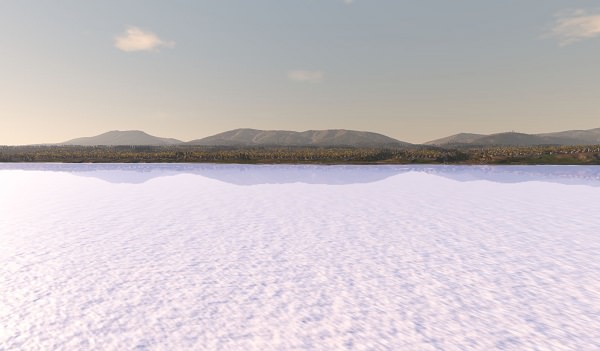
Here's water that is almost colorless with default settings: with the water_base material assigned and dynamical reflections enabled.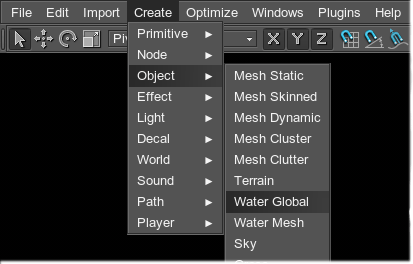 NoticeWater looks a little bit pinky because of the sun settings.
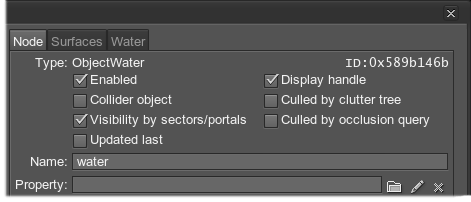
 - Press N to open the Nodes window and rename the node, if necessary.
Step 3. Assign Water Material
Create the custom water material so it can be tweaked.
- Press M to open the Materials window. For further steps, there should be present a custom library associated with the world (see how to add material library).
NoticeIf you use the PortAngeles Demo to complete the tutorial, all the required libraries are loaded automatically. Otherwise, you will need to load the data/portangeles/materials/environment.mat library. It's better to copy this library and all the required textures stored in the data/portangeles/textures/environment folder into your project folder and fix paths to textures in the material file.
- Select water_base in the list of materials and click inherit the material.
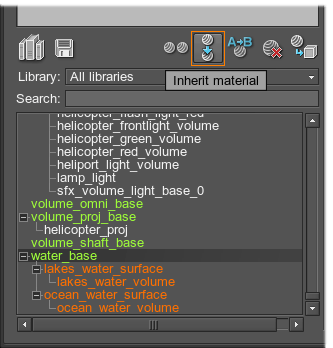
- Choose material library where to save a new material and specify its name.
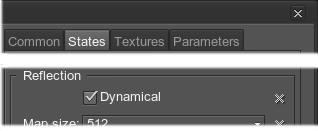
The new material water will appear in the list of materials. By default, the Dynamical reflection is enabled for the new material, which means that reflection is not baked into a static map, but generated in run-time.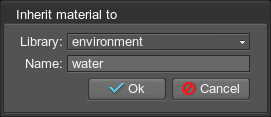
- Assign the created material to the object water. Press N to open the Nodes window and go to the Surfaces tab.
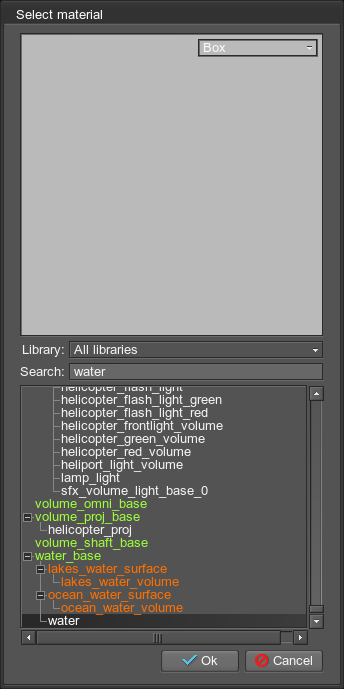
Holding Shift or Ctrl, select the surfaces named surface and volume and load the new material for them.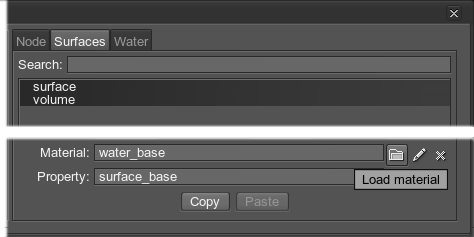
- Select the created water material in the list and click Ok:
Step 4. Set Environment Lighting
Environment lighting contributes a very important part into the resulting water color, so it should be set prior to actually adjusting the water object. Otherwise, without environment light, the water mass will appear black with colored specular highlights.
- The environment texture is tiny in size, so it is reasonable to disable all small and unessential objects before grabbing it.
In our case, that will be the following nodes and their children: port_angeles, port_angeles_airfield, port_angeles_port, all child nodes of the 01_02 terrain node.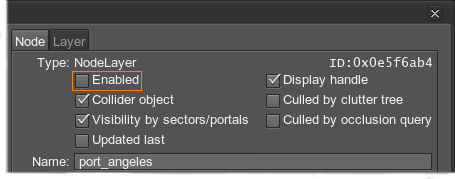
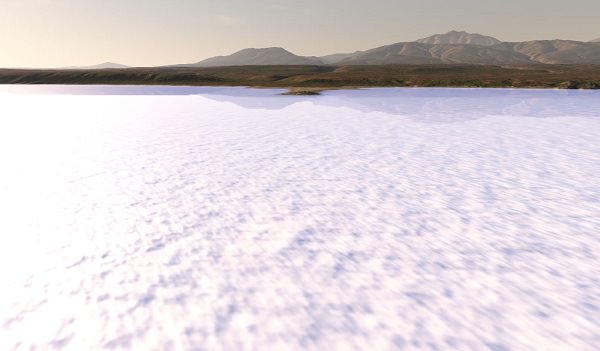
- Choose the camera position somewhere in the middle, so that main components of the scene (the sky, water and ground) are visible.
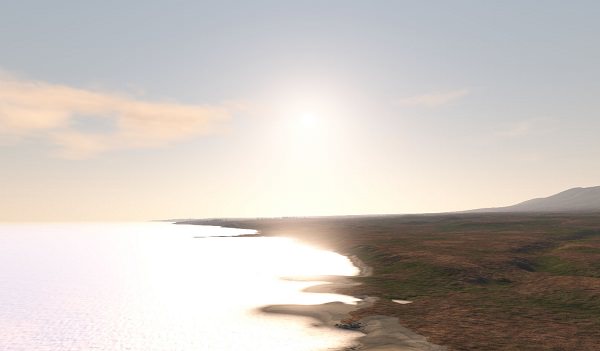
- Press T to open the Tools window and go to the Grabber tab. In the Mode dropdown menu, select Cube and press the Grab button.
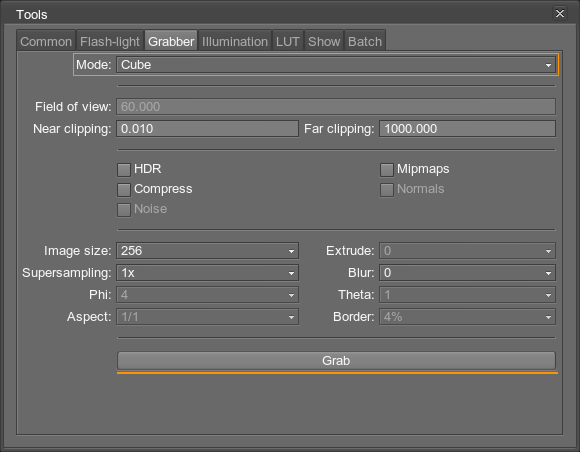
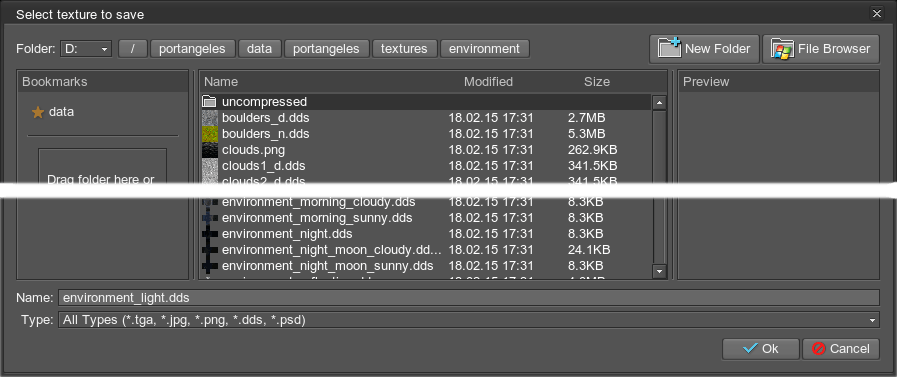
- Save the environment texture in the .dds format:
- Enable all the disabled nodes.
- On the Menu bar, choose Windows -> Render settings, go to the Common tab and click the folder icon to load the Environment texture.
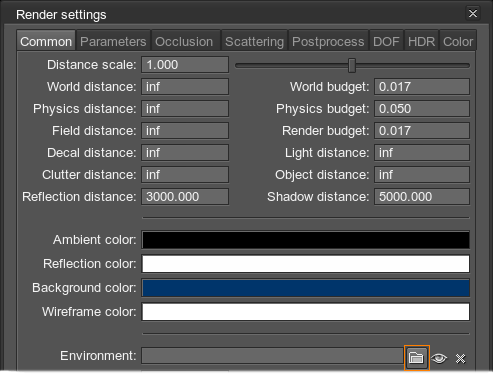
- Select path to the texture.
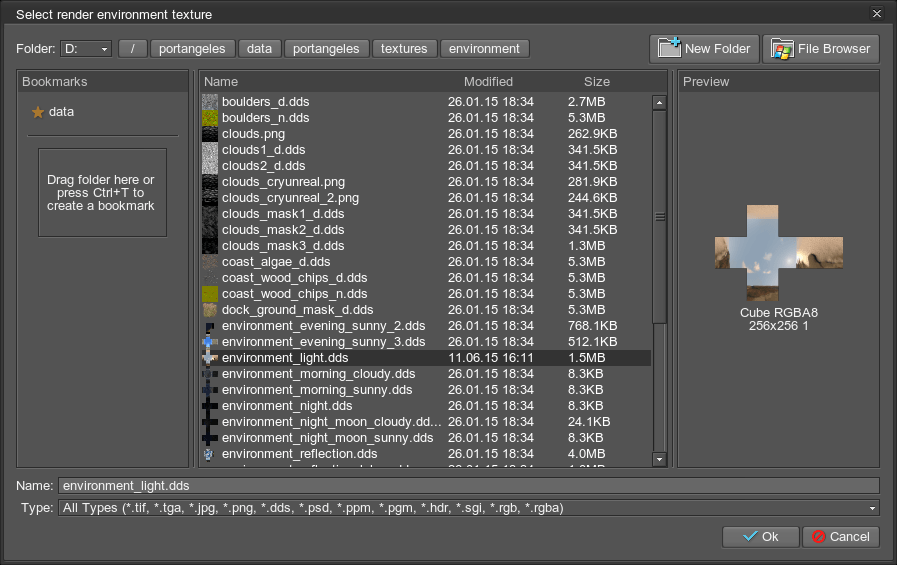 NoticeThe water became brighter - too bright, in fact. HDR reacted to the added environment ambient lighting:Check that environment lighting is enabled: on the Rendering panel, click the Rendering button and choose Features. In the list that opens the Environment lighting should be checked.
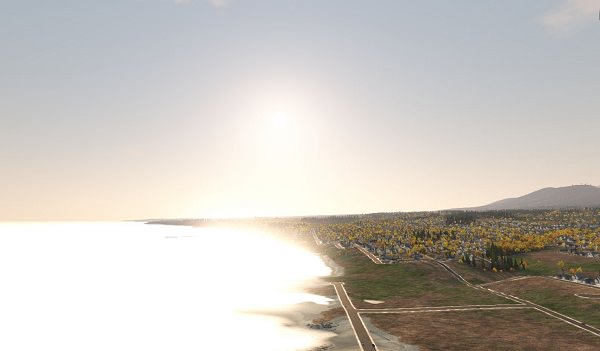
- Slightly decrease the environment light Exposure to 0.75.
That will be the base for tweaking water colors: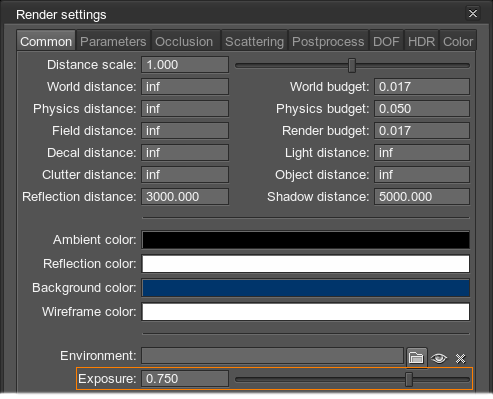
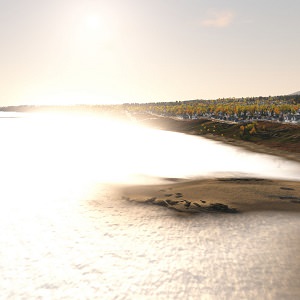
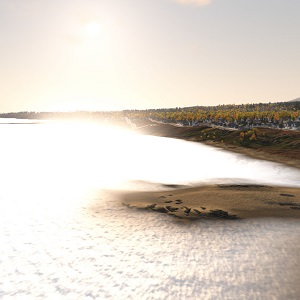 Exposure = 0.966Exposure = 0.75
 - Even with decreased exposure, some objects appear too bright. For example, the shore and water became too bright and dark sunset shadows has lost their intensity.
The environmental exposure can be additionally tweaked for each material (for both the terrain and water materials). Open the Materials window and, for each material, go to the Parameters tab. In the Ambient field, decrease the Environment value to 0.1.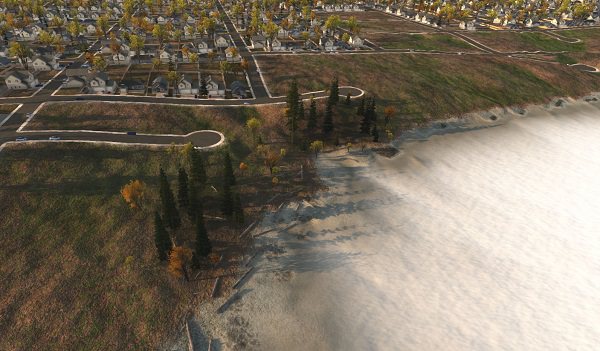
As the result, the shore and water will become darker and shadows will be more intensive:
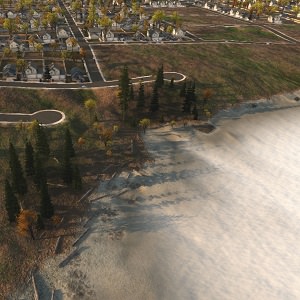
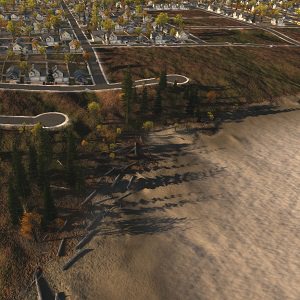 Environment = 1.0 for Both MaterialsEnvironment = 0.1 for Both Materials
Step 5. Tune Water Color and Reflectivity
Now we can get down to tuning our water material.
- Go to the Parameters tab of the Materials window, find the Shading group and set Glossiness to 600 to decrease the highlighted areas on the water surface.
The highlighting has narrowed to the sun path and we can get a better view of the colors to tweak.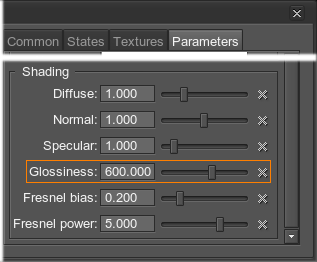
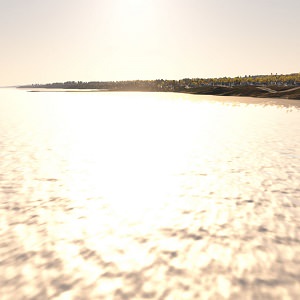
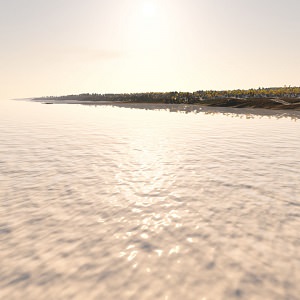 Glossiness = 16Glossiness = 600
 - On the same tab, click the Color field of the Surface group.

- Select black color so that the water surface will be transparent. Other colors can be used if creating muddy water or dense liquids like milk or oil.
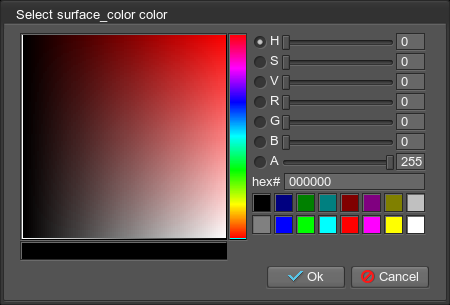

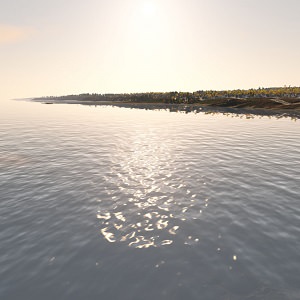 White Surface ColorBlack Surface Color
 - On the same tab, click the Color field of the Volume group to determine the basic underwater color.
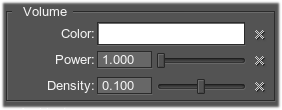
- Select dark blue, as the water color darkens by the sunset.
The water will look deeper (the right picture):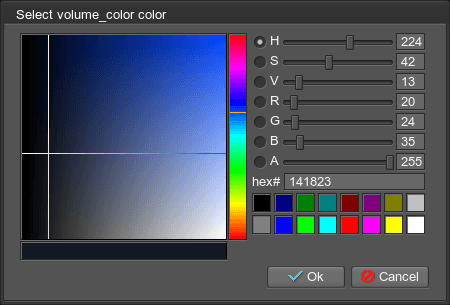
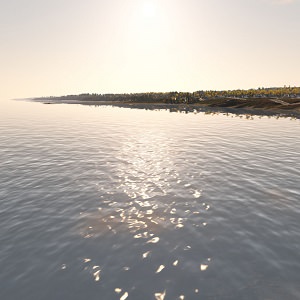
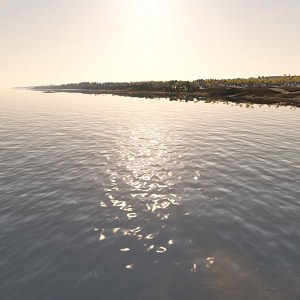 White Volume ColorBlue Volume Color
 - Go to the States tab and enable Subsurface option to allow rendering of the additional subsurface scattering layer.
Subsurface color, which is white is by default, is added to the volume color.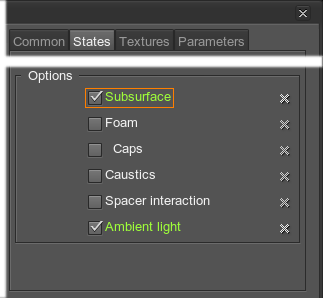
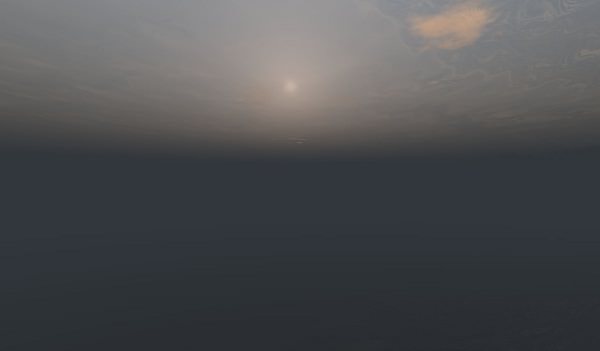
Move down under the water surface to see it clearly: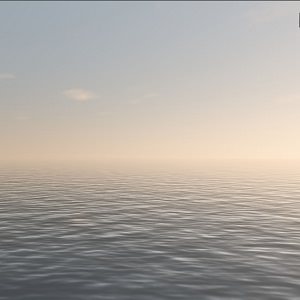
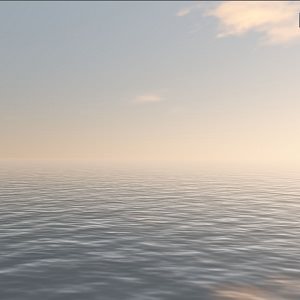 Subsurface DisabledSubsurface Enabled
- Return to Parameters tab and find subsurface parameters appeared. Click the Color field of the Subsurface group.
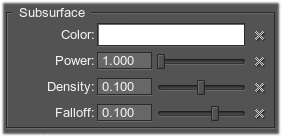
- Select the green color. As the result, you will get a dark-turquoise shade.
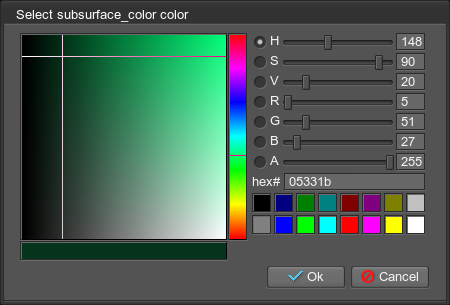
The water surface will become darker as the result: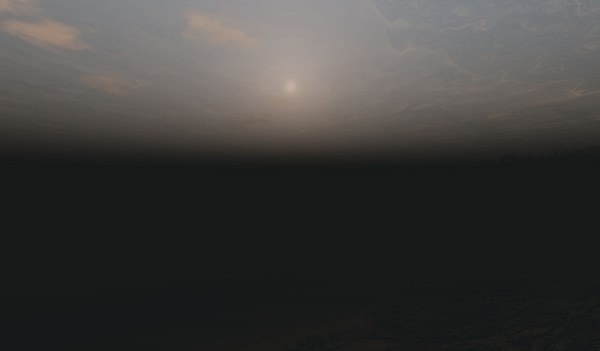

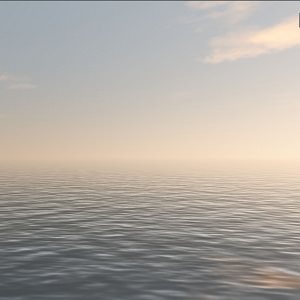 White SubsurfaceTurquoise Subsurface
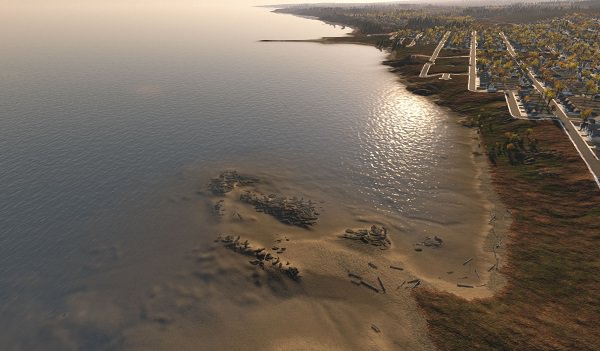
 - Focus on the shore line. We see that the water looks too shallow:
- Increase the Density value of the Volume group to 0.2:
It will redistribute the volume layer closer to the shore: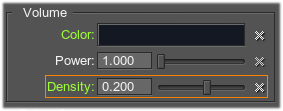
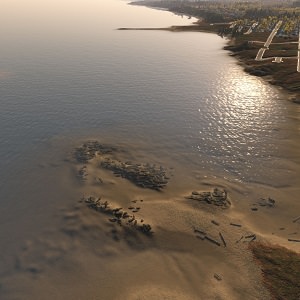
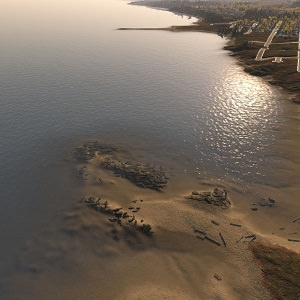 Volume Density = 0.1Volume Density = 0.2
 - Increase the Power value of the Volume field to 1.5:
It will concentrate the volume spread line, giving the effect of deeper waters: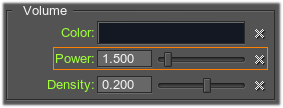

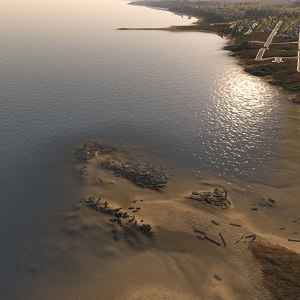 Volume Power = 1.0Volume Power = 1.5
 - Tweak subsurface parameters as well:
- Set the Density value of the Subsurface group to 0.15, so that subsurface layer is bigger and hence spread closer to the shore.
- Set the Power value of the Subsurface group to 1.5, so that the subsurface color will grow intense and prominent faster. It should approximate to the volume power for the balance.
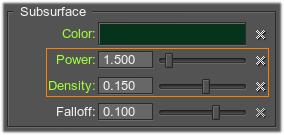
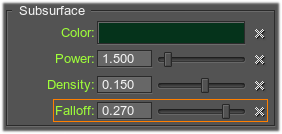
- Set the Falloff value of the Subsurface group to 0.27. It will move the subsurface layer a bit further from the shore.
- The surface which is responsible for reflections also has a spread line. Set the Density value of the Surface group to 1, so that reflections on the water appear closer to the shore.

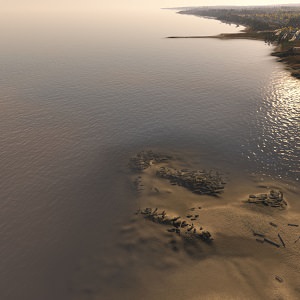
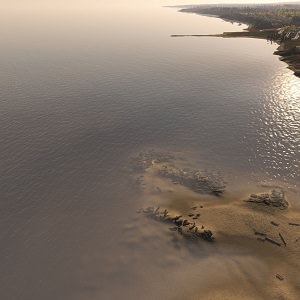 Surface Density = 0.1Surface Density = 1.0
 - After all manipulations, let's return to shading and adjust the Fresnel effect: increase Fresnel power up to 7.
After that, the water will appear a little bit less reflective and bottom-exposing when looking from above, than if compared to water near horizon: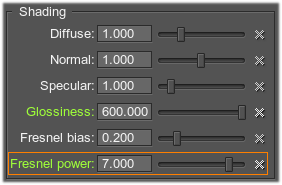
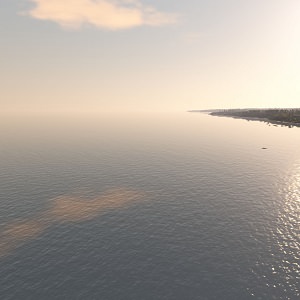
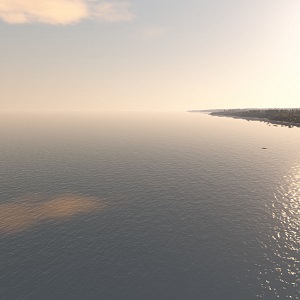 Fresnel Power = 5.0Fresnel Power = 7.0
 - The water is still overly reflective. To compensate for that, set Fresnel bias to 0.05.
With that, we set the minimum level for reflections, so that there are fewer of them.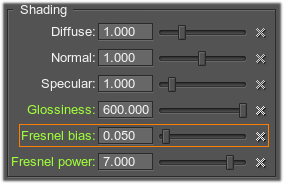

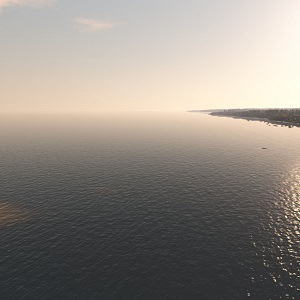 Fresnel Bias = 0.2Fresnel Bias = 0.05
 - Increase the Specular component up to 1.5 for brighter and broader sun path.
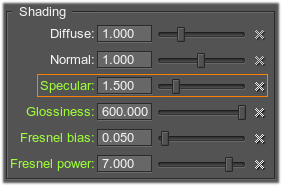
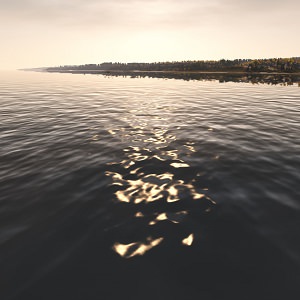
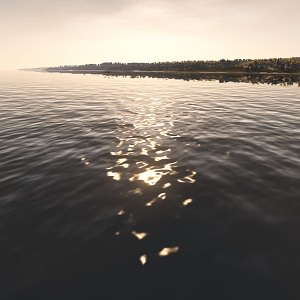 Specular = 1.0Specular = 1.5
 - Now tune reflections from the water surface. Click the Near color field in the Reflections group. This option changes the reflection color close to the camera.
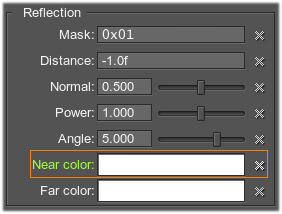
- Select the light gray color to ensure that reflections won't be brighter than environment colors.
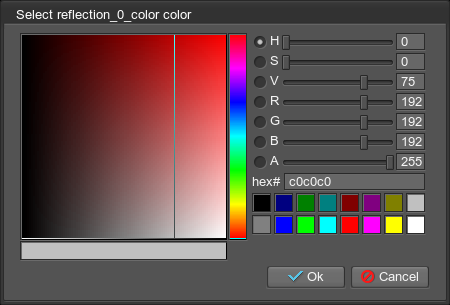
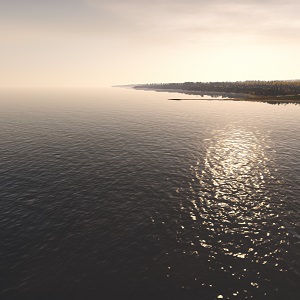
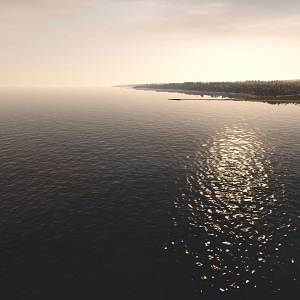 White Reflection Near ColorLight Grey Reflection Near Color
 - In the same group, click the Far Color field. This option allows setting reflections in the distance, far from the camera. Choose the light gray color as well.
The highlights at the horizon became less prominent: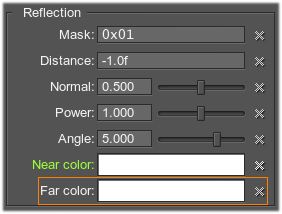

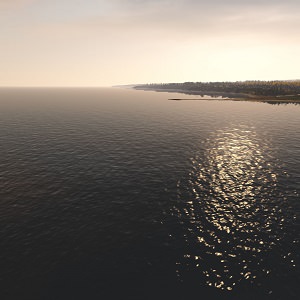 White Reflection Far ColorLight Grey Reflection Far Color
 -
In the same group, set the Normal value to 1.7 in order to make more intense distortion of the reflection on the water.
As the result, the water surface will look more rough with capillary waves: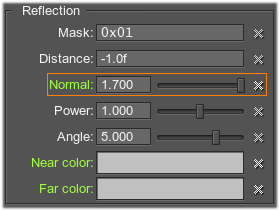
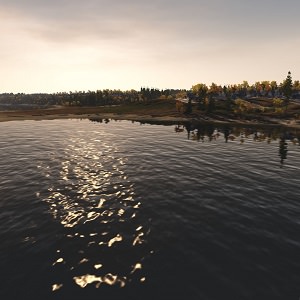
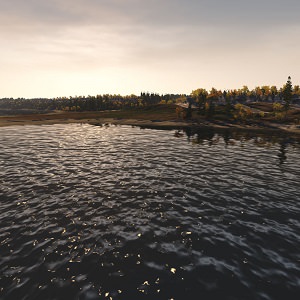 Normal = 0.5Normal = 1.7
 - Reflections are almost done. However, trees above the water are basically mirrored. To blur the reflection of objects, go to the States tab and set the Filter value in the Reflection group to One pass.
Reflection of the trees becomes vague and hazy: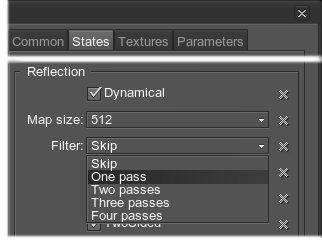

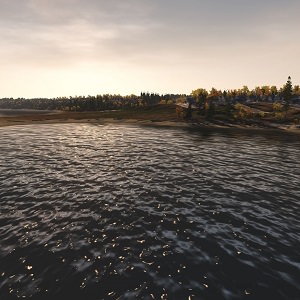 Reflection Filter = SkipReflection Filter = One Pass
 - At last, setup refraction for underwater objects and surfaces. Return to the Parameters tab and the set the Scale and Power values of the Refraction group to 0.4.
The decreased Scale value will reduce distortion of the underwater objects. By the decreased Power value, even the far underwater objects will be rendered with distortion. As the resutl, the underwater objects are now rippled as follows: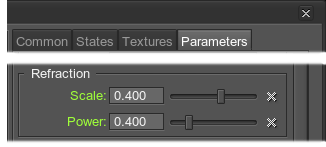
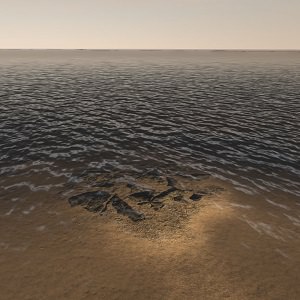
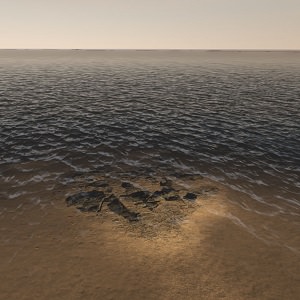 Scale = 1.0; Power = 1.0Scale = 0.4; Power = 0.4
Step 6. Tune Waves
There are two types of waves: rippling according to normal maps (present by default) and big geometrical waves. We'll tune them in the mentioned order.
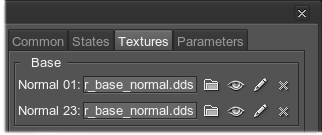
- First of all, go to the Textures tab of the Materials window and load normal maps (Normal 01 and Normal 23) that create two layers of waves.
We will use a default texture stored in the portangeles/data/core.ung archive for both layers. You can specify any other texture that meets the requirements.
- Tune the rippling animation starting with the 1st layer of waves. It is created by the texture Normal 01 being transformed twice, using set expressions:
As the result, two Normal 01 textures that were transformed differently, are summed and appear on the screen as the 1st wave layer.
To see it clearly, disable the 2nd layer. Go to the Parameters tab and insert vec4(0.0,0.0,0.0,0.0) in the Normal 2 and Normal 3 fields:
Here's what the 1st layer of waves looks like. The idea is to make the texture go in two circles that differ basically only with rotation direction and thus compensate each other. For more details, see also information on circular motion transformation.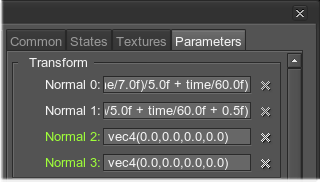
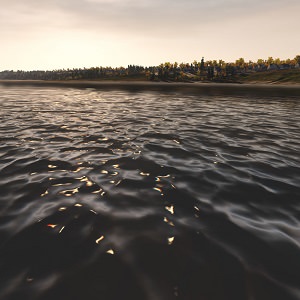
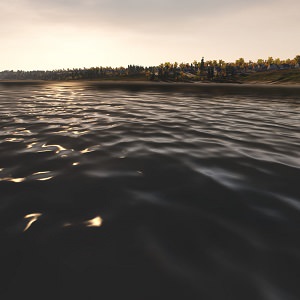 Both Layers of Waves Enabled1st Layer of Waves Enabled
 - The movement is fine, however, the water is not rippled enough. Double click the Normal 1 field to edit the transformation expression. The texture coordinate transformation window will open:
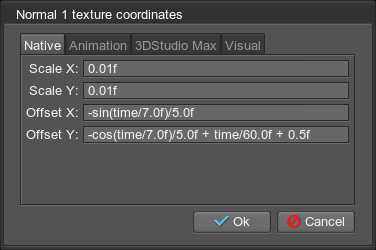
- In the opened window, increase the Scale X and Scale Y to 0.02 to add detail.

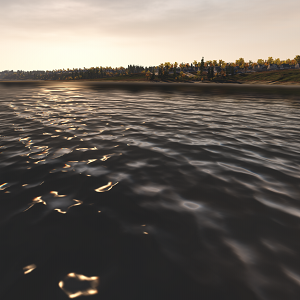 Normal 1 Scale = 0.01Normal 1 Scale = 0.02
 - Enable the 2nd layer of waves again by clicking Set to parent button for the following fields:
Similar to the 1st layer, these transform the Normal 23 texture according to set expressions and create the 2nd layer of rippling waves.
Two layers together (the right picture):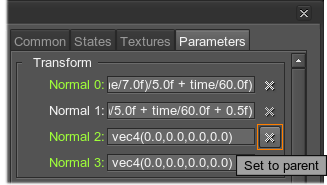
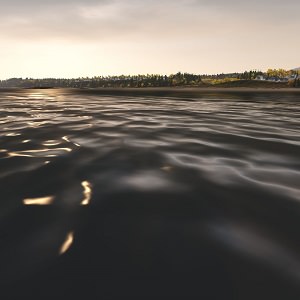
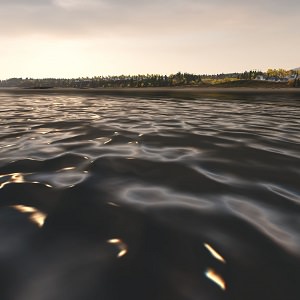 2nd Layer Disabled2nd Layer Enabled
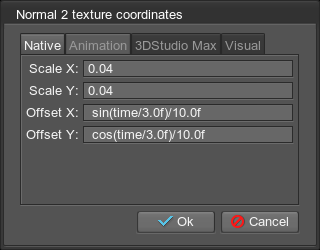
 - Double click the Normal 2 field to edit it.
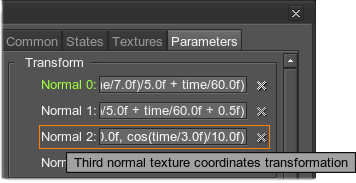
- Increase the Scale X and Scale Y up to 0.04 to add still more ripples.

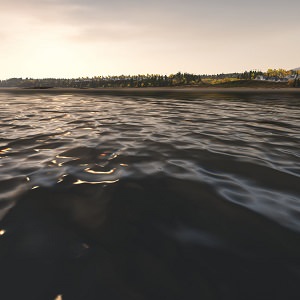 Normal 2 Scale = 0.02Normal 2 Scale = 0.04
 - Double click the Normal 3 field to edit it.
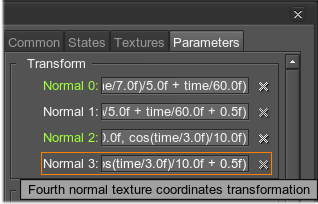
- Increase the Scale X and Scale Y up to 0.06.
The resulting rippling looks like that: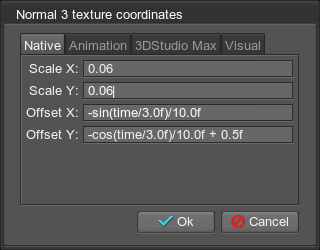

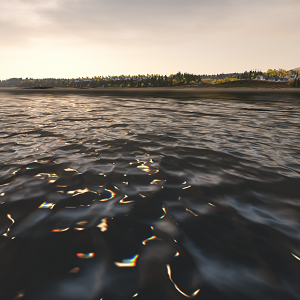 Normal 3 Scale = 0.02Normal 3 Scale = 0.06
 - Now we can add bigger geometrical waves that look like being wind generated. Press N to open the Nodes window and go to the Water tab. Here up to 4 waves can be set. Let's adjust the parameters of the first wave that will be the biggest:
- Set Amplitude to 0.3 to define the wave height.
- Set Speed to 0.2 to define the speed with which the wave will move.
- Set Length to 11 to define the distance between waves following each other in the same direction.
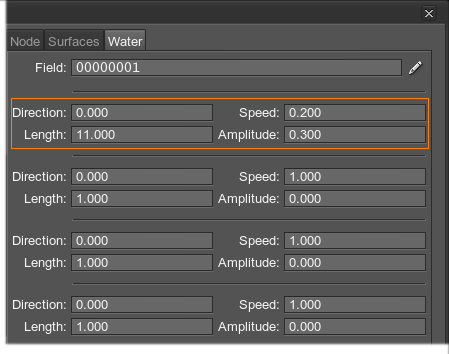
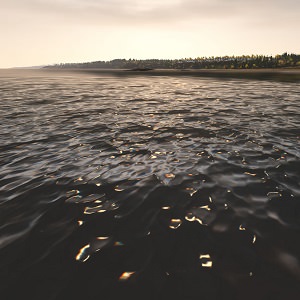
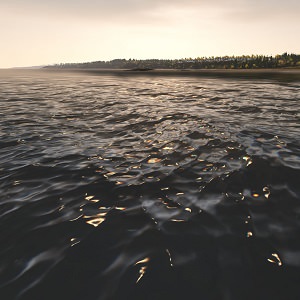 Default Geometrical Waves1st Geometrical Wave Customized
 - Add the second wave:
- Set Amplitude to 0.2 to make the wave lower than the first wave.
- Set Speed to 0.3 so it would move faster than the first wave.
- Set Length to 9 so that waves follow each other more frequently.
- Set Direction to 45 to make it move at an angle of 45 degrees relative to the first wave.
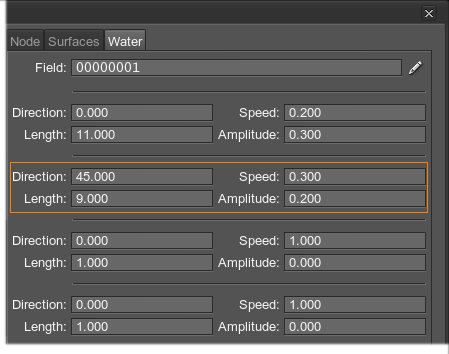

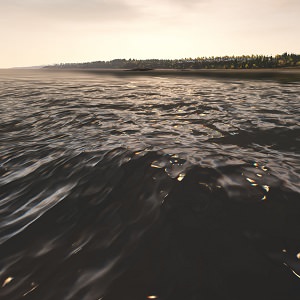 Default 2nd, 3rd and 4th Geometrical Waves1st and 2nd Geometrical Waves Customized
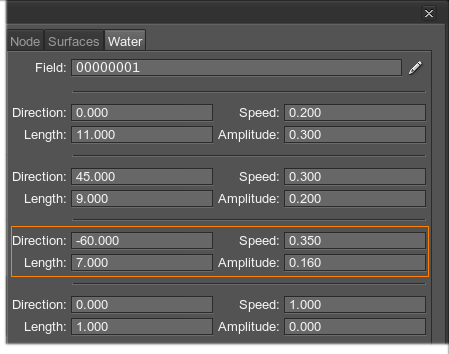
 - Add the third wave that will be even smaller and faster:
- Set Amplitude to 0.16.
- Set Speed to 0.35.
- Set Length to 7.
- Set Direction to -60 so that the waves will follow at an angle of 60 degrees counting clockwise. Its direction balances the direction of the fist two waves.

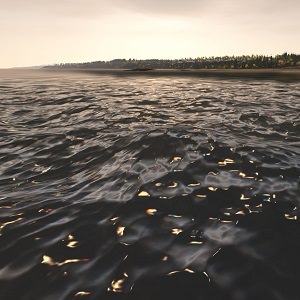 Default 3rd and 4th Geometrical Waves1st, 2nd and 3rd Geometrical Waves Customized
 - Add the fourth wave, the smallest, the fastest, as well as most recurring:
As a result, crests of the waves form plausible pattern on the water surface (the right picture):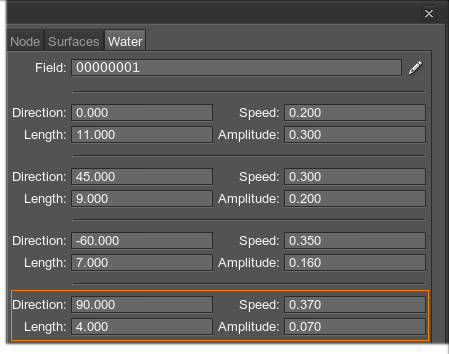

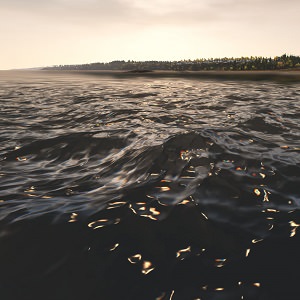 Default 4th Geometrical Wave4 Geometrical Waves Customized
 - With the added waves the area closer to horizon looks somehow stirred and creased. To correct that, go back to Materials settings -> Parameters tab -> Animation parameters. Set Wave radius to 60 units, so that the waves will not spread so far.
Now the waves fade closer and thus more smoothly: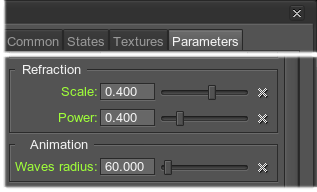
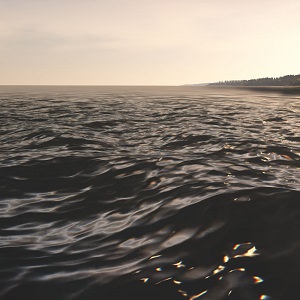
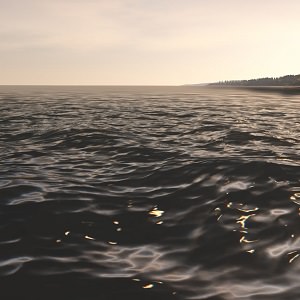 Waves Radius = 100Waves Radius = 60
Step 7. Add Caustics
To add caustics to the bottom of the sea that will be seen in the shallow waters near the shore, you should return to the Materials window and perform the following:
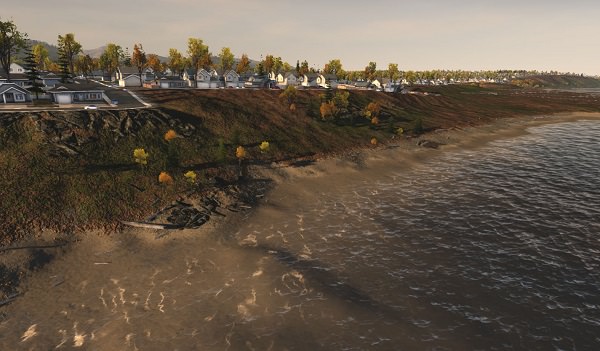
- Go to States tab and enable Caustics effect.
That's what we've got by default: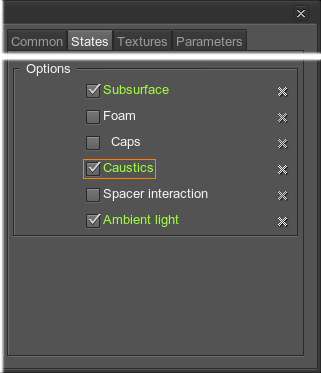
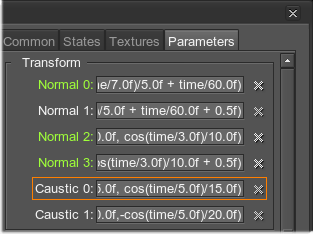
- Go to Parameters tab, where options to tweak caustics will appear. There are two expressions that transform caustics animation:
Double click the Caustic 0 field to edit it.
- Change Scale X and Scale Y to 0.02.
Caustics pattern will become denser and finer (the right picture):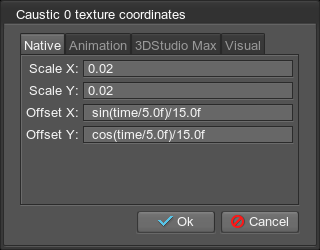
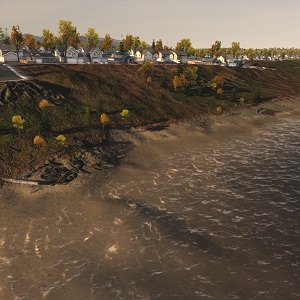
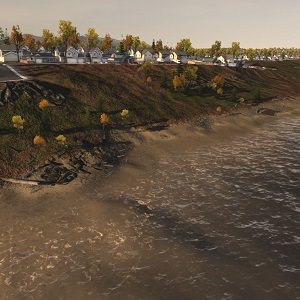 Caustic 0 Scale = 0.005Caustic 0 Scale = 0.02
 - Click on Caustic 1 field to edit the second animation transformation.
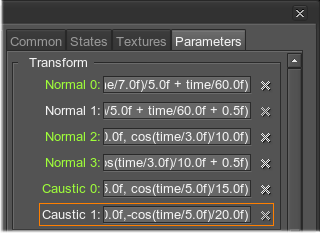
- Increase Scale X and Scale Y up to 0.035.
Caustics pattern will become even more detailed (the right picture):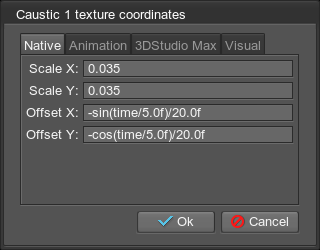

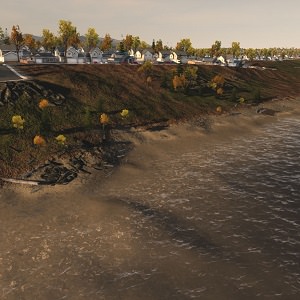 Caustic 1 Scale = 0.007Caustic 1 Scale = 0.035
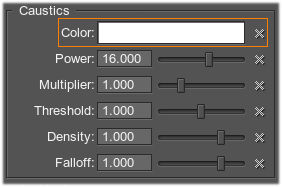
 - Scroll down for Caustics group and click the Color field.
- We'll choose a sandy color to match with seashore color.
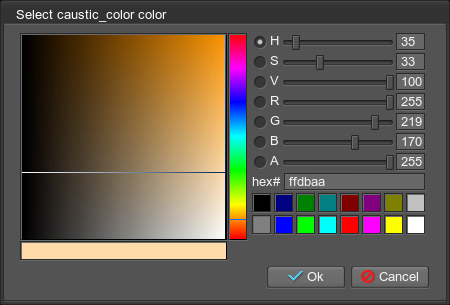
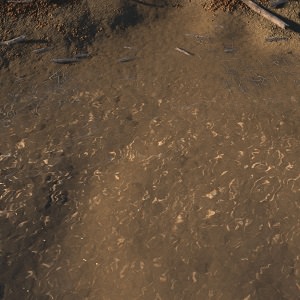
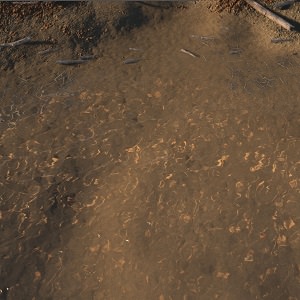 White Caustics ColorSandy Caustic Color
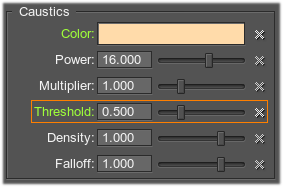
 - Caustics pattern is too thin and not clear enough. Decrease the Threshold value to 0.5 so it will be more revealed.
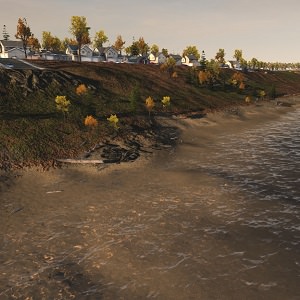
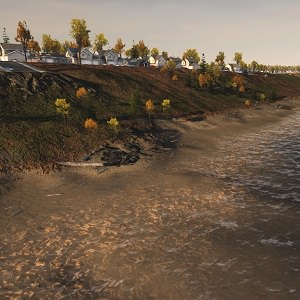 Caustics Threshold = 1.0Caustics Threshold = 0.5
 - Increase the Power value to 20 to fine-tune the Threshold value set above.
As the result, caustics will fade out smoother:
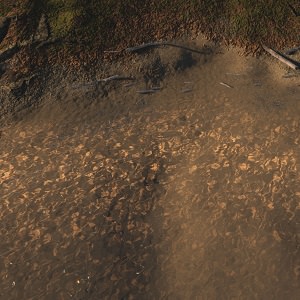
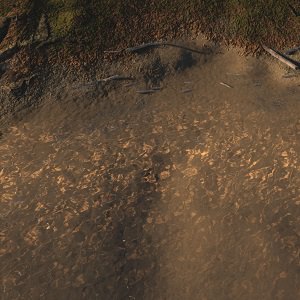 Caustics Power = 16Caustics Power = 20
 - Set the Density value to 0.45 to make the caustics spread line softer and move it away from the shore.
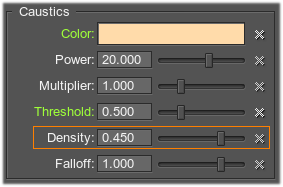

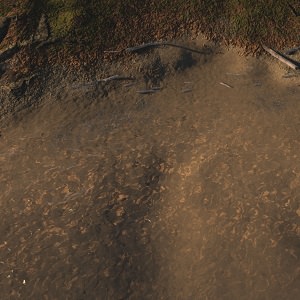 Caustics Density = 1.0Caustics Density = 0.45
 - Increase the Falloff value to 2 to limit the spread of caustics in the deep water.
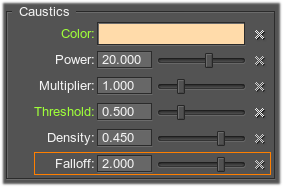
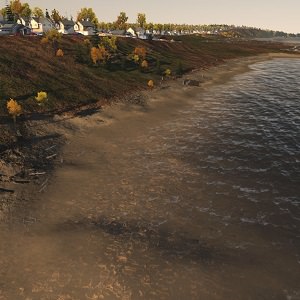
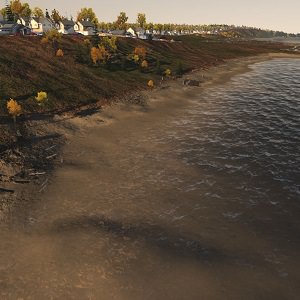 Caustics Falloff = 1.0Caustics Falloff = 2.0
 - The caustics became barely seen. Set the Multiplier value to 2 to increase its brightness.
Here's how the result looks like: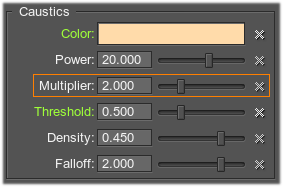

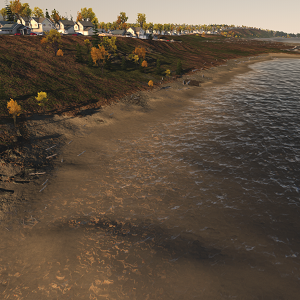 Caustics Multiplier = 1.0Caustics Multiplier = 2.0
Step 8. Add Foam
Foam is usually generated near the shore where the waves break. It can also be added and set up via the Materials window.
- Go to the States tab of the Materials window and enable the Foam effect.
The foam will appear: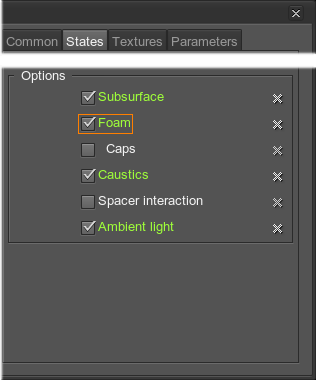

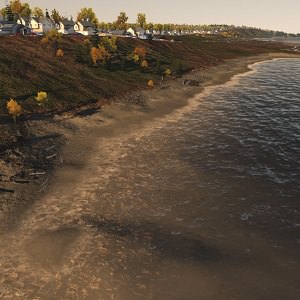 Foam DisabledFoam Enabled
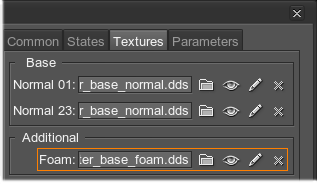
 - Go to the Textures tab and load a foam texture, if necessary. We will use a default texture stored in the portangeles/data/core.ung archive. You can specify any other texture that meets the requirements.
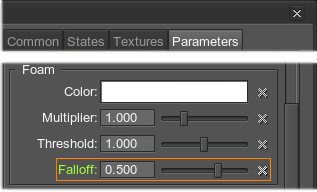
- Go back to the Parameters tab: here options to tweak foam are now available. Decrease the Falloff value to 0.5 and the foam will spread wider from the shore.

 Foam Falloff = 1.0Foam Falloff = 0.3
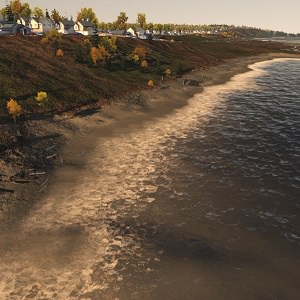
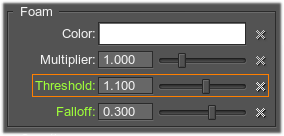
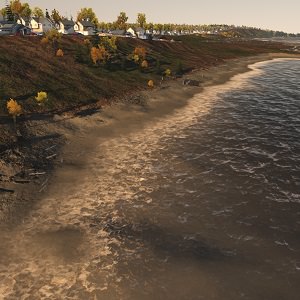
 - Increase the Threshold value to 1.1. It will allow you to sightly move the foam back from the shore and soften the breaking waves line.

 Foam Threshold = 1.0Foam Threshold = 1.1
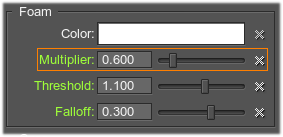
 - Set the Multiplier value to 0.6, which will make the foam more pale and smudgy.

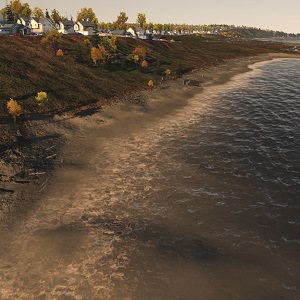 Foam Multiplier = 1.0Foam Multiplier = 0.6
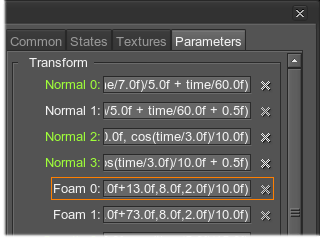
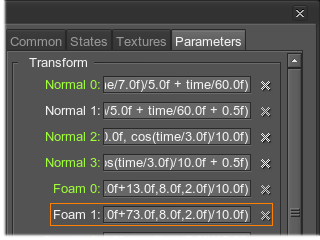
 - Now let's animate the foam properly. Scroll up to the Transform group. The foam texture is transformed twice using set expressions:
As the result, 2 foam textures that were transformed differently are summed and appear on the screen.
Click the Foam 0 field to edit the first transformation:
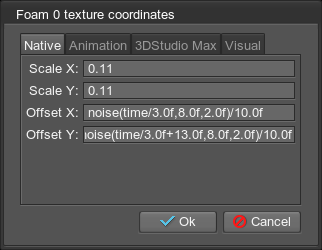
- In the texture coordinate transformation window that opens, increase the Scale X and Scale Y to 0.11 so that the foam looks finer.

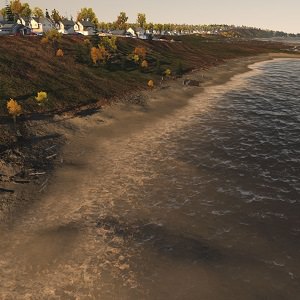 Foam 0 Scale = 0.02Foam 0 Scale = 1.1
 - Click the Foam 1 field to edit the 2nd transformation:
- Set Scale X and Scale Y to 0.2 for more sprayed look.
And the final result will be as on the right picture: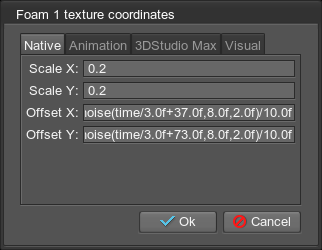

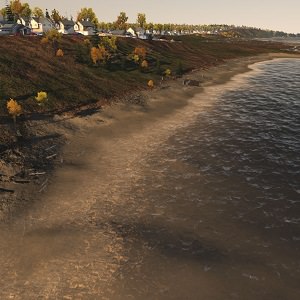 Foam 0 Scale = 0.03Foam 0 Scale = 0.2
Step 9. Add White Caps
As we have added water waves, white caps should also be added as they are usually produces by waves. The white caps are also added and set up via the Materials window.
- Go to the States tab of the Materials window and enable the Caps effect.
The white caps will appear on the water surface: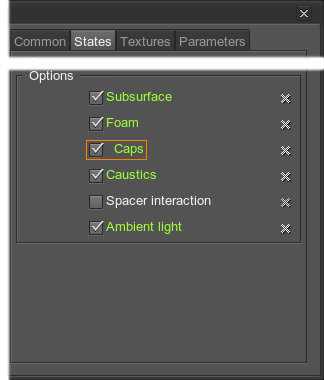
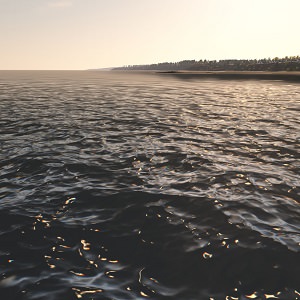
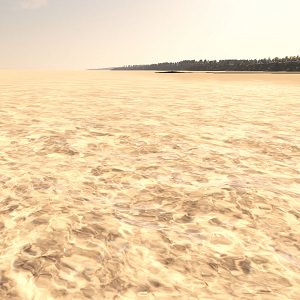 White Caps DisabledWhite Caps Enabled
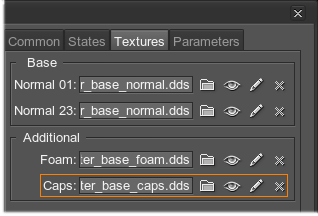
 - Go to the Textures tab and load a caps texture, if necessary. We will use a default texture stored in the portangeles/data/core.ung archive. You can specify any other texture that meets the requirements.
- Go back to the Parameters tab: here options to tweak caps are now available. Decrease the Multiplier value to 0.9:
The caps will become less bright (the right picture):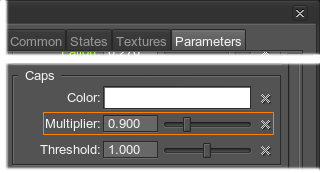

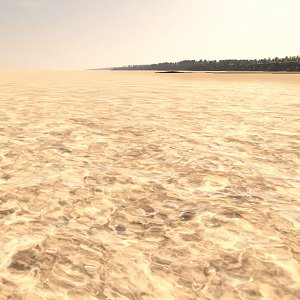 Caps Multiplier = 1.0Caps Multiplier = 0.8
 - The size of the white caps should correspond to the size of water waves: the higher the waves, the bigger the white caps will be. Increase the Threshold value to 1.6:
As the result, the white caps will become smaller and will look like they are produced by our waves (the right picture):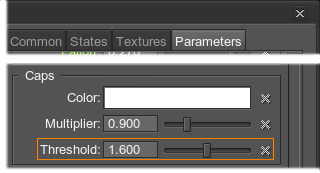
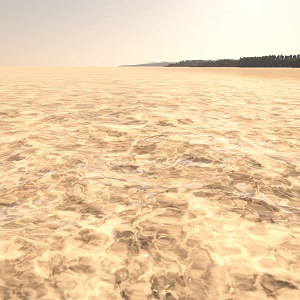
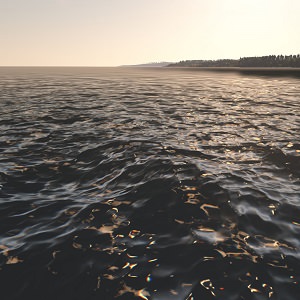 Caps Threshold = 1.0Caps Threshold = 1.6
