Making Cutscenes With Camera Motion Control
Tracker is a keyframe-based tool for creating sequences animated over time, which allows for adding dynamic gameplay elements or making in-game cinematic cutscenes. It gives developers the ability to:
- Easily create key frames for all nodes in the world, as well as in-game cameras and render settings.
- Set up day-night shift and weather conditions change.
- Switch between the cameras, change field-of-view on the fly and play sounds for creating stunning cinematics.
- Animate interactive objects in the game, for example, lights, doors, and platforms.
- Apply post-processing effects such as DOF, Motion blur, SSR, etc. All these effects can be fine-tuned for each camera view.
- And much more.
Moreover, the Tracker interface supports saving and loading of the created tracks, custom loop ranges, key cloning and snapping, as well as playback speed control.
![]()
By using the Tracker tool, the following elements of the virtual world can be animated:
- Nodes, including light sources, objects, fields, players, sound sources, and others
- Node References
- Materials
- Properties
- Render Settings
- Sound Settings
- Game Settings
- Several tracks
Key Frame Animation
Tracks
Tracker animations consist of a number of tracks and each track indicates how some parameter changes over the specified time. It can control some render effect or it can be bound to a node in the world. If more properties need to be animated for one node at the same time, simply a number of tracks are created for it. For example, with tracks, you can create animations that:
- Move nodes, toggle skinned animation, control emission of particles, etc.
- Change any of material settings and modify properties for various changeable effects. For example, you can change the texture and material reflectivity to create the effect of rain.
- Alter rendering settings: change the background color, apply post-process effects, control stereo and much more.
- Set up cameras.
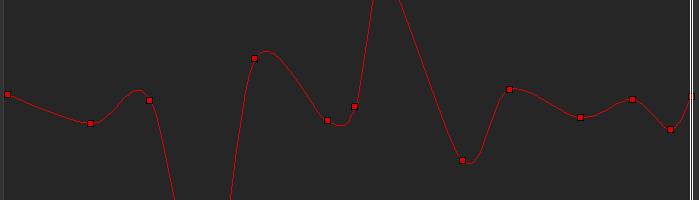
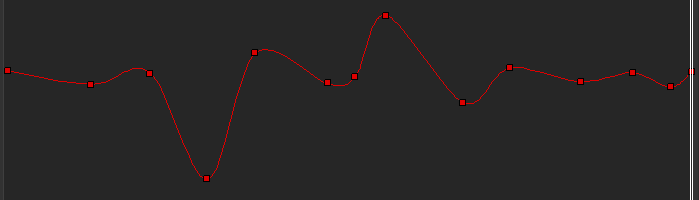
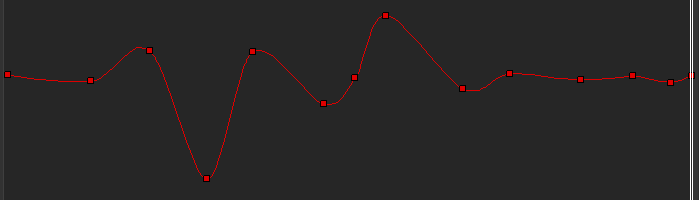
Key Frames
A track is composed of key frames, which are snapshots of the parameter at a certain time during the animation. Each key frame stores a time and the parameter change (new value for the parameter or whether is enabled or disabled). For example, for node position track, a key frame sets a new position of the node along one of the axes; for the node enabling track, a key can indicate that a node is disabled for rendering.
This parameter value set in the key frame is applied between the current keyframe and the next one. Depending on the transition mode, the key frame values can be switched abruptly or smoothly interpolated:
- Linear interpolation can be used, for instance, for a node scale track.
- Bezier interpolation will provide a smooth curve for a node position track.
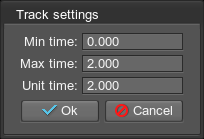
Tracker Settings
Track Settings
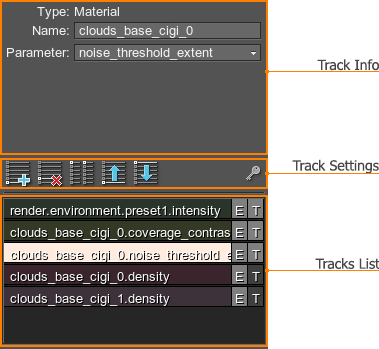

|
Add an animation track. In case of a simple track (for example, the track that toggles a node on and off), only a track line will be available. If the track controls parameter with values, key frames will also be present in the graph. |
|---|---|

|
Remove the selected animation track. |

|
Clone the selected animation track. |

|
Move the selected animation track up the list. |

|
Move the selected animation track down the list. |

|
Save the parameter value from the Editor into the track. It is available only when the track is disabled. See details. |

|
Toggles the track on and off (turns its animation on and off). |

|
Toggles displaying a track graph on and off (not available for simple tracks). |
| Load | Load the *.track file. Tracks from the loaded file will be displayed on the tracks list. Notice The If you have some tracks in the list, you should save them before loading the track file. Otherwise, they will be lost as the loaded tracks will be displayed instead of the current ones.  button can be found in the upper right corner of the Tracker. button can be found in the upper right corner of the Tracker. |
| Save | Save all current tracks into the *.track file. The  button can be found in the upper right corner of the Tracker. button can be found in the upper right corner of the Tracker. |
| Clear | Delete all tracks from the tracks list. The |
Tracker also displays information on the animating objects and allows specifying additional animation settings for each track. For example, you can change a node or a material to which the track is bound.
Graph Arrange Modes


|
Scale the graph horizontally in such way that the whole animation line fits into view.
|
|---|---|

|
Scale the graph vertically in such way that the lowest and the highest key frames fit into view.
|

|
Scale the graph so that all key frames fit into view.
|
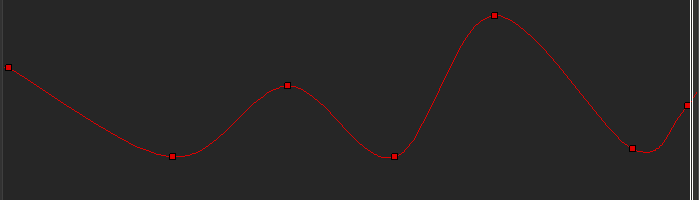
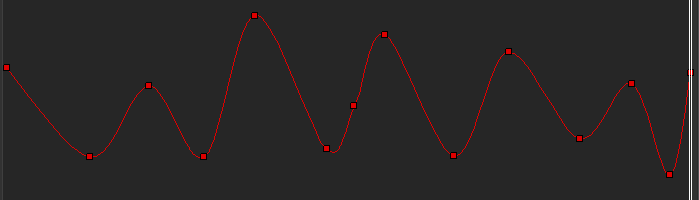
Key Frames and Transition Modes
![]()


Playback Settings