Landscape Terrain
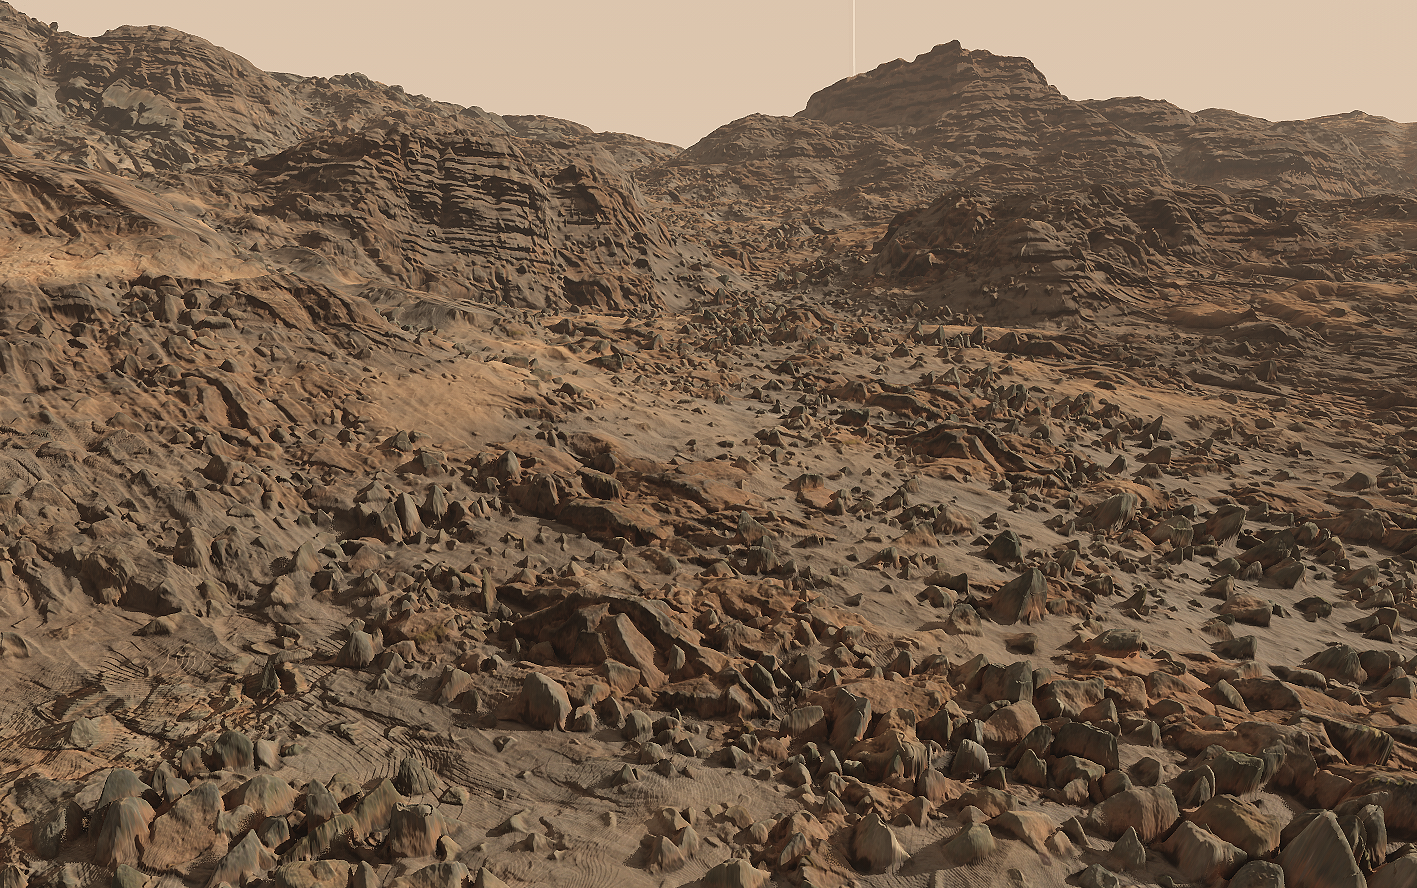
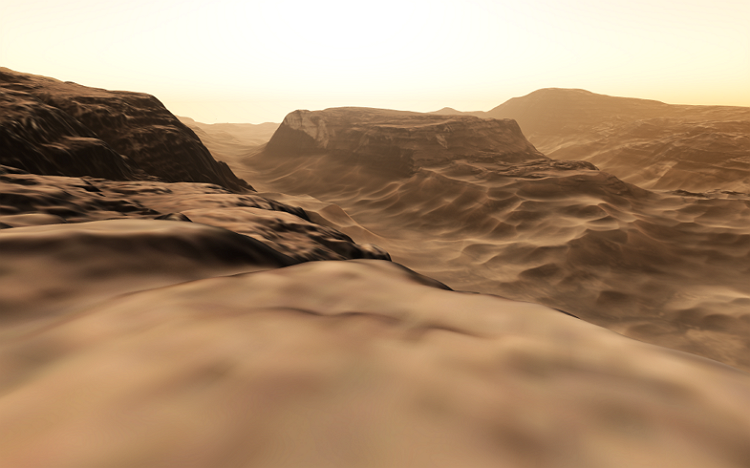
The Landscape Terrain system provides advanced simulation of terrain - the most important object in outdoor scene rendering. Object Landscape Terrain allows reconstructing practically any arbitrary landscape with diverse features:
- Virtually infinite terrain surface
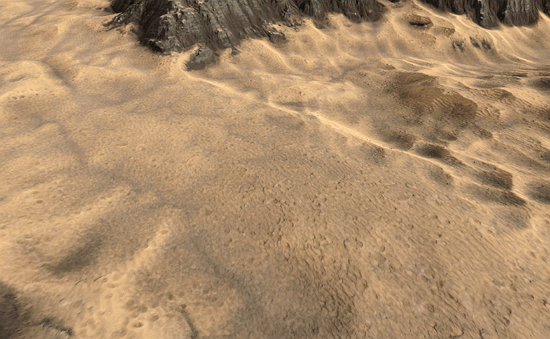
- Extreme details up to 1 mm per pixel
- Adaptive hardware tesselation with displacement mapping
- Dynamic modification at run time - craters, funnels, trenches
- Simple and clear API
- Up to 1024 detail materials
- Layers system with flexible blending rules
- Binoculars/scopes support (x20 / down to 1-degree FOV)
- Optimized rendering and physics performance
- Support for simultaneous editing by a team of 3D artists
- Decal-based holes
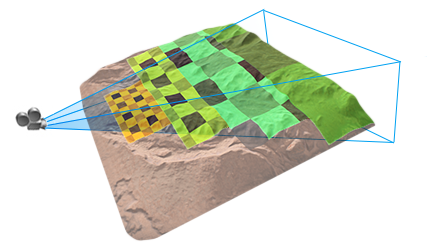
The Landscape Terrain system is based on the principle of decomposing terrain graphic data that is too large to fit in the graphic memory in its entirety into smaller rectangular sections known as “tiles”. Asynchronous streaming of these tiles makes it possible to render only necessary data at a full level of detail, regardless of the camera's field of view with multiple cameras supported. Flexible streaming settings make it possible to configure terrain rendering even for computers with a limited VRAM capacity.

See Also#
- The ObjectLandscapeTerrain class to manage landscape terrain object parameters via API
- The Landscape class to edit landscape terrain via API
- The landscape_terrain_base material for terrain
- The landscape_terrain_detail_base material for details
- The Editing Landscape Terrain article to learn about Brush Editor
Landscape Terrain Operation#
The Landscape terrain system is represented by two types of nodes:
- Landscape Terrain Object is represented by an infinite plane. It is the main node, which is responsible for visualization and calculations: this object renders geometry and graphic data presented in the world and provides intersection detection settings. Also, it stores detail data.
NoticeThere can be several Landscape Terrain objects in the scene, but only one of them (active) shall be rendered.
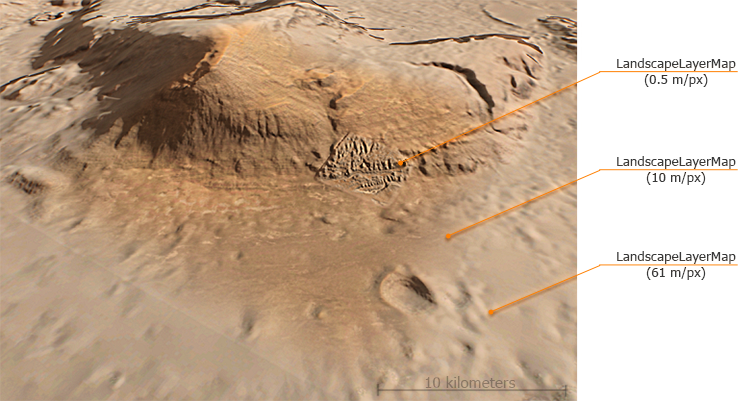
- Landscape Layer Map nodes store arbitrary graphic data used for rendering (height, albedo, and masks) and represent rectangular terrain layers that can be arranged in the scene and blended with each other, thus composing the landscape.
Landscape Layer Map is designed as a shared data pool, the graphic data of which can be used to add details to the Landscape Terrain surface, used in logic (e.g. as a land cover classification map) and by other objects as well, such as Grass, for example.
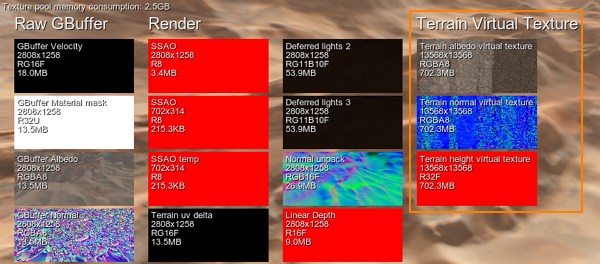
Graphic data from Landscape Layer Maps and details (original full-size textures and generated mipmaps) are asynchronously streamed and transferred to the main Virtual Texture, based on which the Landscape Terrain is rendered. The Virtual Texture consists of 3 components:
- Albedo — an RGBA8 texture defining the landscape color data,
- Normal — an RGBA8 texture, which stands for small details on the landscape surface,
- Height — an R32F texture defining the height data, according to which the landscape geometry is tesselated.
Creating a Terrain#
To create a landscape terrain in UnigineEditor perform the following actions:
- In the Create menu, select Landscape -> Landscape Terrain. Click somewhere in the Scene Viewport to add the terrain.
Landscape Terrain is created with a Landscape Layer Map as a child.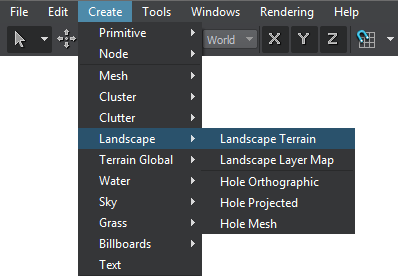
- Set up Height, Albedo and Masks data for the Landscape Layer Map(s), adjust via Brush Editor.
- To add another layer (an inset), click Create -> Landscape -> Landscape Layer Map.
Watch a quick video guide below on creating and editing a Landscape Terrain:
Tiling and Streaming#
A scene may contain thousands of Landscape Layer Maps, so the full-size graphic data of the Landscape Terrain may be too large to fit in the video memory in its entirety. Instead all resources are decomposed into smaller rectangular sections — tiles of variable density depending on the distance to the camera.
Individual tiles are asynchronously loaded into the main virtual texture when necessary — only if currently seen by the camera — from the lowest to the highest available MIP level.
Thus, the Landscape Terrain detail level and performance are highly affected by the number of viewports and their resolution. When developing a project using a Landscape Terrain, performance and memory consumption should be considered and tuned for the set of cameras and screen resolution of the target platform.
Flexible streaming settings make it possible to configure terrain rendering even for computers with a limited VRAM capacity, but these settings depend on the content used (distances, level of detail, etc.) and requirements (the number of cameras and viewports, etc.) and are to be adjusted for each project individually.
For more details on configuring streaming settings, please refer to the Configuring Visualization and Performance article.
Blending of Layers#
When overlapping each other Landscape Layer Maps are blended per-channel providing convenient development workflow. The following blending modes can be set for each data layer of a Landscape Layer Map individually:
- Additive — data of the layer map is added atop.
- Alpha Blend — the colors of this layer map and the underlaying one are blended.
- Overlay — added data replaces the data below it.
- Multiplicative — the albedo colors are multiplied.
Layer maps can vary in density and size, so it is easy to create insets of different quality and modify the terrain surface at run time.
Collaborative Editing#
Blending of separate layer maps makes the Landscape Terrain system friendly for collaborative editing. A team of 3D artists can design separate layer maps simultaneously and develop a large landscape piece by piece without conflicts.
In addition to other UNIGINE features for cooperative development (e.g. Layer, Node Reference), different parts of scenes of virtually any complexity can be developed simultaneously by multiple artists.
Run-Time Modification#
Vehicles leaving tracks while moving or even an excavator digging trenches are easy to implement. Two ways of run-time terrain modification are available:
-
By adding layers. Spawn new Landscape Layer Maps representing chunks of trenches or pits to modify the terrain surface. This way is similar to using Decals: each layer is a separate node, so you can control each modification separately. Furthermore, using Landscape Layer Maps implies no data density limits, enabling you to achieve realistic results with high-quality insets.
-
By modifying terrain buffers. Low-level terrain CPU- or GPU-based modification via API is as simple as 1, 2, 3:
- Set the desired area, and the Engine copies a part of terrain data for this area to a buffer.
- Modify the buffer as you want (height, color, masks, or all of them at once).
- Upon completion the Engine pastes the buffer back to the terrain replacing old data.
Details#
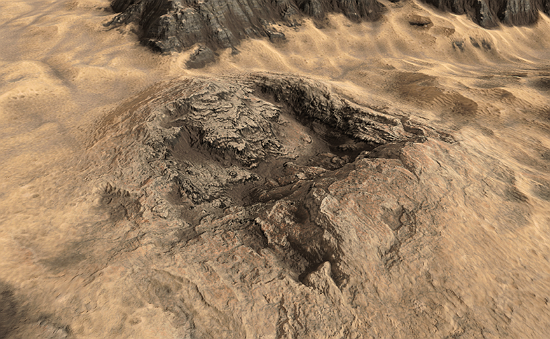
Landscape Terrain Object stores visual settings for 20 detail masks intended for reaching better level of visual quality in close up views. Details represent arbitrary albedo, roughness and height (displacement) data, so you can drastically improve the look of the landscape terrain. Details are applied according to masks of LandscapeLayerMap objects.
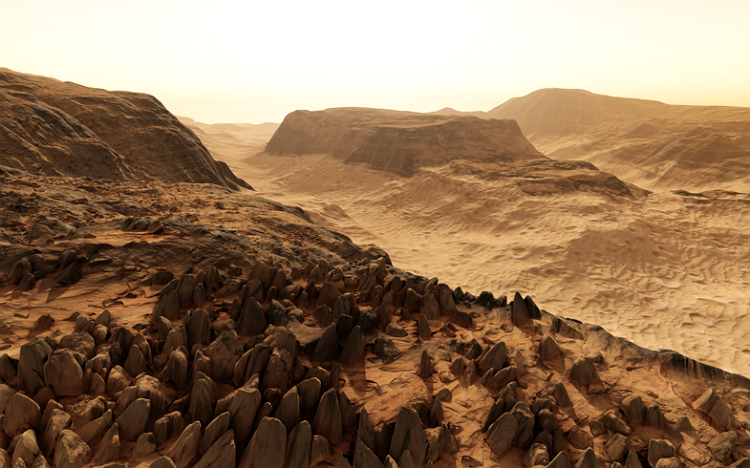
Detail settings available in ObjectLandscapeTerrain parameters allow defining the detail visual appearance, adding up to 1024 details to a mask and defining the material of each detail.
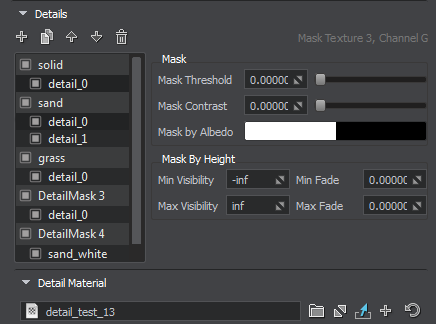
For more information on adding details, please refer to the Configuring Details article.
Intersections and Collisions#
The Landscape Terrain system provides intersection and collision detection with the terrain surface the same way as for usual meshes. To enable collisions and/or intersection detection for a landscape:
- Turn on the Collider Object flag on the Node tab.
- Switch to the Surface tab and enable the Intersection and Collision flags, configure the bit masks.
- For landscape layer maps that should take part in collisions and intersections enable the corresponding Collision and Intersection flags.
Intersections are detected with a variable precision, starting from a lower value and ending up with a higher one.
Normally there's no need to modify these values. In case of intersection detection errors you can open Landscape Terrain parameters and try tweaking start and end precision values and enable cubic filtering of textures for optimum balance, but be careful as it may significantly affect performance and accuracy:

| Collision Bicubic Filter | Enables bicubic filtering of textures for collision detection. |
|---|---|
| Intersection Bicubic Filter Normal | Enables bicubic filtering of the normal texture for intersection detection. |
| Intersection Bicubic Filter Height | Enables bicubic filtering of the height texture for intersection detection. |
| Intersection Precision Begin | Starting precision of intersection detection. |
| Intersection Precision End | Ending precision of intersection detection. |
Decal-Based Holes#
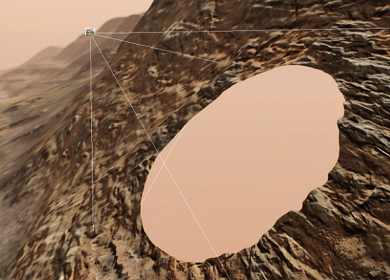
In some cases you may need to cut out an area of the terrain surface. For this purpose the Decal-Based Holes feature is supported by Landscape Terrain.
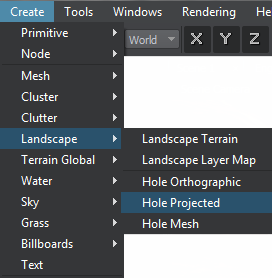
Make sure the Holes feature is enabled and place any decal (orthographic, projected or a mesh one) with the decal_terrain_hole_base material assigned over the desired location:
- In the Create menu, select Landscape -> Hole Projected (or another one). Click in the Scene Viewport to add the decal.
- Adjust the transform and material parameters of the decal.
This will create a hole in the Landscape Terrain surface.
Accurate intersection with decal-based terrain holes is supported, enabling collision detection as well as all corresponding Editor features such as selection, snapping to surface, etc.