Selecting and Positioning Nodes
The main functions of node's selection and positioning are available via the Positioning panel.
All available controls for selecting and positioning nodes can be found on the Nodes tab of the Controls window.
Selecting Nodes
To select a single node in the scene, choose
 on the
Positioning panel and click the left mouse button on this node.
In this case, only the mesh surface which you have clicked will be selected. To select several mesh surfaces, holdShift and click required surfaces.
To select several nodes, do one of the following:
- Use the selection box: click and hold the left mouse button, drag the mouse to select the required nodes.
In this case, all surfaces of each mesh (if it exists) will be selected.
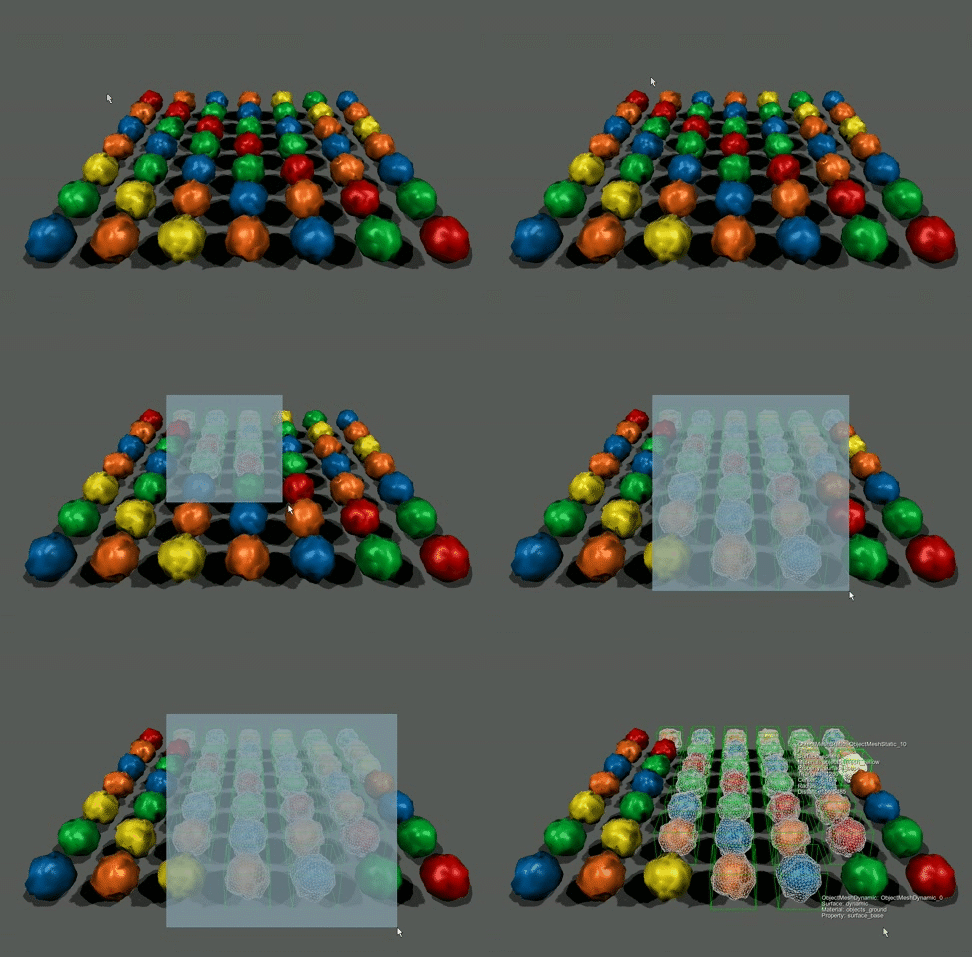 Select Using Selection Box
 - Select one of the nodes, press and hold Shift and add all the required nodes and their surfaces to the selection.
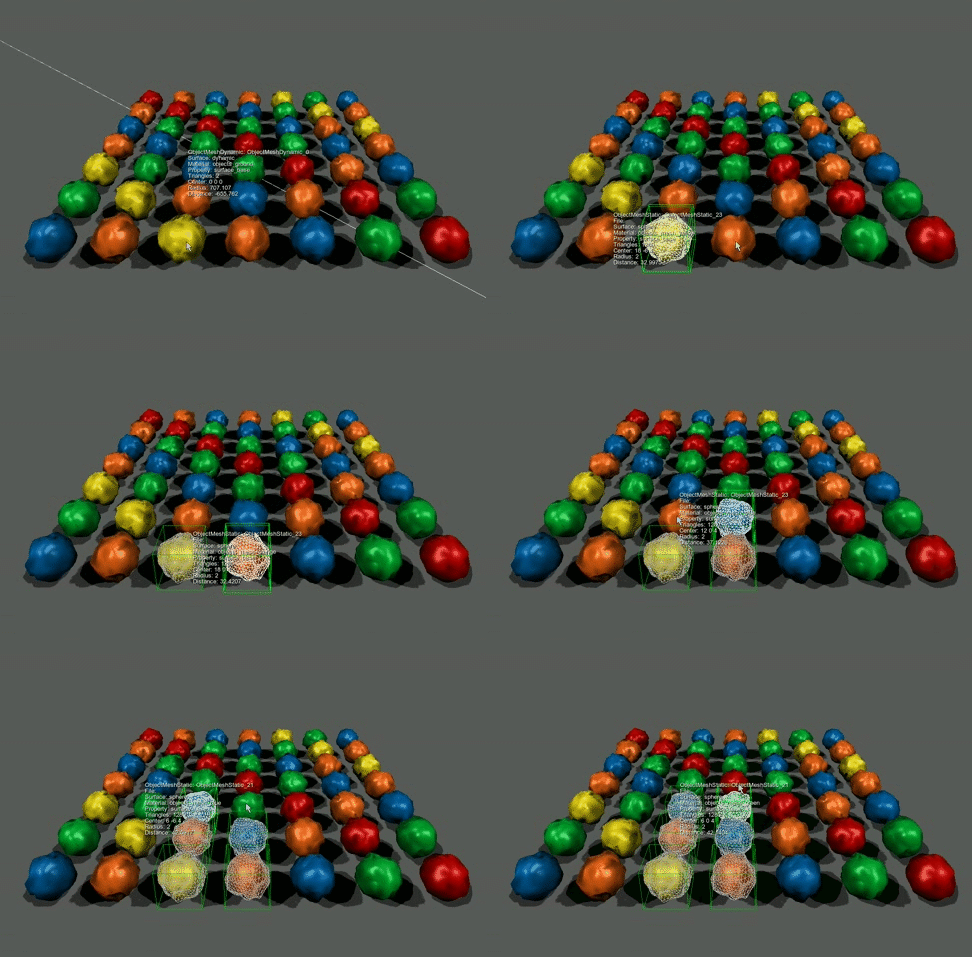 Add Nodes to Selection
When the node is selected, the following is shown:
- Wireframe of the node
- Bounding box of the node
- Bounding box of the selected surface (or surfaces)
To remove nodes from the selection (deselect), press and hold Ctrl and click the left mouse button on the required nodes.
To deselect all the selected nodes, press Ctrl+Shift+A.
The selected nodes can be positioned in the world by using one of the ways described below.
Inverse Selection
Inverse selection can be useful for complex selections. For example, if you need to select all objects in a scene except the specific ones, you can select these specific objects and invert the selection.
To invert the current selection, press Ctrl+I.
Isolated View
You can enable the Isolated View for the selected node (nodes). In this case, only the selected node (nodes) and its (their) children will be shown in the scene.
This mode can be activated using one of the following ways:
- Click Edit -> Isolated View.
- Press ALt+I.
Moving, Rotating and Scaling Nodes
To transform nodes, choose the required transformation mode (manipulator) on the Positioning panel of the Tool bar:
Move Nodes
To move the node:
- Choose the
 manipulator on the
Positioning panel (or press W).
 - Click the required node. The axes along which the node can be moved will be shown.
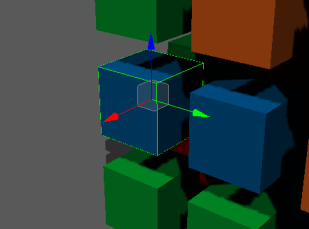 Move Node
 - Move the node:
- If an arrow manipulator is dragged, the node can be moved along the axis.
- If a rectangle manipulator is dragged, the node can be moved by 2 axes.
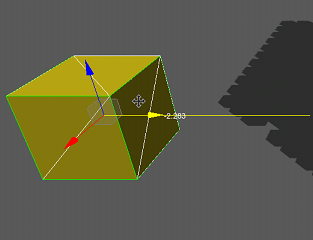 Move Along 1 Axis
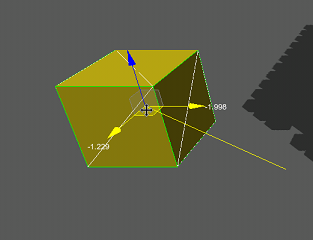 Move By 2 Axes
You can also:
- Ignore the nodes' hierarchy when moving the selected node: press Alt and move the node without its children.
- Move the selected node to the camera by pressing Alt+X.
Rotate Nodes
To rotate the node:
- Choose the
 manipulator on the
Positioning panel (or pressE).
 - Click the required node. The sphere with the axes around which the node can be rotated will be shown.
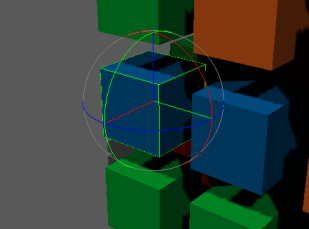 Rotate Node
 - Rotate the node:
- If an axis of the sphere is dragged, the node can be rotated around the axis.
- If the sphere is dragged, the node can be rotated freely around several axes.
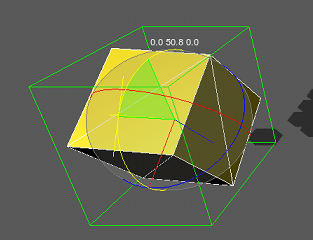 Rotate Around 1 Axis
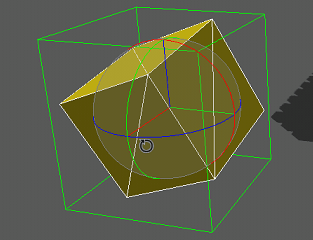 Rotate Freely
Scale Nodes
To scale the node:
- Choose the
 manipulator on the
Positioning panel (or pressR).
 - Click the required node. The axes along which the node can be scaled will be shown.
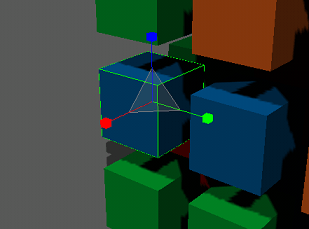 Scale Node
 - Scale the node:
- If a cube manipulator is dragged, the node will be scaled along one axis.
- If a triangle manipulator is dragged, the node will be scaled along 3 axes.
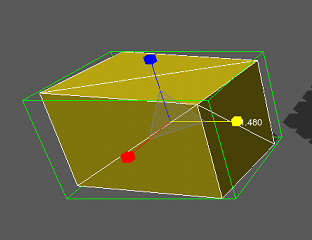 Scale Along 1 Axis
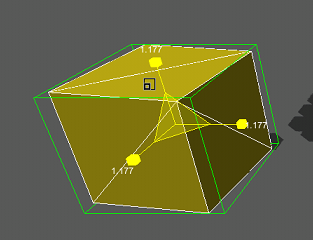 Scale Along 3 Axes
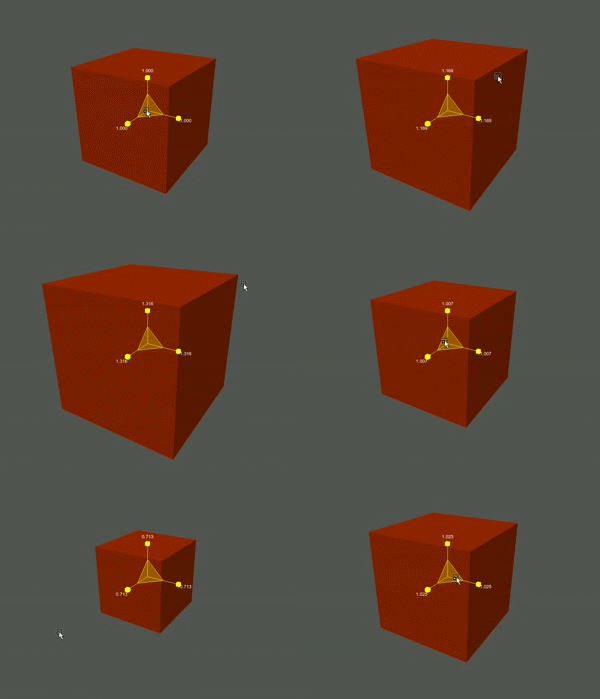
There is also an ergonomic mode for scaling. When the  manipulator is chosen, you can do the following:
- Move the cursor up and right to scale the node up.
- Move the cursor mouse down and left to scale the node down.
Clone and Delete Nodes
To clone a node:
- Select the node.
- Press Ctrl+D (or Edit -> Clone Object) and click Yes in the dialog window that opens.
NoticeThe cloned node will have the same position as the source node.
To clone and move a node:
- Choose
 on the
Positioning panel (or pressW) and click the node.
 - Press and hold Shift and move the node.
- Click Yes in the dialog window that opens.
To delete a node, select it and press DELETE (or click Edit -> Delete Object).
Pivot Point and Coordinate System
Transformations of the node are relative to the pivot point. The pivot point is used to control the way nodes rotate and scale.
To rotate or scale several nodes, select them, choose the required manipulator and specify the position of its pivot point by using the pivot point toggle.
- If the
 button is active, the pivot point will be set to the center of selection.
- If the
 button is active, the pivot point will be set to the center of the last selected node.
For example:
- If you select several nodes, set the pivot point toggle to Center and rotate these nodes, they will rotate around the center of selection as follows:
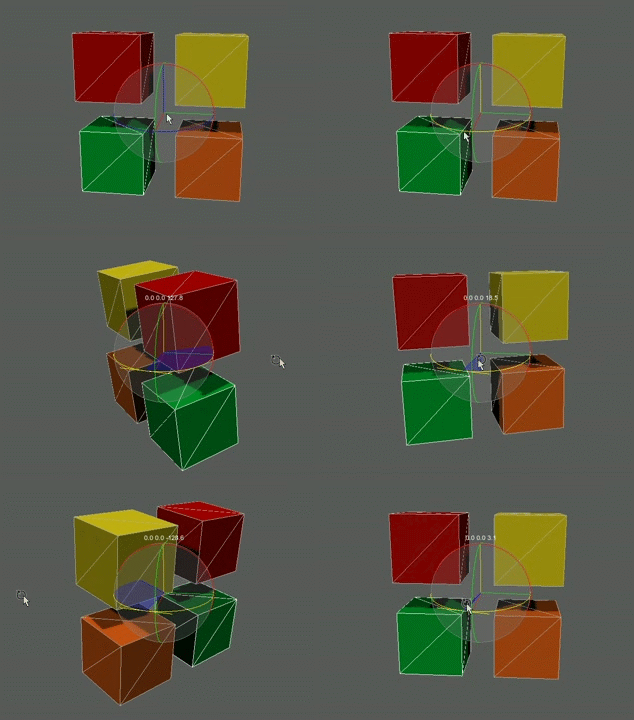 Pivot Point in the Center of SelectionNoticeIf you scale the nodes, they will be scaled out from or in toward the center of selection.
 - If you set the pivot point toggle to Pivot and rotate the selected nodes, each node will rotate around its center as follows:
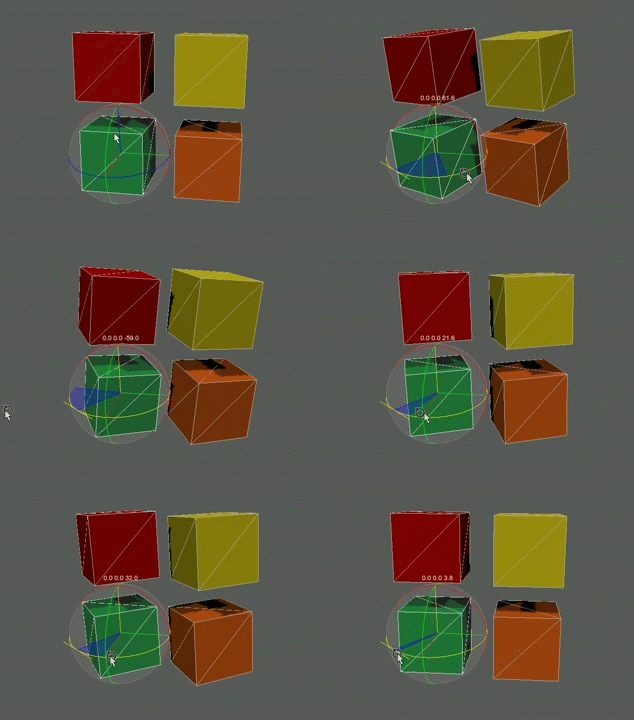 Pivot Point coincides with the Last Selected Node CenterNoticeIf you scale the nodes, each node will be scaled relative to its center.
The basis of the manipulator pivot point can be toggled as follows:
- If the
 button is active, world space orientation will be used for the manipulator pivot point.
For example, if you set the

 combination for the selected nodes and rotate them around the Y axis, you will get the following:
Before rotation: After rotation: 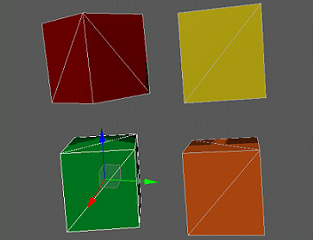
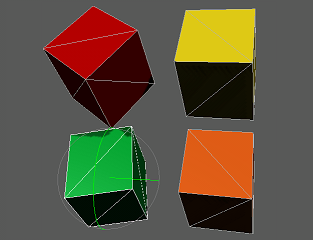 The pivot point is oriented by the world space.The nodes have been rotated by 45 degrees around the Y axis.
 - If the
 button is active, the coordinate system of the parent node will be used for the pivot point orientation.
For example, if you set the

 combination the selected nodes and rotate them around the Y axis, you will get the following:
Before rotation: After rotation: 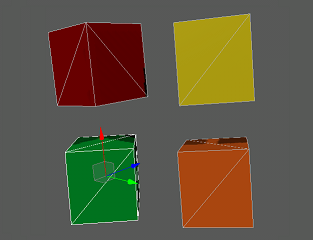
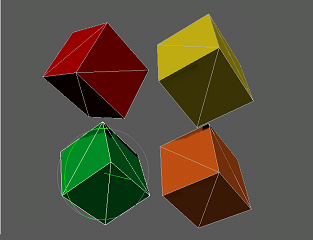 The pivot point is oriented by the local basis of the parent node
(the red cube).The nodes have been rotated by 45 degrees around the Y axis. - If the
 button is active, the pivot point will be oriented by the node local coordinate system.
It means that its orientation will not depend on the parent node orientation.
For example, if you set the

 combination for the selected nodes and rotate them around the Y axis, you will get the following:
Before rotation: After rotation: 
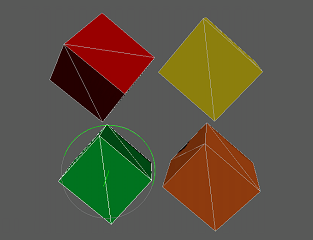 The pivot point is oriented by the local basis of the last selected
node(the green cube).The nodes have been rotated by 45 degrees around the Y axis.
Snapping Nodes by Grid
Snapping a node by the grid enables to position a node along the axis or over the grid with a given step (in units).
To snap a node by grid:
- Choose
 on the
Positioning panel (or pressShift+W)
 - Specify the grid step via the following panel:
Now you can move any node in the world by an axis or a grid with the given step.
- Move one of the nodes:
- If one axis is chosen (an arrow manipulator is dragged), the node will be aligned by an axis.
- If a node is repositioned by two axes (a rectangle manipulator is dragged), the node will be aligned by a horizontal or vertical grid.
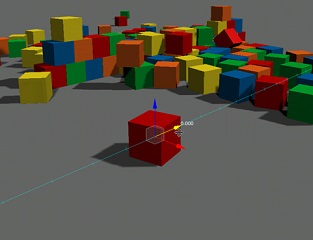 Snapping By an Axis
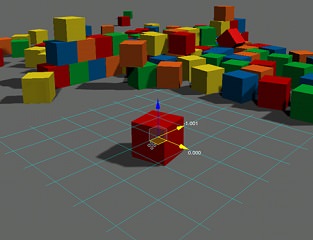 Snapping By a Grid Stripes
Snapping Nodes by Angle
Snapping a node by an angle enables to rotate a node along the axis with a given step (in degrees).
To snap a node by angle:
- Choose
 on the
Positioning panel (or pressShift+E).
 - Specify the step for the rotation angle via the following panel:
Now you can rotate any node in the world around the axis with the given step.
- Rotate one of the nodes.
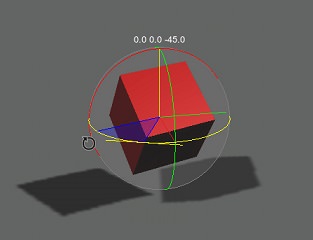 Rotation By 45 Degrees
Snapping Nodes to Surface
Snapping a node to a surface of another node provides pixel-perfect positioning of the nodes relative to each other.
To snap a node to the surface:
- Select a node that should be snapped.
- Choose
 on the
Positioning panel (or pressAlt+W).
 - Specify snapping settings via the following panel:

Option Description Offset from surface Specifies the distance from the node's pivot point to the surface (in units). Notice- To increase/decrease the distance to the surface, use the WHEEL UP/WHEEL DOWN hot keys.
- To reset the distance to the surface, use the MIDDLE CLICK hot key.
Orient by normal Specifies whether the node should be oriented by the surface normal or not. NoticeThe hot key is RIGHT CLICK - Move the node until the red stripe intersects the required surface of the other node. Click the left mouse button to place the node.
NoticeTo abort placement, press ESC.
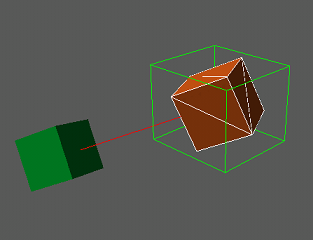 Node is Oriented by Normal
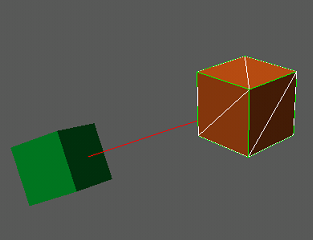 Node is Not Oriented by Normal
Dropping Nodes to Ground
Dropping a node to the ground means positioning the selected node to the surface below this node.
To drop a node to the surface:
- Select a node (or several nodes) that should be dropped.
- Put the cursor over
 on the
Positioning panel.
 - Specify the required settings via the panel that appears:
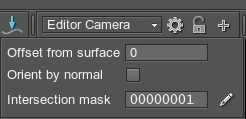
Option Description Offset from surface Specifies the distance from the node's pivot point to the surface (in units). Orient by normal Specifies whether the node should be oriented by the surface normal or not. Intersection mask Sets an intersection mask that defines whether a node (or nodes) will be positioned on a surface to which it is dropped. A node will be positioned on a surface if they both have matching intersection masks. Otherwise, the node will penetrate the surface. - Click
 to drop a node (nodes).
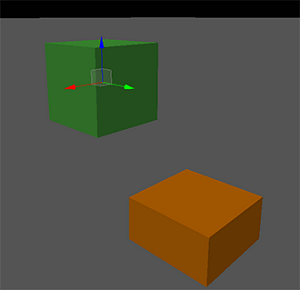
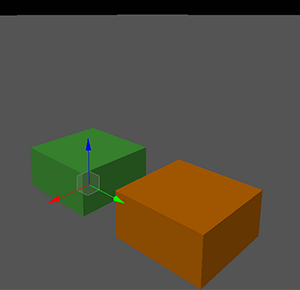 Initial Position of a NodeNode Dropped to Surface (Default Settings)