Cloud Layer
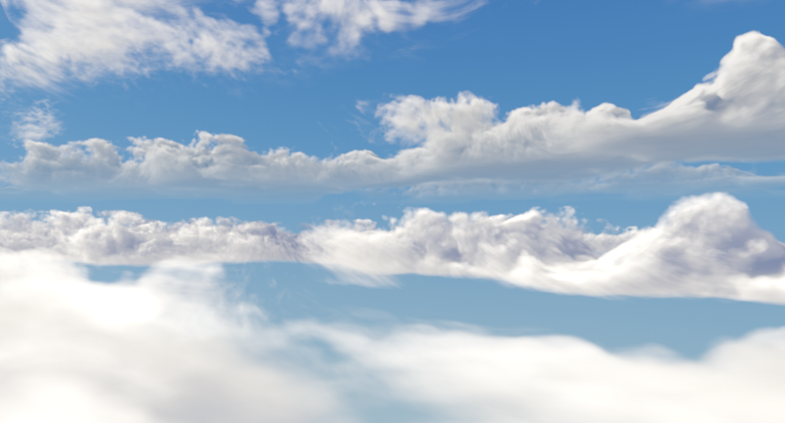
A Cloud Layer is an object representing a layer of realistic volumetric clouds with convincing dynamics.
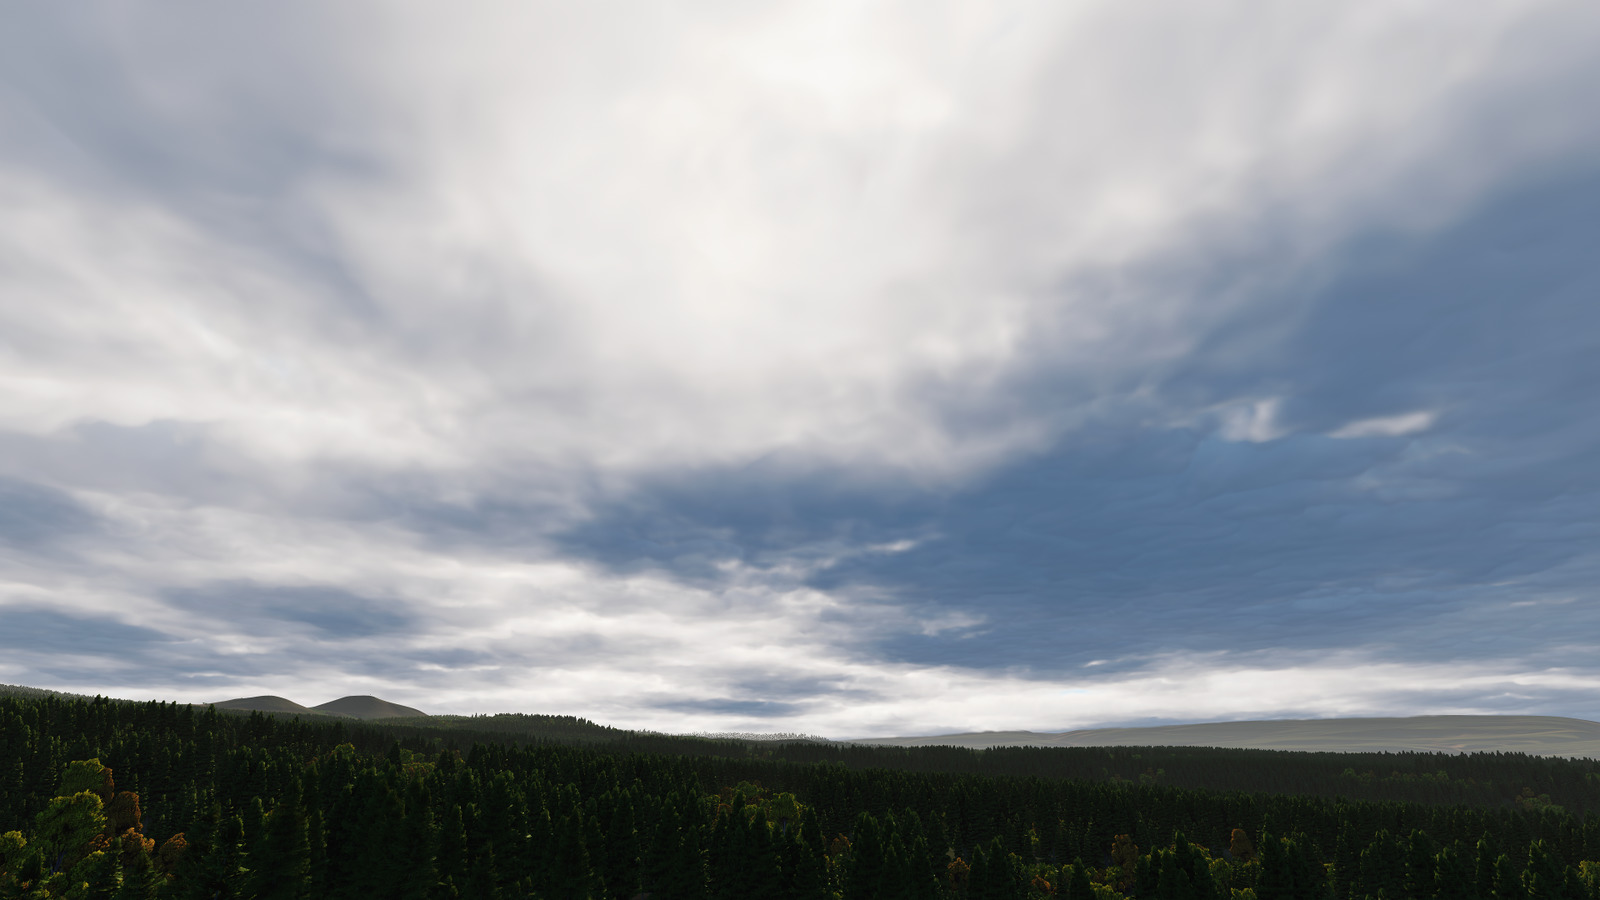
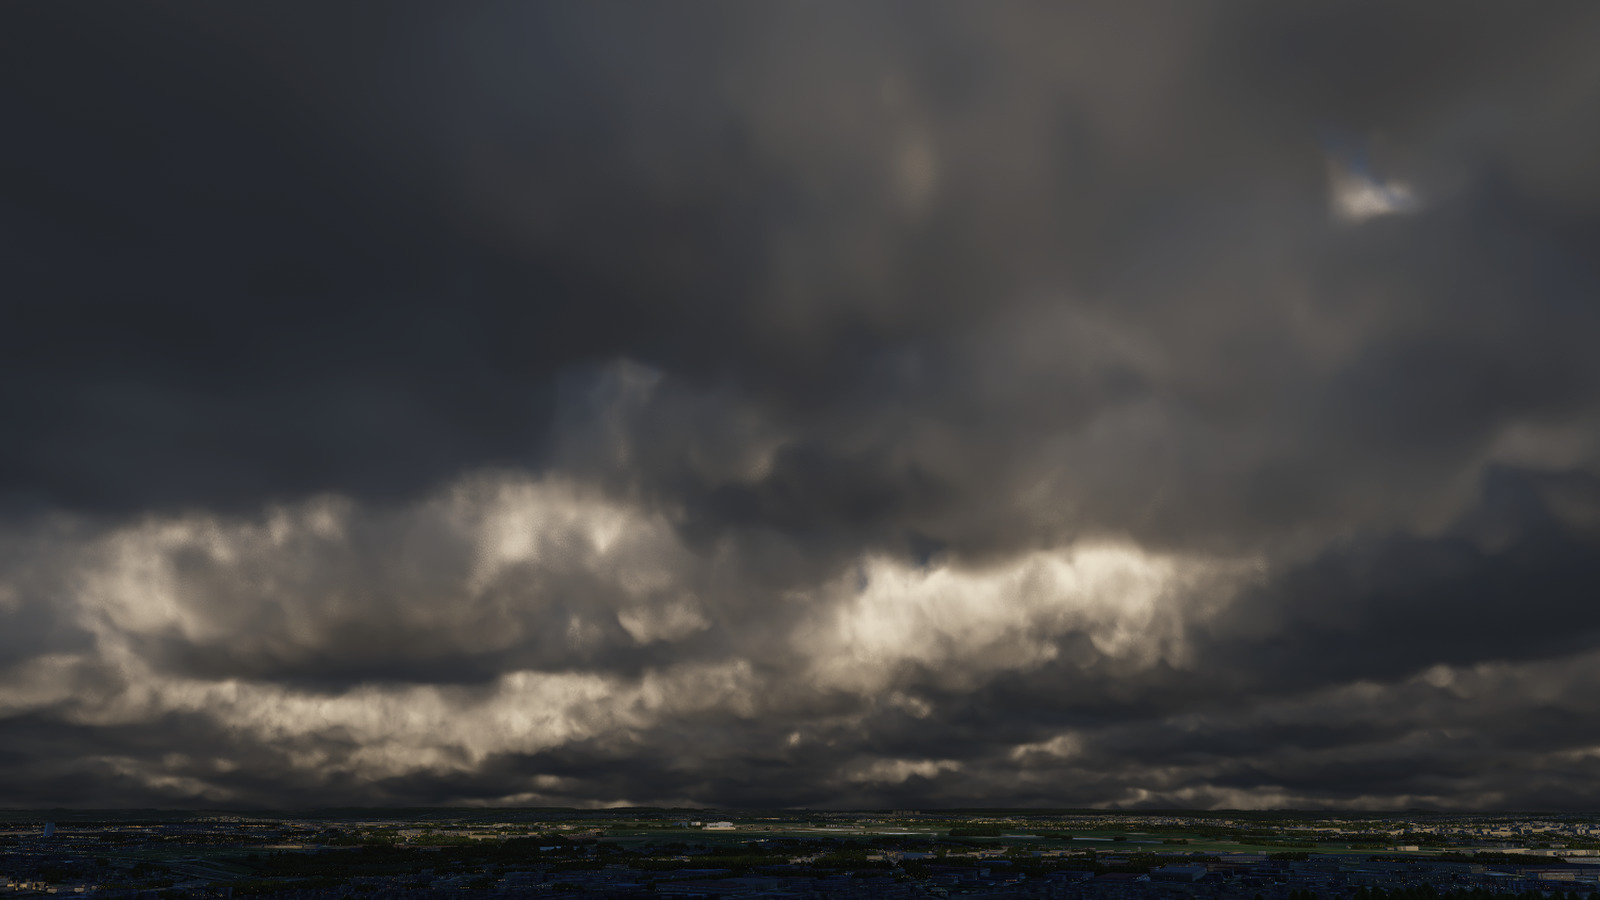
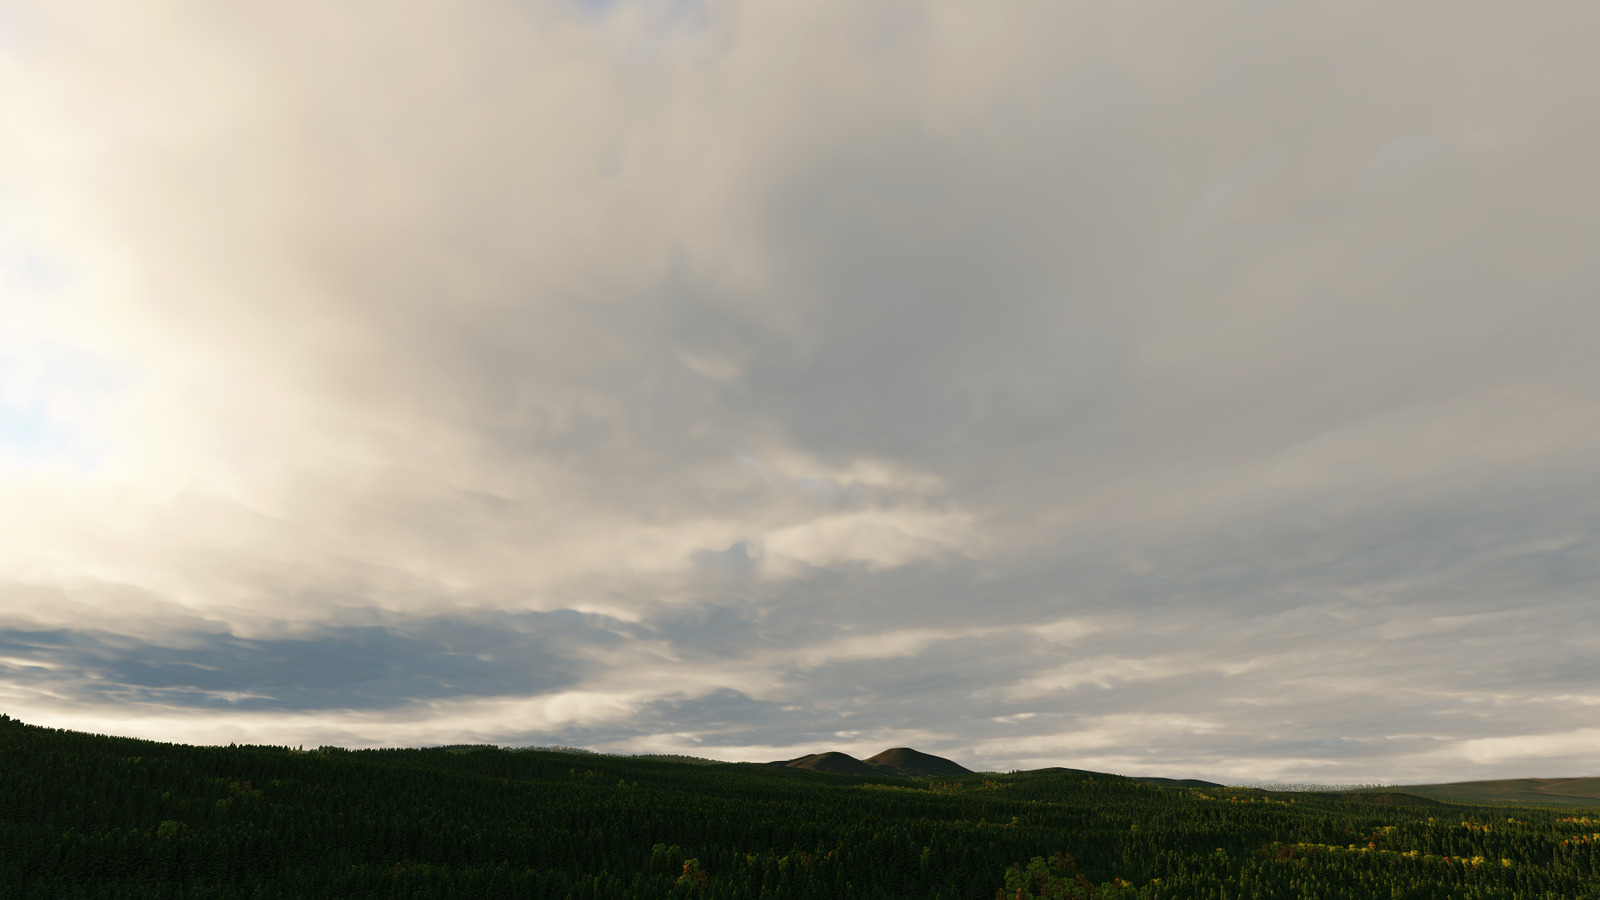
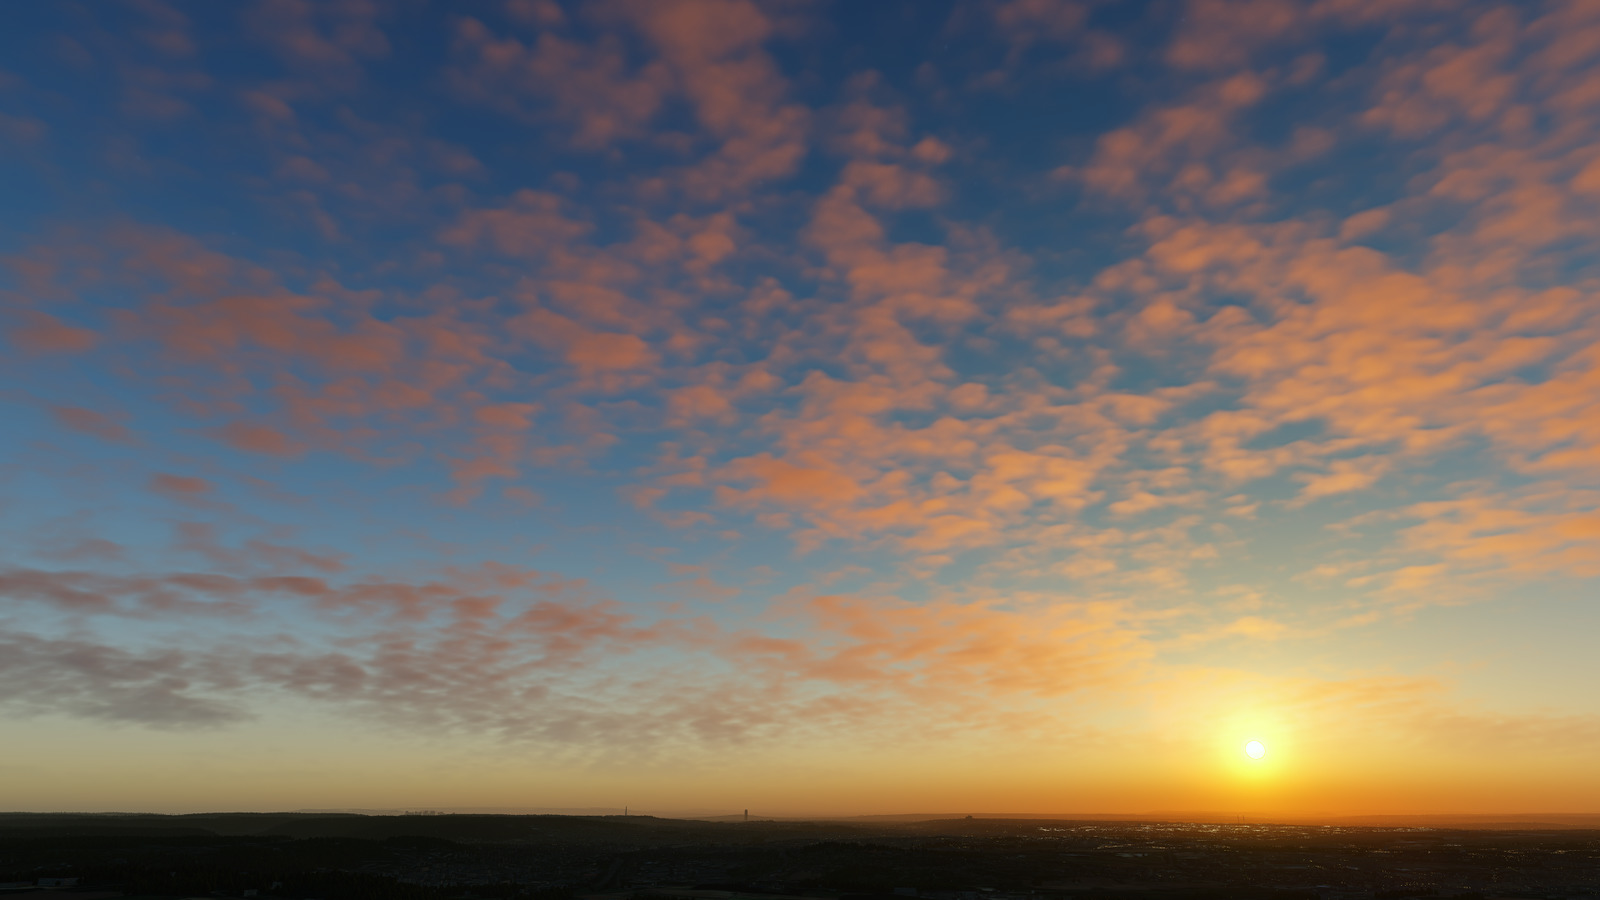
There are ten main types of clouds in nature: Altocumulus, Altostratus, Cirrocumulus, Cirrostratus, Cirrus, Cumulonimbus, Cumulus, Nimbostratus, Stratocumulus, Stratus. All of them are implemented in UNIGINE and available out of the box as child materials of the clouds_base material (clouds_altostratus, clouds_stratus, clouds_cumulus, etc.).
Stratus
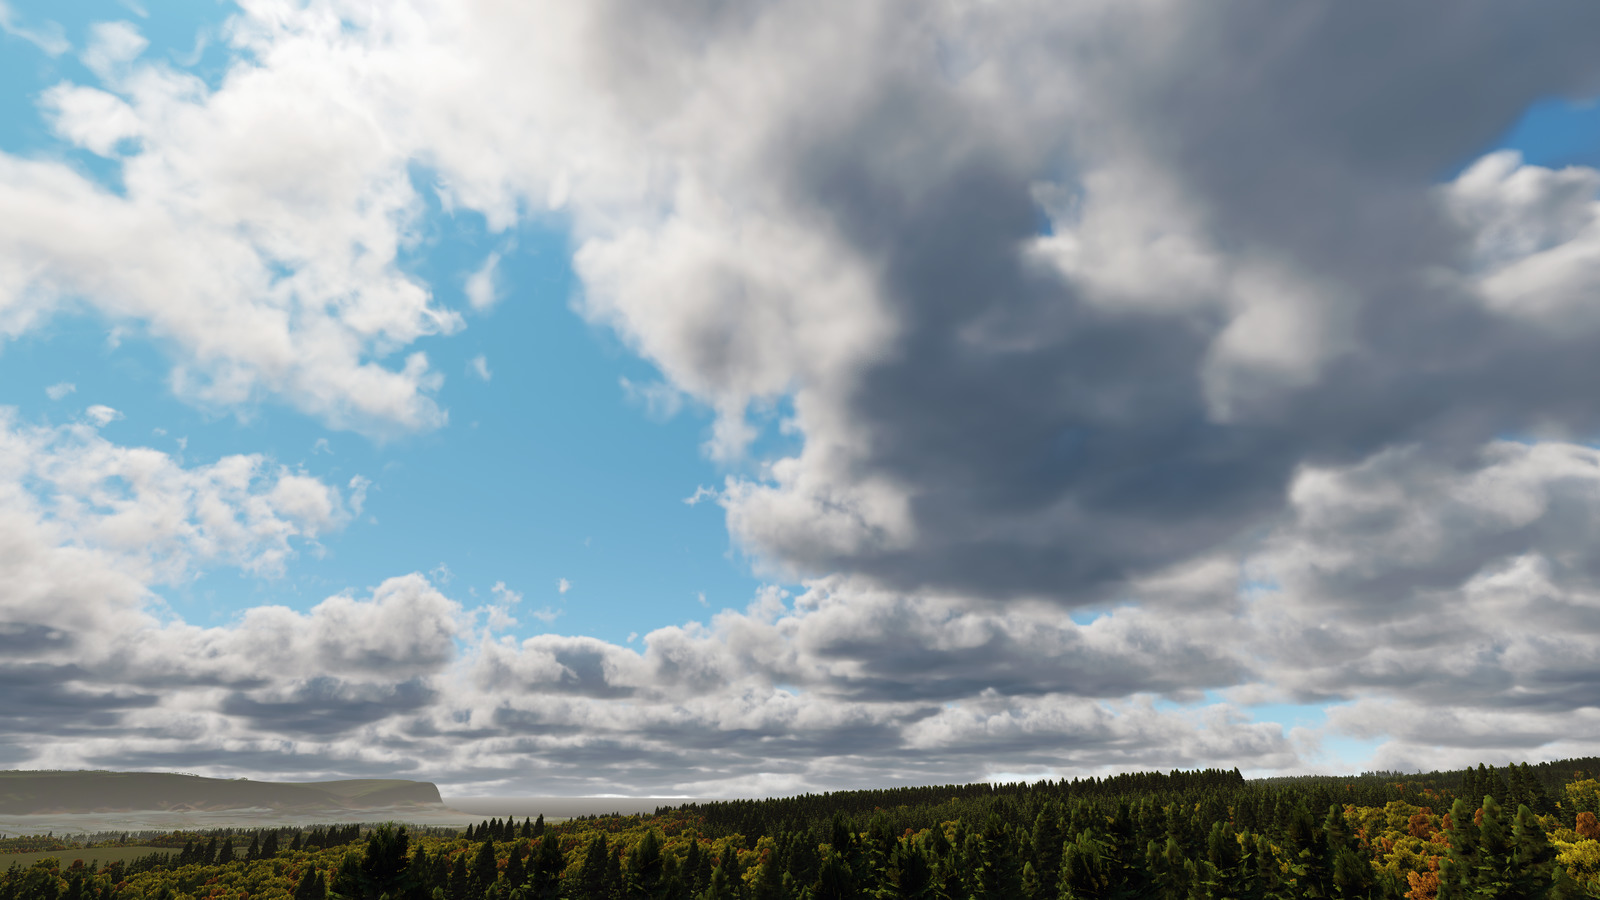
Stratocumulus
Nimbostratus
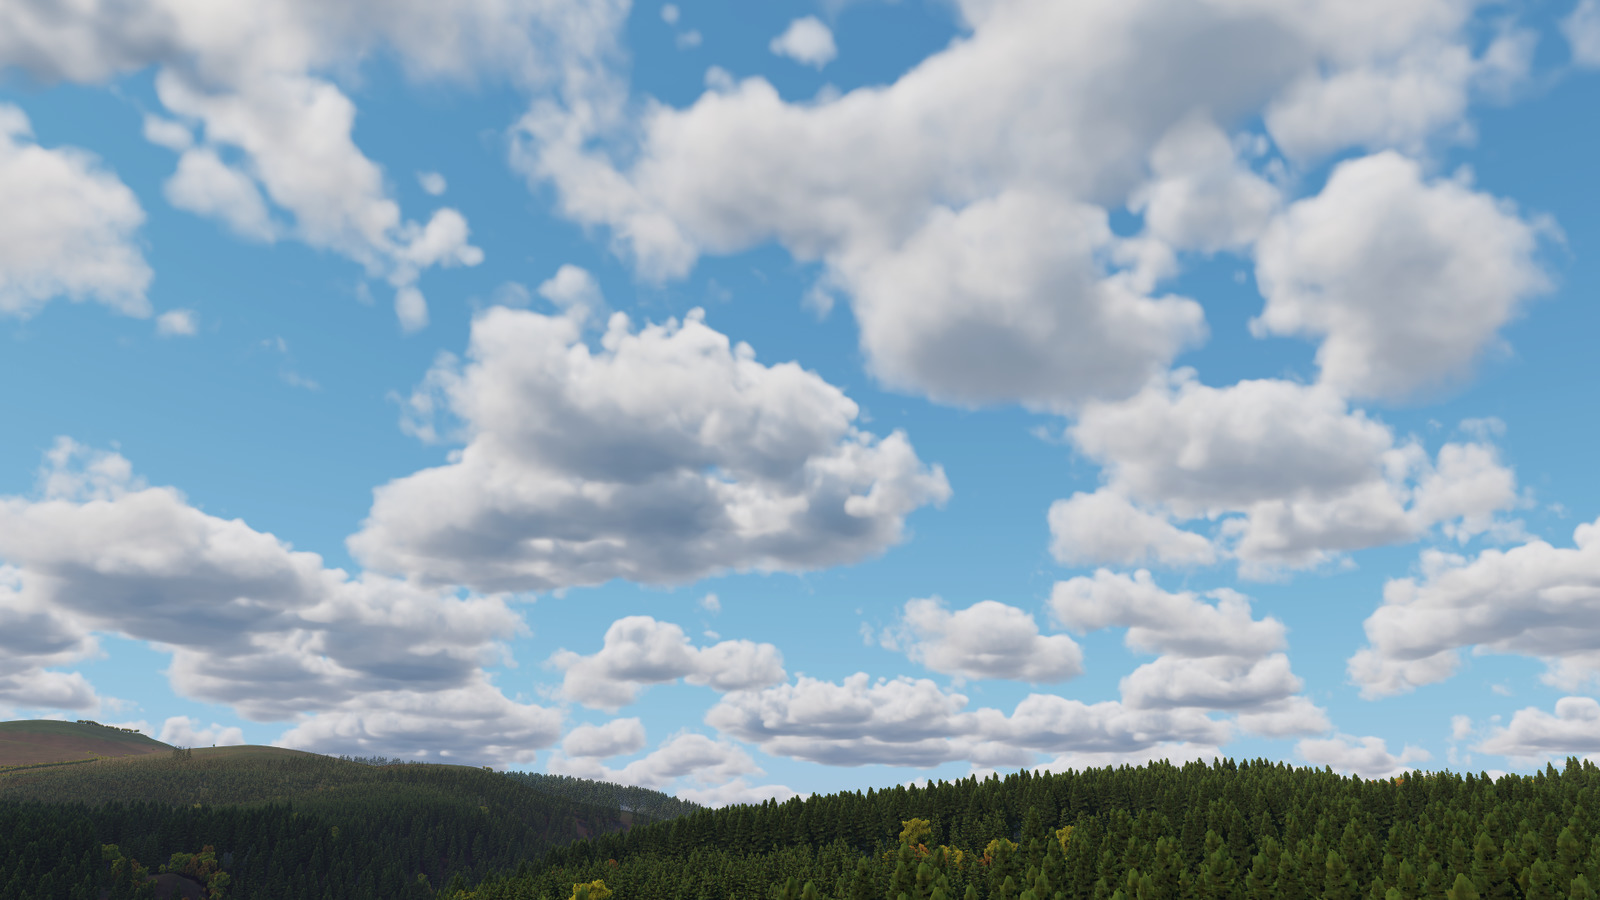
Cumulus
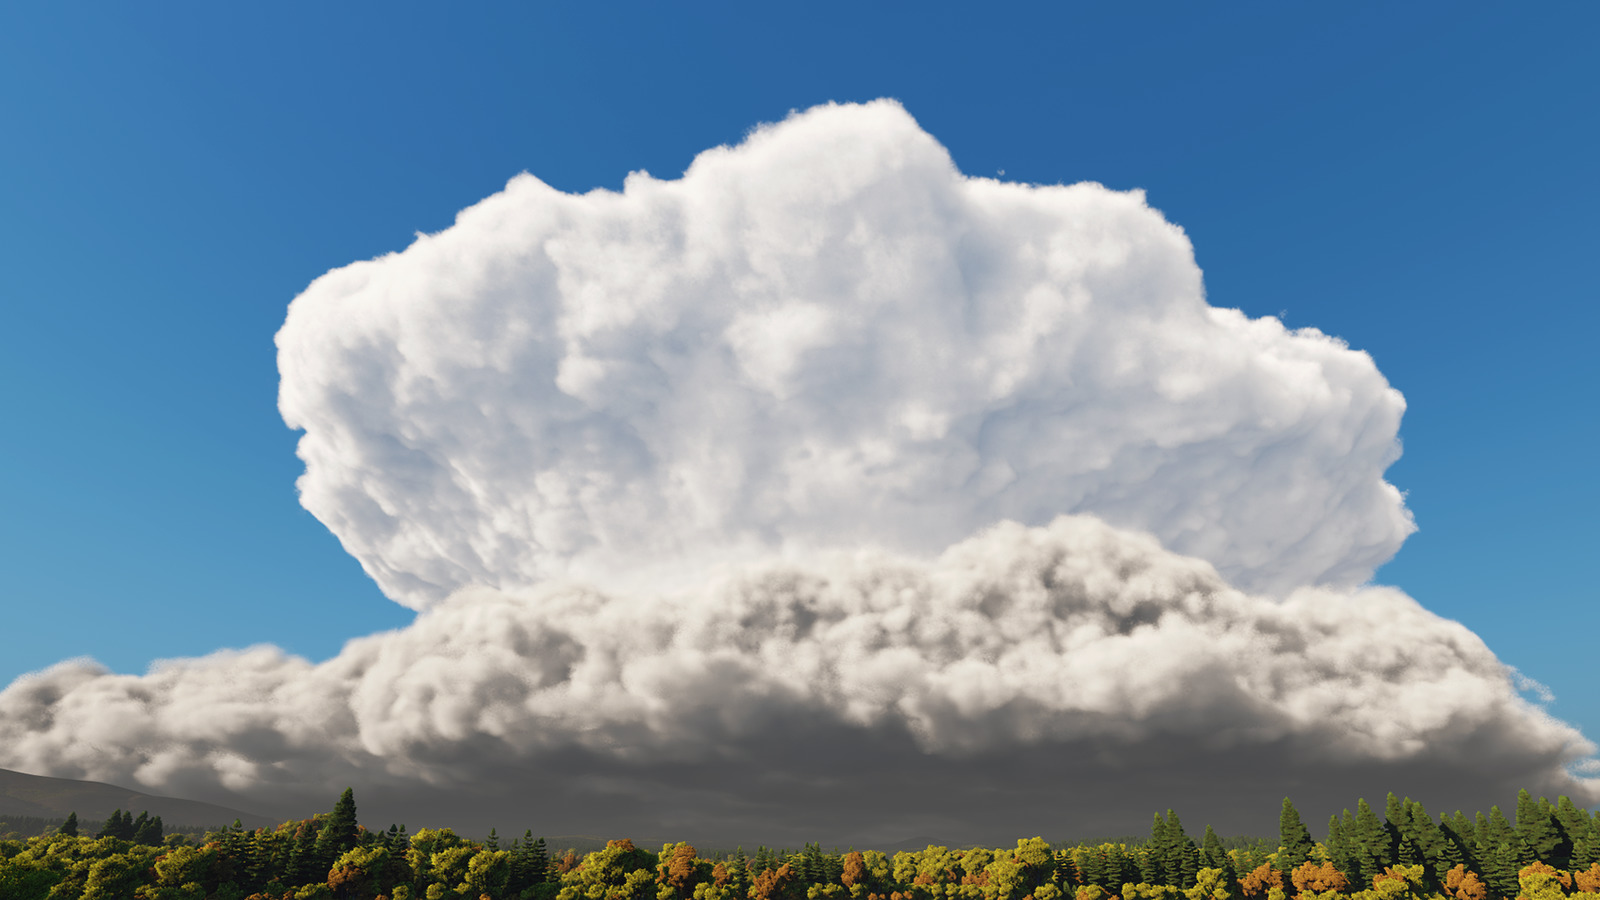
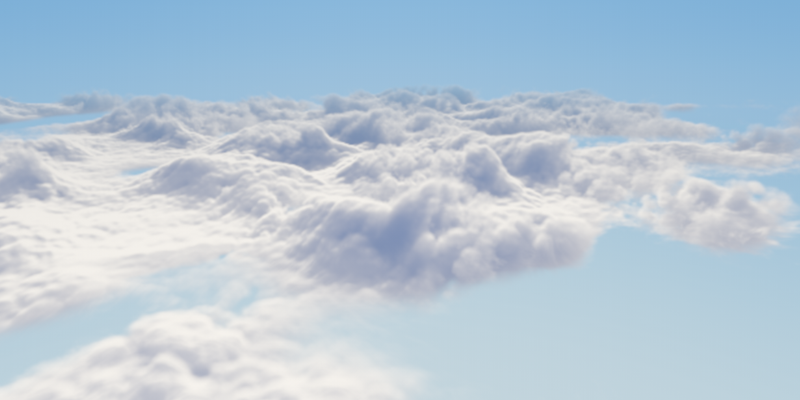
Cumulonimbus
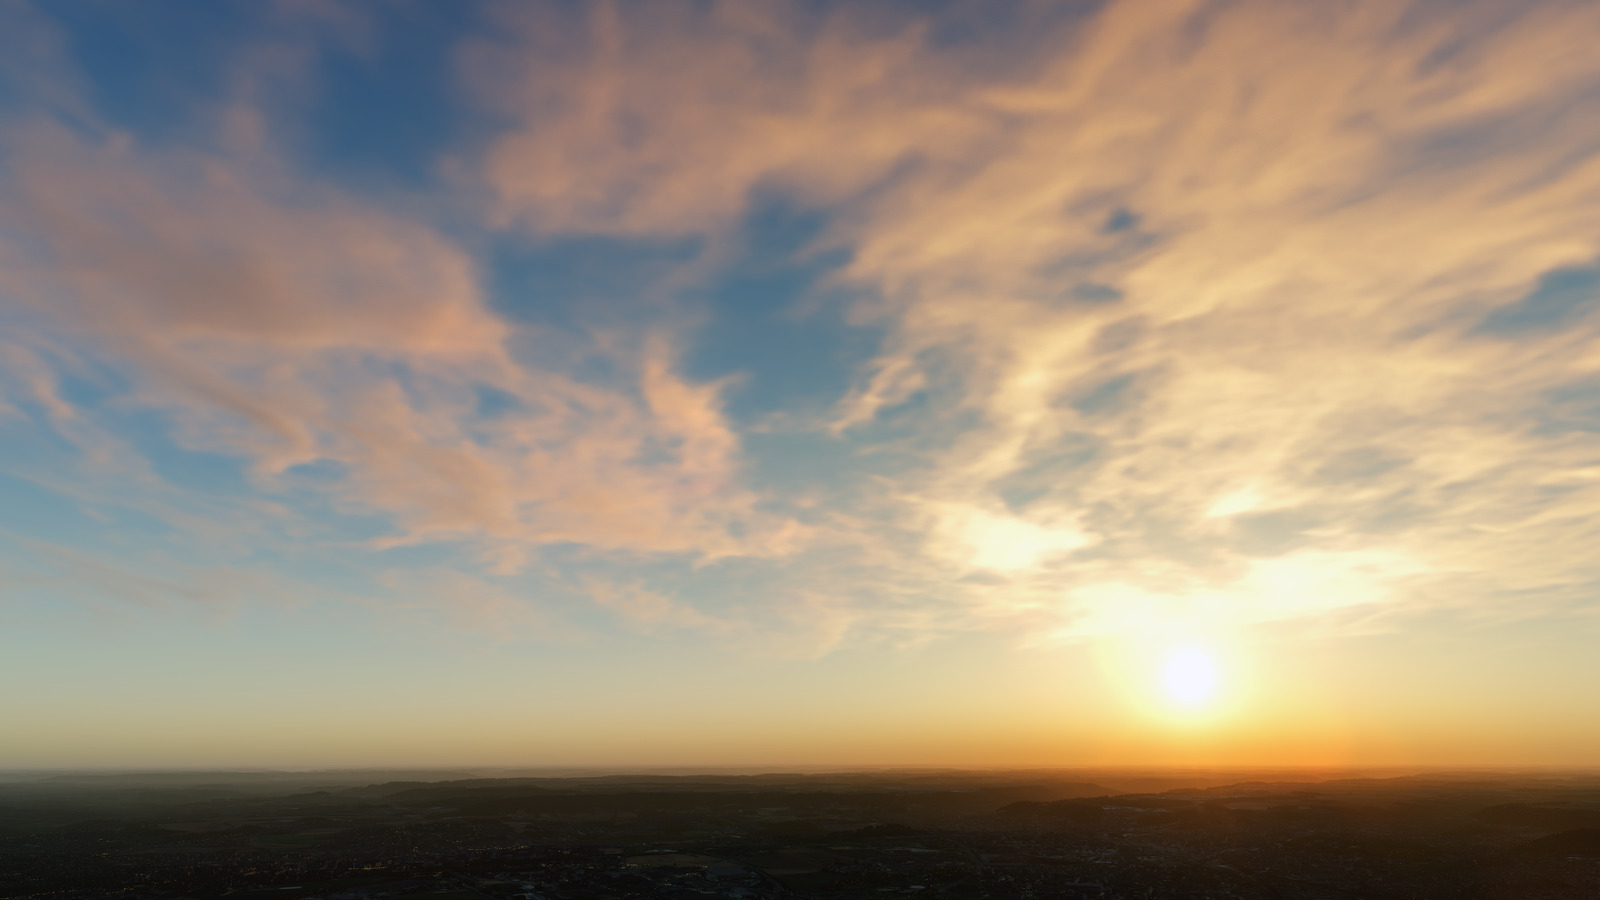
Cirrus
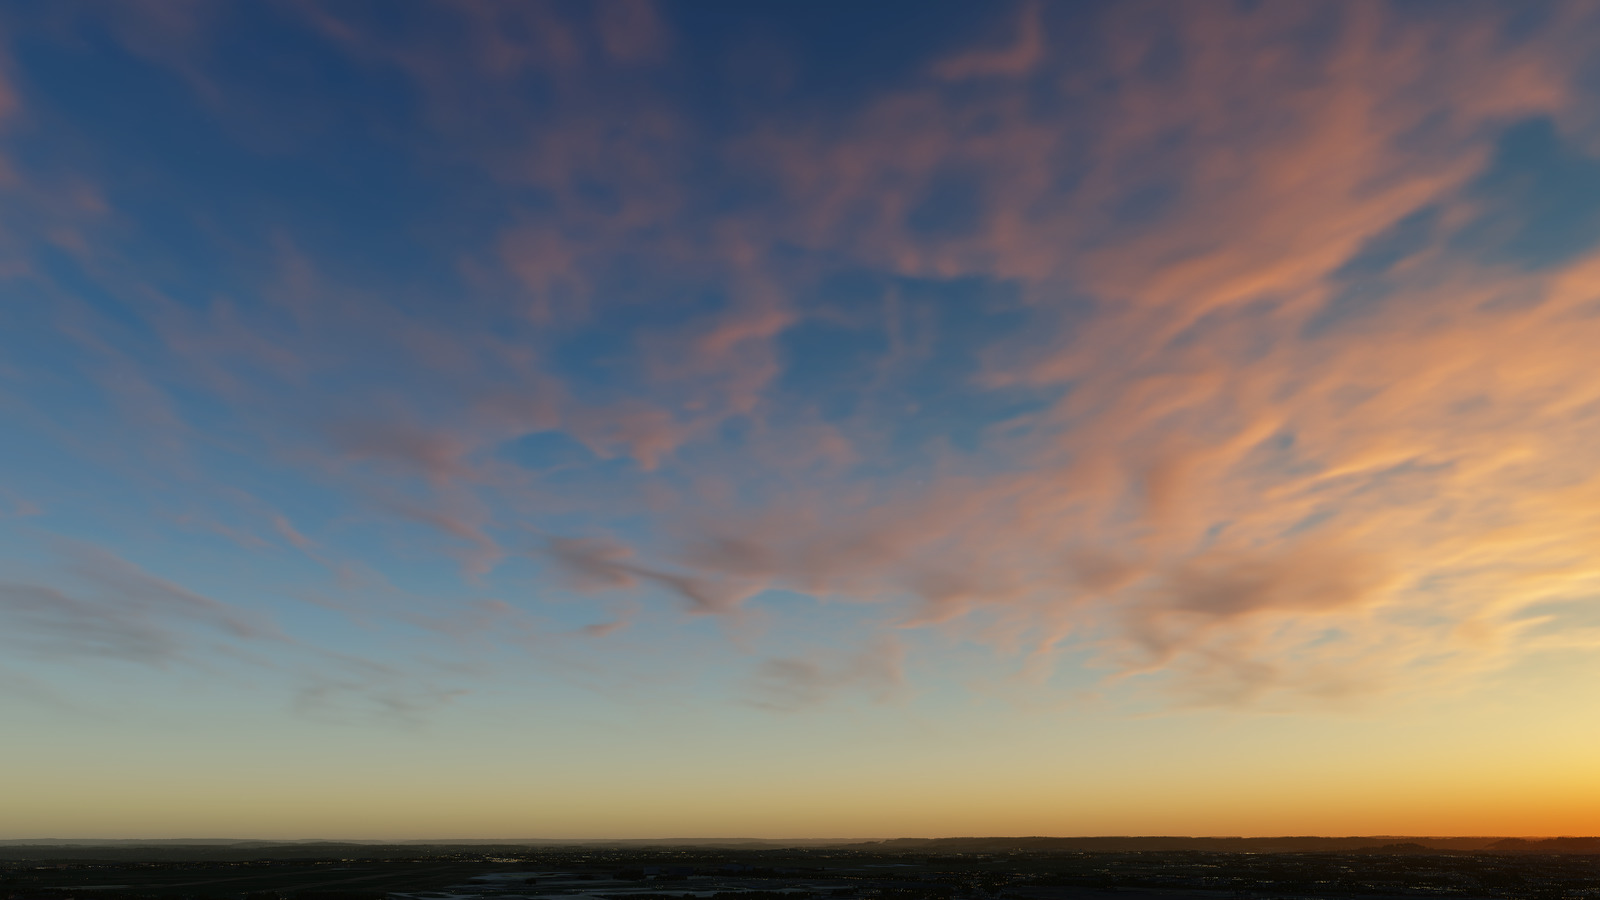
Cirrostratus
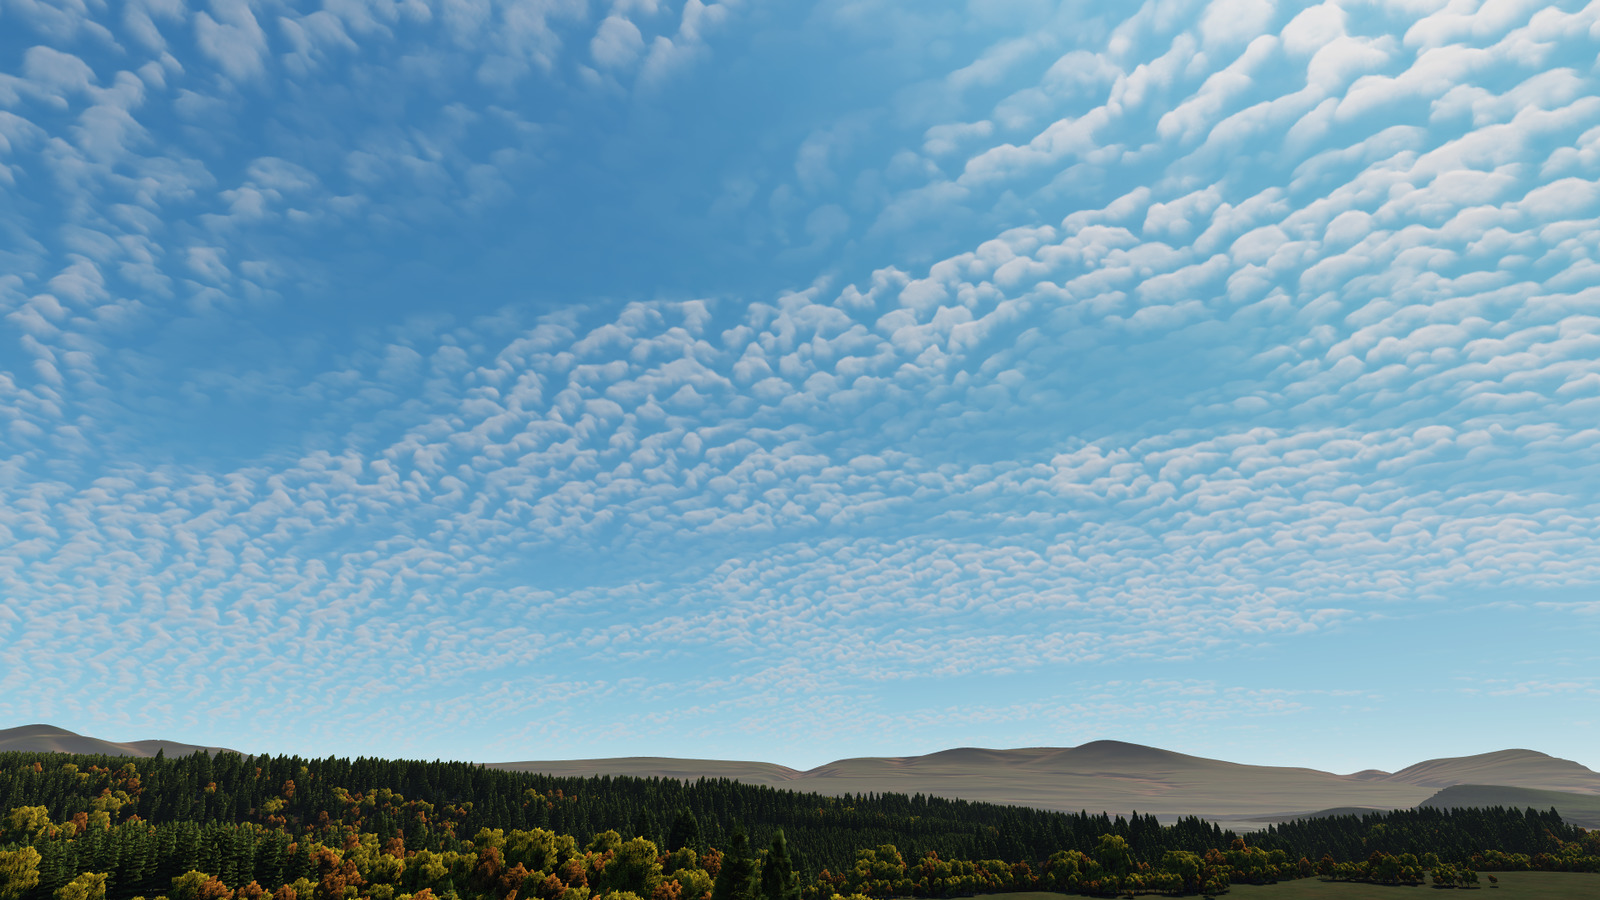
Cirrocumulus
Altostratus
Altocumulus
UNIGINE clouds offer the following features:
- Local clouds coverage simulation using either the corresponding parameter of the Cloud Layer object to limit the coverage, or the FieldWeather object with the ability to control movement of numerous groups of clouds without performance drops
- Cloud dynamics simulation
- Cloud density simulation based on a 3D noise model
- Realistic shadows and lighting
- Large number of configurable cloud layer parameters (height, density, lighting, shadows, wind, etc.)
- Visibility distance up to 400 km
- Correct depth-sorting
- Optimized presets available for every cloud type
- Support of the Earth curvature to simulate real-world scenarios
Several cloud layers can be combined to provide realistic simulation.
See also#
- The clouds_base material to adjust clouds appearance
- Rendering Settings for clouds to adjust common parameters for all cloud layers on the scene
- The Field Weather object to specify areas with local weather
- The ObjectCloudLayer class to edit the Cloud Layer via API
Adding a Cloud Layer#
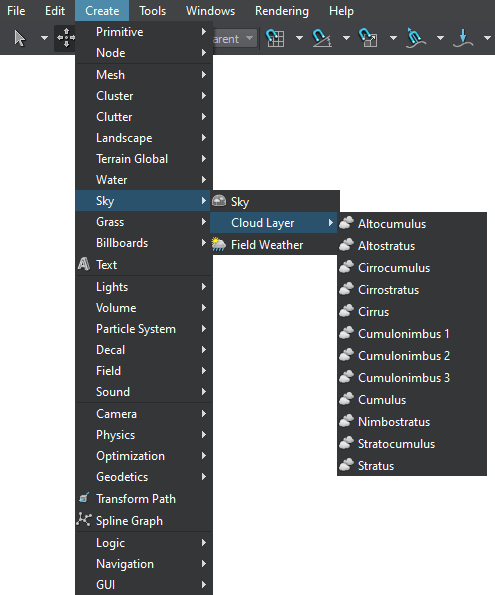
To add a cloud layer to the scene via UnigineEditor:
On the Menu bar, click Create -> Sky -> Cloud Layer and select one of the available presets:
Place the cloud layer object in the scene:
A layer of clouds will be added to the scene and you will be able to adjust it via the Parameters window.
Adjusting a Cloud Layer#
Cloud layers have a realistic look with the default settings, so you might not need to tweak them at all. However, if necessary, you don’t need to be a shader guru to adjust the available parameters (type, coverage, wind, etc.) to achieve the desired look of clouds in your project.
You can control your clouds via:
- the corresponding Rendering Settings applied to all cloud layers in the scene
- the parameters of clouds_base material providing an opportunity to tweak each layer separately
Each Cloud Layer object can use its own material inherited from the clouds_base to define its form and type (like clouds_altostratus, clouds_stratus, clouds_cumulus, etc.).